Assembling bootleg kits can be a pain at times but this MG Exia Ignition Mode was a breeze. I was surprised from the fact that 90% went well and the other 10% were minor fixes - from shaving male connectors to gluing parts. I really enjoyed assembling my first Master Grade (I was hoping it was Bandai, my wallet was not cooperating as expected lol).
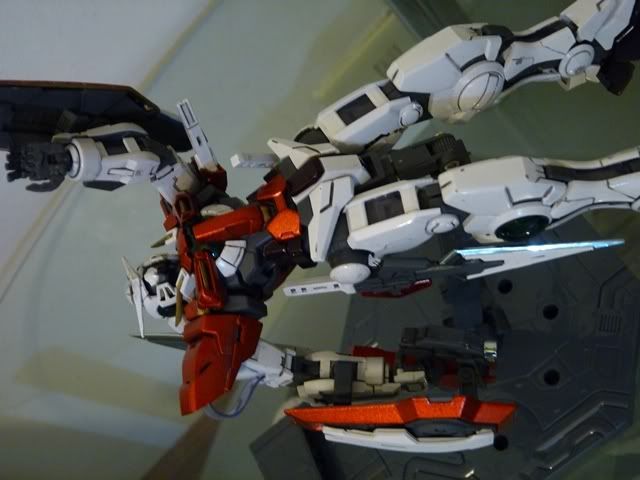
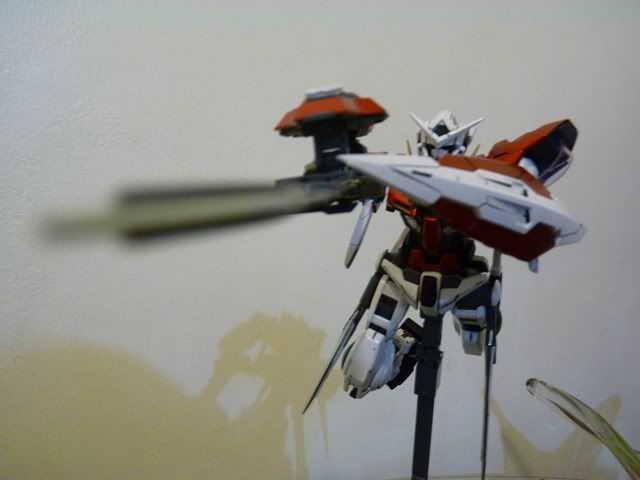
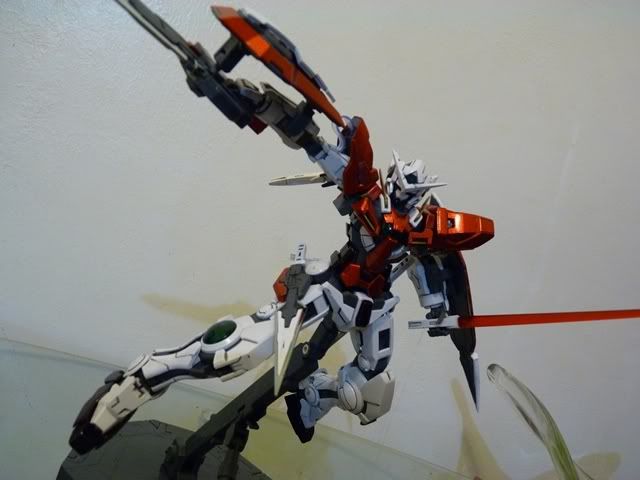
Action!
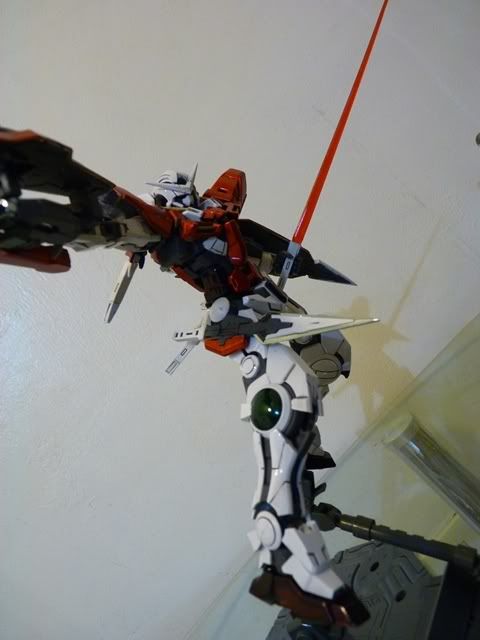
G...Gu...Gundaaaaaam!!!!!!!!!!!
GUUUUNDAAAAMU!!!
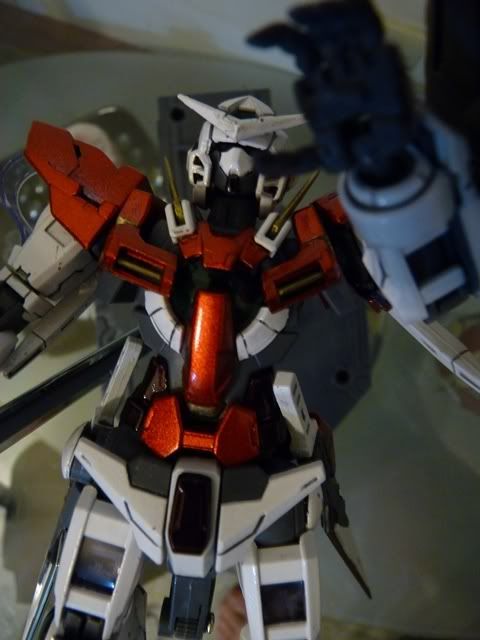
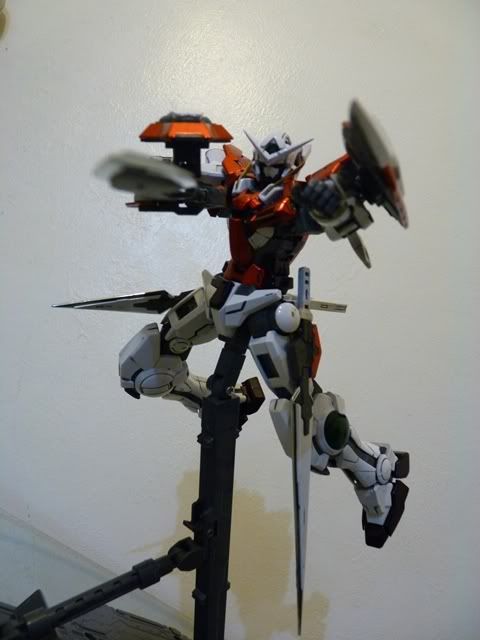
Ore wa...........
Ore Wa Gundam-da!!
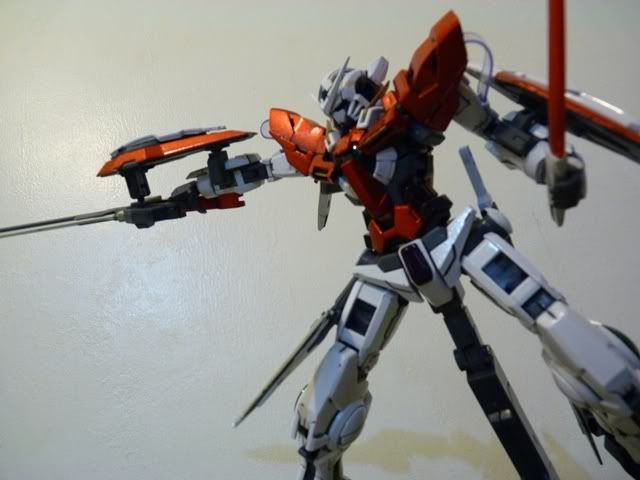
Exia exterminating target...............
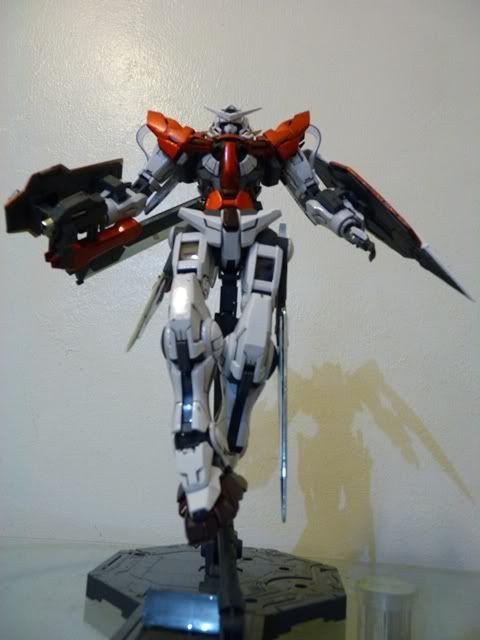
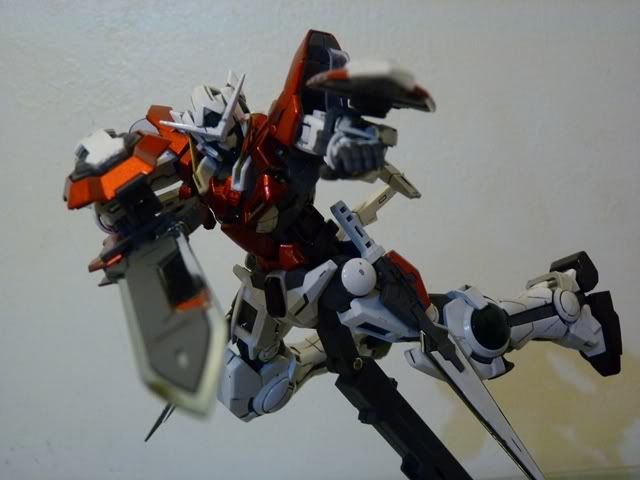
Graham: Ike, Setsuna! Live and unlock the future!
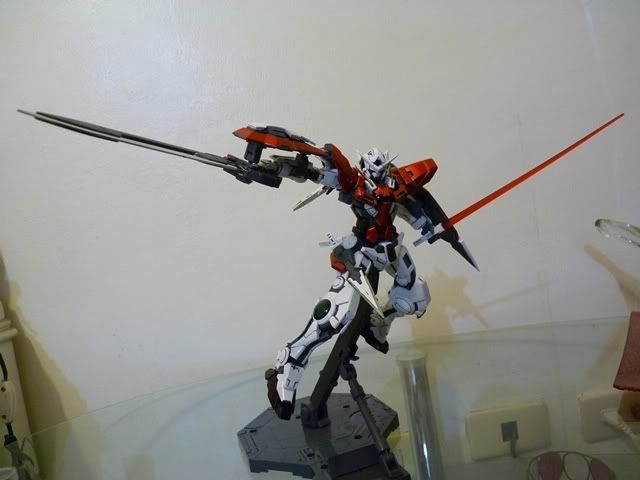
More swords Setsuna?
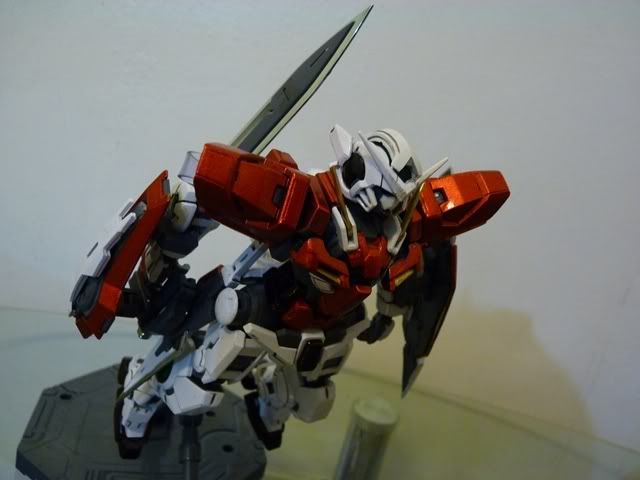
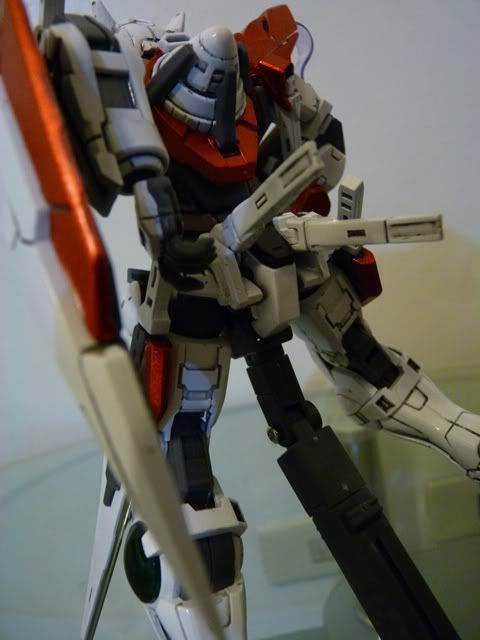
Target exterminated!
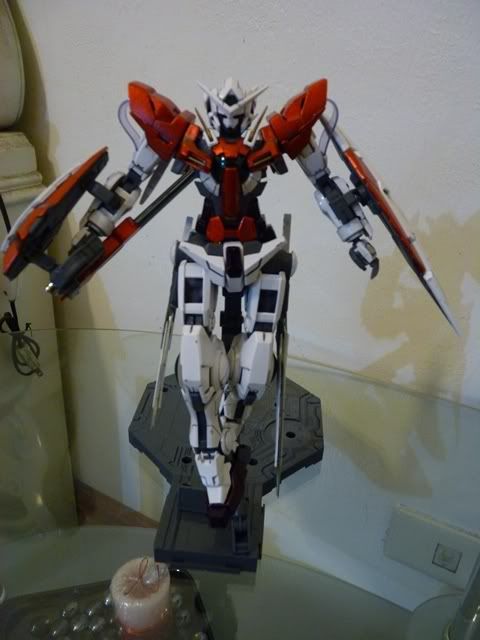
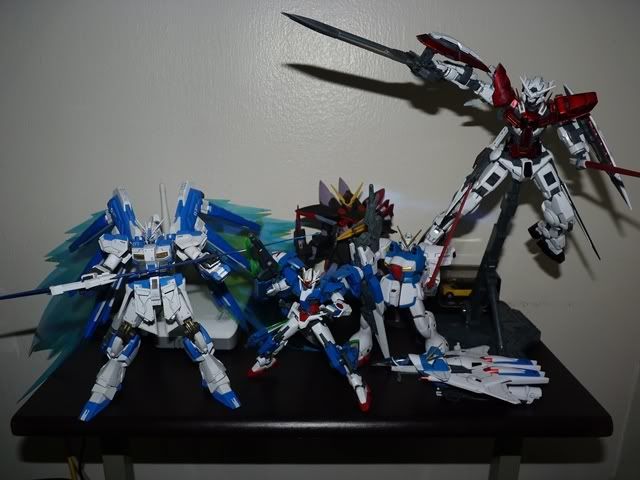
Joining the bunch :D
Pros:
Assembling is pretty easy for a bootleg
Build is sturdy
It came with LEDs!
Cons:
Joints are too stiff (for my liking, anyways, it made the kit solid though)
Swords at his wait does not fit the peg in the hand
Exia Repair parts does need half of the non-Repair head. (didn't bother with the transformation)
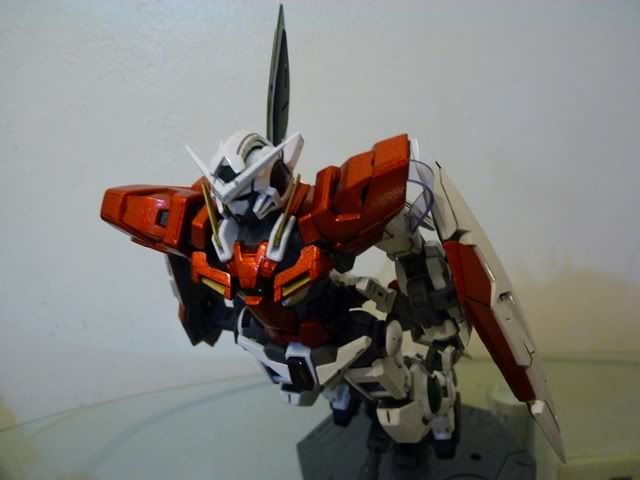
The Exia Ignition Mode is a must have! I'm really glad I painted mine red which turned awesome - My purpose of doing is experiencing how to do a metallic finish. For a hundred bucks more than the normal version, I say get this Ignition Mode of Exia. The repair parts are cool (though I'd assemble it ONLY if I have a spare head of Exia) it came with LEDs, the GN drive holder, REAPER (repair) parts, and a badass box to make it worth it.
That wraps it up for my Exia. Hopefully you found my guide useful and enjoyed my review. Hit the comments below if you have requests on what kit I should review next (but I've been eyeing on the Sinanju for a while now tee-hee!!). Criticism are welcome. Thanks very much!
nice review sir,
ReplyDeleteyou made me cry. my first ever comment T_T
ReplyDeletethanks for looking! hopefully you find my reviews useful :)
cheers
-cc
just got mine today,thanks for the heads up on the minor fixes and whatnot...but its not that im complaining..it is a bootleg after all (thus i do expect some extra work to be done) got this version to complete my exia lineup (have the hg & mg version + avalance) missing astrea to really complete the lineup lol.kudos on a job well done!ill be popping up in your blog again to see whats new :)
ReplyDeletehey no prob and glad to be of service! i'm excited that my blog helps! :)
ReplyDeletepop me up when you're done. i want to see your version of Exia IM \m/
hi there mister comet, was wondering if you had any problems with its LEDs? coz i'm thinking of getting this kit and using its LEDs for the MG OO 7 sword.. oh yeah thanks for the heads up on the super glue-ing needs...
ReplyDeletehaven't tried but i heard there are screw issues with the LED's. hmm.. probably easy to fix. haven't had the chance to try since i don't know where to purchase its batts :(
ReplyDeleteHow did you find the ankles? I've heard people grumbling about Bandai's exia being weak at his ankle's joints all over the internet. thanks.
ReplyDeleteHmm, now that you mention it, I did notice that the ankle is sort of weak but not that distracting. I find it annoying on slippery surfaces such as glass - but my HGUC 30th Ed RX-78-2 also had problems with that. I don't know if the stiff joints of it being bootleg or the top coat did strengthen the ankles. Playing around with it while taking photos was easy and the "weak" ankles are negligible at least for me :)
ReplyDeleteWell, that's (almost) a good news. I think I'll give Exia Hongli a shot. Thank you very much. This really helps. I'll be around to see other reviews coming from you.
ReplyDeleteSir Comet,does this kit includes DECALS(dry or water decals) if any?
ReplyDeleteHi Anonymous! Sorry for the late reply I was on vacation :)
ReplyDeleteYes, it includes clear stickers and dry transfer decals which is quite good. Grabbing the kit for a mere 900 bucks (on some stores) is a steal!
sir Comet which do think is better Exia ignition mode or strike freedom full burst mode?
ReplyDeleteexia IM has LEDs and a little bit gimmicky over SF FBM. but the SF FBM looks good with its sophisticated design. can't go wrong with both, but if i had the chance to get one - i'd get SF FBM because it would look better on my desk haha! but if you love gimmicks and switchable parts, exia IM can hold on its own. :)
ReplyDeletei've heard dragon momoko is coming out with their own version of SF. it looks more aggressive than its bandai counterpart. better wait for that one out.
ReplyDeletethanks for the tip!
ReplyDeleteare you from the philippines? saw the mighty bond
ReplyDeletehi ralph! yes i am :)
ReplyDeleteNice gundam bro :) kinulayan mo ba yan?
ReplyDeletethanks! yep tried out scheme for my would-be sinanju (hence, the red scheme).
ReplyDeletebro pwede din ba gamitin pang kulay pilox ba un? gusto ko kulayan avalanche ko eh tnx :)
ReplyDeletenot sure, mainly used bosny paints :)
Deletetry divi, goes for a lot cheaper (half the price!) than in hardware stores
alin ba sa national bookstore pwede ko gamitin pang alternate na panel line marker? tnx :)
ReplyDeletecopic marker :)
DeleteHTH
san sa divi. ko mabibili ung bony paint tol?
ReplyDeletemeron copic marker sa national bookstore?
tnx tol. by the way gunda tlga ng pagkapaint mo sa gundam mo? anu kulay yan?
168 stall 1c
Deletecopic @ NB, yes.
Painting:
primer > black (gloss) > metallic silver > honda red
WIP:
http://thecrimsoncomet.blogspot.com/2011/08/tt-hongli-mg-1100-exia-ignition-mode.html
http://thecrimsoncomet.blogspot.com/2011/08/tt-hongli-mg-1100-exia-ignition-mode_07.html
http://thecrimsoncomet.blogspot.com/2011/08/tt-hongli-mg-1100-exia-ignition-mode_08.html
http://thecrimsoncomet.blogspot.com/2011/08/tt-hongli-mg-1100-exia-ignition-mode_09.html
:)
Try asking for help here:
ReplyDeletehttps://www.facebook.com/groups/gundampinoy/
Message 'Zen Scarletwind' on FB for yer confirmation. Ask peeps for help on that group. I sure did grow and learnt a lot from 'em. :)
Hi, just saw your review here.
ReplyDeleteJust wanna ask if black paint will do good for the blue part of exia ignition?
Thanks bro.
Hello!
DeleteAnd thanks for visiting my blog :)
Welcome
Black would do great. Make sure to apply primer first and let the paint sit for at least 3hrs. Always spray thinly so it won't bloat.
Now that I think of it, a Banshee-ish scheme would look badass for Exia hihi >:)
Black / Gold / Orange
Good luck with the build and have fun :)
really good review bossing! im planning to collect gundam kits and because of ur review and guide my 1st kit will be TTH MG Exia Igni Mode! ill just stick up to its default color since i have no exp on any paint jobs and this will be my very 1st kit. "mahal ng Bandai" dukha lng ako lol. ill just put some pannel markers since 1st tym ko din mag buo gudlak tlga morepower bossing
ReplyDeleteHey Eric! Glad to be an inspiration!
DeleteAh yes wallet does not cooperate nowadays I feel you bro :(
Had a lot of bootlegs as well, but streamlined my collection with Bandai HG's since it's the same price as bootleg MG's. Funny how modelling kits became a "work" instead of "play/hobby" and it was gruesome. No strength to build MG's anymore but in the near future maybe I can try some out as newer bootlegs have been really promising in terms of quality - *try Dragon Momoko
Default colors are cool too. Just tried painting to practice a future build and it turned out nice and rewarding.
Good luck with your build and comment and link photos so I can see your kit :)
Happy holidays cheers!
How much did you bought this kit? Sir Comet.
ReplyDeleteDid bought this at 168? How much?
Thanks and that i have a keen give: How To Become A House Renovation complete home renovation
ReplyDelete