Notice I crammed all in one post. This is an SD after all :)
Assembling this kit renewed my GunPla vigor! I knew I just had to get away from complicated kits such as Master Grades (more so with bootlegs along with its manufacturing defects). This kit is not an exception with fitting issues and such, BUT ......... read on :p


Assembling this kit renewed my GunPla vigor! I knew I just had to get away from complicated kits such as Master Grades (more so with bootlegs along with its manufacturing defects). This kit is not an exception with fitting issues and such, BUT ......... read on :p
BOOM! A whopping total of 4 runners!!
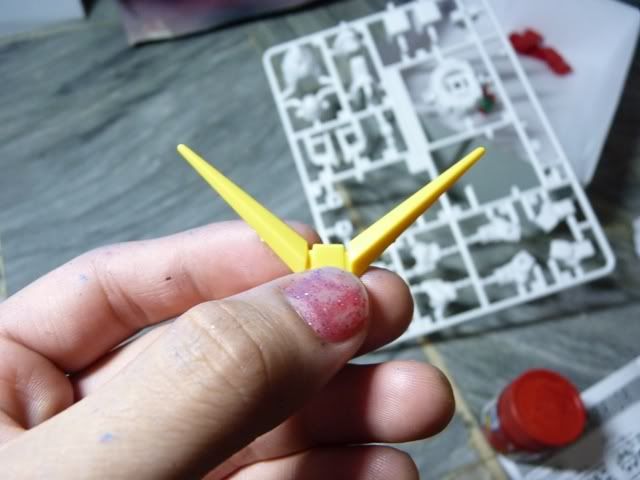
Nitpick: This kit has a white runner. What in the world were they thinking painting this supposedly white v-fin yellow?! (Bandai has this issue too)
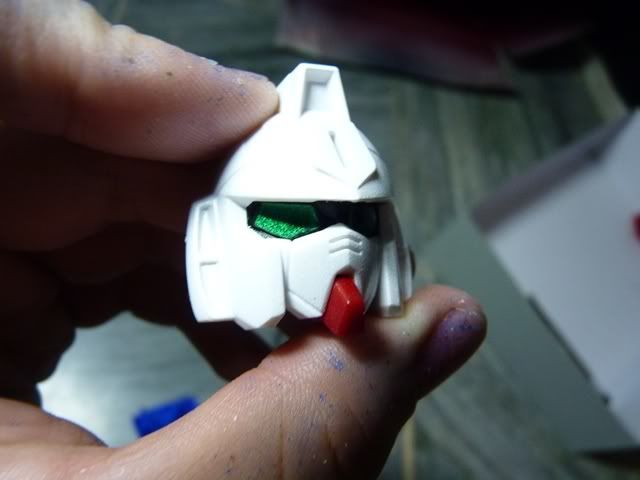
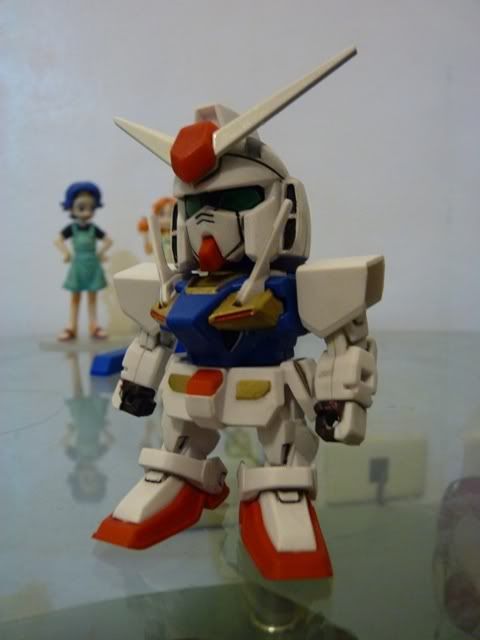
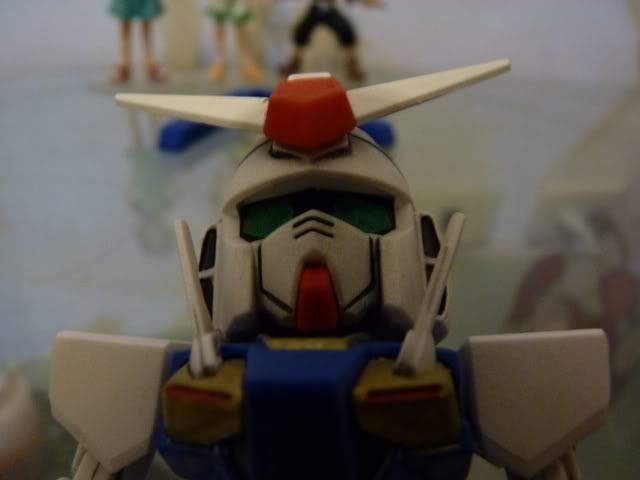
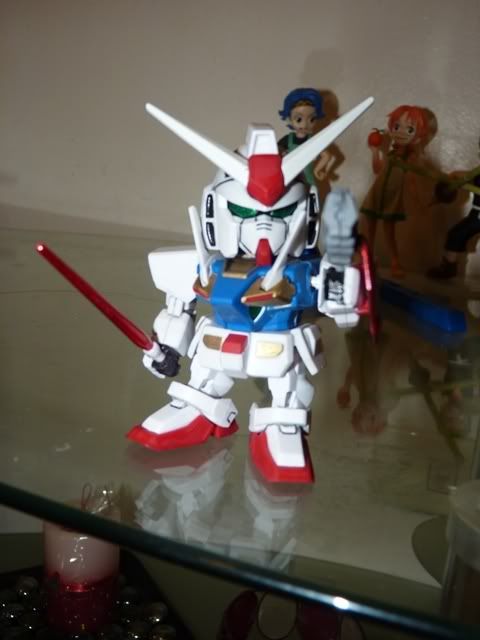
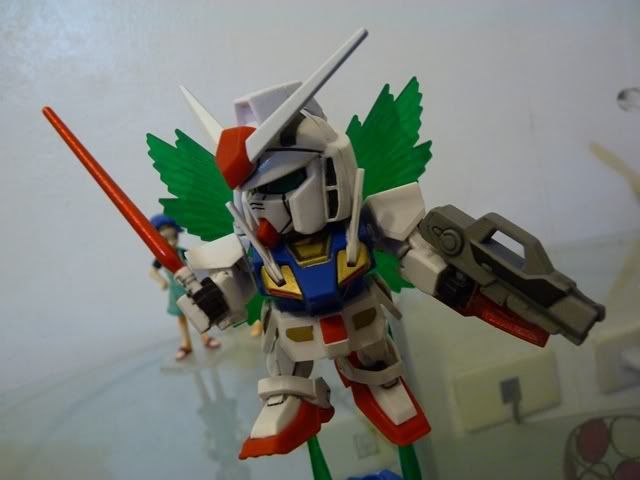
No issues with the head. Stickers are good but I went ahead and painted the eyes with metallic green. Gives the head a more natural look.
Issue 01: The body. Fitting issue was outstanding. It just wont fit. Male connectors are too fat to fit in. Cut the male connectors and apply glue.
As usual I paint the yellow parts gold. See those nipple line? It should be red...
What I did was get something thin - a toothpick or a hobby knife. Dip it in paint and gently damp it in the slim area you want to paint.
Viola!
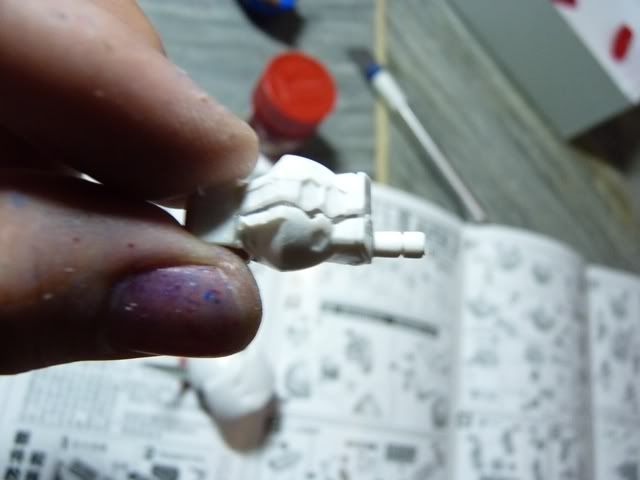
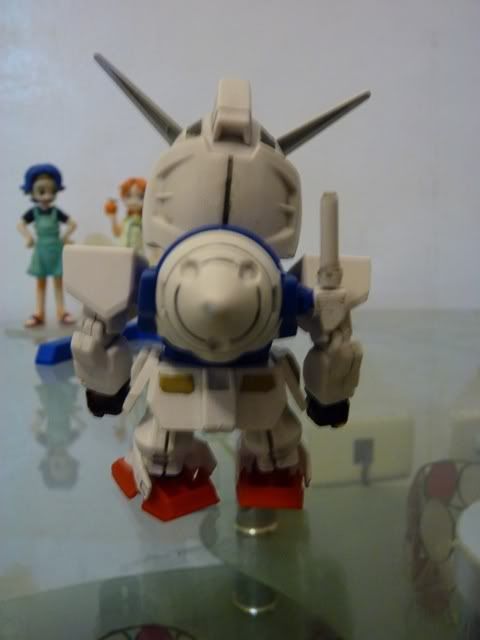
Issue 02: Legs. Fitting issue and when clamped, the back side just leaves an opening. To address the fitting issue, again, cut the male connectors and then glue. Don't know how to fix the open space though...
Here's what I have so far. Painted the skirt's yellow part gold. V-fin was painted white. Took me about an hour with assembly + painting.
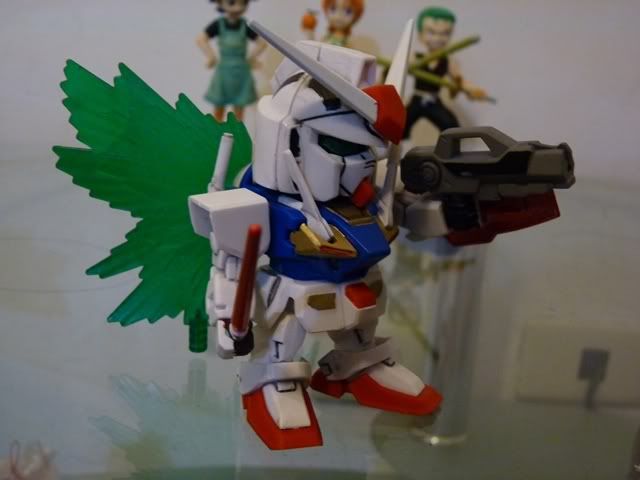
Issue 03: Fitting issue (again). Shave off the peg until you can fit the wings into the GN Drive. Be careful not to shave too much! The green was too light for my liking so I painted it with clear green (Bosny: Yamaha Green).
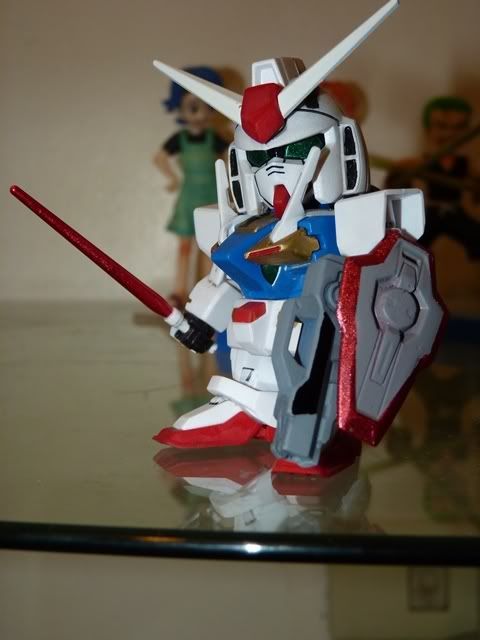
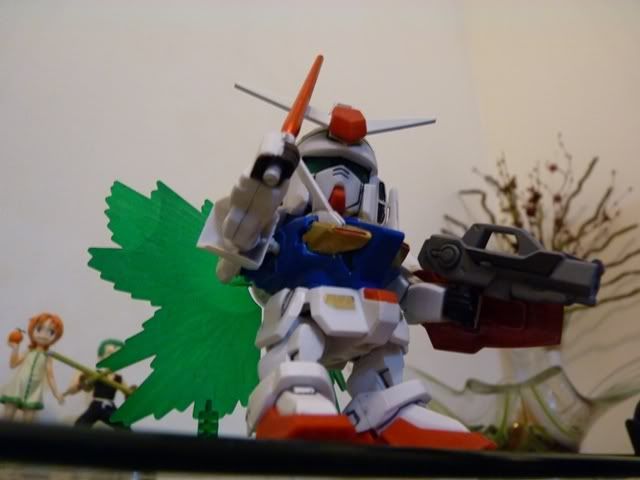
Don't have a grey paint right now. Rifle should have been in 2 shades of grey. What I used was my Primer Gray (lol) and Gundam Marker Black to add a bit of distinction and detail.
Painted the beam blade with red candy recipe.
Here it is before panel lining. Woohoo looking good! (but not quite)
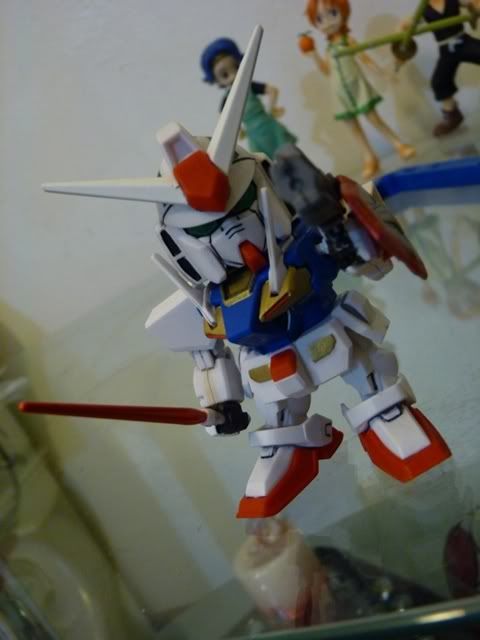
And here it is AFTER panel lining:
I forgot to paint red under his eyes
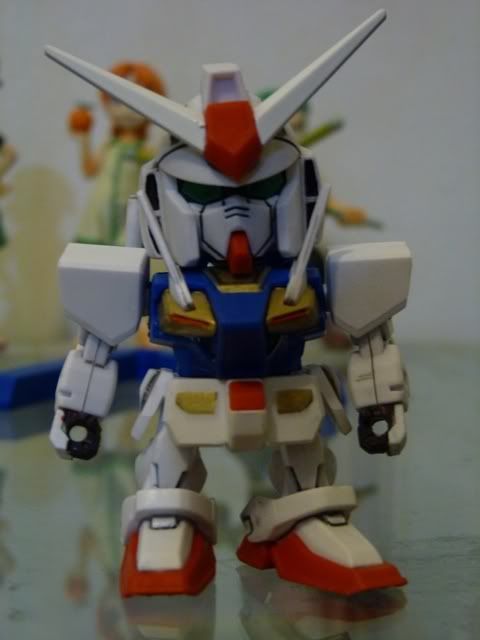
Looks really sharp after washing the panel lines
~Ore wa Gu..... (All of my reviews has THAT quote. Setsuna you bastard. I can't get it out of my head XD). You just hafta say it huh.....
Now with his armaments *CHACHING*
I love his rifle. Simple yet cool :)
Pew pew pew pew pew!!
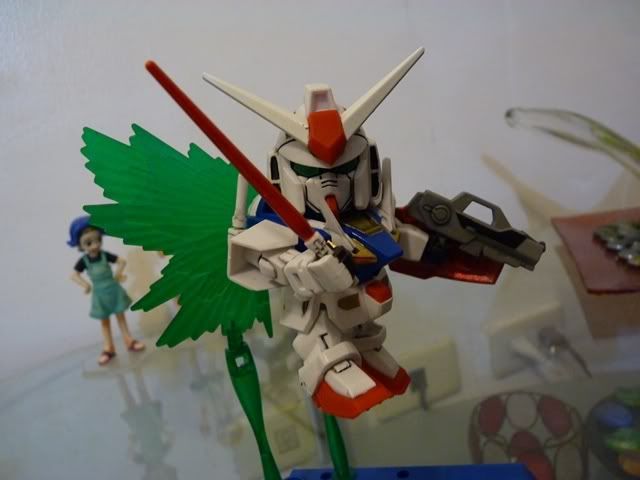
Wings of Light!!
Haaaayaaaa!! SEEEETSUUUNAAAAAA!!!!!! - Reborns
Box Art (COOL)
Zoro VS 0 Gundam!
Pros:
Engineering (props to Bandai) of this SD kit is surprisingly good
Wings of Light
Build is sturdy (passed my shake test and nothing fell off)
Cons:
As with other SD kits, painting is needed to give it a nice bump in the looks department. The sword was all white and is screaming to get painted.
The v-fin was yellow which should be white (same applies to Bandai)
Flimsy plastic as usual
SD's really came a long way. My last SD I assembled was in the '90s. Engineering was superb and the body proportion has improved (SD's before have no knees lol). SD 0 Gundam brought back memories. It was very nostalgic assembling this type of kit but offered something new and refreshing. It looks great and will be looking to add SD Exia Repair II! Probably more SD's in the future!
Comments
Post a Comment