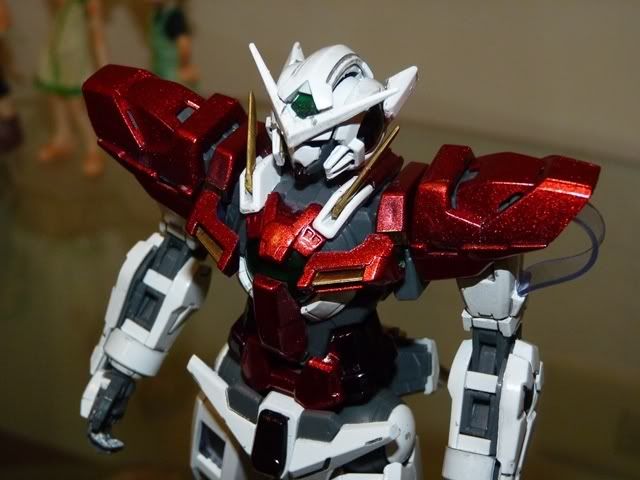
Without further adieu, I present Exia in his full glory!!!


All that's left are minor detailing, assembling his armaments and Exia Repair (REAPER) parts.
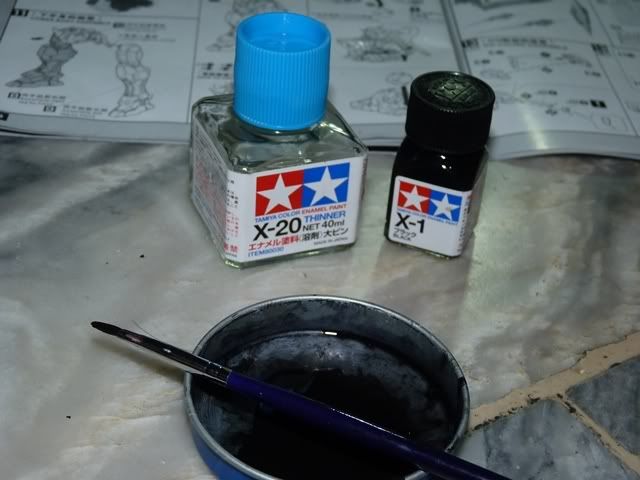
Here's what you need for detailing the panel lines. An enamel thinner and enamel paint. Mix a tiny amount of paint to the thinner in a dish to make its texture "soapy" and thin.
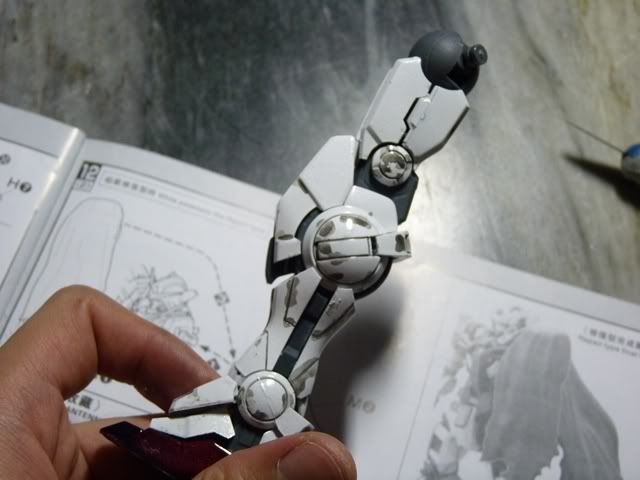
Gently damp the brush into the panel lines and let the paint stream. It should look something like this (but hopefully yours won't be as messy as mine, make sure the brush is not soaked too much in the mixture).
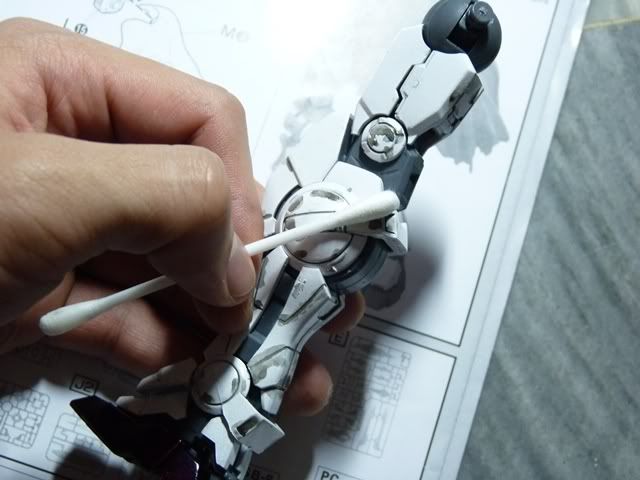
Let the paint sit for about 5-8 minutes. Get a q-tip and wet one side with a thinner. Wipe the excess paint lightly and make sure you won't press too hard so you wouldn't erase the panel lines.
With patience and perseverance, panel lines really gives a nice glow and breathes life into the kits.
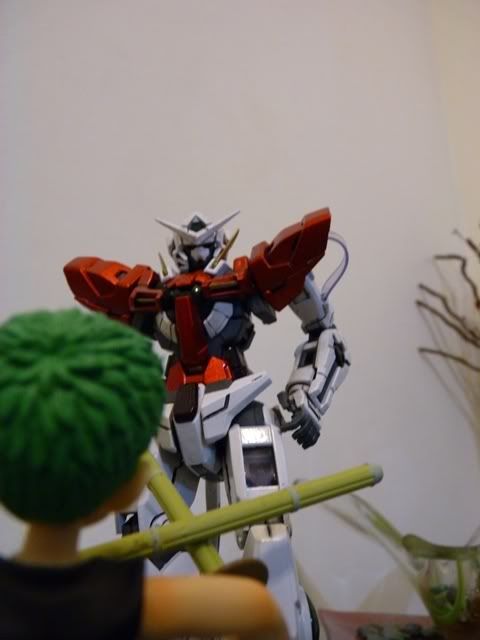
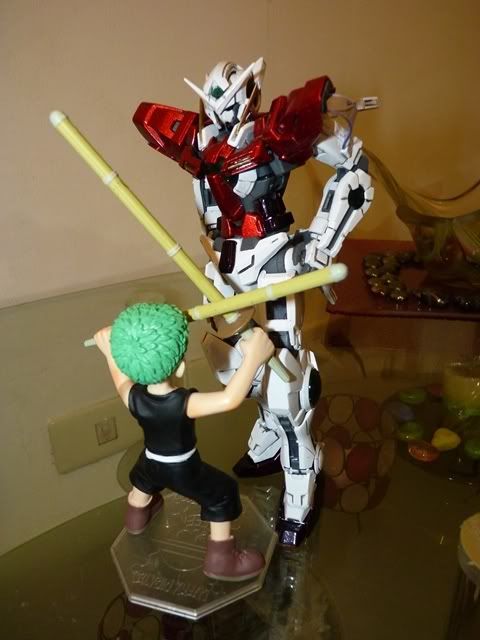
..And with panel lines you are entitled to bully kids on the block >:D
Zoro: Booohooooo ToT
Before getting carried away at taking pictures of my Exia... My innovator sense said - Oh yeah, the armaments!
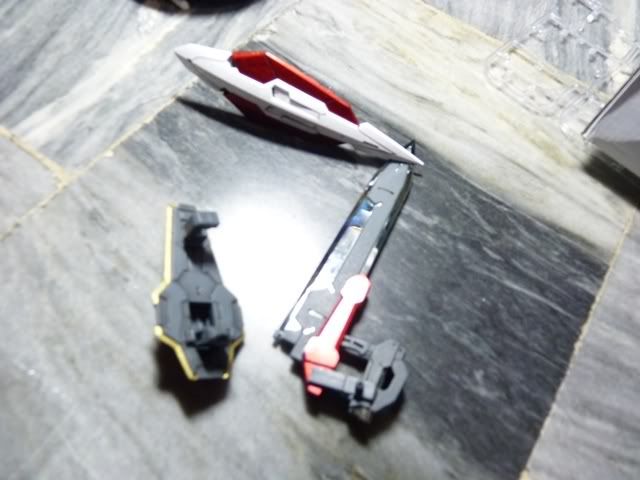
Some of the edges pops off or doesn't stick so glue it. Remember to apply thinly.
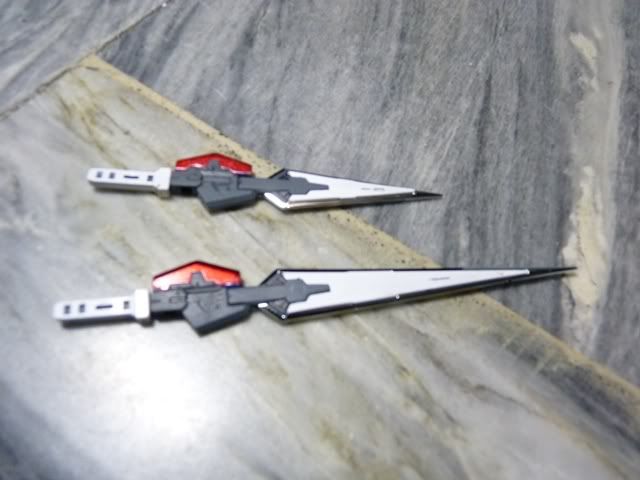
No issues with these swords.
Exia FINISHED!
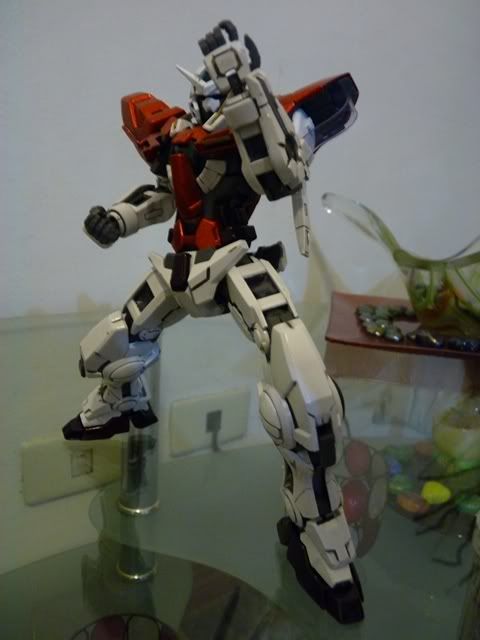
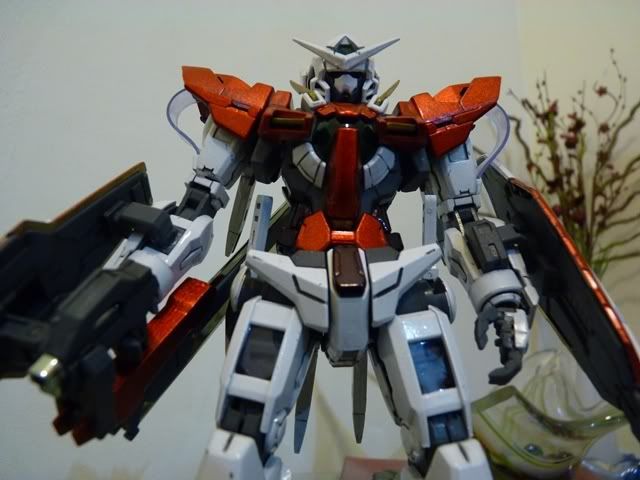
Front
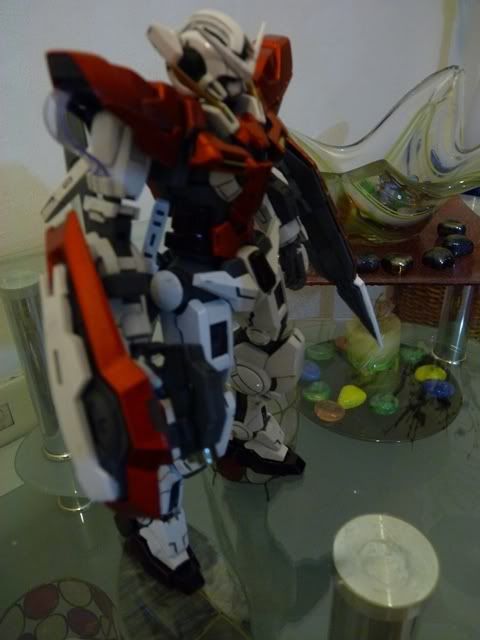
Right (sorry crappy shot)
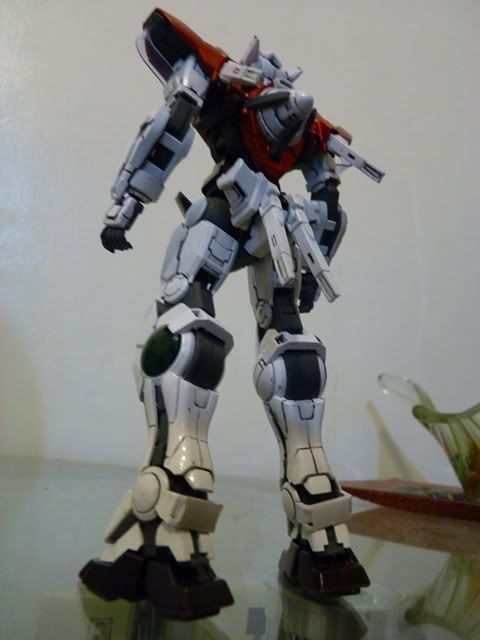
Back
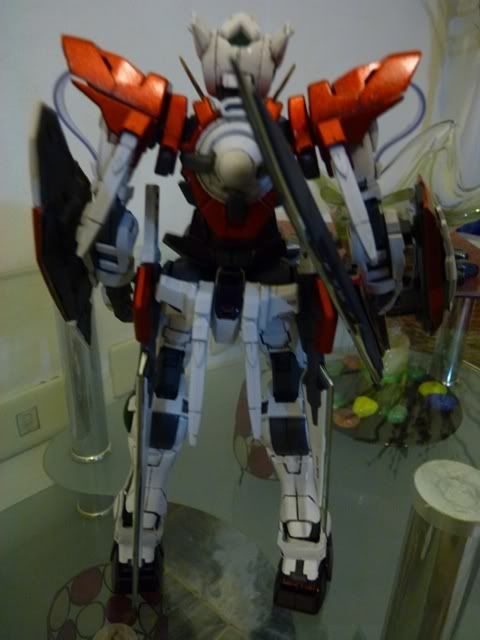
Sexy Back
I did glue a couple of parts here. See those pegs that connects Exia's weapons to his arms? It just won't stick no matter what so yeah, glue!
I won't post the assembly for the Exia repair parts. It was very straight forward and did not have any issues. This concludes my Work In Progress for TT Hongli MG Exia Ignition Mode. Up next is my review of the kit itself so stay tuned :D
Comments
Post a Comment