
TT Hongli MG 1/100 Exia Ignition Mode - WIP 01

So it was payday Friday and I will be working from home. Guess what that means?? Hihi, yeah, woke up early and went to the local shop to find a new haul! Can't stop the itch >.<

Spoils of victory:
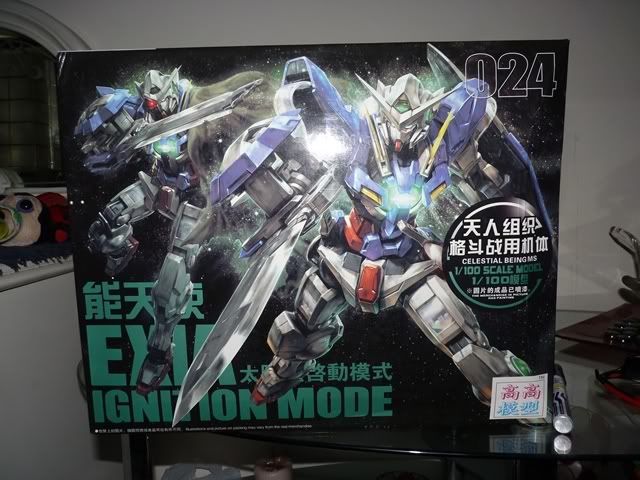
TT Hongli MG 1/100 Exia IGNITION MODE!

Box


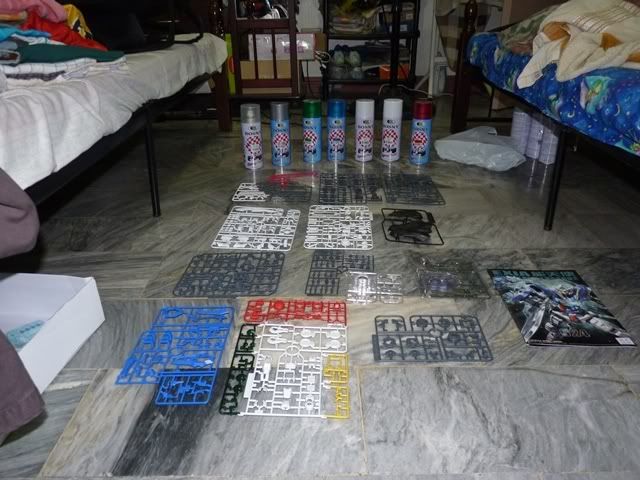
Unboxing! Surprised to see it came with free LEDs. SWEEEEET >:D
I also purchased a bunch of spray cans for this build. (From L>R) Flat Clear Top Coat, Metallic Silver, Yamaha Green (shouldn't have bought this since the orbs are pre-painted clear green), Honda Blue, White x2, Honda Red.


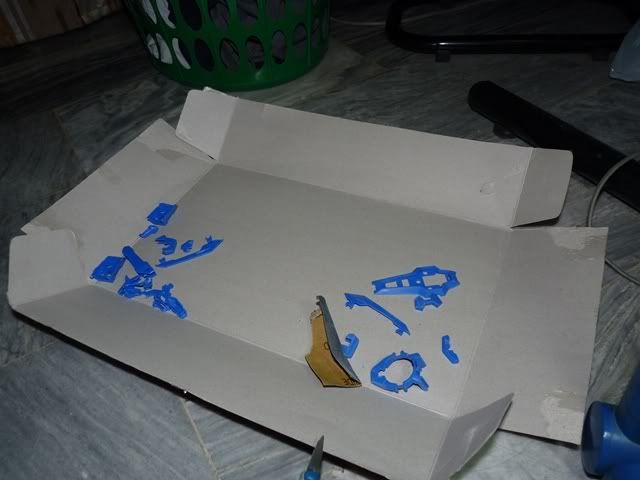
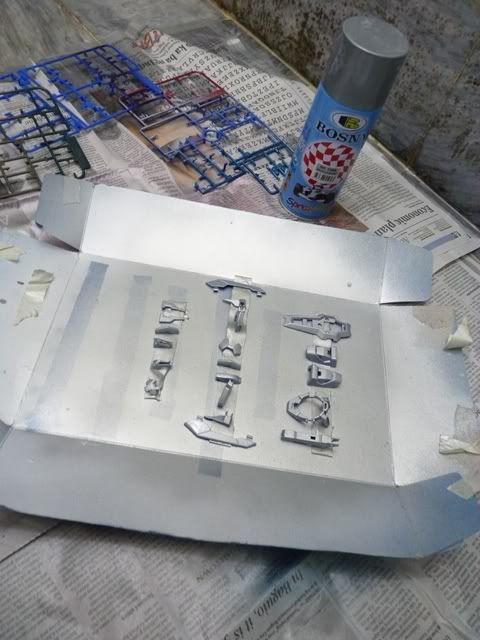
Nub removal and parts separation: Prep for painting


Spray painting: I decided to go with metallic red. I've been eyeing on the TT Hongli MG Sinanju for quite some time and this is my first time experimenting on how to achieve the metallic finish.

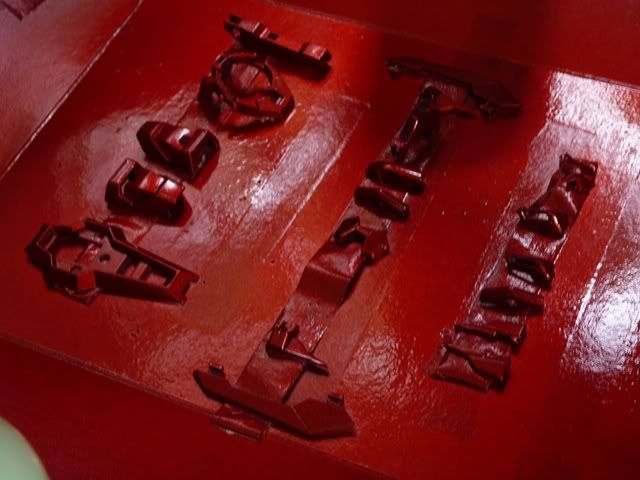
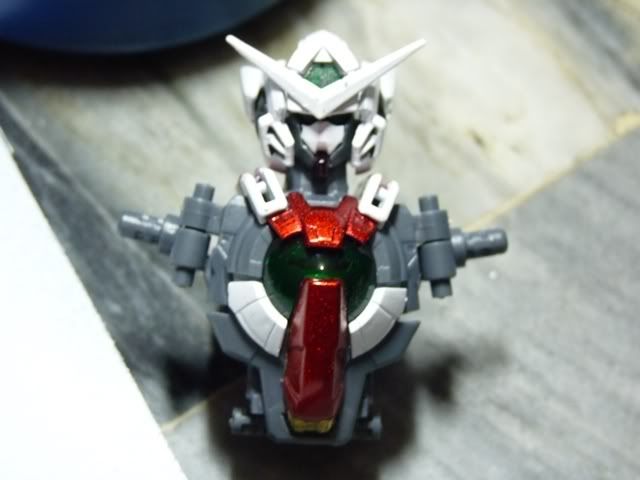
To achieve a metallic finish, spray the Metallic Silver first. Let it sit for about 10mins then spray the Honda Red (Clear Red for Tamiya spray cans).


There you go! An eye-CANDY for sure. Yummy!


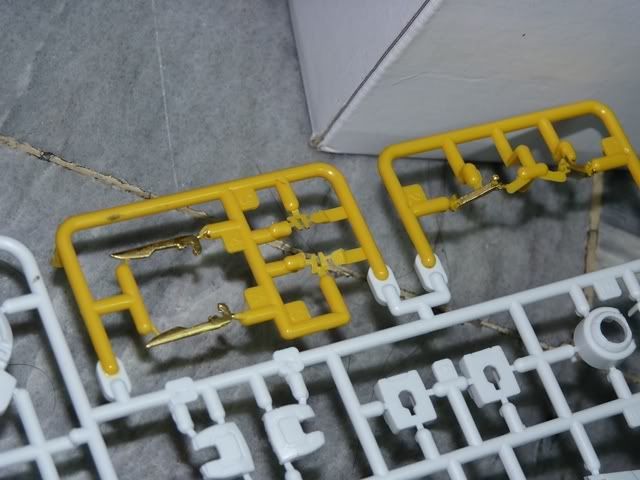
TT Hongli's yellow sucks. I paint every yellow part Gold with a Gundam Marker and achieve a somewhat classy feel to my kits.


Onto the more serious stuff: Aside from my personal enjoyment in sharing my kits and taking pictures of it, I made this blog in hopes to guide the majority of TT Hongli-ers to assemble their kits as smooth as possible. Manufacturing defects are very prominent in bootlegs and you'll encounter fitting issues, loose joints, peg inconsistencies (most gruesome, saw some in others' review of RX-78-2), flimsy plastic etc..

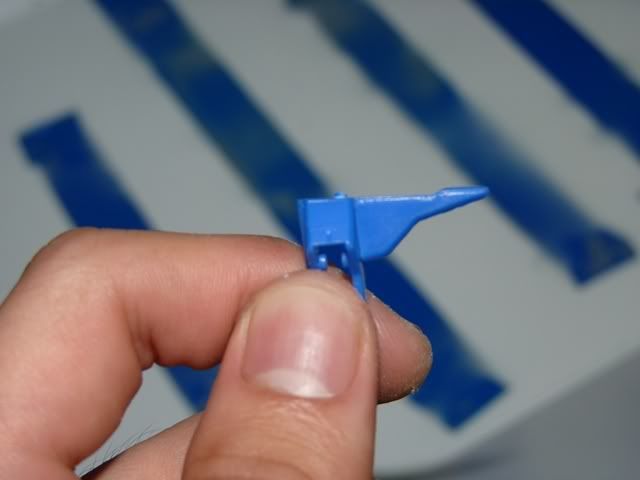
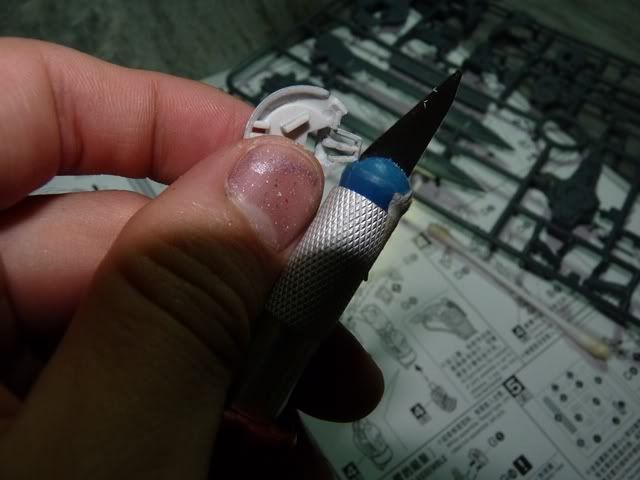
Starting off, with the Exia I.M.'s head, shave of this peg to be able to snap it fully.


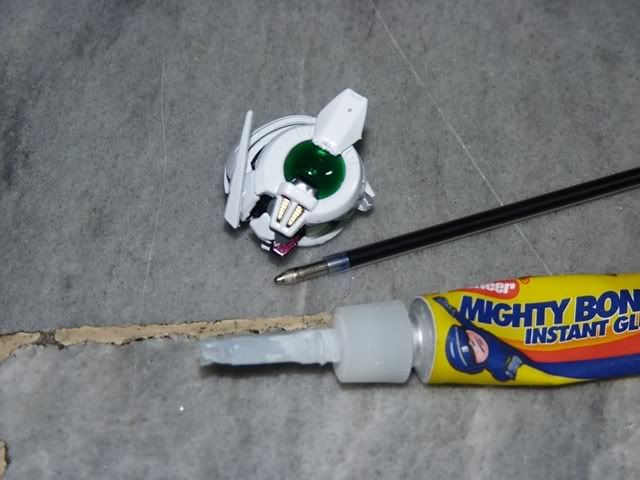
Another must-have when assembling a bootleg is a glue or a cement. Here, I use the ever so trusty Mighty Bond Super Glue. It's one of the best glues for plastic.

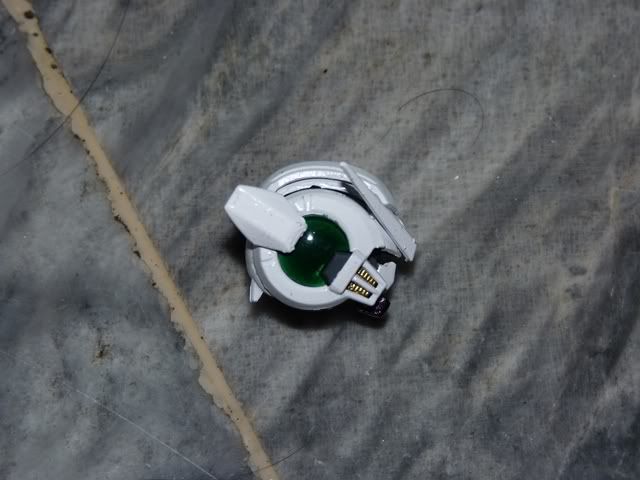
What I did here is glue Exia I.M.'s bunny ears. It keeps on falling off so glue the damn ears! You can use a toothpick (or the tip of a ball pen in my case) to control the ooze of your glue. Apply thinly.


The head especially his side vents IMO really look good


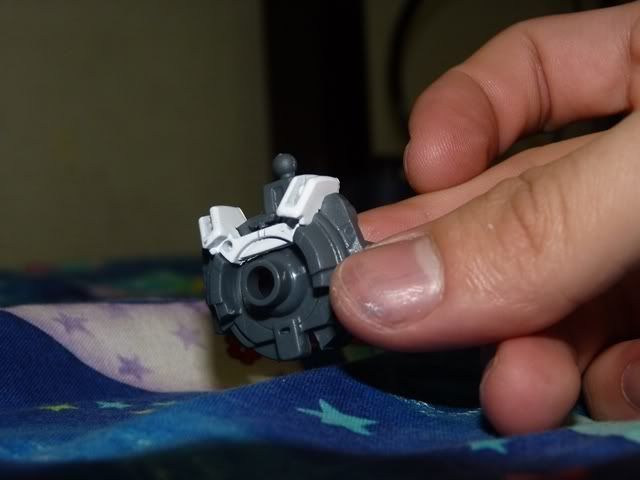
Shave off the male connector of the white part shown with a hobby knife or sand it with a low (rough) grit to thin it. It won't fit as smooth so..


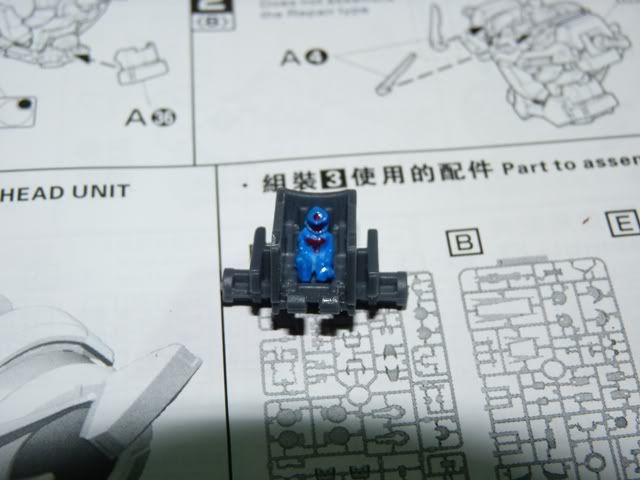
No issue here. Just Setsuna waiting for his Gundam (oh wait, he IS Gundam) Exia to be asembled. Painted it with blue and some minor dash of red for his visor and chest.


Finalizing this WIP, here's what I have finished for today


The kit really is sturdy and solid compared to TT Hongli HG's I've had in the past. I've had no issues fitting the inner frame and hopefully assembly will be as smooth as silk from hereon (but I highly doubt that lol). Wrapping things up, I really feel this knock off Exia I.M. is pretty fun to build as I have NOT encountered major issues so far.

Comments

  1. cool!

    thanks to this post, my mind is now rest assured about buying this kit on my next pay day :D

    ReplyDelete

Post a Comment

Popular posts from this blog

QY SD Shining Gundam - Mini WIP, Assembly Cure and Review

It has been a while since the last time I blogged. Reality bites and I have to focus on the "more important things in life." Work, girlfriend, and of course going outdoors - a much needed "distraction" to regain my appetite for GunPla. In all honesty my interest has gone downhill and the promised TT Hongli MG Sinanju is nothing more of a plan than a work-to-be-done. There will always be the GunPla itch so I picked this teeneeweenee SD that caught my eye. Welcome to the club, Shining Gundam!! To start off, the box. Runners - 5 in total along with the polycaps Issue 01: See the yellow fin attached to the head? Don't force to plug it in. You'll only damage the plastic. Shave off the little opening to fully accommodate the fin. Repeat it on the other side. Issue 02: The usual suspect in QY kits. What I did was shave the male connectors with my hobby knife. Head done! Notice I used the foil stickers. It's not that I was too lazy to paint the eyes, b...

Bandai SD Zeta Karaba Assault - WIP 01

Coming from a competition really fired my GN Drives up! I am now onto my 1st WIP of 2012, SD Zeta! This 2-pack kit was actually bought before I even knew about the GFP competition. But G-SHOT and the 1/144 Challenge came along and the fun and excitement was too hard to pass up! I initially thought of doing Zeta in its accurate colors. Watching Gundam AGE really blew me and I fell in love with white MS's particularly seeing how the G-EXES pawns the UE. Right then and there I decided to try something different, something that I've never tried before (well, sort of). BTW, if you've never encountered the Zeta Karaba Assault it sorta looks like this ~ It is a limited edition color scheme of the MG Zeta V2. The Karaba Assault was piloted by the White Unicorn AKA Amuro Ray. (Photo above is NOT mine. Thank you GundamPH for the reference. Visit his site too. There are a lot of GunPla, mech, and other anime-related cool stuff there to see) Upon straight building this dude, I ...

Bandai RG RX-78-2 Gundam - WIP 01 *and More (Troll Face)

November has been GunPla month for me. Everything is going smooth and I have been progressing faster than expected lately. It's funny because I'm a little busy-er compared to when I was WIPing my Exia Ignition Mode, but anyway here's what I've done so far: Notice that the feet has 3 points of articulation. MG-ish and this is expected since the Zaku II Char is the same Legs gimmick - sliding armor is a win for me :) Color separation of the 'V' in the skirt is awesome. I remember painting that teenee-weenee part on the Ver30thG Body and booster's color separation (ahh yes the different shades) is an eye opener. This is why I fell in love with the RG line <3 The RG Zaku II Char took me more than 2 months to complete the kit and about 2 weeks to slap in the waterslide decals. Here, it has only been 4 days and I'm almost done with the kit's assembly. Ahhh, can't wait to photo Amuro and Char together (no homo!). I guess the excitement e...