
TT Hongli HG 1/144 Throne Eins - WIP 03

Down to business. I'm in a rush! Playing Witcher 2 yah know! Let's get started!

Feet have no issues. Oh, and the feet has an inner skeleton structure which is pretty neat :)


Feet complete


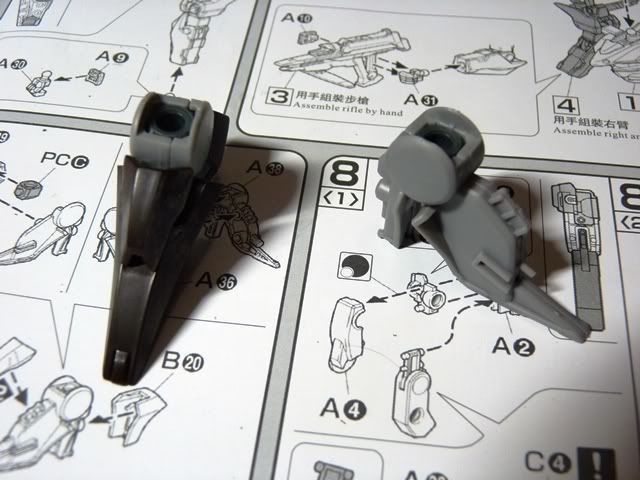
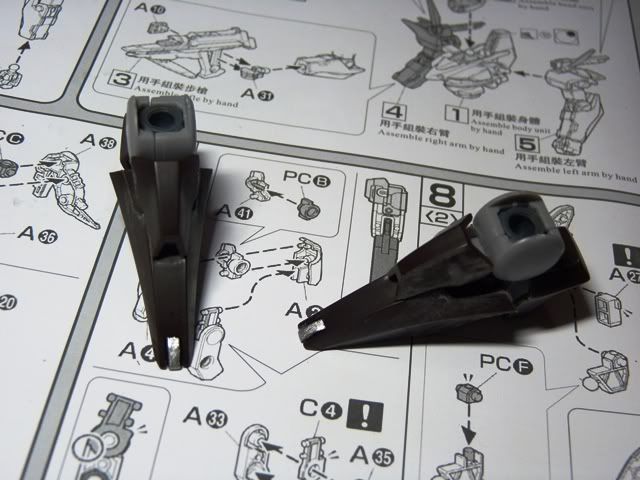
Crab legs too have no issues. Aaahhh yes the luxury of having no issues with bootlegs. Cool~


Putting them together


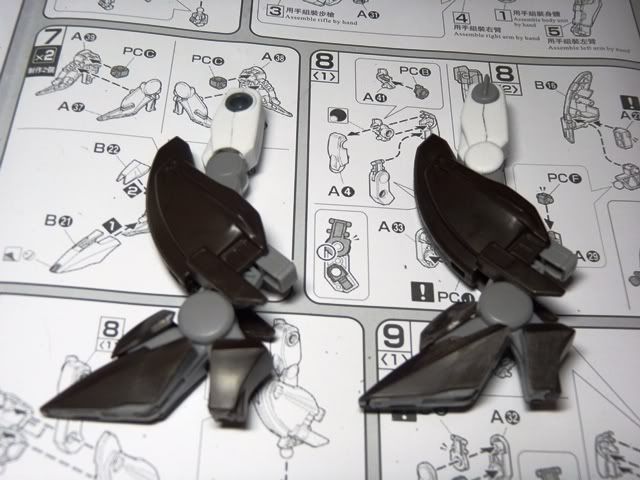
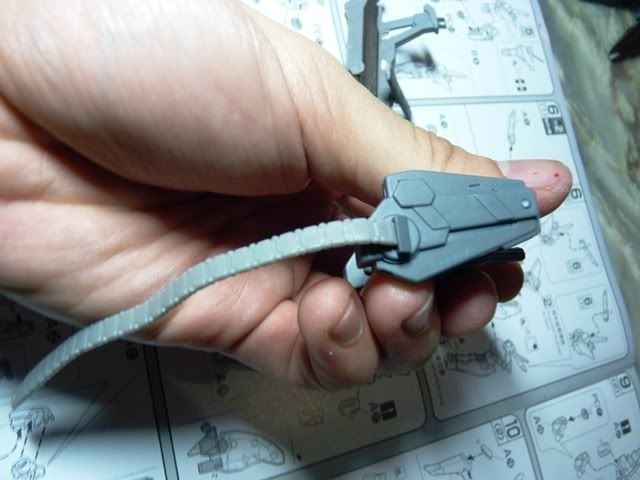
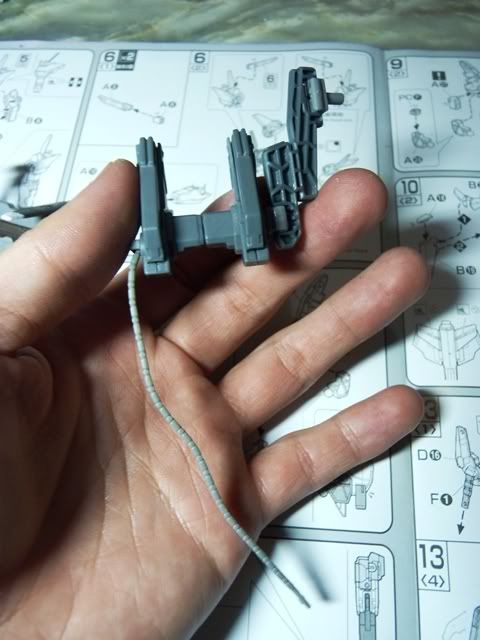
Weapons, again, don't need any cures so...


...Cha-ching! Done swiftly :)


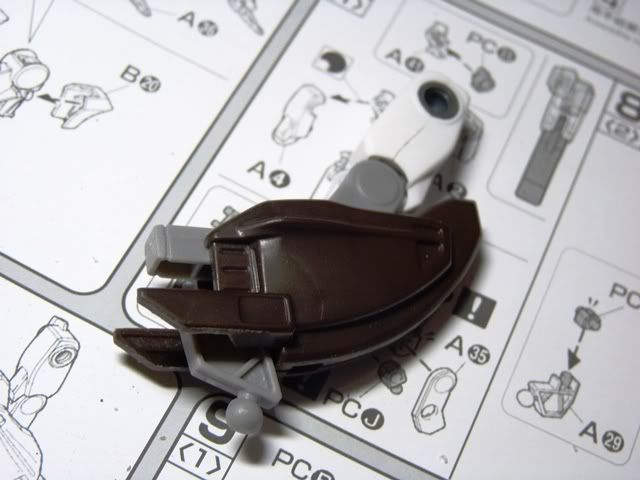
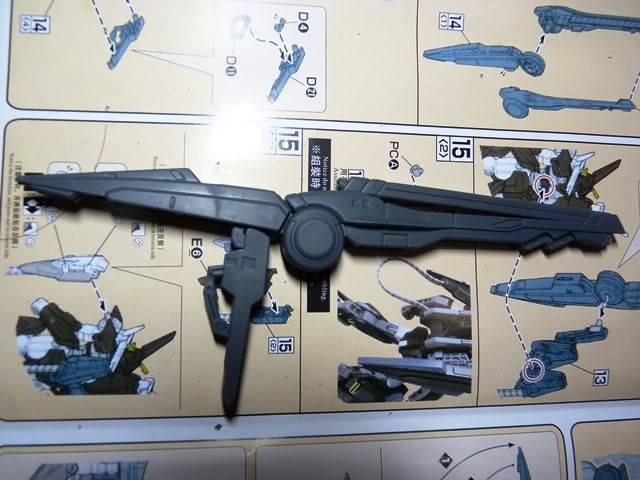
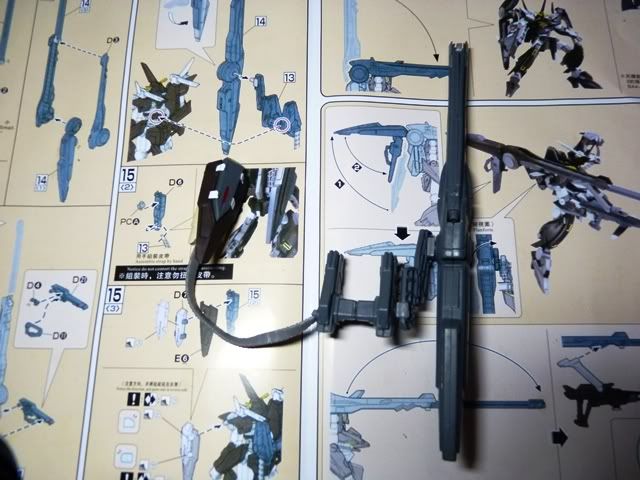
Touch-ups applied on the shield to give a little bit of detail and contrast. I love how the ammo looks but I should have painted it metallic silver. Oh well... :p


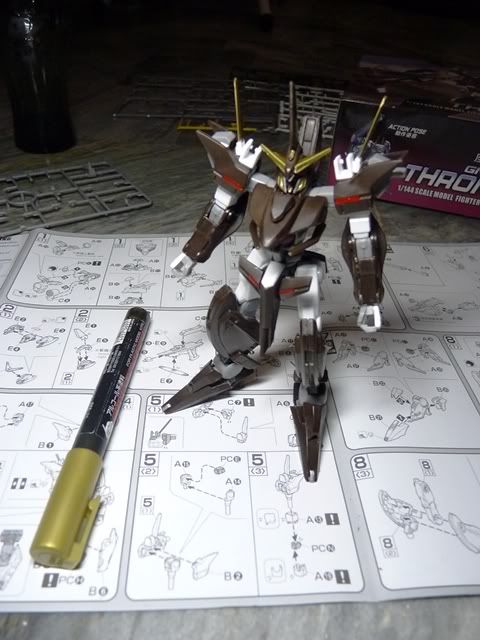
Putting them all together and we have Eins!!!


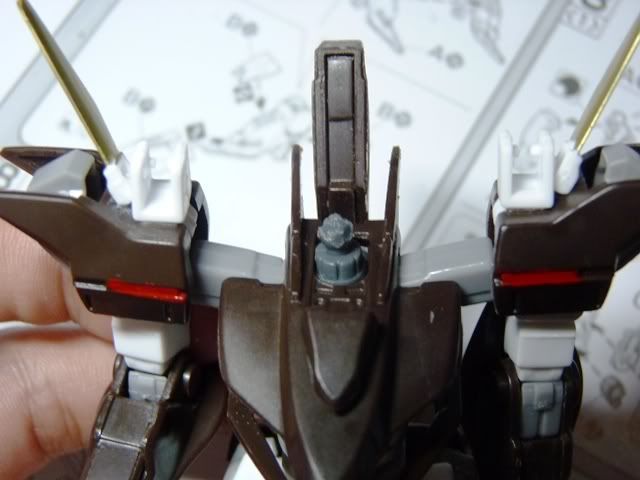
Fiddling with it around a bit, I noticed that the head likes to pop off. Fixing that we have -
Issue 02: Shave the ball joint that connects the head to the neck. Careful not to shave too much!


Whew. Two minor cures and that's that! Awesome! All that's left are panel lines and top coating so check out the review afterwards :)
Cheers!

Comments

Popular posts from this blog

QY SD Shining Gundam - Mini WIP, Assembly Cure and Review

It has been a while since the last time I blogged. Reality bites and I have to focus on the "more important things in life." Work, girlfriend, and of course going outdoors - a much needed "distraction" to regain my appetite for GunPla. In all honesty my interest has gone downhill and the promised TT Hongli MG Sinanju is nothing more of a plan than a work-to-be-done. There will always be the GunPla itch so I picked this teeneeweenee SD that caught my eye. Welcome to the club, Shining Gundam!! To start off, the box. Runners - 5 in total along with the polycaps Issue 01: See the yellow fin attached to the head? Don't force to plug it in. You'll only damage the plastic. Shave off the little opening to fully accommodate the fin. Repeat it on the other side. Issue 02: The usual suspect in QY kits. What I did was shave the male connectors with my hobby knife. Head done! Notice I used the foil stickers. It's not that I was too lazy to paint the eyes, b...

Bandai SD Zeta Karaba Assault - WIP 01

Coming from a competition really fired my GN Drives up! I am now onto my 1st WIP of 2012, SD Zeta! This 2-pack kit was actually bought before I even knew about the GFP competition. But G-SHOT and the 1/144 Challenge came along and the fun and excitement was too hard to pass up! I initially thought of doing Zeta in its accurate colors. Watching Gundam AGE really blew me and I fell in love with white MS's particularly seeing how the G-EXES pawns the UE. Right then and there I decided to try something different, something that I've never tried before (well, sort of). BTW, if you've never encountered the Zeta Karaba Assault it sorta looks like this ~ It is a limited edition color scheme of the MG Zeta V2. The Karaba Assault was piloted by the White Unicorn AKA Amuro Ray. (Photo above is NOT mine. Thank you GundamPH for the reference. Visit his site too. There are a lot of GunPla, mech, and other anime-related cool stuff there to see) Upon straight building this dude, I ...

Bandai RG RX-78-2 Gundam - WIP 01 *and More (Troll Face)

November has been GunPla month for me. Everything is going smooth and I have been progressing faster than expected lately. It's funny because I'm a little busy-er compared to when I was WIPing my Exia Ignition Mode, but anyway here's what I've done so far: Notice that the feet has 3 points of articulation. MG-ish and this is expected since the Zaku II Char is the same Legs gimmick - sliding armor is a win for me :) Color separation of the 'V' in the skirt is awesome. I remember painting that teenee-weenee part on the Ver30thG Body and booster's color separation (ahh yes the different shades) is an eye opener. This is why I fell in love with the RG line <3 The RG Zaku II Char took me more than 2 months to complete the kit and about 2 weeks to slap in the waterslide decals. Here, it has only been 4 days and I'm almost done with the kit's assembly. Ahhh, can't wait to photo Amuro and Char together (no homo!). I guess the excitement e...