Heads up for the readers: I've sold my devastated HG RX-78-2 30th Ed. BUT I pre-ordered my RG RX-78-2 and RG Char Zaku II (WOOOOT!!!). I hope the 2-3 week waiting could amp my GunPla blood which is on a frenzy lately. I just can't find the kick to put my usual effort into my works :(
I remember my Hi-Nu Gundoom which I put a lot of heart into. Then there's the Exia Ignition Mode which I spent generous amount of my time painting and detailing the dude (which is, by the way, also sold..... WTF was I thinking.... more on this next time T_T)
To put it simply, I can't find the time into GunPla anymore :(
Not that I will leave GunPla, it's just not one of my top priorities right now. I've decided to halt my MG plans for a while and focus on the cheaper but cool 1/144 kits which require less effort than the Master Grades.
I just know deep inside me when I find the passion (and money) to purchase at least one of my MG wishlist - Sinanju, Unicorn, EW's, and Epyon - would bring back my hunger and thirst for more GunPla challenge.
Rambling aside, here's the surprisingly awesome kit WIP part II: Throne Eins
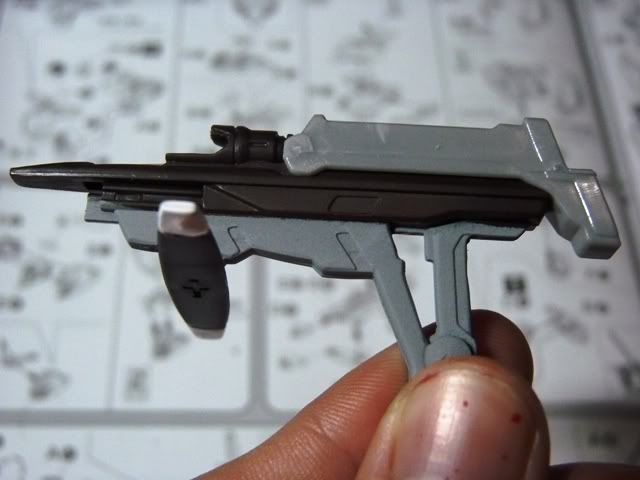
Gun assembly was a breeze and didn't find any issue here
Notice I've painted a couple of parts here. The lower part was spray painted gray and those white touch ups were hand brushed
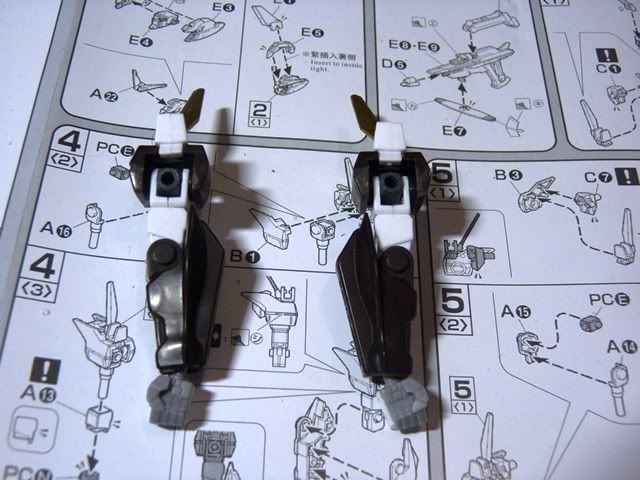
Arms were also great and no assembly cures are required
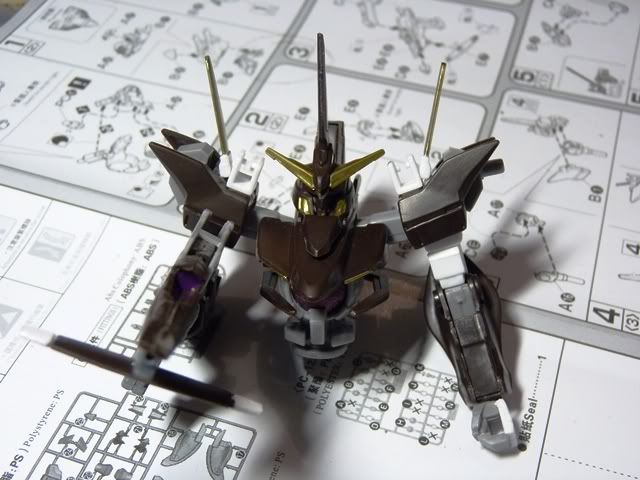
Putting all the finished parts
Aaaaaand..... That's about it for now :p
Yeah, I've spent a mere 30 mins for this day to finish those. Assembling this kit is a treat since I only had one assembly cure so far. The rest was a breeze and it snaps and fits pretty nicely. I wish I was a bit faster though, but anyways, at least I am making progress.
Comments
Post a Comment