Summing up my Throne Eins WIP, here's the review of the kit :)
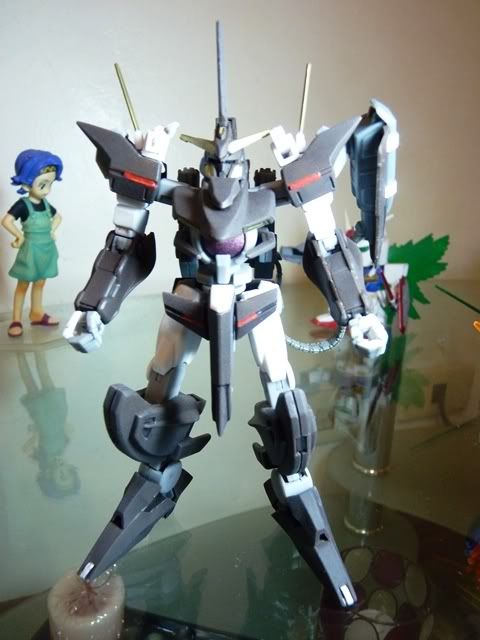
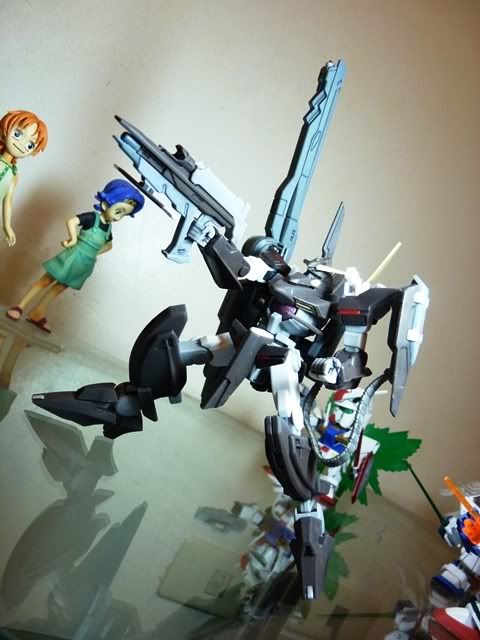
Front view
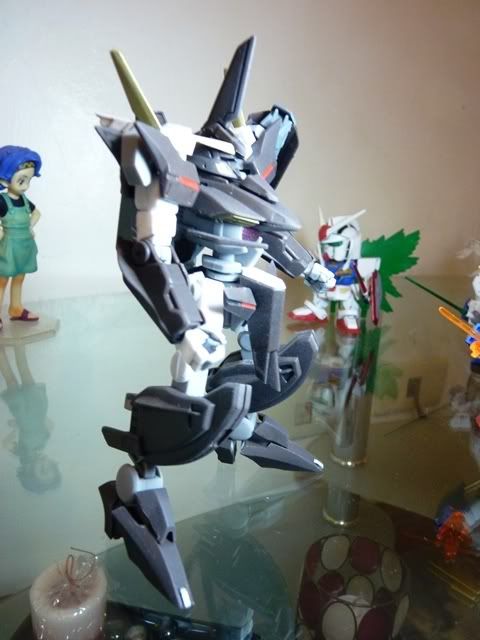
Side
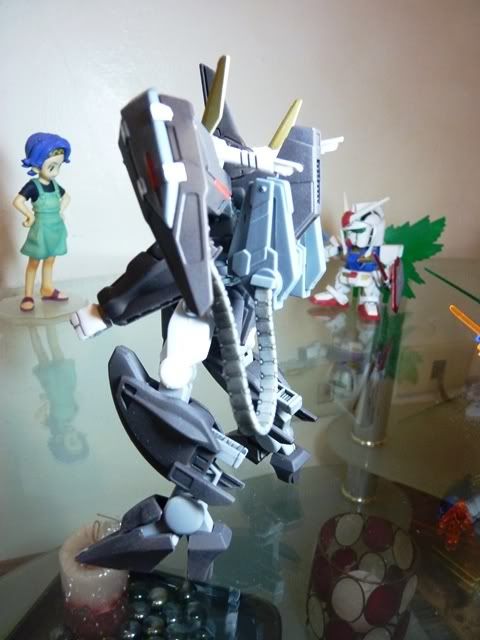
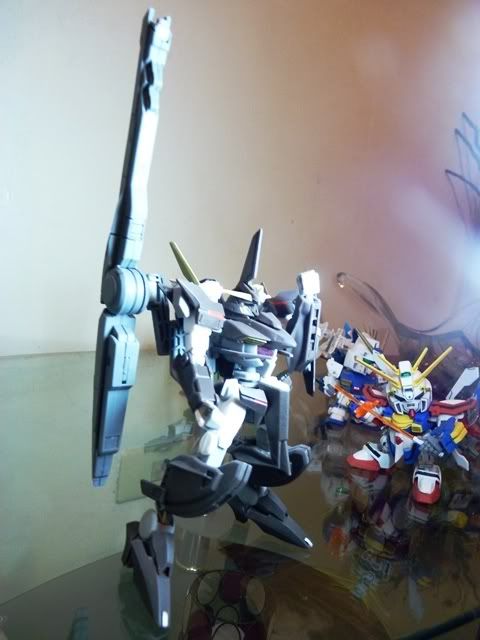
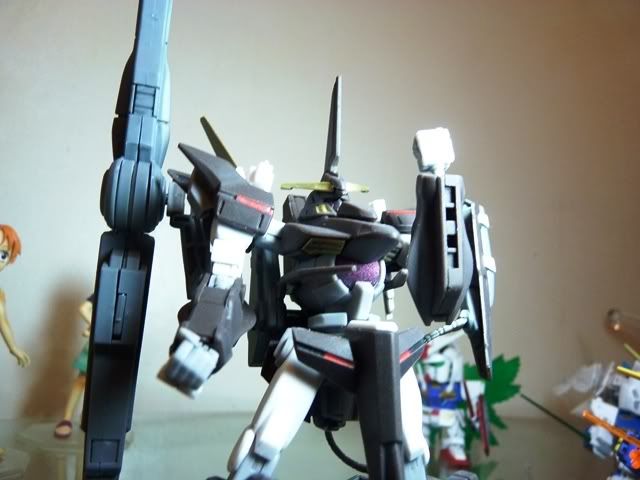
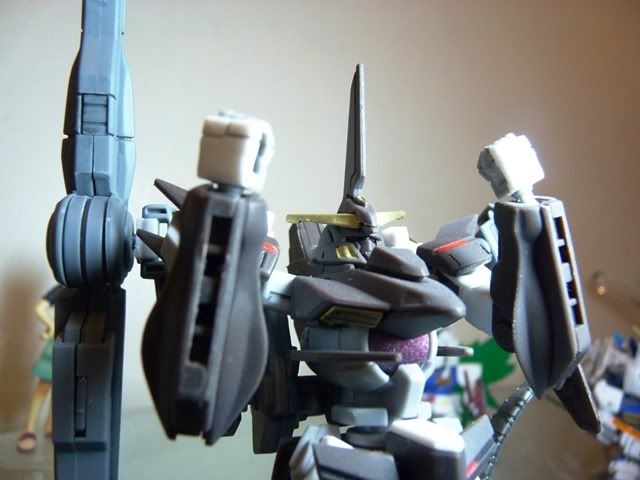
Back
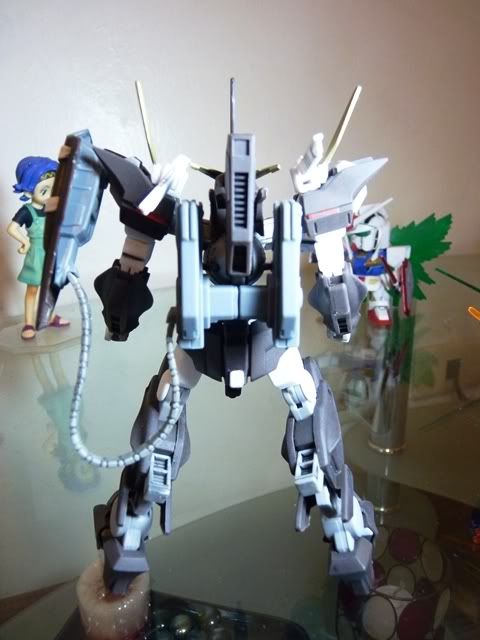
With his backpack beam weapon. Humongous beam rifle you got there Eins!
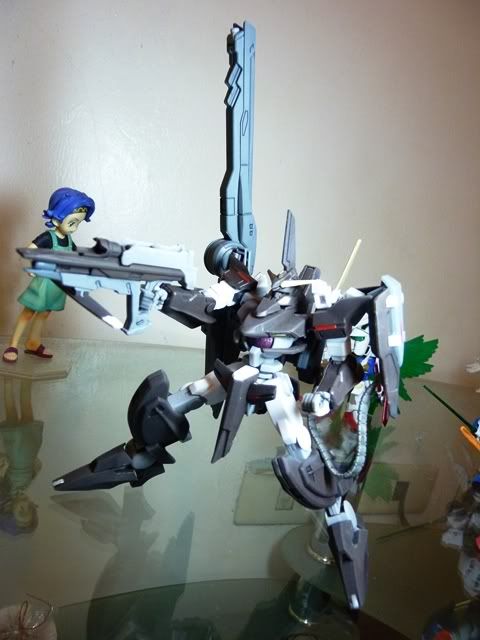
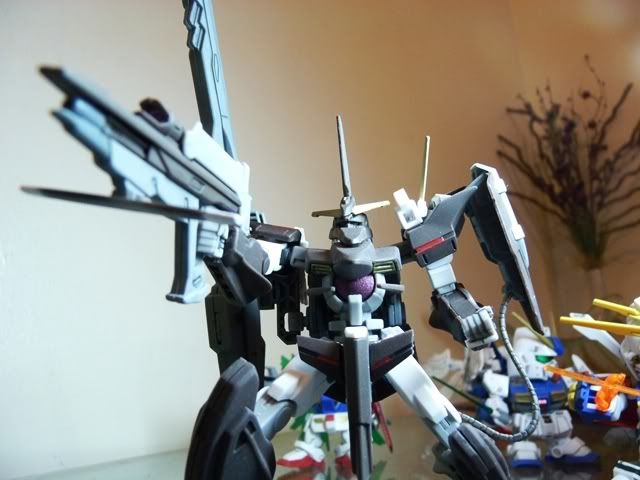
Few silly poses. Can't get much emotion with this Throne Eins because his only pair of hands are the closed fists. He's mad >:(
Now he's really REALLY MAD D:<
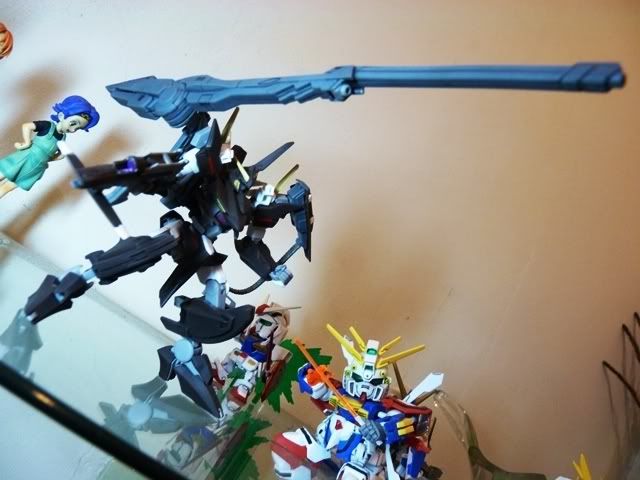
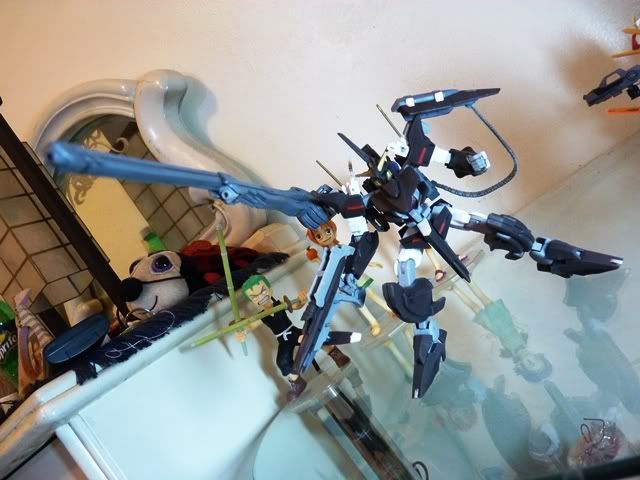
Crossbow!!
Can't get much articulation / poses out of this guy
Box art and his coolest pose! Setsuna shineeeeeeeee!!!!!!!!!
Ali Al-Saachez. Throne Eins. Exia exterminated. >:D
Pros:
An almost perfect build for a bootleg. Hmm, come to think of it, I give the assembly a perfect 10/10!
Sturdy. No falling parts.
Gigantic mega particle beam looks badass!
Cons:
Can't get much posing
Articulation is limited due to design (Probably my nitpick and got too used with the newer models)
I never thought I'd enjoy this much into building a non-preference kit. The design was "meh" at first but as I proceed in building Eins, I slowly appreciated his alien-ish design. If there was a European car counterpart in terms of design in the Gundam-verse, this is it! Haha! This is a must get since I had 2 minor (micro :p) assembly cures and can be done in no more than 5 mins! The build was perfect and I breezed along the body, arms, and legs. Get it while supplies last since this is one of the rarest kit that TT Hongli produced.
Comments
Post a Comment