Ahh, yes, the promised "from time to time" review of legit kits. And yes, please do. Support the original maker! Supporting Bandai would definitely increase our chances of getting more kits in the market. That being said, I can't keep purchasing legit. As much as I want to, budget and lifestyle gets in the way of buying legit vs bootleg. Dropping premium cash on legit kits is just not feasible for my means of living :(
Anyway, quite happy that I could snag this baby on sale. Now THAT is an insta-buy for me! We all know Bandai have NO manufacturing defects so this will be a straight review. If I see a need to take note on some assembly guide I would post, but meh, this IS BANDAI :D


Anyway, quite happy that I could snag this baby on sale. Now THAT is an insta-buy for me! We all know Bandai have NO manufacturing defects so this will be a straight review. If I see a need to take note on some assembly guide I would post, but meh, this IS BANDAI :D
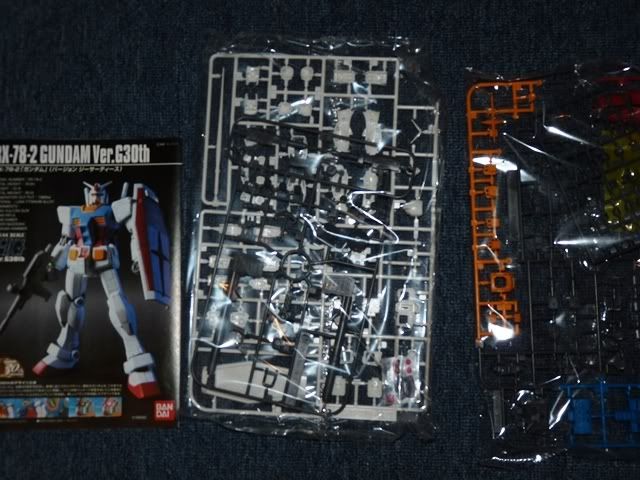
First stop, Box
Runners and manual
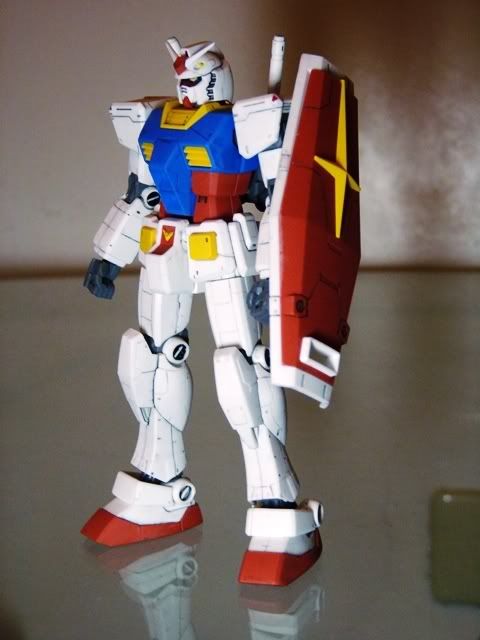
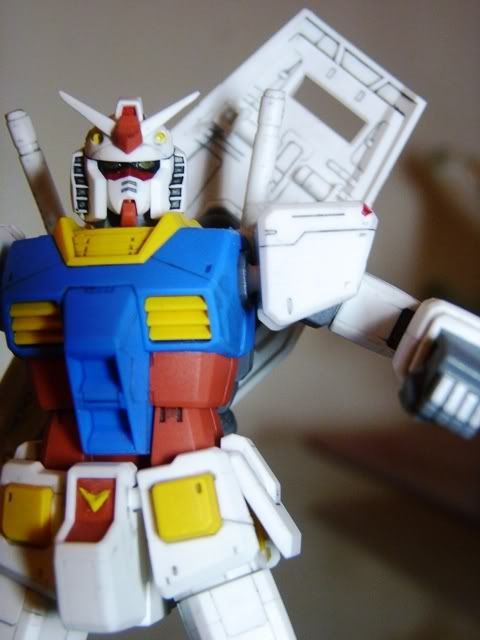
With that out of the way, assembling Gundam gramps was a breeze (though panel lining this kit was hell!)
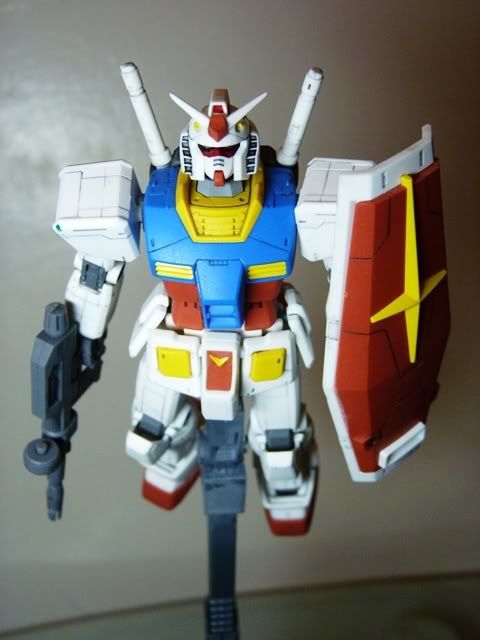
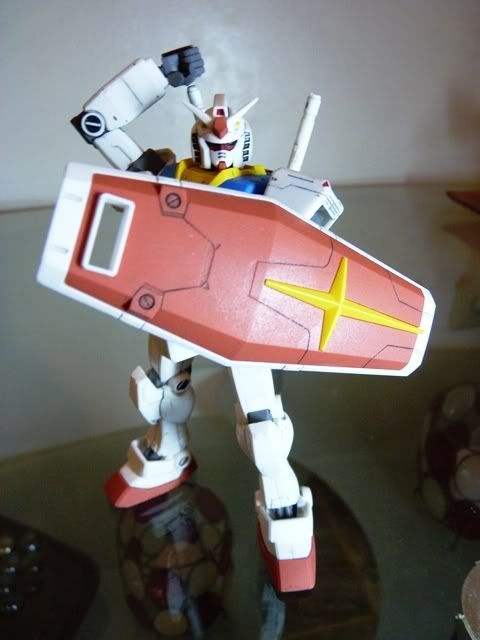
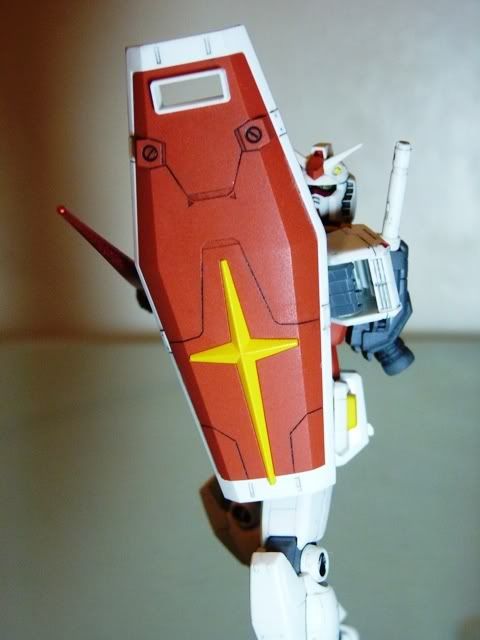
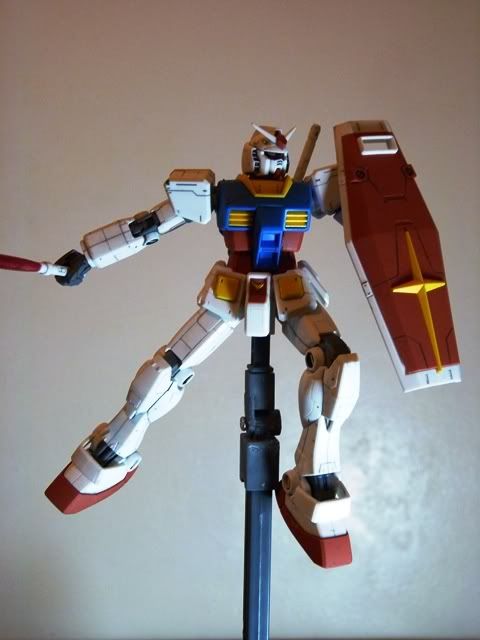
You might say, "Heyy the shield is upside down dumbass! Newb!". Placement was intentional. I was inspired with the Gundam Origin ver since he holds the shield the "right" way - realistically speaking.
Simplicity - where less is more. Pretty darn sexy IMO :)
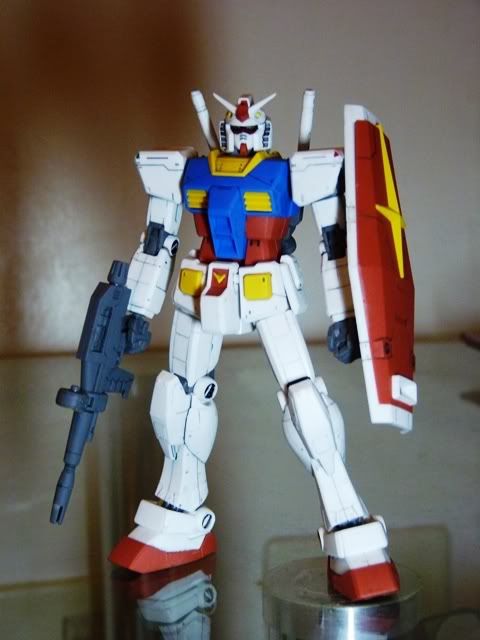
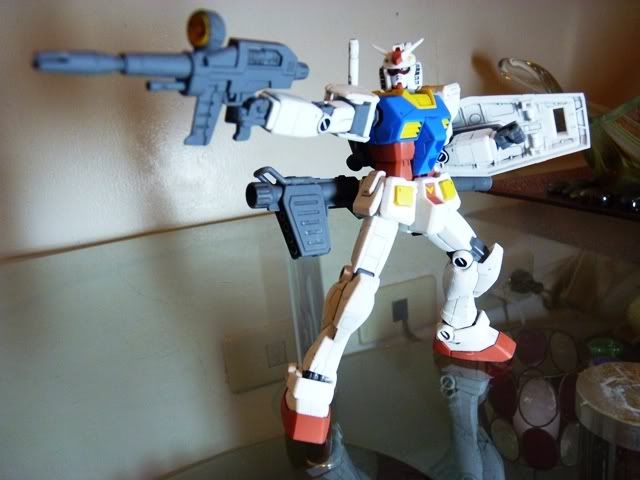
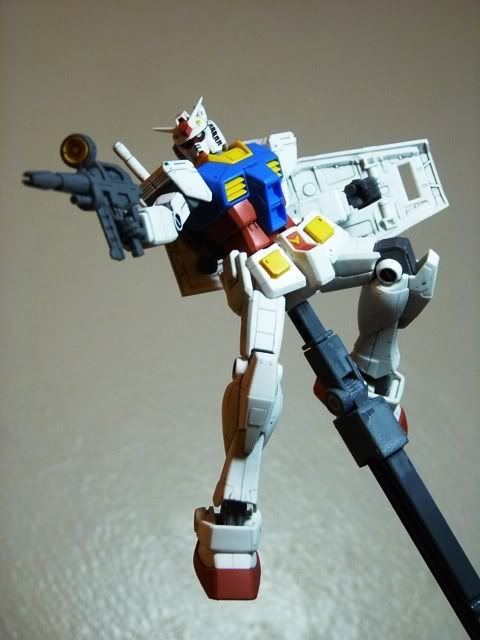
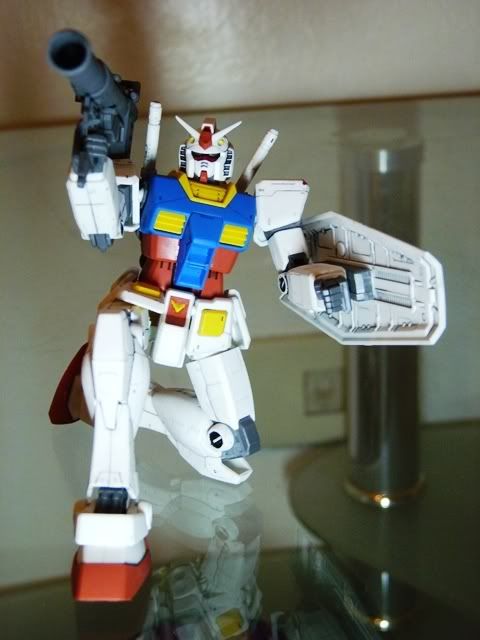
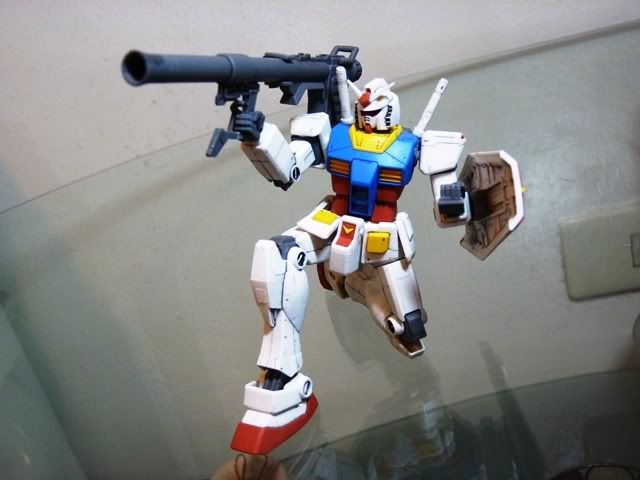
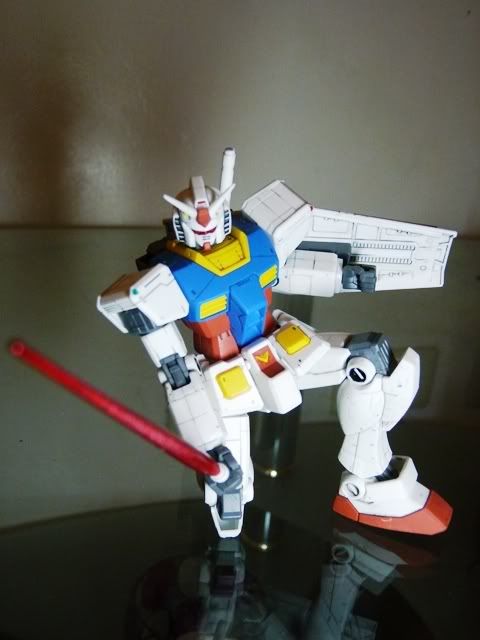
Stand pose with his rifle
DIEEEE!! Pew pew pew pew!!!
Some poses i got from the manual
Fly Gundam fly!
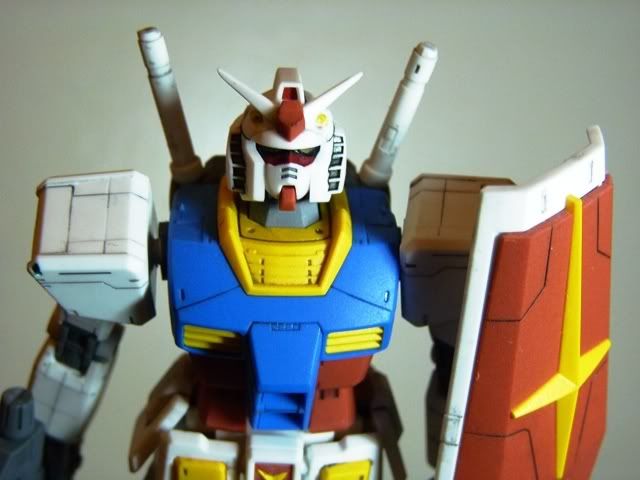
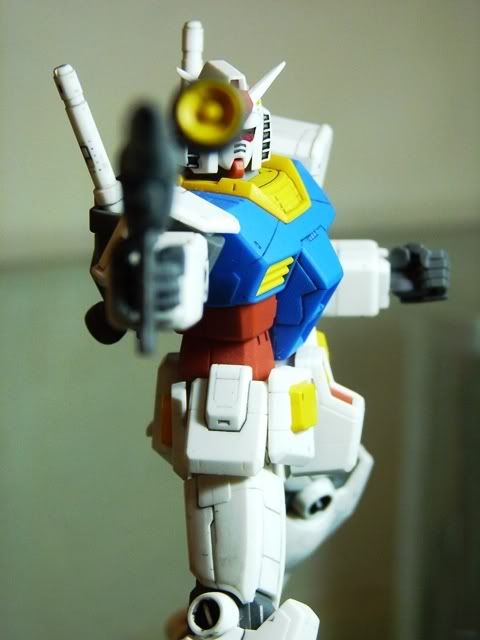
Close up
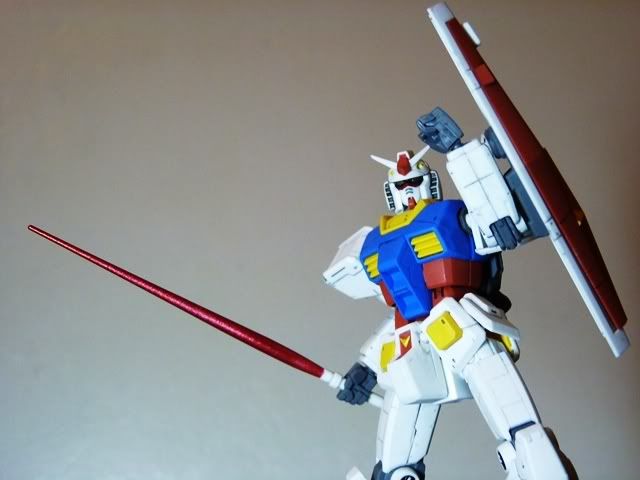
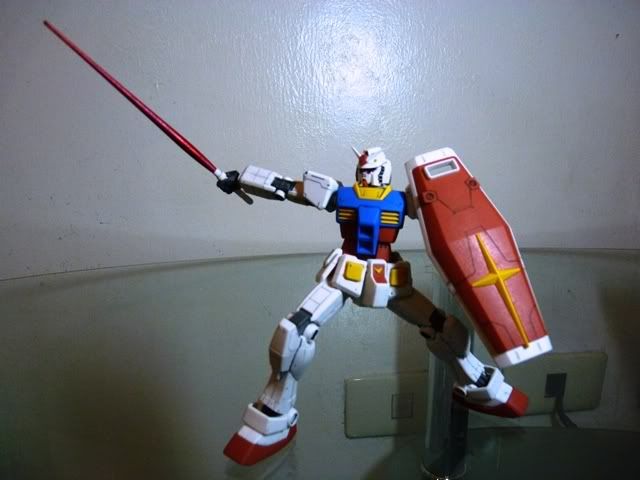
Strike!
Sword GET!
See why I said you hold the shield the "right" way
Another manual pose
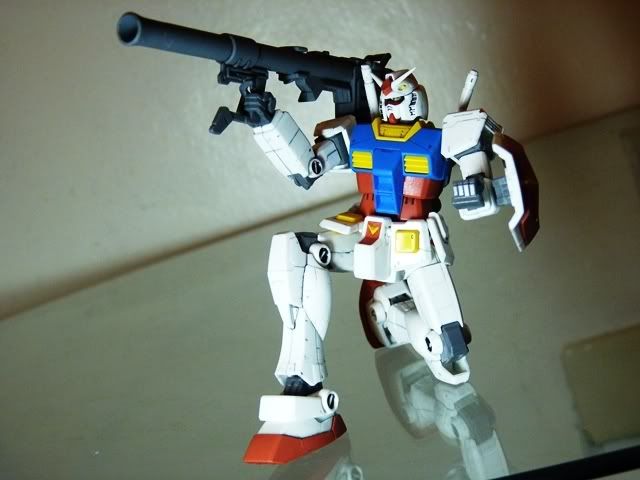
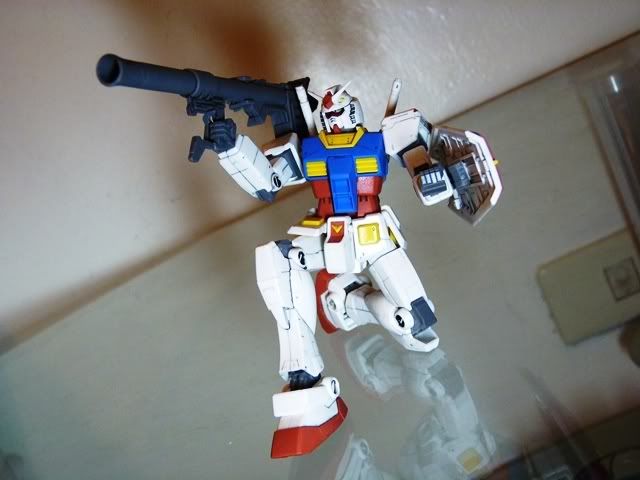
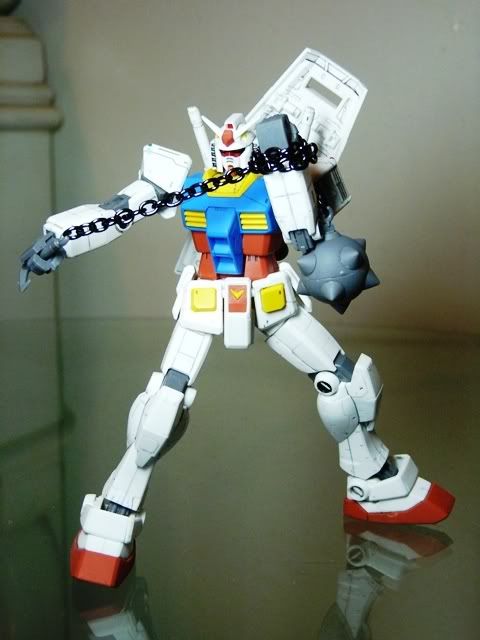
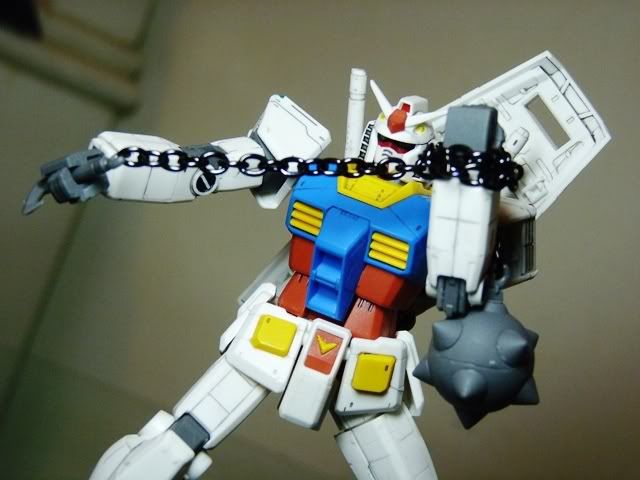
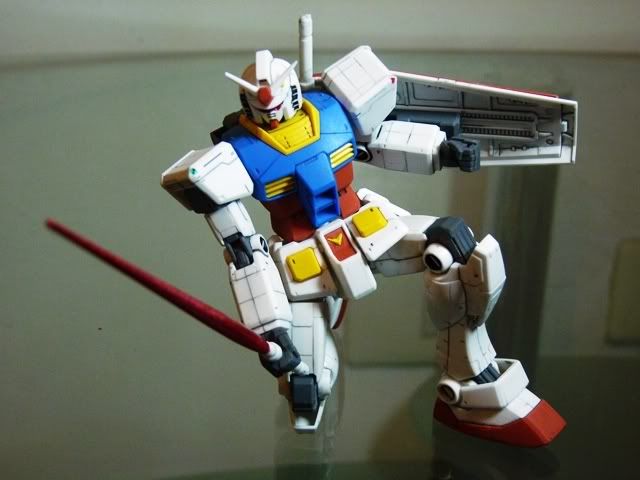
Time for some fun with Bazooka - my favorite weapon >:D
This is badass!
Target sighted. Amuro Ray, exterminating target!!
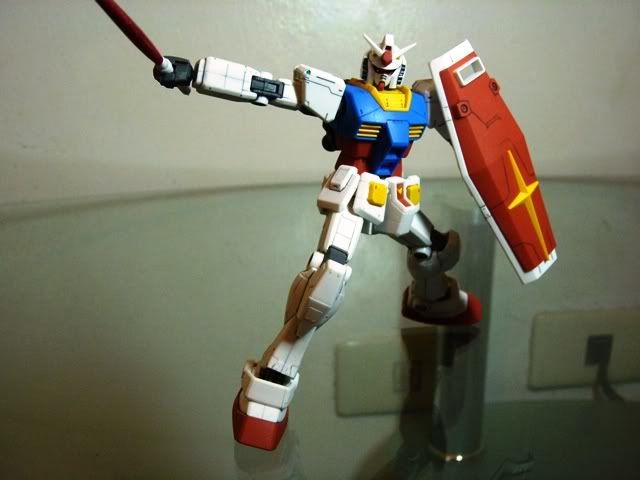
Beam saber fun
Pros:
Affordable
Articulation
Design (IMO, simple yet striking)
Cons:
Beam saber *though you can fit other kits' saber into the hilt on his back
Fragile
Finally the opportunity to build Amuro's first unit. I am a huge fan of the UC timeline especially Amuro's MS's. It was a treat building the FIRST EVER Gundam and seeing this kit stay true to the original design while having a fresh kick with all those panel lines gave new life to the RX-78-2. Hopefully I can find a dirt cheap Real Grade of RX-78-2 bwahahahaha! That wraps it up! Hit the comments for suggestions on what kit you want reviewed (may it be legit / bootleg). Thanks for reading up to this part! Cheers.
hoho i see u got the 30th Aniversary HGUC Rx78 Gundam.. Nice touch ups on it :D i have this too..(used from Forever gundam due to recycle parts :D) so now its rx78 GUndam cuz i used the armor for my unicorn Gundam :D
ReplyDeletehi khaidir!
ReplyDeletethat's cool! are the kits in your blog?
i'd like to check them out :)
..and thanks for the complement!
cheers
Wew nice pics and review, I just switched to UC line kits, just got RX79(G) and TR1 HAZEL ADVANCE yesterday(My first UC kits). And because your blog, he's next on my list! Two thumbs up with RX78!
ReplyDelete^ hey thanks for the complement. appreciate it :)
ReplyDeleteyou won't get disappointed with the G30th RX! it is an awesome kit with a lot of details! it's as color accurate as it gets with some minor touch ups on the shoulders. a must have if you're an HG collector like me :)