
TT Hongli HG 1/144 Throne Drei - WIP 02

Alrightyroo! After a long week, finally it's time to finish this dude.

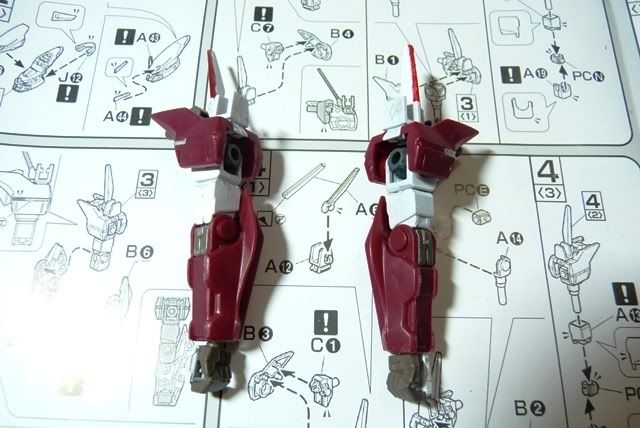
No problem assembling the arms


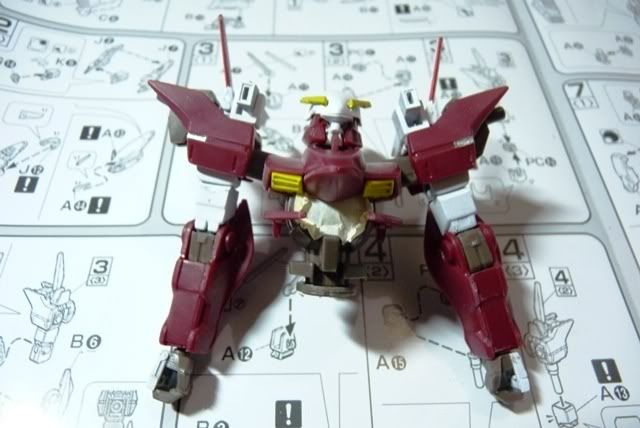
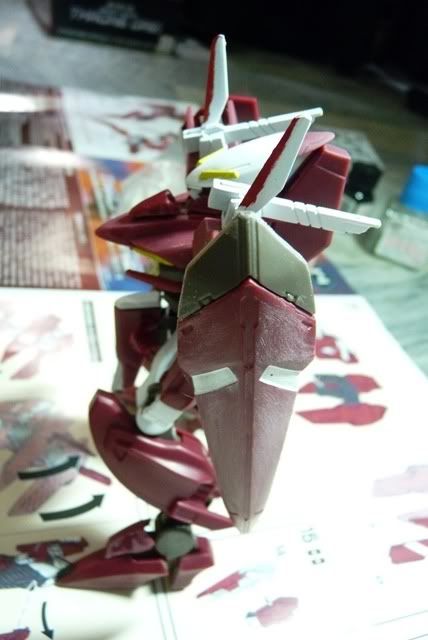
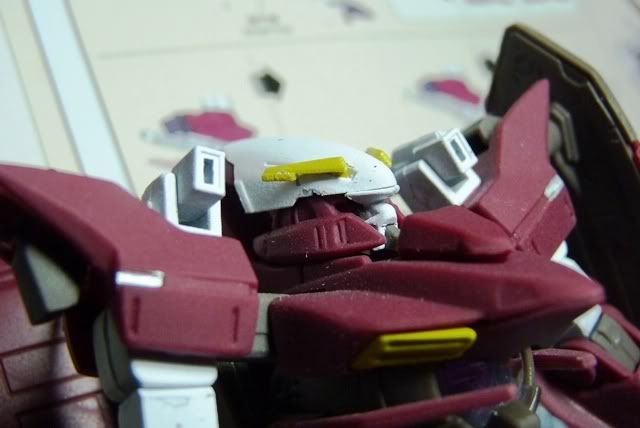
Snapping it to the finished body. Again, notice the orb is masked for protection from flat top coating later


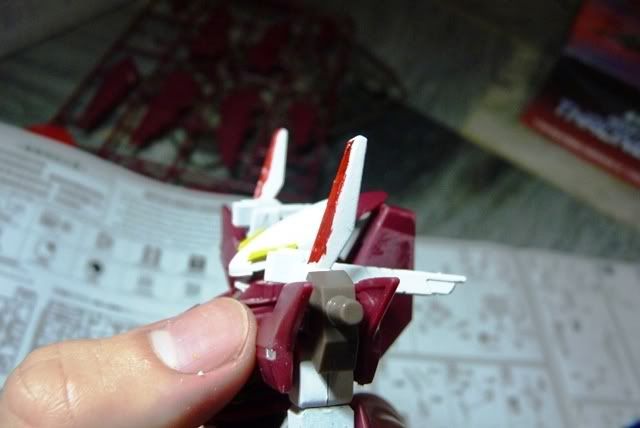
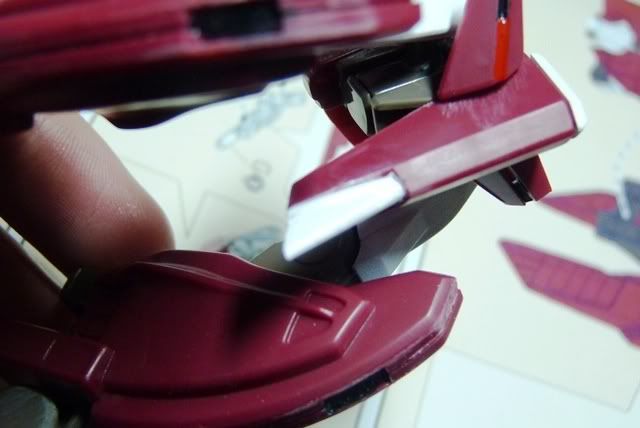
Detailed the fins a bit


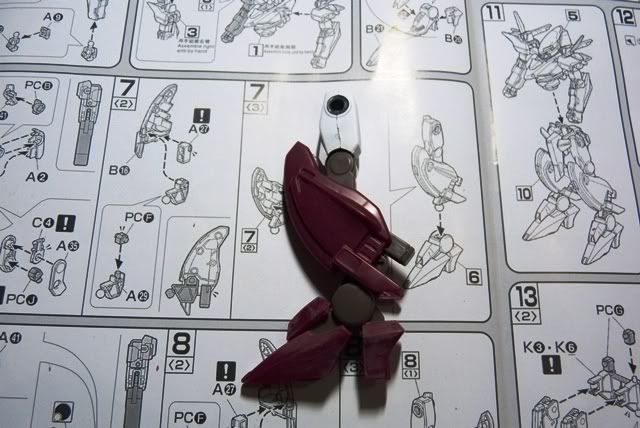
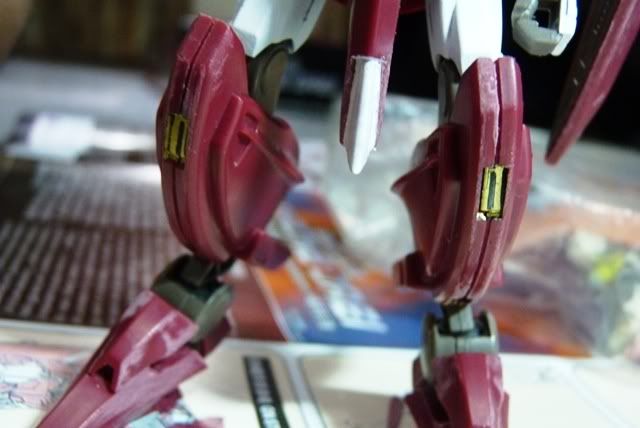
Legs too was a breeze so moving on here...


Skirts have no problems. Assembling swiftly now :)


My laughable attempts at hand painting. Learned that thinner is essential to prevent brush strokes. Patience is the key. Enamel paints painstakingly dries pretty long (around 30mins to an hour). After the first coat, let it sit and do 3 more.

1st coat


2nd coat - notice there are still hollow areas so wait for it to dry and do another 2.


..and the results are worth it. For me anyways.


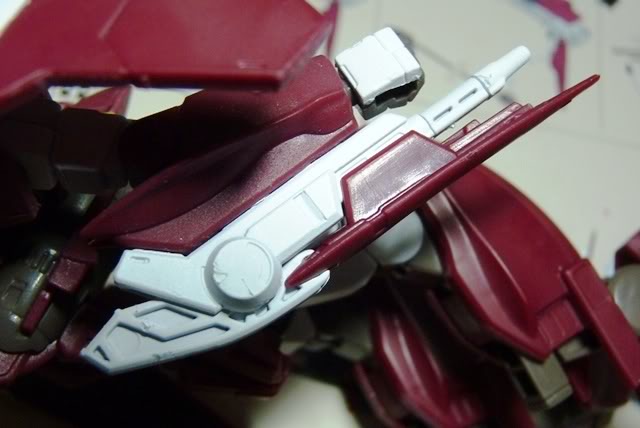
Drei's shield. Almost done and STILL NO ASSEMBLY CURES! Yay! :)


Another shield


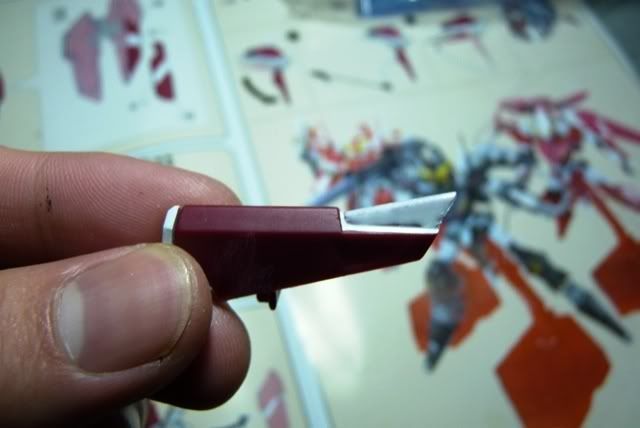
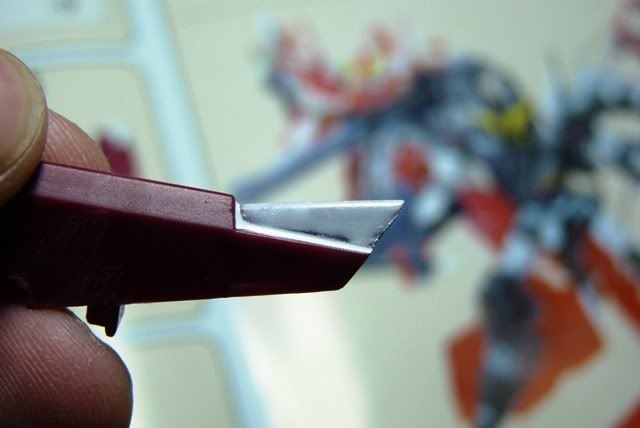
Detailed the feet. Hand painted the black and used a Gold GM for the outline.
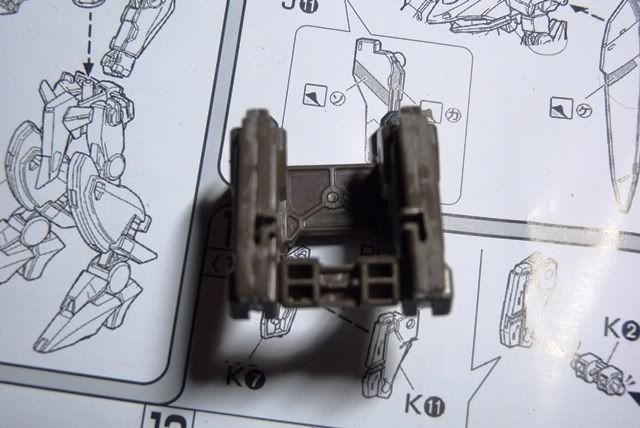
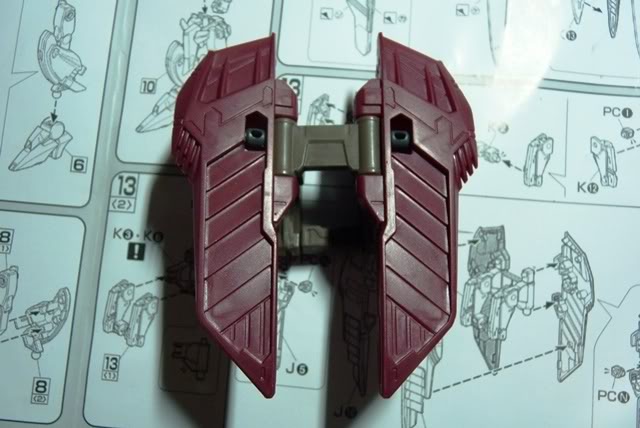
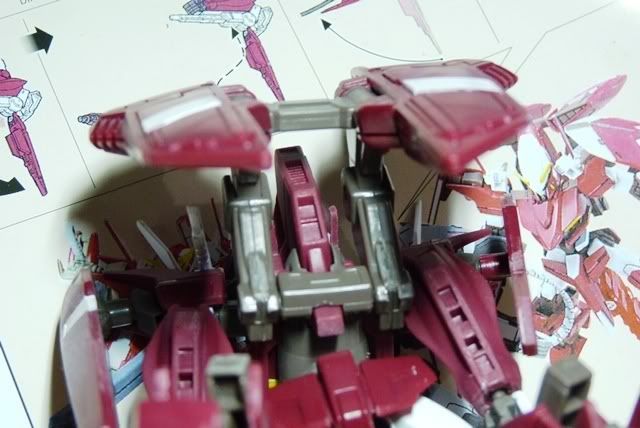

Backpack looks good


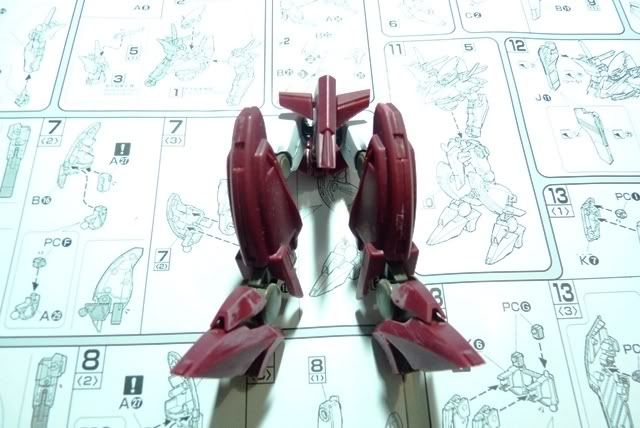
With his Epyon-ish wings


Clips snugly on the back. No gluing done here :)


His mini gun looks wicked. Too bad it's his only weapon


Stay tuned for the review of this kit!


Assembling Throne Drei was fun! TT Hongli made a kit again with no fitting issues. I love that because you get your money's worth when purchasing this stuff. Cheers!

Comments

Popular posts from this blog

QY SD Shining Gundam - Mini WIP, Assembly Cure and Review

It has been a while since the last time I blogged. Reality bites and I have to focus on the "more important things in life." Work, girlfriend, and of course going outdoors - a much needed "distraction" to regain my appetite for GunPla. In all honesty my interest has gone downhill and the promised TT Hongli MG Sinanju is nothing more of a plan than a work-to-be-done. There will always be the GunPla itch so I picked this teeneeweenee SD that caught my eye. Welcome to the club, Shining Gundam!! To start off, the box. Runners - 5 in total along with the polycaps Issue 01: See the yellow fin attached to the head? Don't force to plug it in. You'll only damage the plastic. Shave off the little opening to fully accommodate the fin. Repeat it on the other side. Issue 02: The usual suspect in QY kits. What I did was shave the male connectors with my hobby knife. Head done! Notice I used the foil stickers. It's not that I was too lazy to paint the eyes, b...

Bandai SD Zeta Karaba Assault - WIP 01

Coming from a competition really fired my GN Drives up! I am now onto my 1st WIP of 2012, SD Zeta! This 2-pack kit was actually bought before I even knew about the GFP competition. But G-SHOT and the 1/144 Challenge came along and the fun and excitement was too hard to pass up! I initially thought of doing Zeta in its accurate colors. Watching Gundam AGE really blew me and I fell in love with white MS's particularly seeing how the G-EXES pawns the UE. Right then and there I decided to try something different, something that I've never tried before (well, sort of). BTW, if you've never encountered the Zeta Karaba Assault it sorta looks like this ~ It is a limited edition color scheme of the MG Zeta V2. The Karaba Assault was piloted by the White Unicorn AKA Amuro Ray. (Photo above is NOT mine. Thank you GundamPH for the reference. Visit his site too. There are a lot of GunPla, mech, and other anime-related cool stuff there to see) Upon straight building this dude, I ...

TT Hongli MG 1/100 Exia Ignition Mode - Review

Assembling bootleg kits can be a pain at times but this MG Exia Ignition Mode was a breeze. I was surprised from the fact that 90% went well and the other 10% were minor fixes - from shaving male connectors to gluing parts. I really enjoyed assembling my first Master Grade (I was hoping it was Bandai, my wallet was not cooperating as expected lol). Action! G...Gu...Gundaaaaaam!!!!!!!!!!! GUUUUNDAAAAMU!!! Ore wa........... Ore Wa Gundam-da!! Exia exterminating target............... Graham: Ike, Setsuna! Live and unlock the future! More swords Setsuna? Target exterminated! Joining the bunch :D Pros: Assembling is pretty easy for a bootleg Build is sturdy It came with LEDs! Cons: Joints are too stiff (for my liking, anyways, it made the kit solid though) Swords at his wait does not fit the peg in the hand Exia Repair parts does need half of the non-Repair head. (didn't bother with the transformation) The Exia Ignition Mode is a must have! I'm really g...