
Bandai RG MS-06S Zaku II Char Aznable Custom - Review

Finally! I mean FINALLY! My Char Zaku got its attention thanks to the long weekend :D
My room was a mess; decals, decal paper, parts, plastic, and a ton of q-tips were lying around. That got me pumped up into finishing the kit. Without further adieu, I present - CHAR!~

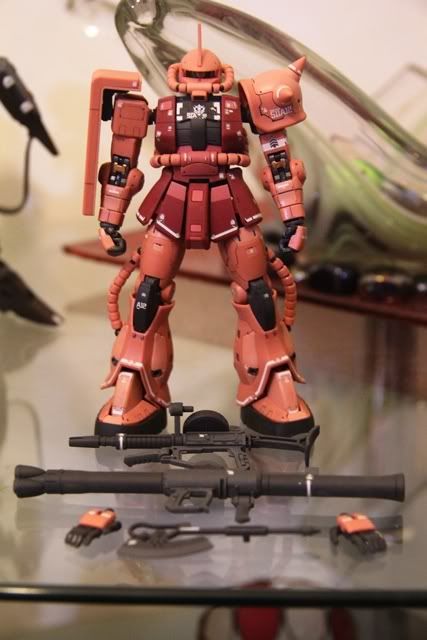
Starting off, the complete perks of the kit


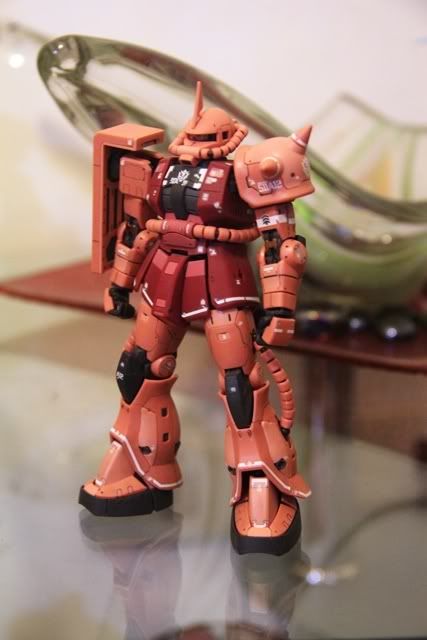
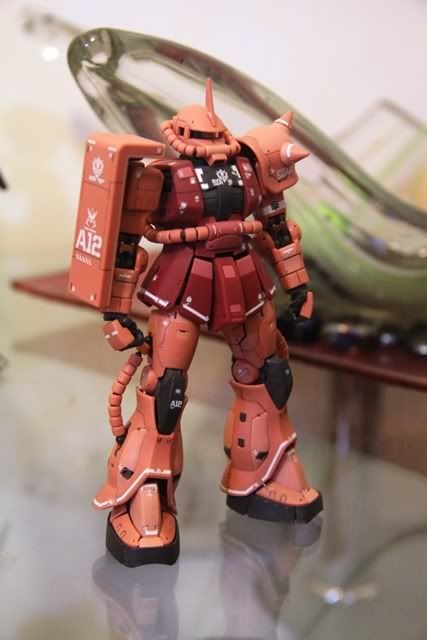
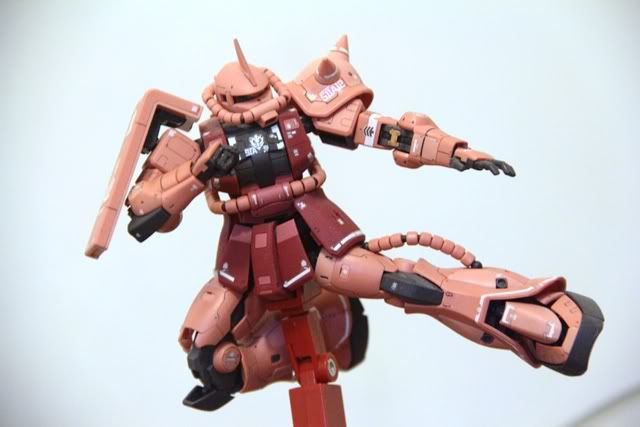
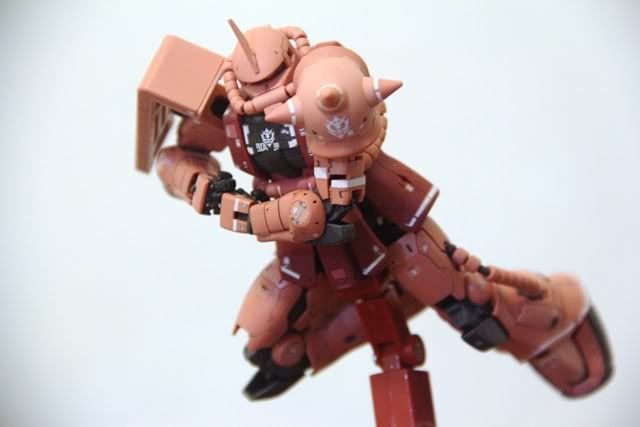
A 360 view of Char's Zaku


I just noticed that the insignia on his back pack flew off T_T
Damn I suck at applying decals. Never! EVER! Apply decals on a surface with a flat coat. Always apply it on a smooth / gloss surface. Notice in a few photos that some decals tore off too during photo shoot. LESSON LEARNED.


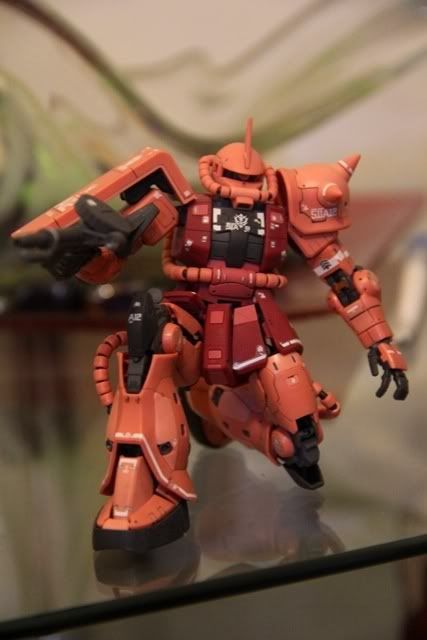
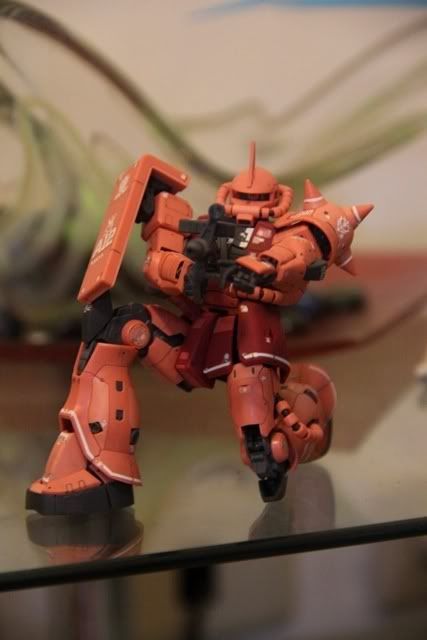
To show off the RG's articulation


Kneeling poses are flawless (almost, more on that later)


Ratatatatataatatataaaaaat!!!!


RIDER CHAR KIIIIIIICK!!!!!


Amuro tasted a few of this


CHAR TAKERU!!!


Heat Hawk GET!


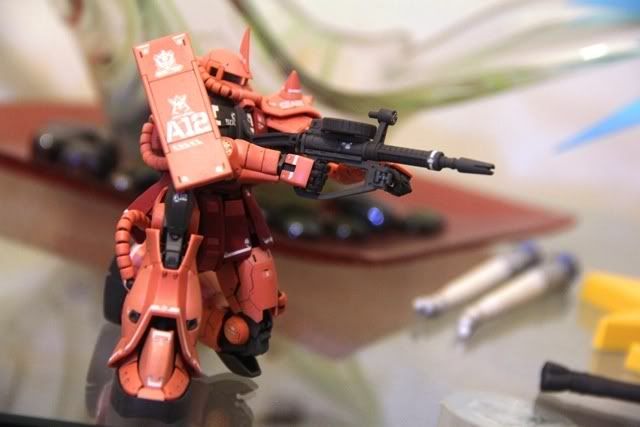
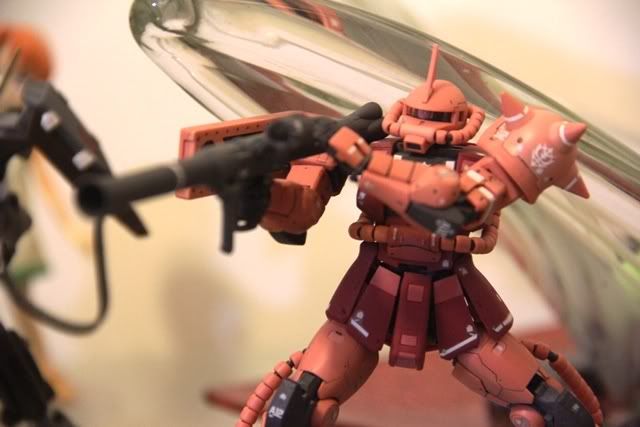
Onto my favorite weapon - CHAR BAZOOKA! (?)
Taruget Rokudo


Faaaiyaaah!!


Char Rampage
Char: Who's your daddy now huh AMURO!?!
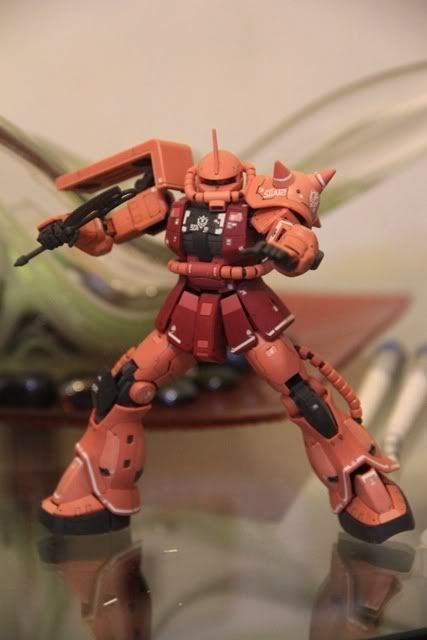

Char Zaku


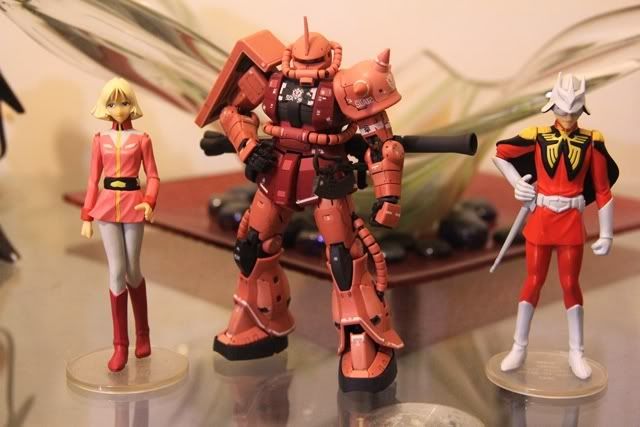
Don't ever touch my sister with your filthy newtype hands! >B(


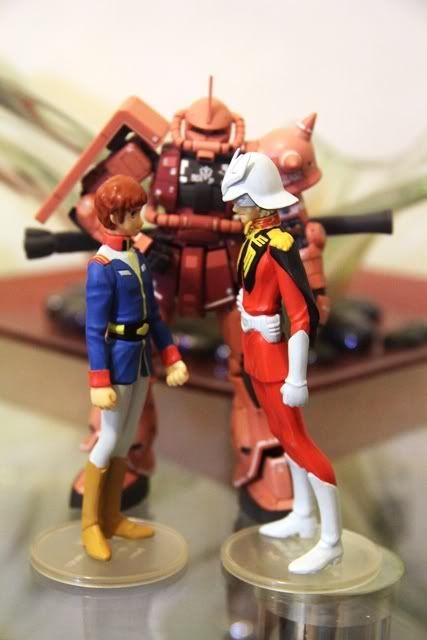
Amuro: But I already "touched" her CHAR!
Char: ........... AMURO!!!
Zaku: Teee-heee....


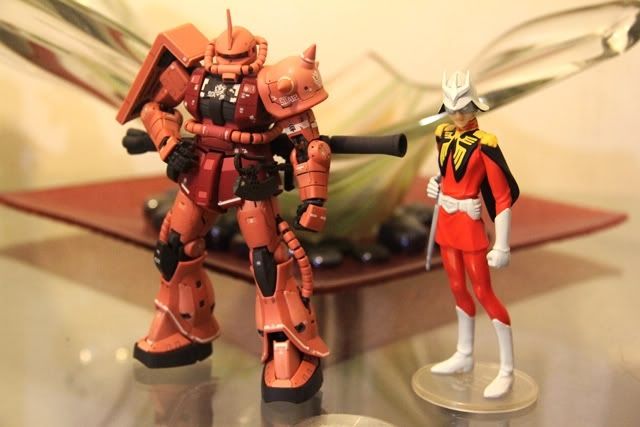
...And so the eternal rivalry continues


Full Frontal armaments


Pros:
Oh boy where to start? Details are amazing
Sophisticated color separation are top notch!
Never thought that the panel lines were excessive. It has a ton but felt just about right.
Articulation.
The spring gimmick on his legs
Mono eye moves independently

Cons:
*Careful when doing kneeling poses. Side skirts tend to fall off
Fingers pop off fairly easily

I've read a lot of reviews and rants about the flaws of the RG kits. From skirts to fingers, for me they are a bit exaggerated. Sure, falling parts are annoying but it WAS NEVER (at least for me) an issue when playing around with it while taking photos. It pops off from time to time but it was manageable. The pros outweigh the cons by a wide margin. The RG's offer something new while staying true from its roots. For fans of the UC timeline, I suggest get the two main suits. I already started the RX-78-2 and crap, I can't wait to finish it soon! Verdict? A must-have!

Comments

Post a Comment

Popular posts from this blog

TT Hongli MG 1/100 Exia Ignition Mode - Review

Assembling bootleg kits can be a pain at times but this MG Exia Ignition Mode was a breeze. I was surprised from the fact that 90% went well and the other 10% were minor fixes - from shaving male connectors to gluing parts. I really enjoyed assembling my first Master Grade (I was hoping it was Bandai, my wallet was not cooperating as expected lol). Action! G...Gu...Gundaaaaaam!!!!!!!!!!! GUUUUNDAAAAMU!!! Ore wa........... Ore Wa Gundam-da!! Exia exterminating target............... Graham: Ike, Setsuna! Live and unlock the future! More swords Setsuna? Target exterminated! Joining the bunch :D Pros: Assembling is pretty easy for a bootleg Build is sturdy It came with LEDs! Cons: Joints are too stiff (for my liking, anyways, it made the kit solid though) Swords at his wait does not fit the peg in the hand Exia Repair parts does need half of the non-Repair head. (didn't bother with the transformation) The Exia Ignition Mode is a must have! I'm really g

RIP Crimson Comet

Photobucket has kidnapped my photos and I'm too lazy to re-upload and update every bit. It's been worthwhile. I'm intending to start a new blog that is more "personal" than just focus on one part of my hobby. Looking at my older posts, I can fairly say I've improved on my toy photography (and English!) in which I am thankful for this space as a medium to share my work. Thank you for reading up to this part! Cheers for 7 years!

QY SD God Gundam - Mini WIP, Assembly Cure and Review

Thank GOD I'm back! Lumix is back and my GunPla energy has been over the top! I'm feeling good this morning and built Gundam Alex. Well more on that next time, but again, thank GOD I can finally review my QY God Gundam! Starting off, here is the box of QY's bootleg of God Gundam (Deitg Warrior). Unboxing this miniscule kit, there are only 5 runners along with the polycaps. ..And here's my bootleg Unicorn (mfg by Jargon), envious why he does not have a review. Issue 01: Starting off our assembly cure, carefully shave off the chest piece by a hobby knife to snugly fit it into the chest armor. Issue 02: Like most of my QY kits, head continues to be problematic. Cut the male connectors and apply glue to the seams. Issue 03: Waist armor male connectors are too thick. Shave by a hobby knife or sand it down to fit the pieces. Issue 04: Arms too have fitting issues. Cut the male connectors and then glue. Make sure you do not forget the poly cap when gluing! Is