An eternity late to the party, SHF Iron Man Mk XLIII came out almost a year ago. My brother gave this figure as a Christmas present and I couldn't be more glad to have a go at this piece of art! A celebration post in honour to the linchpin of MCU: I present - The Age of RDJ aka Tony Stark
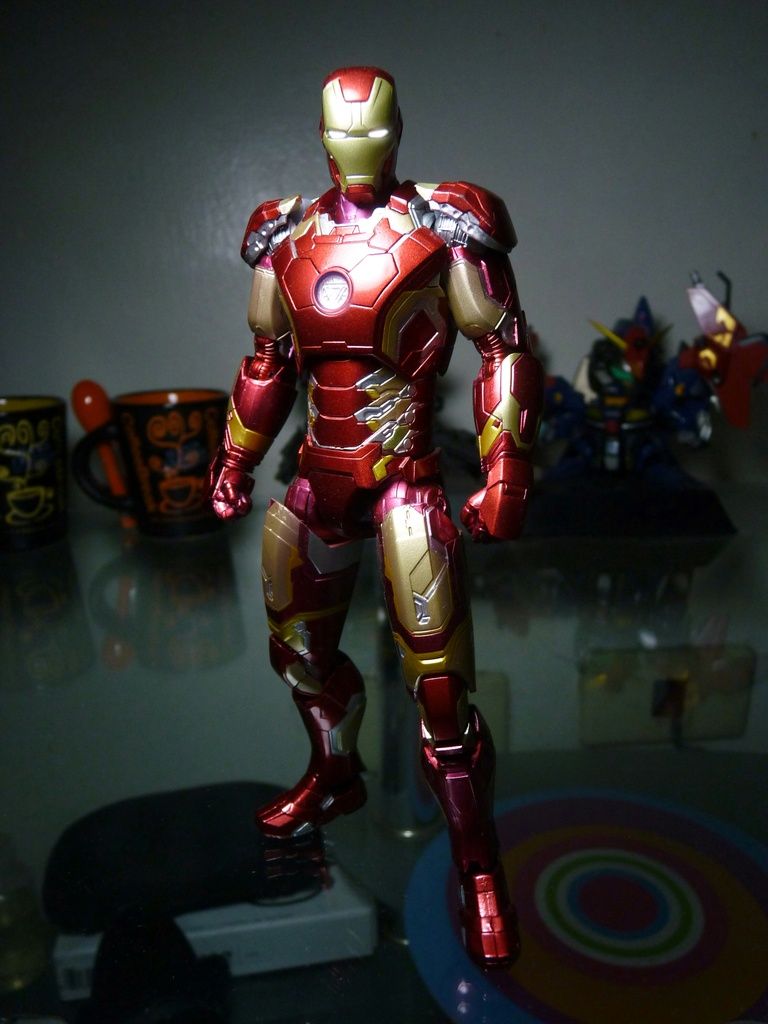

Quite a looker ain't he? But.....


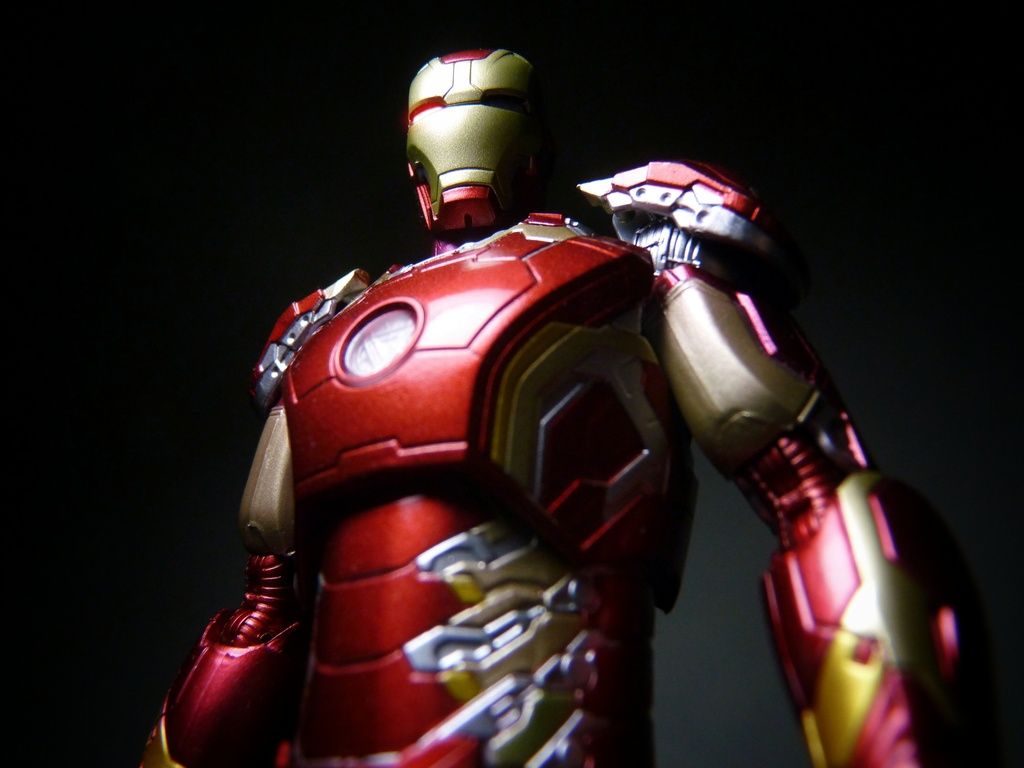
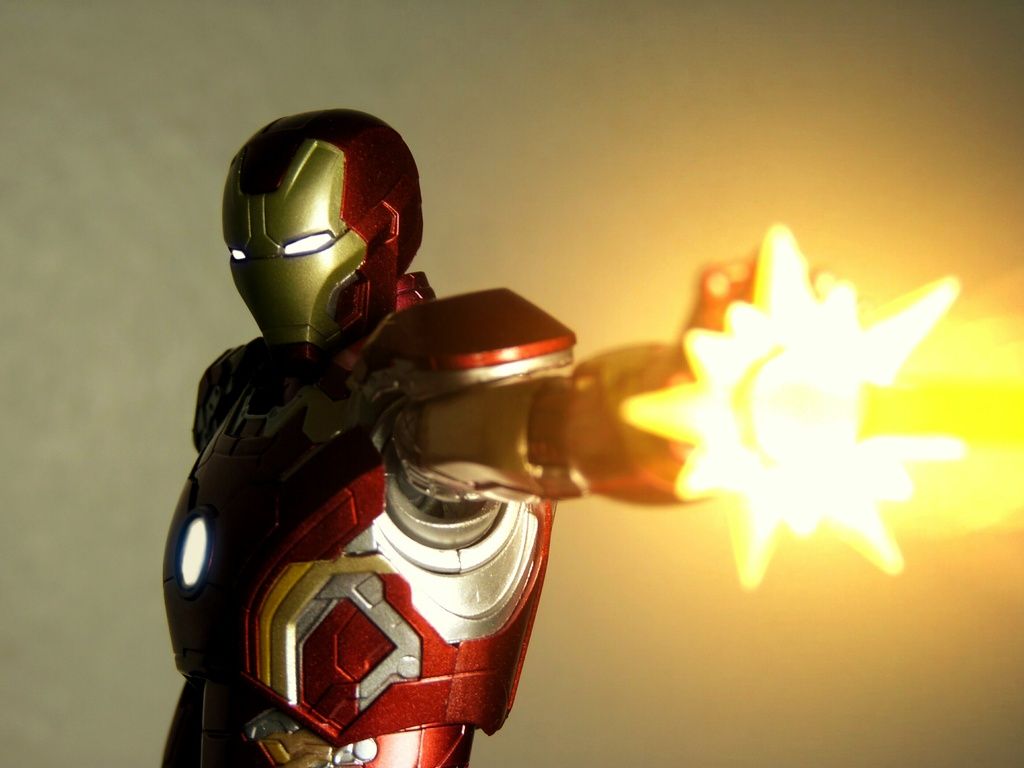
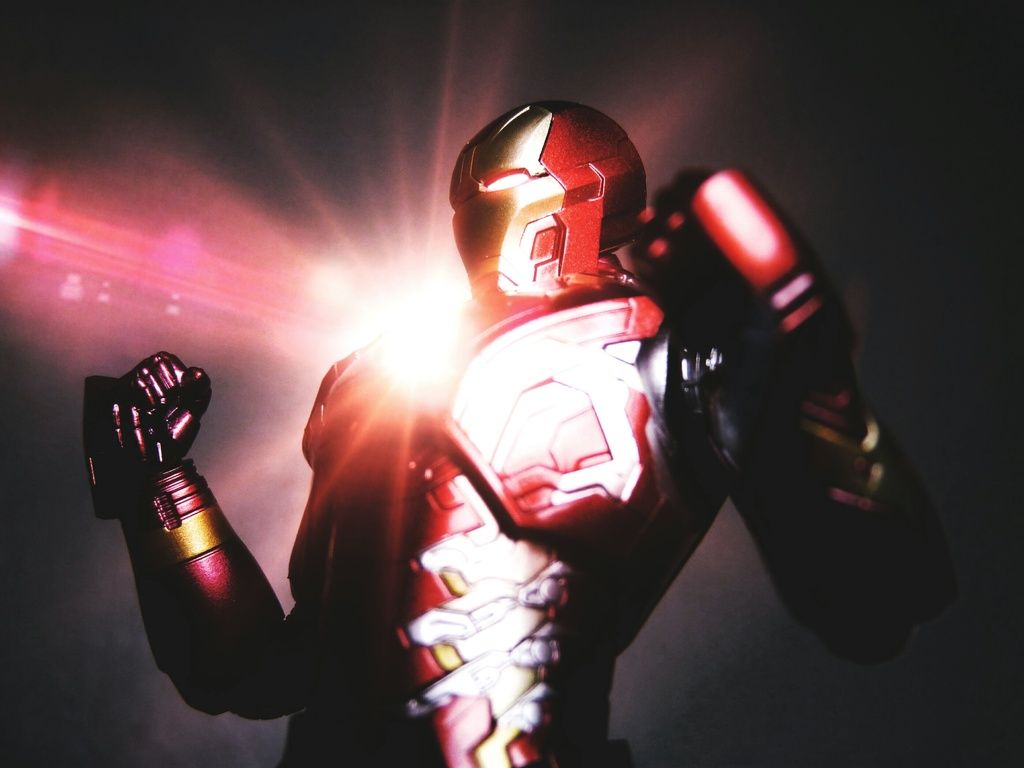
SUPER


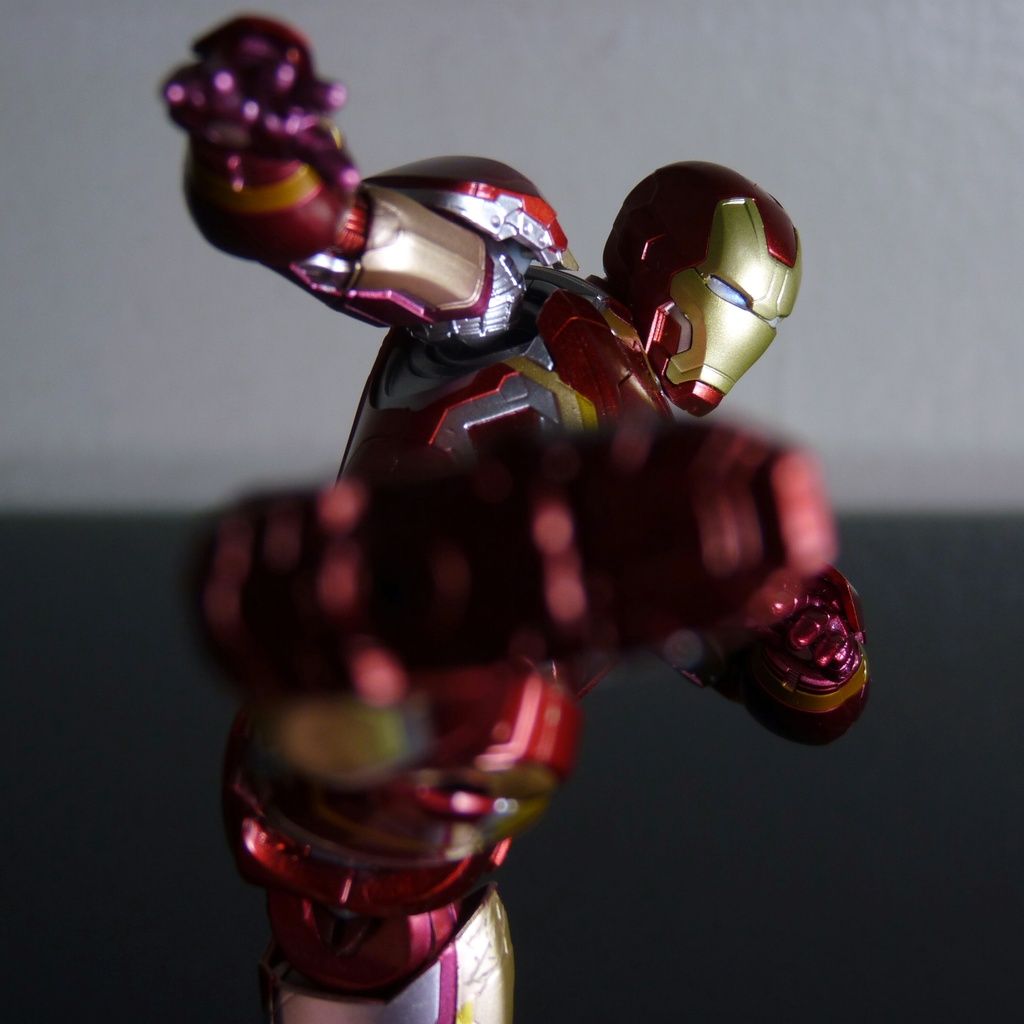
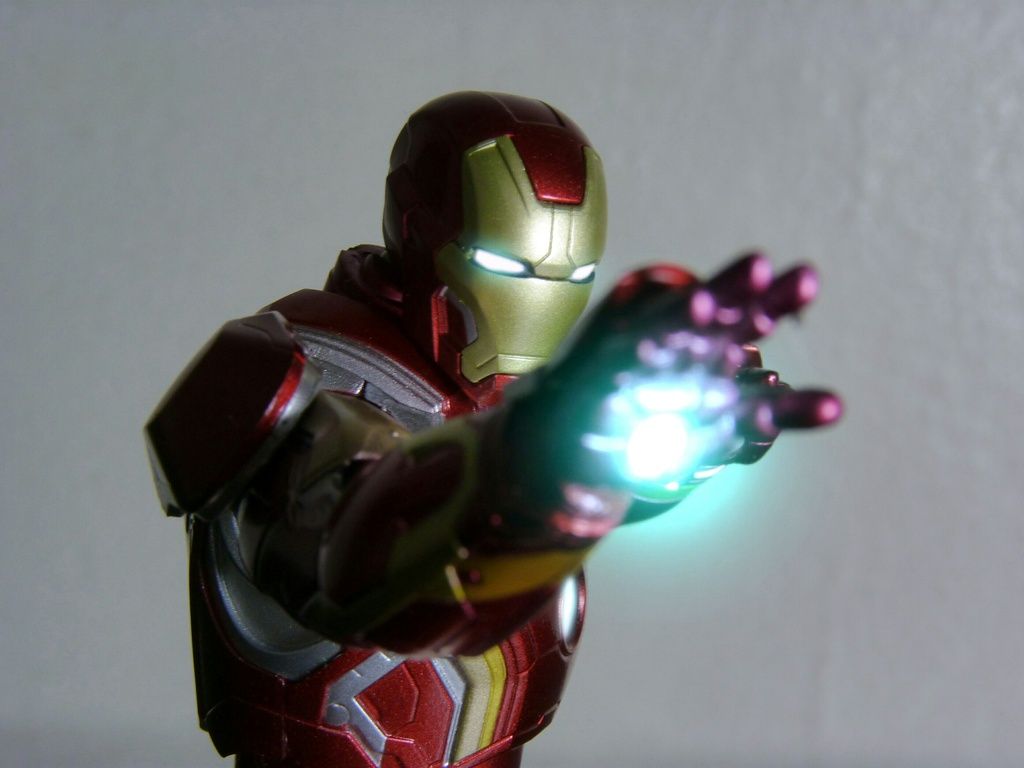
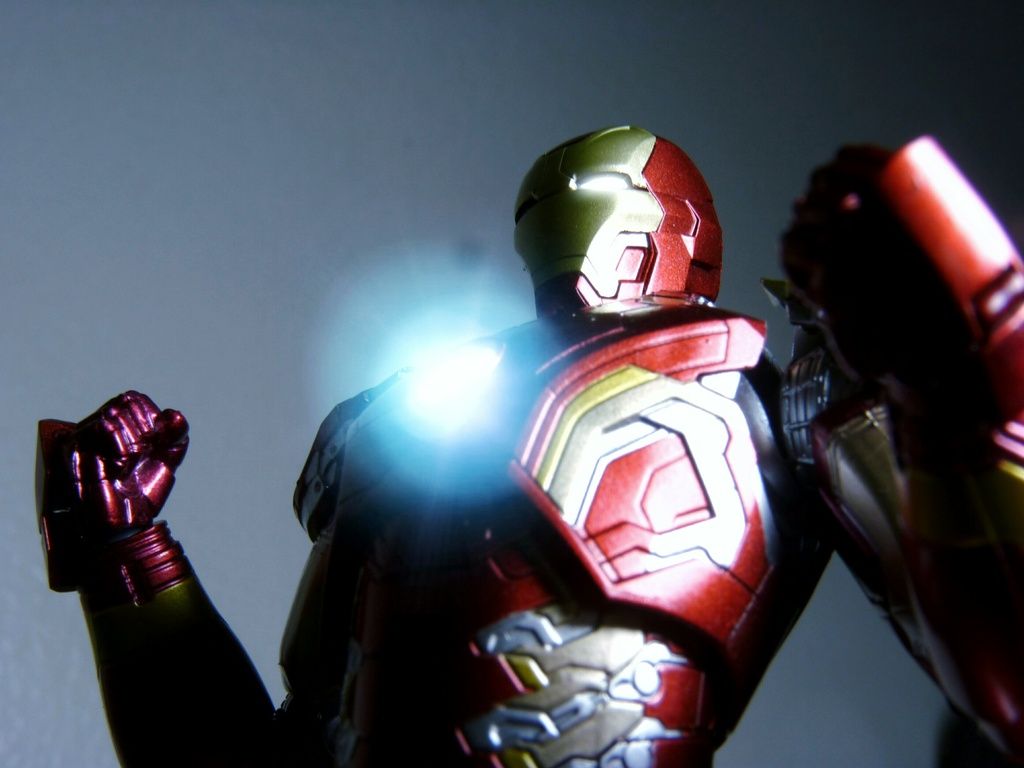
Money Shot 1


Pe-Pew!!!
Pew!
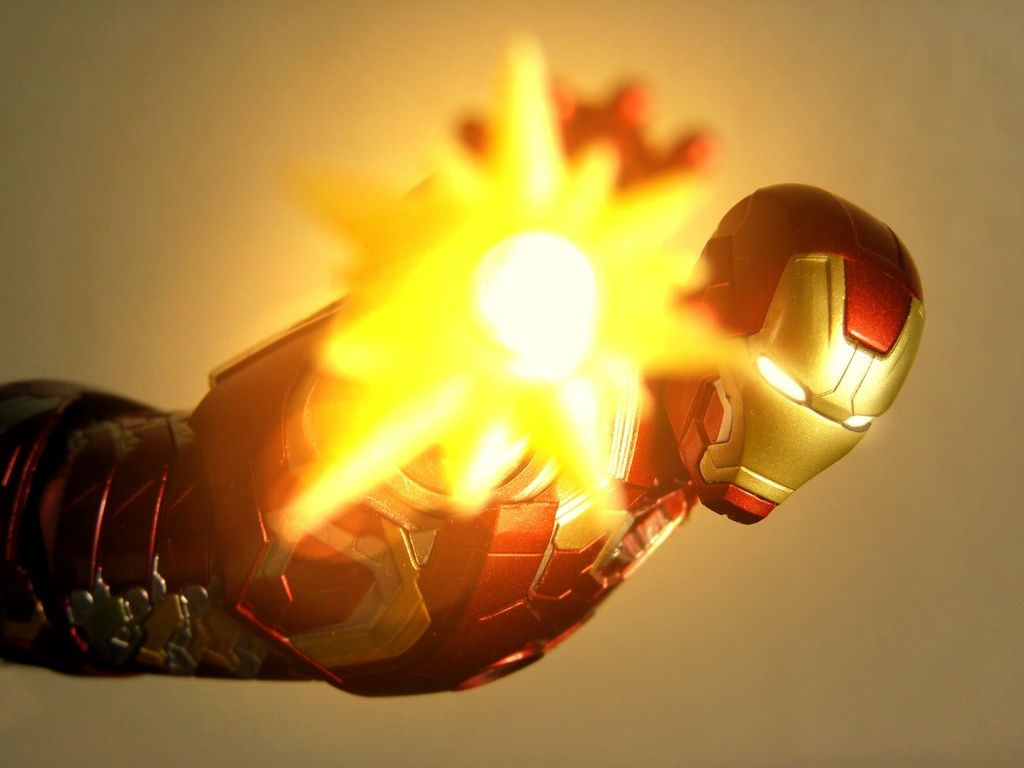
PEW!
Pew pew!
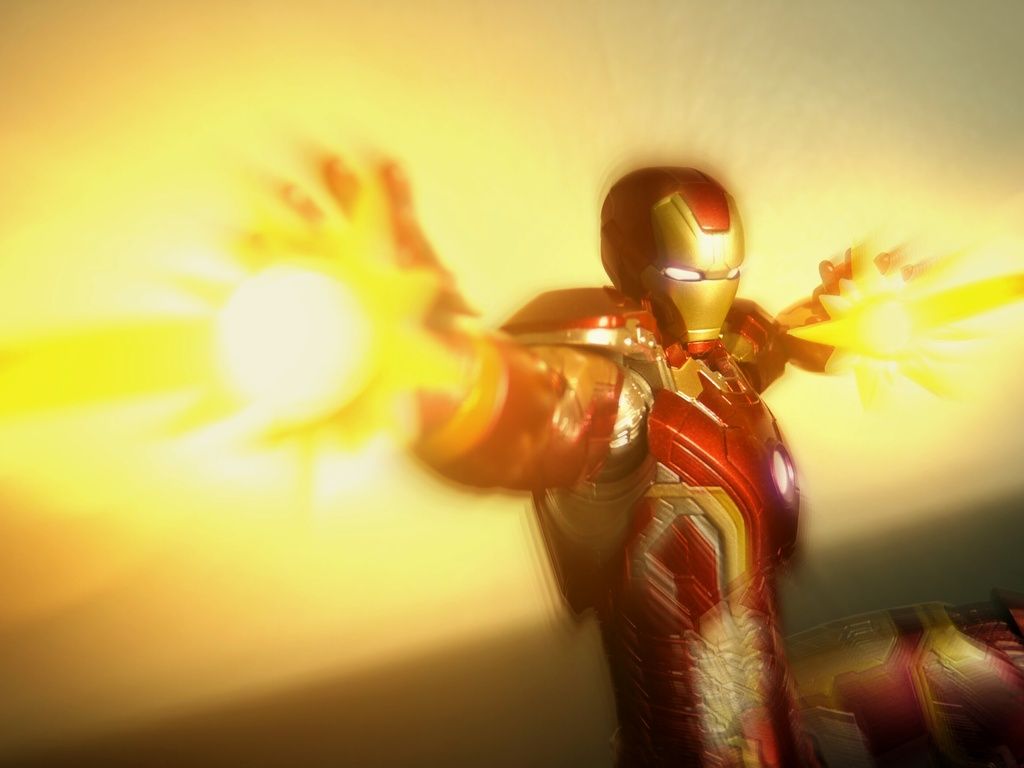
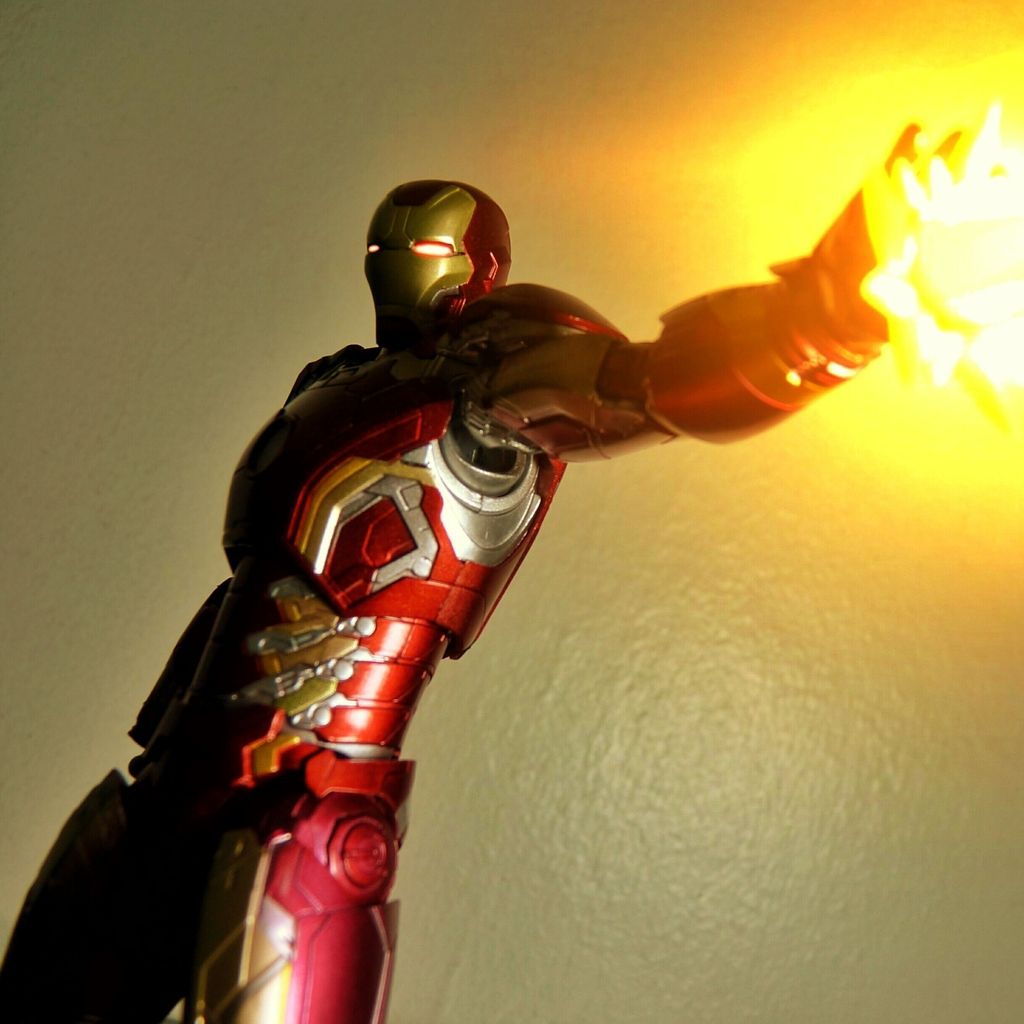
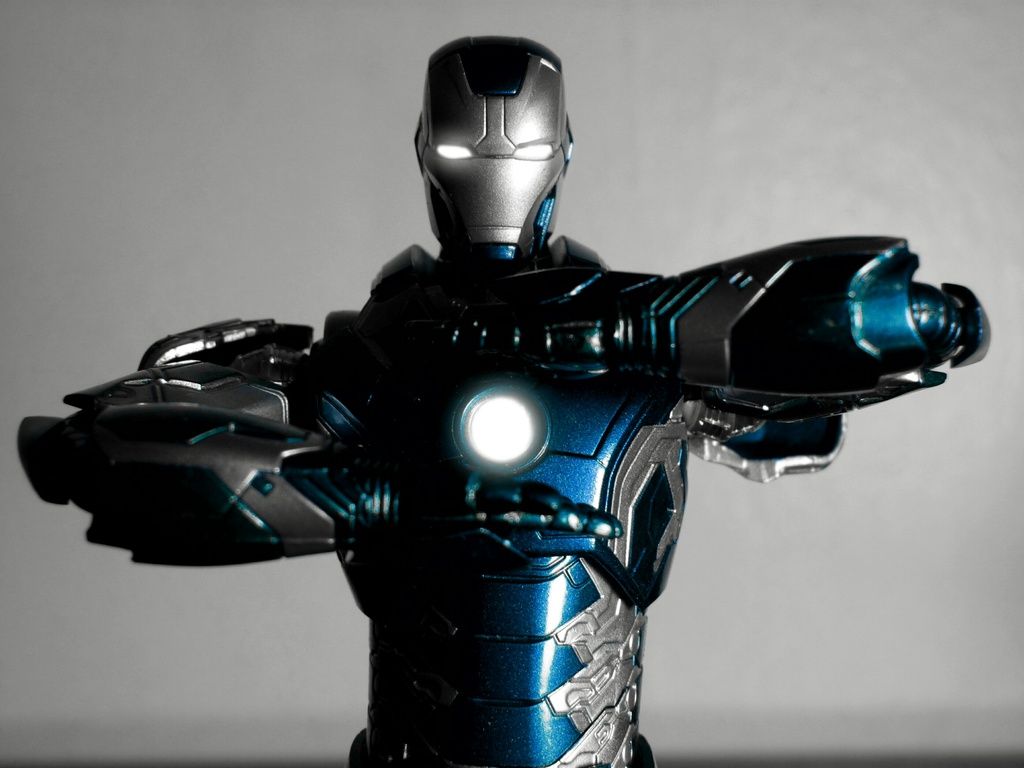
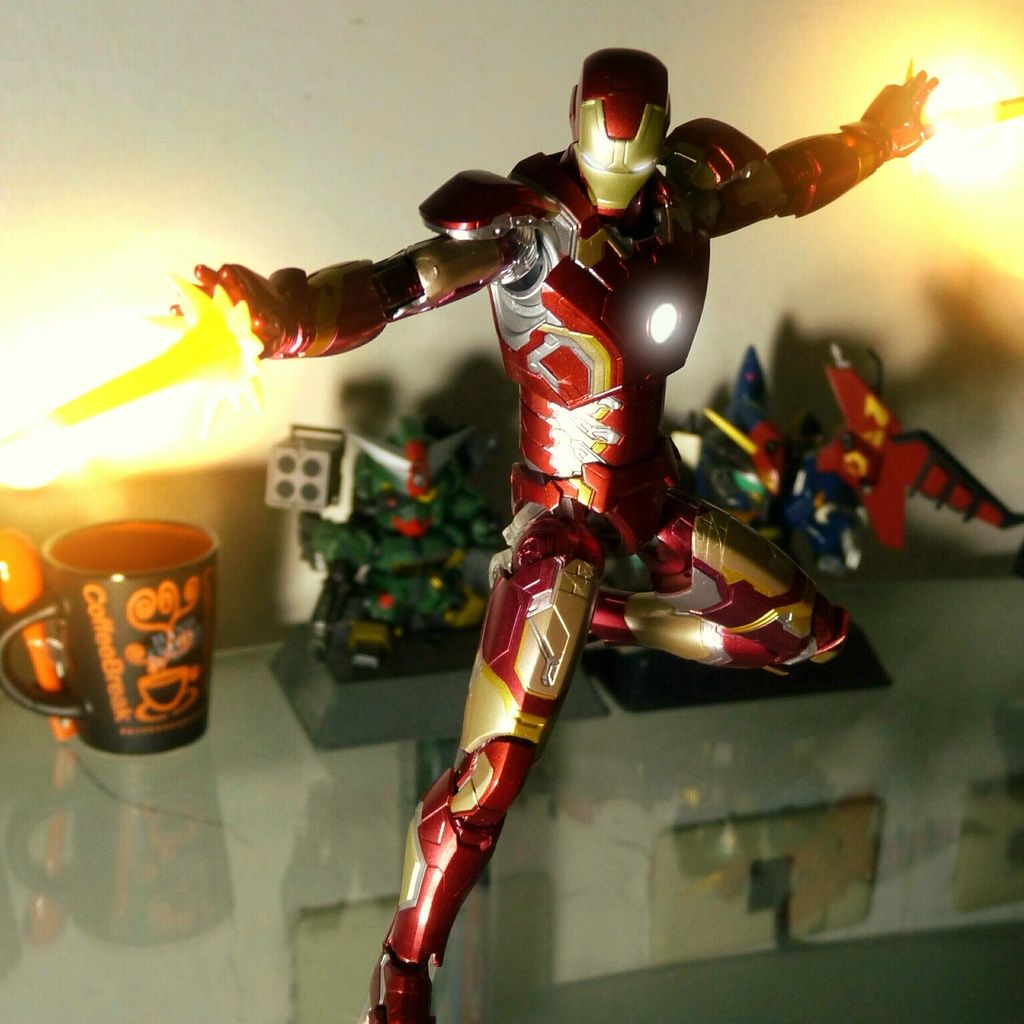
UNI BEAM!
Quite a looker ain't he? But.....
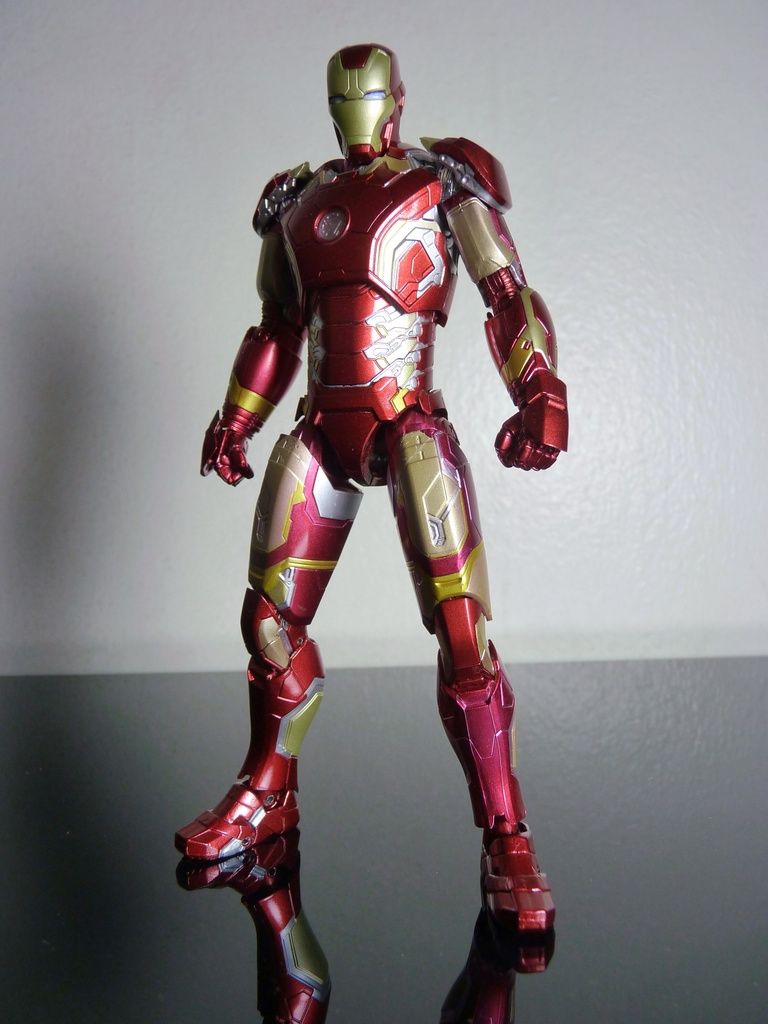
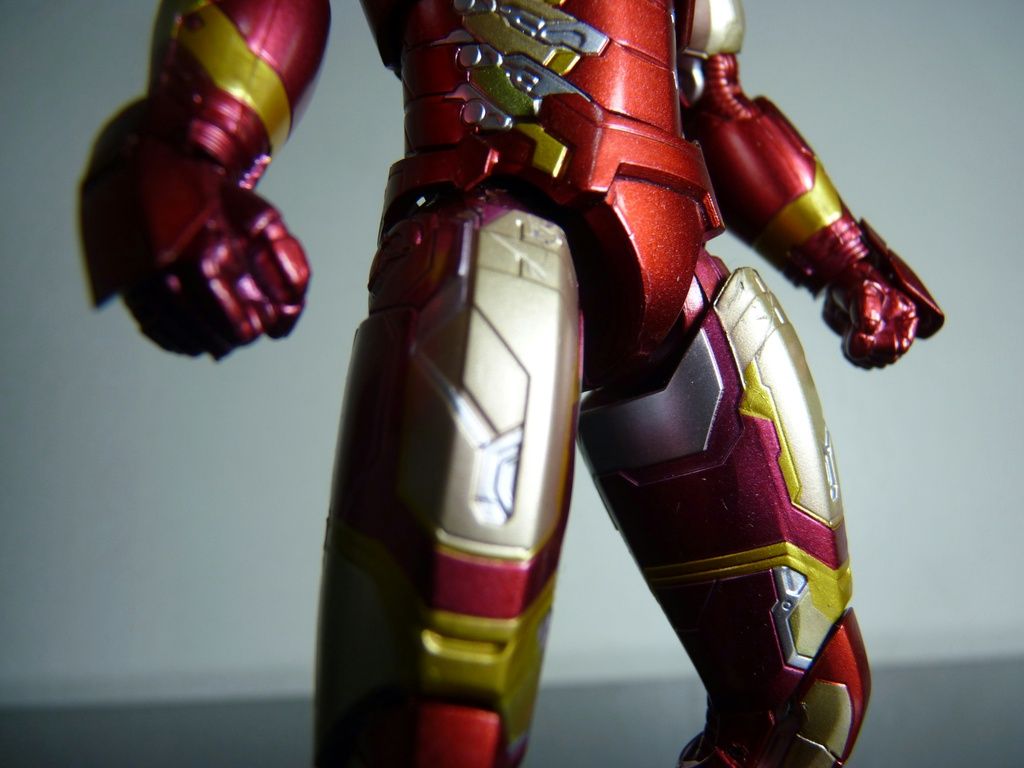
See those uneven red at the hips? Well, shit?
Double shit.
Triple shit. What were they thinking?! The discolouration is a known issue for the Mk XLIII but....
SUPER
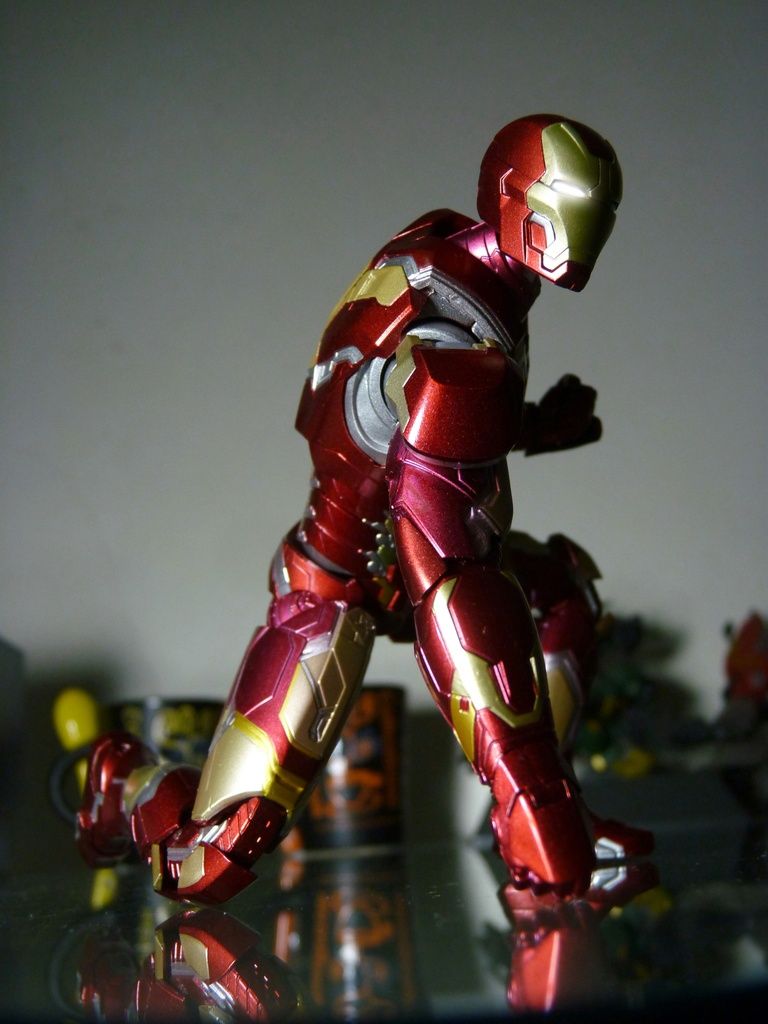
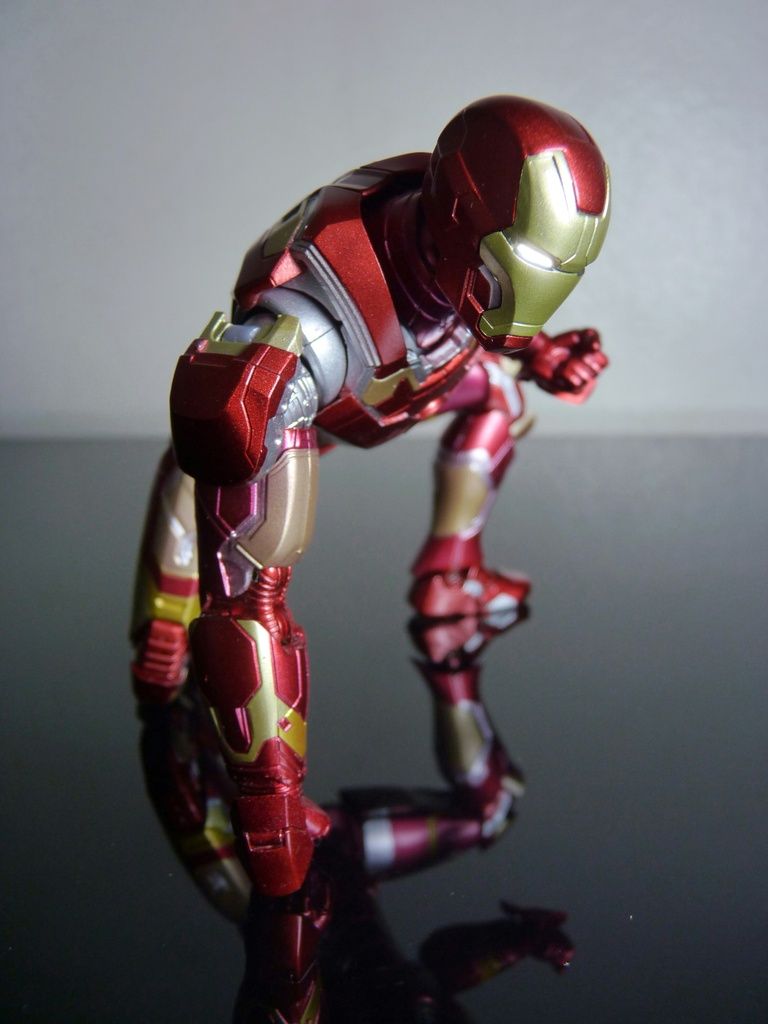
HERO
LANDING!!! I DON'T CARE
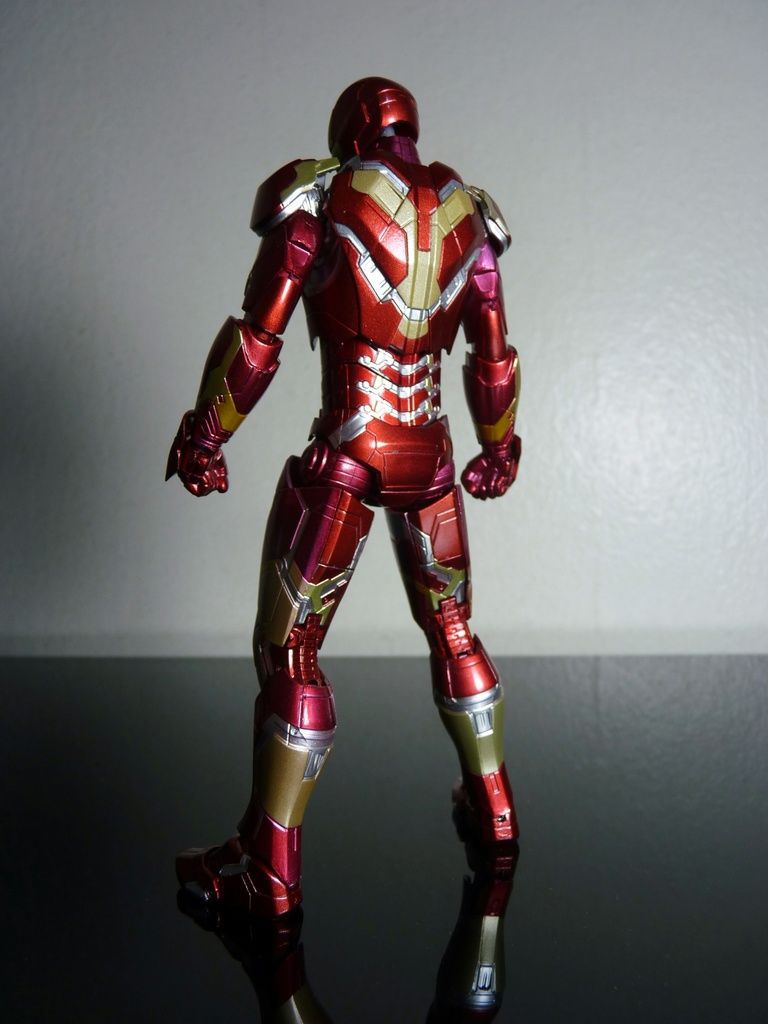
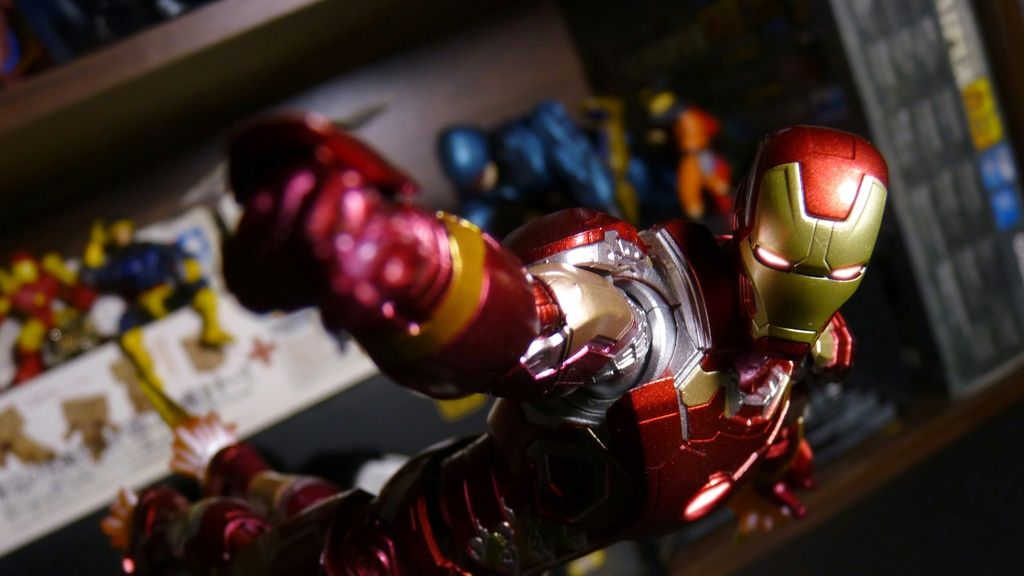
IP Man
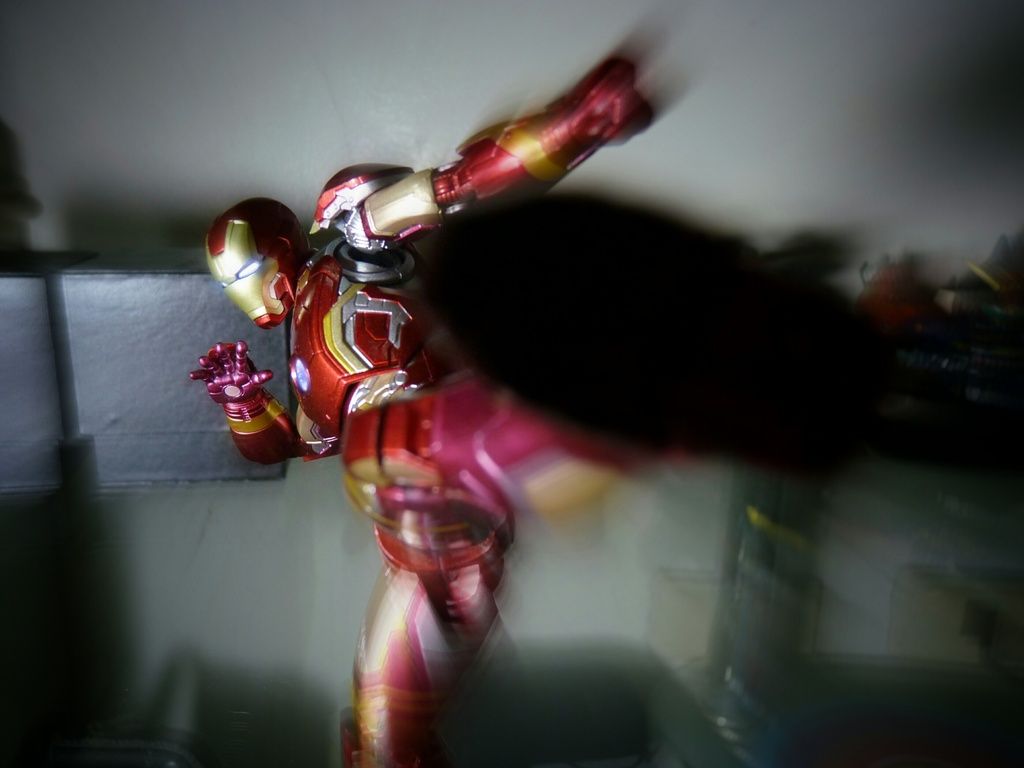
Come at me bruh!
Money Shot 1
Pe-Pew!!!
Pew!
Stand down!
PEW!
Pew pew!
...And a lot more pew!
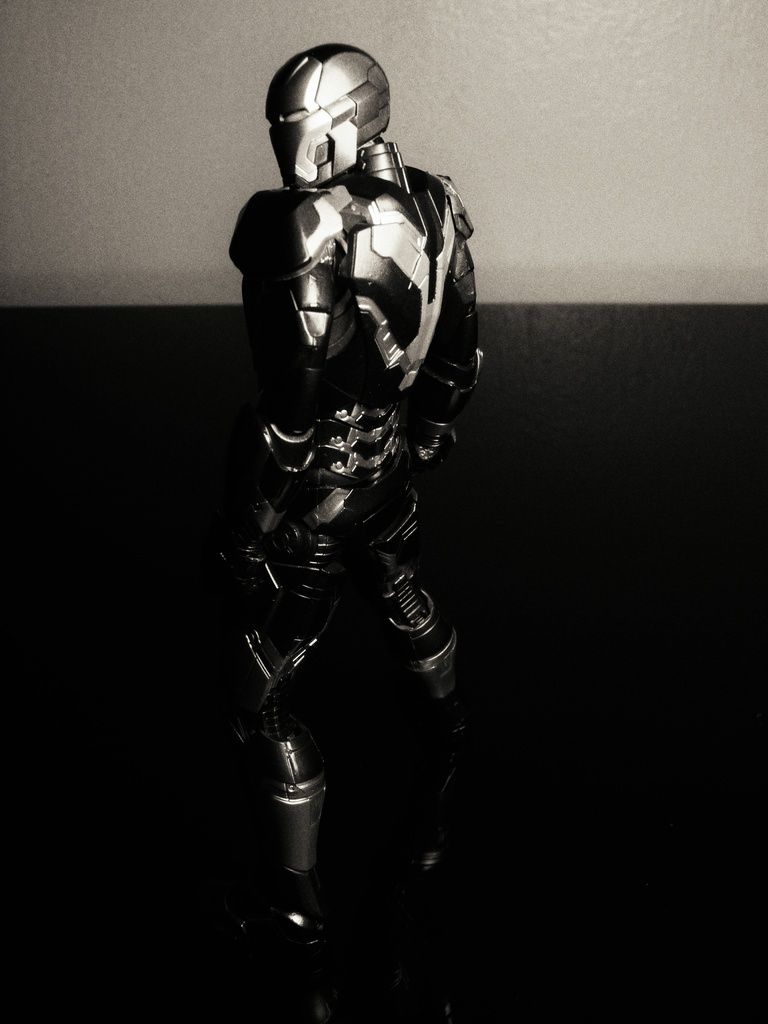
Stealth?
UNI BEAM!
Money Shot 2
Pros:
It's Iron Man!
Articulation
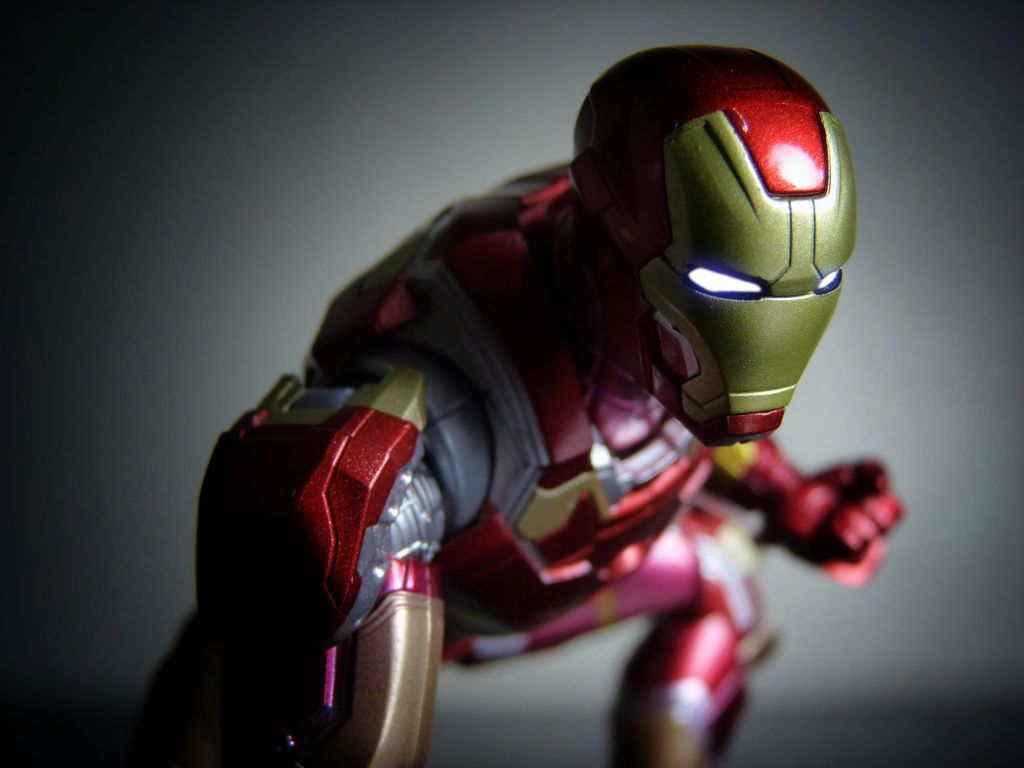
Details are tops as expected
No loose joints (I can do high kicks without losing to gravity)
Cons:
Red paint quality is questionable
Few gimmicks (I miss the wing flaps on the Mk VI)
I went bonkers with photo editing but got good results. I usually post those on my IG (Follow me! https://www.instagram.com/carlsupersuave/) but figured this blog needs a bit of flare coming out of a long hiatus. I had good experience playing with it during the shoot. Mk VI had me pulling out my hair because of the loose joints. Happily however, SHF seem to have rectified the issue. The disappointing bit is the red paint used. It would lose its brilliance quickly even without sun rays! Mk VI still has the bright shiny red going on for more than a year compared to this figure which was sitting in the shelf covered. ~3 months and its shine would start to degrade. I sure hope XLV doesn't have this issue. Time (and the Internet) will tell.
Summing it up, I honestly like the design of this figure a lot more than XLV. Sure it's sleek, round, and modern as any car with a Euro design but the muscular proportions make this look closer to what an armour should be for Iron Man.
Comments
Post a Comment