
Bandai RG Destiny Gundam - Review

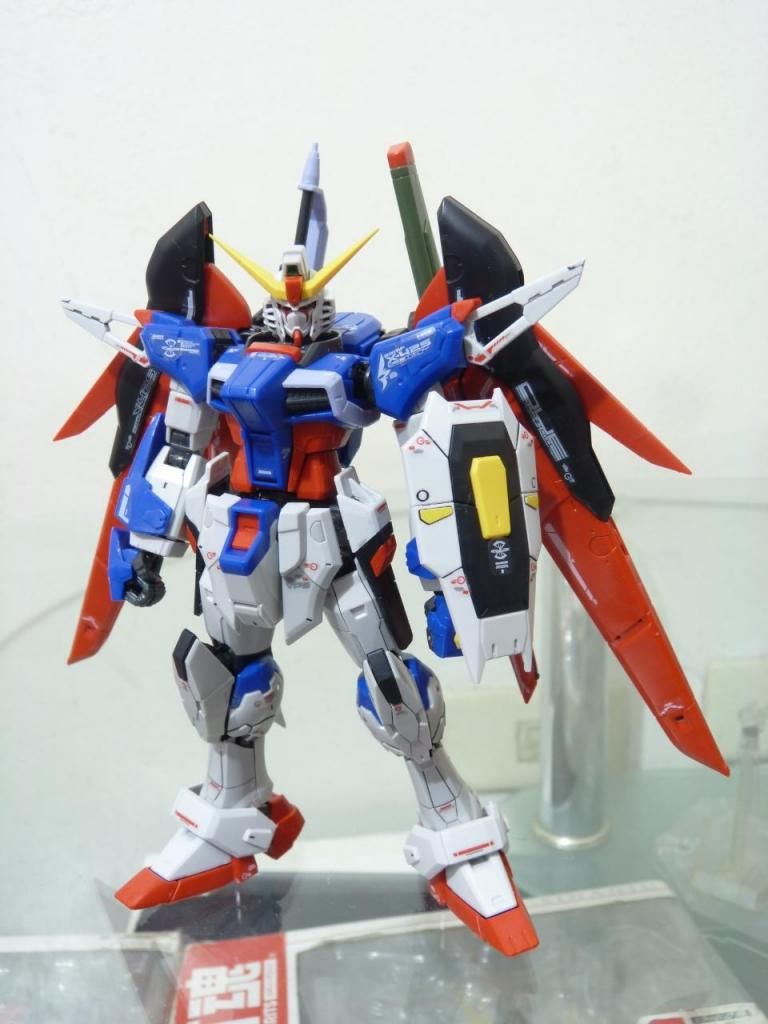
It's exciting to finally get the Real Grade Destiny @ ToyCon 2014. Quite sadly, after finish building it reminds me how burned out I am from building model kits. Real Grades in particular. Taking photos of this 144 exquisitely detailed kit was........ as well as with all my RG's a pain in the ass. :(
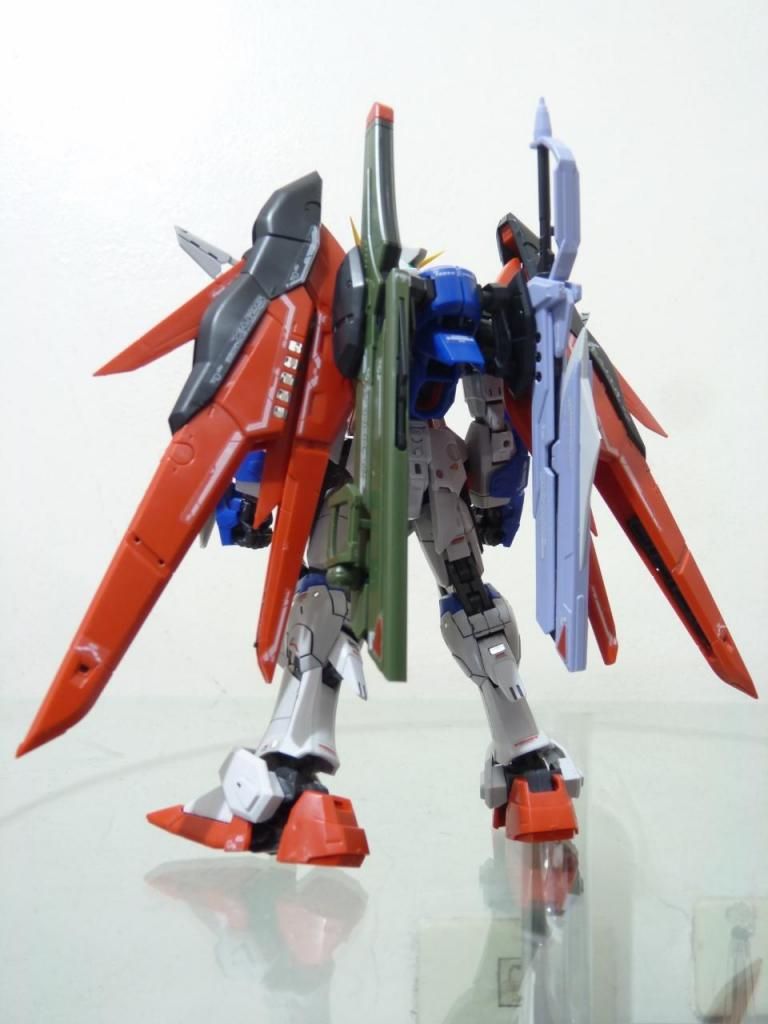
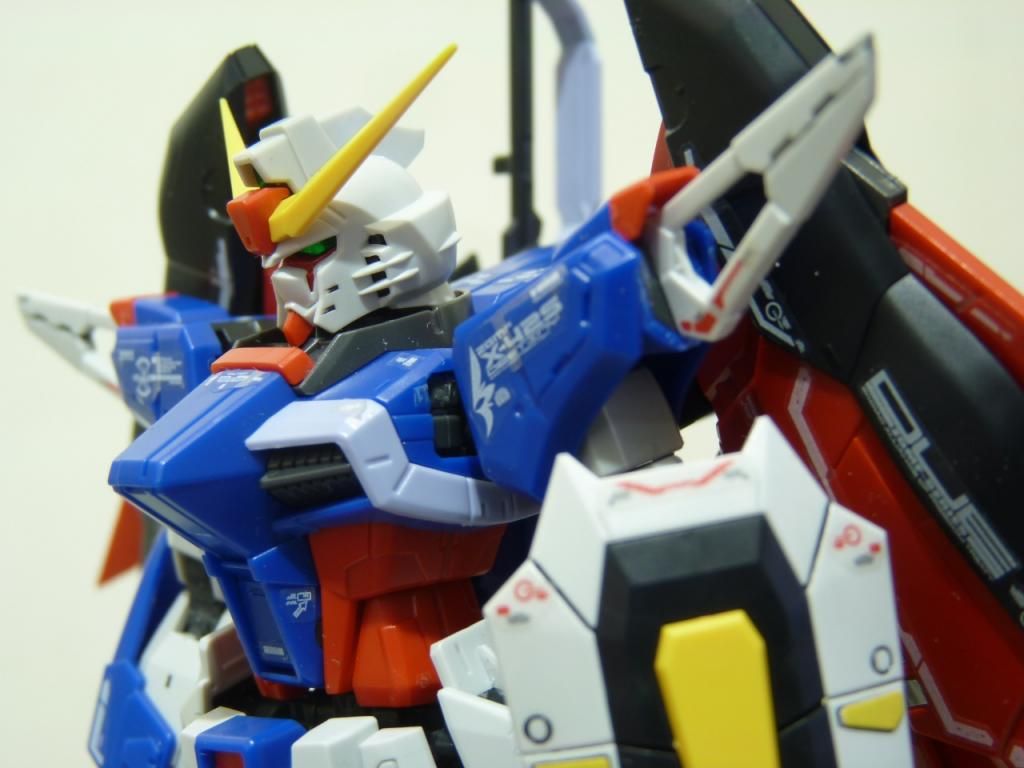
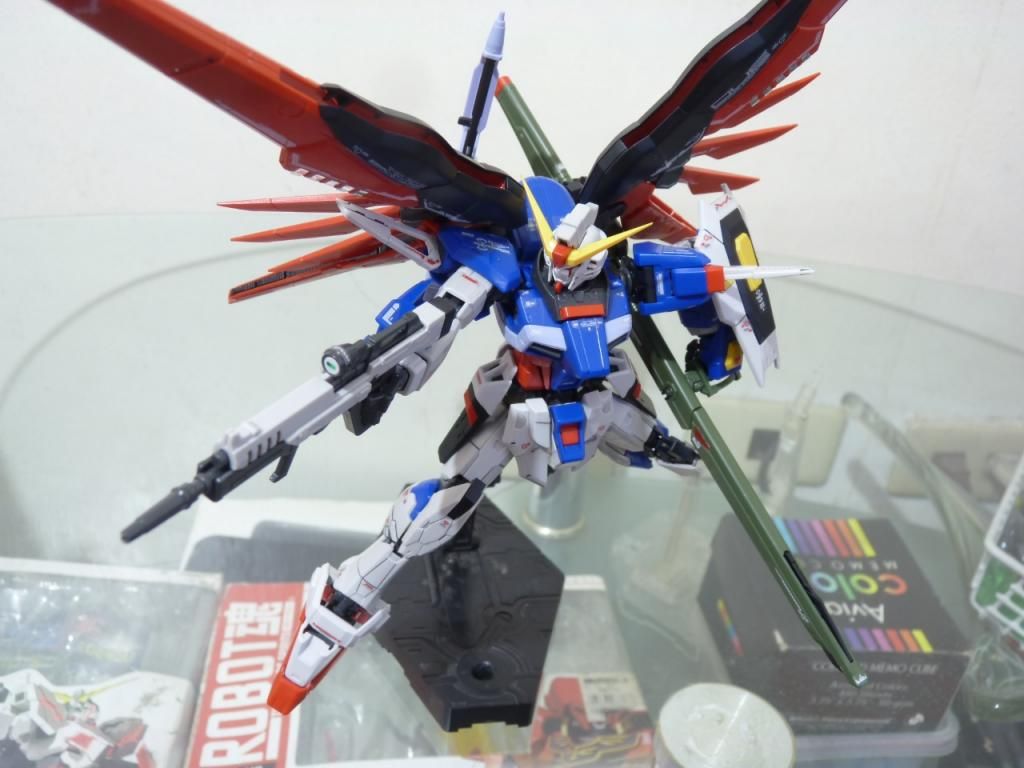
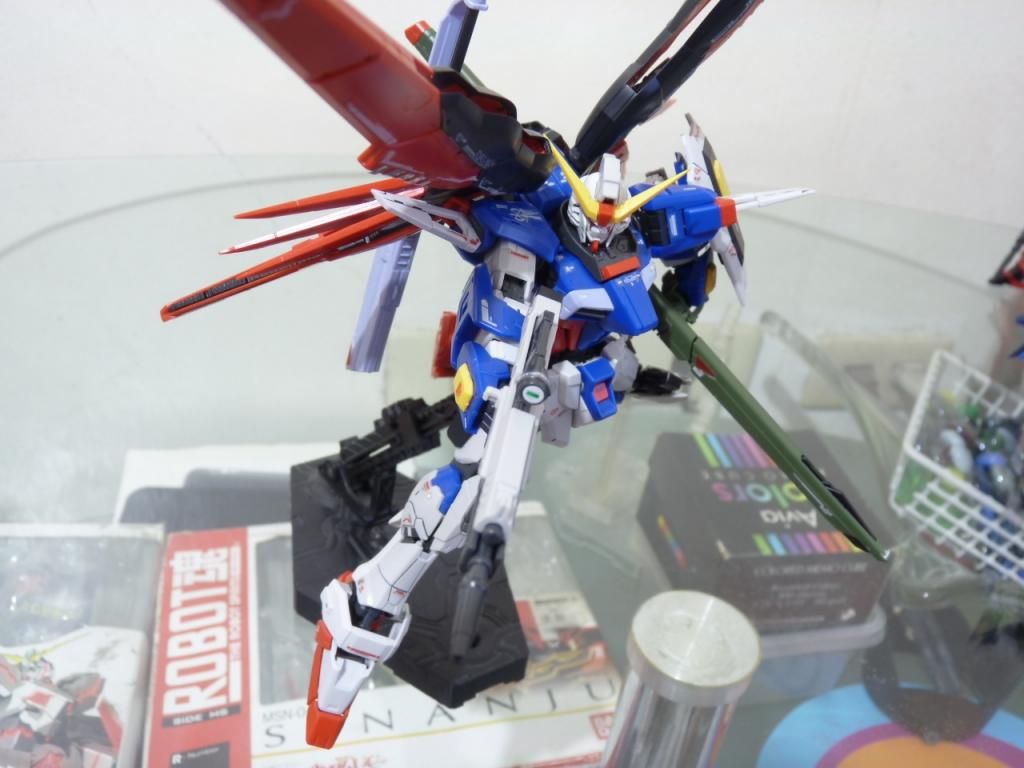
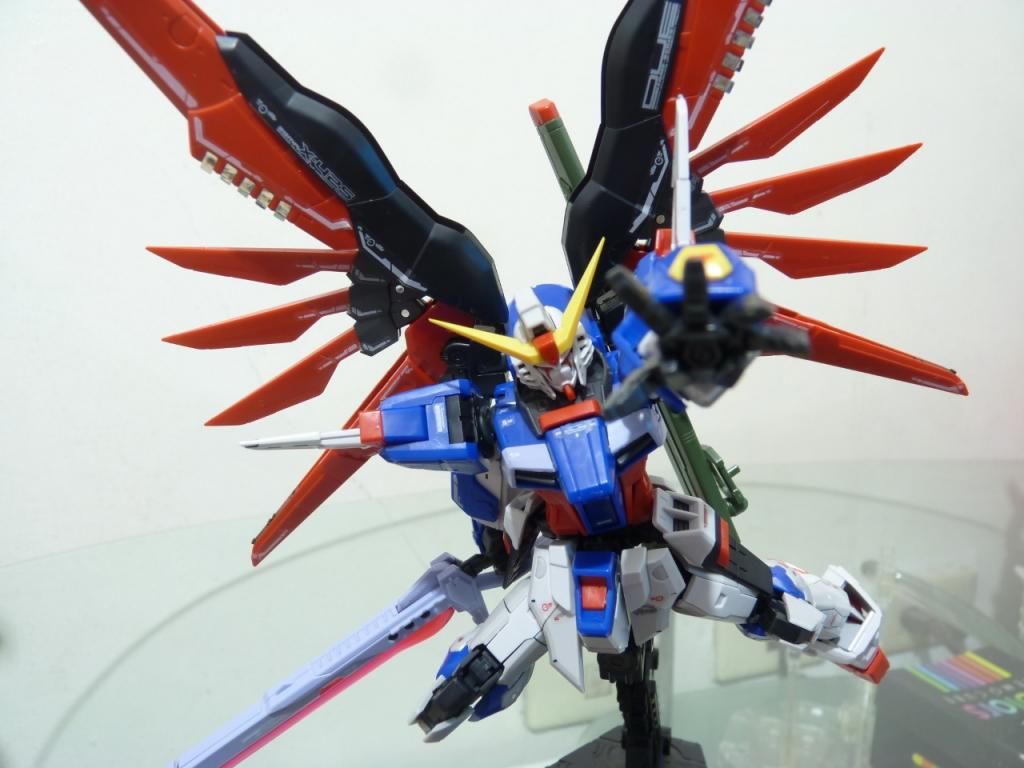

360!!!


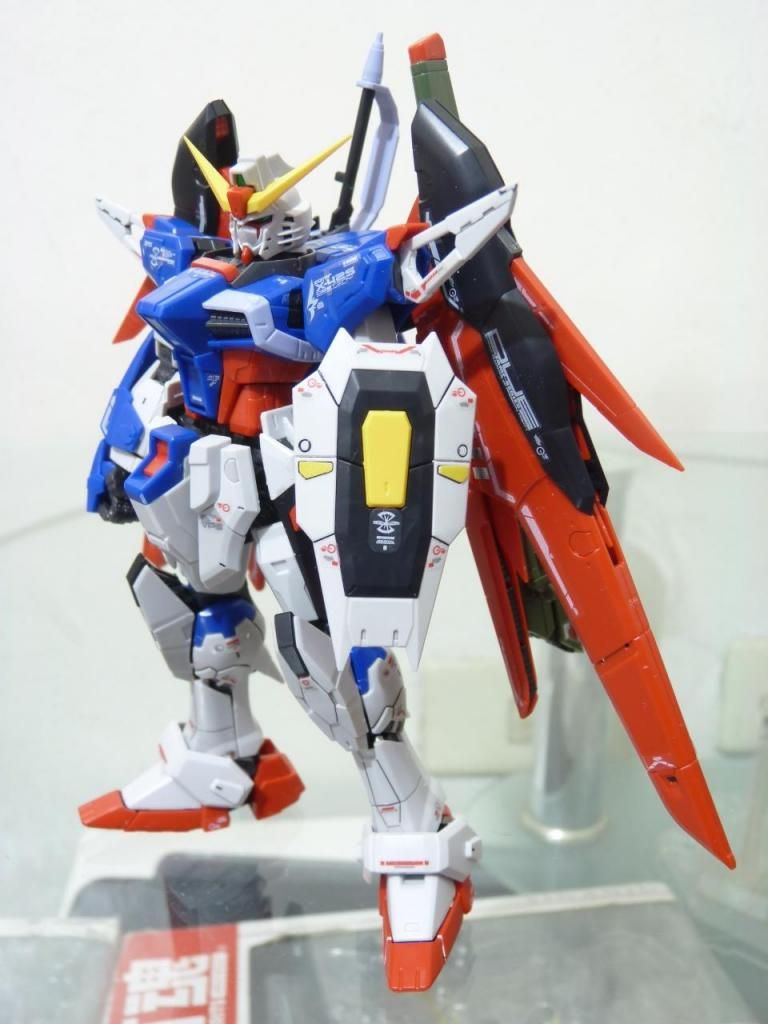
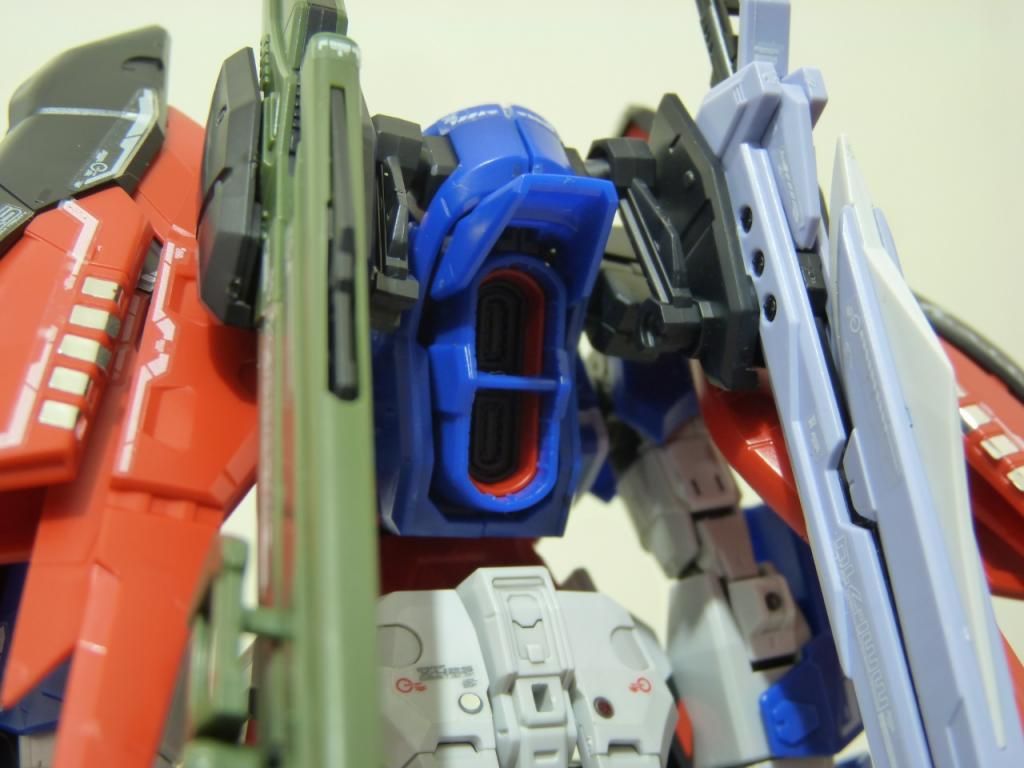
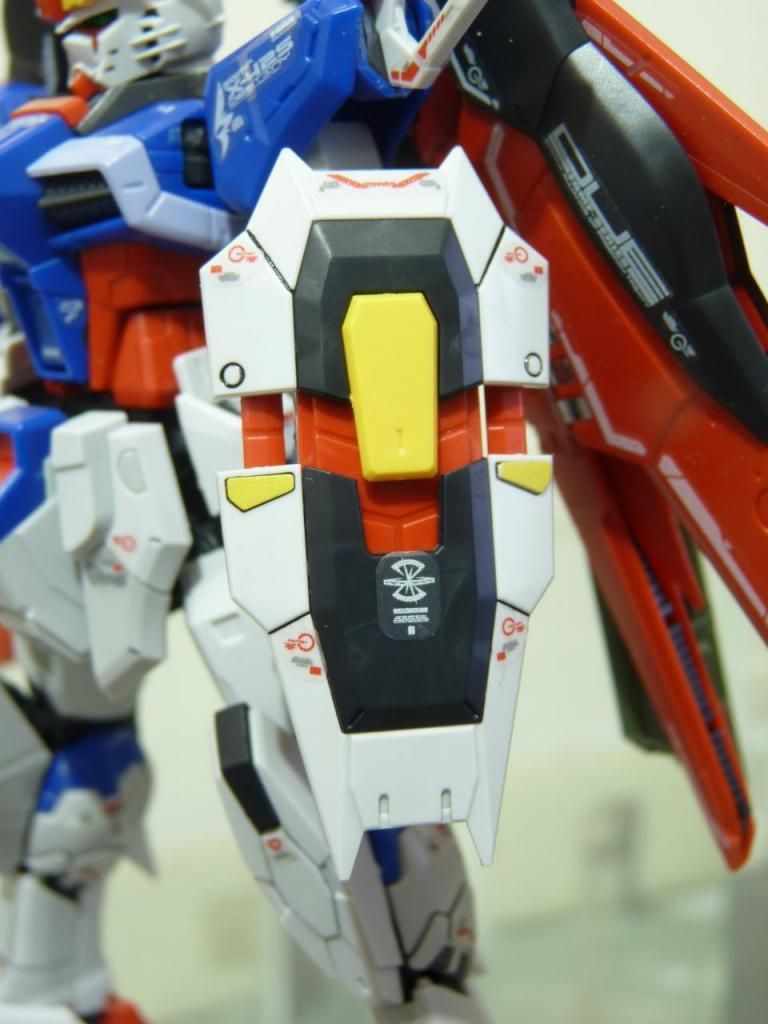
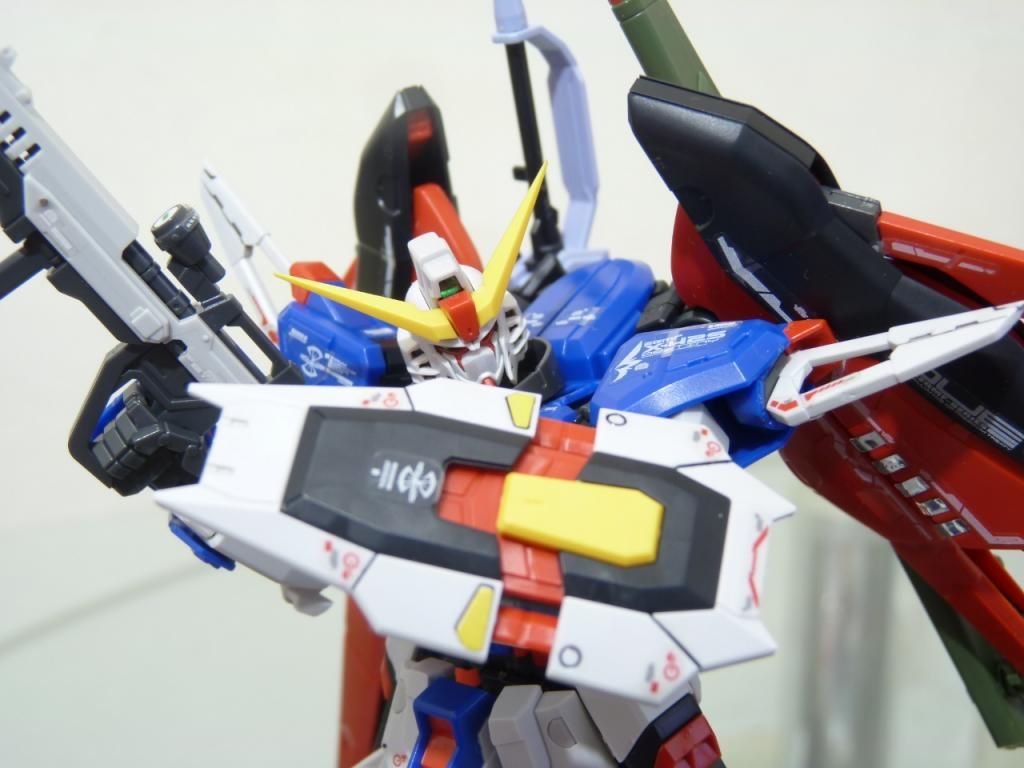
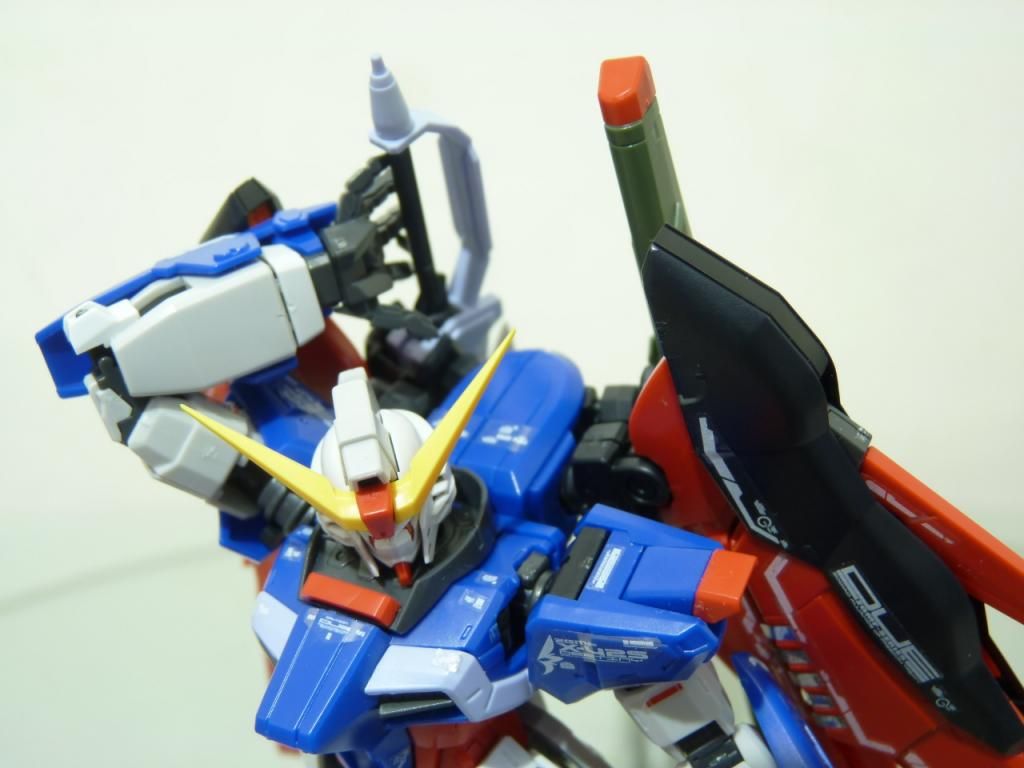
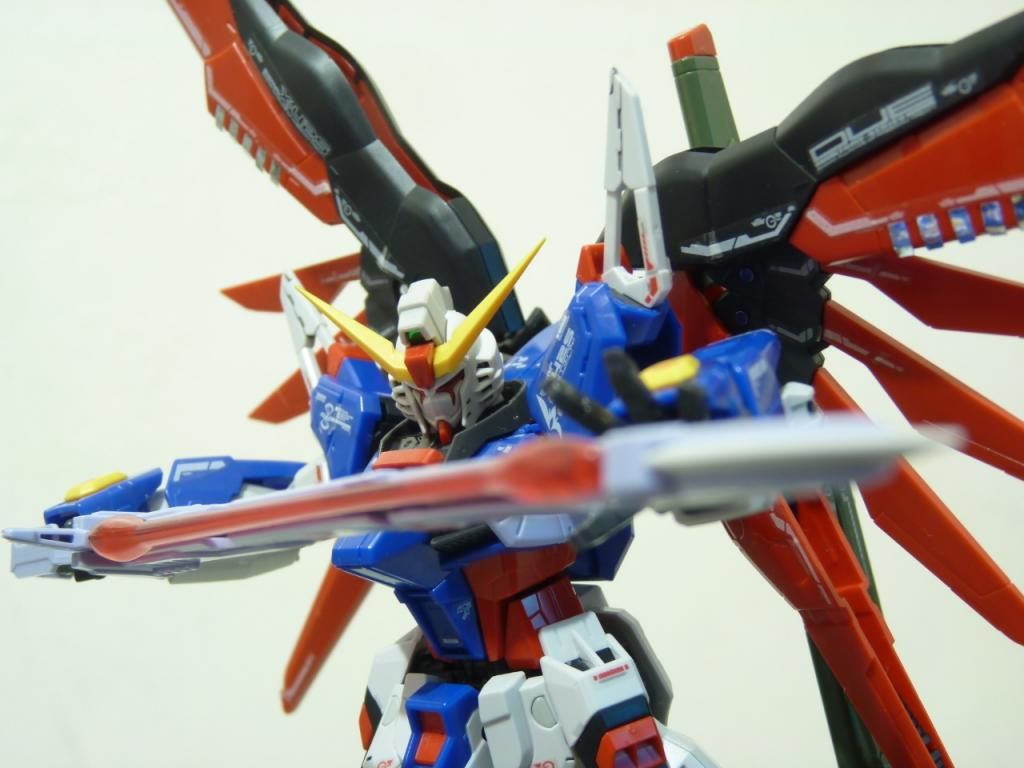
...But also with all my other RG's, the details are just spectacular to behold


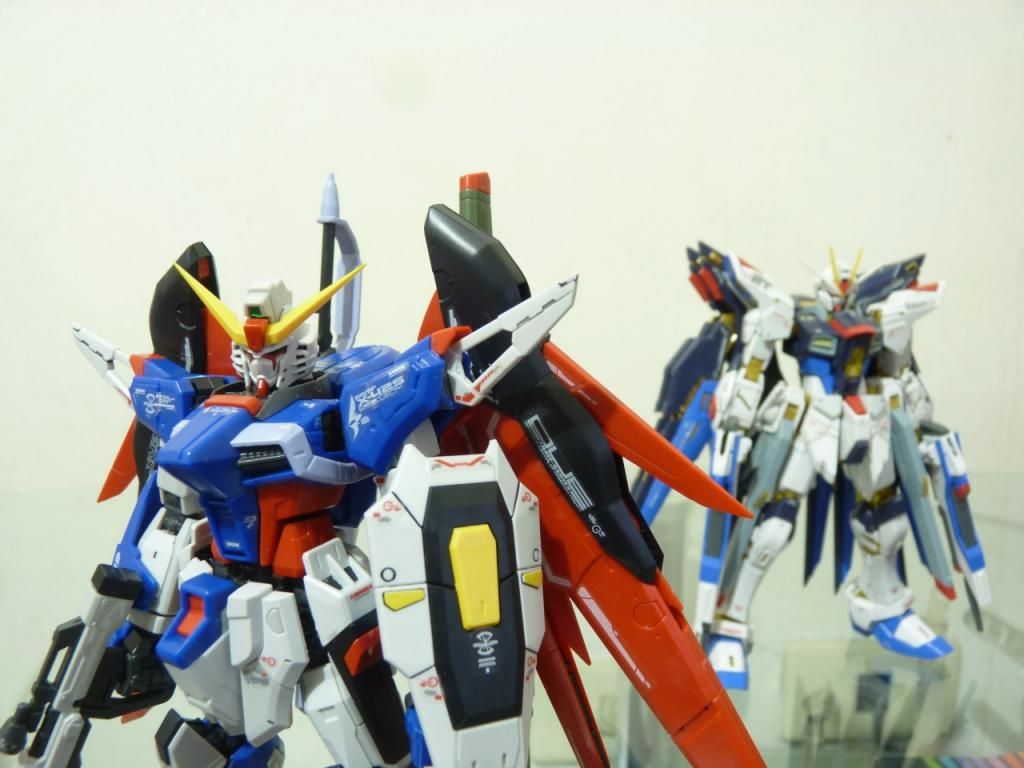
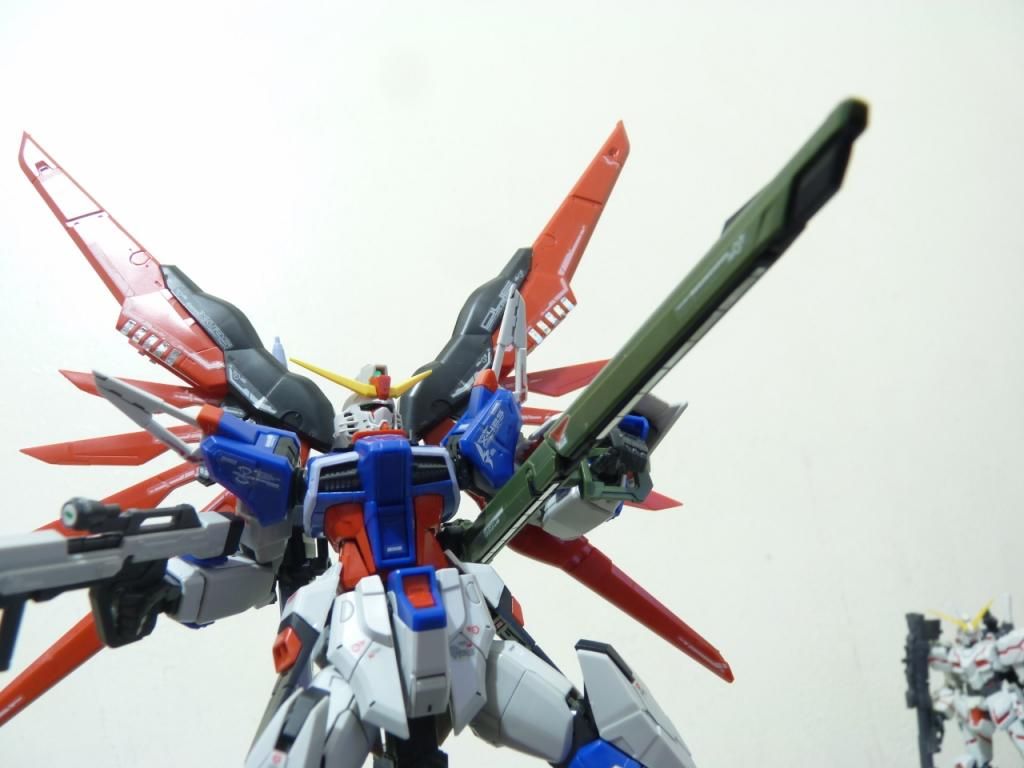
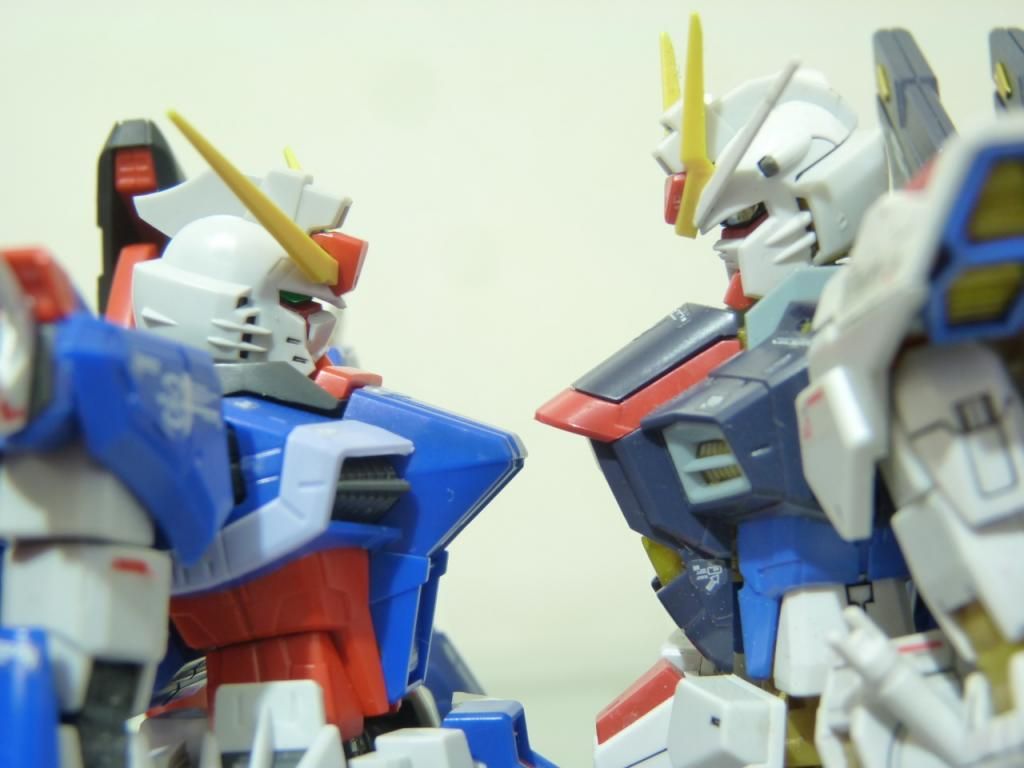
Strike Freedom comparison
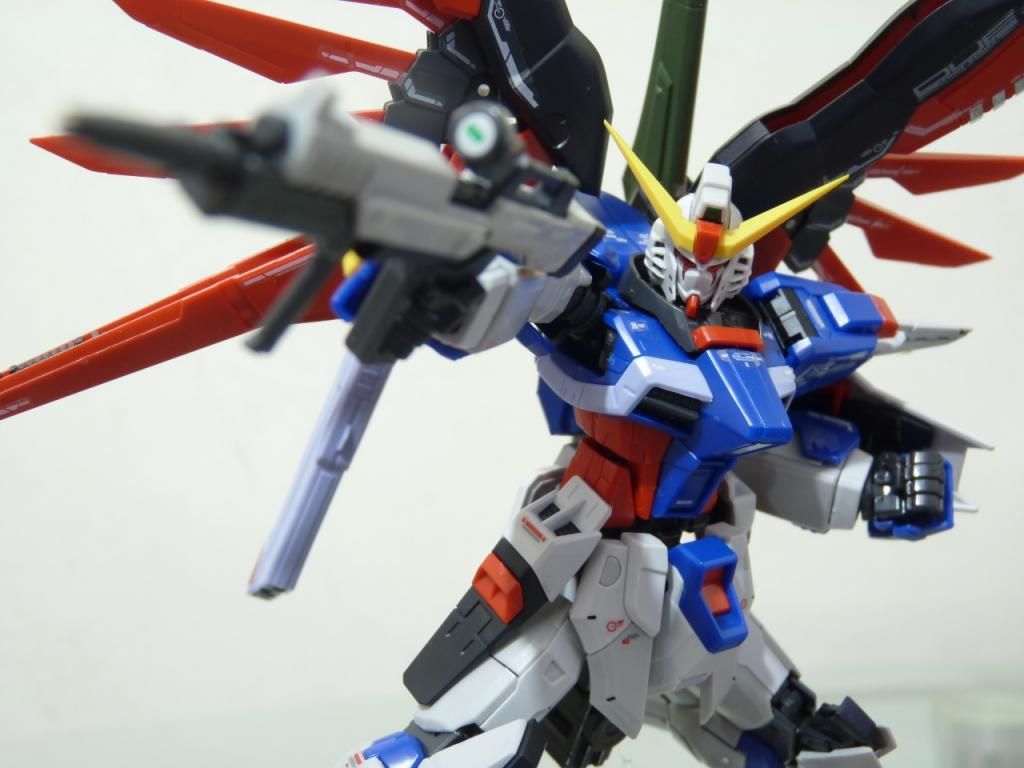
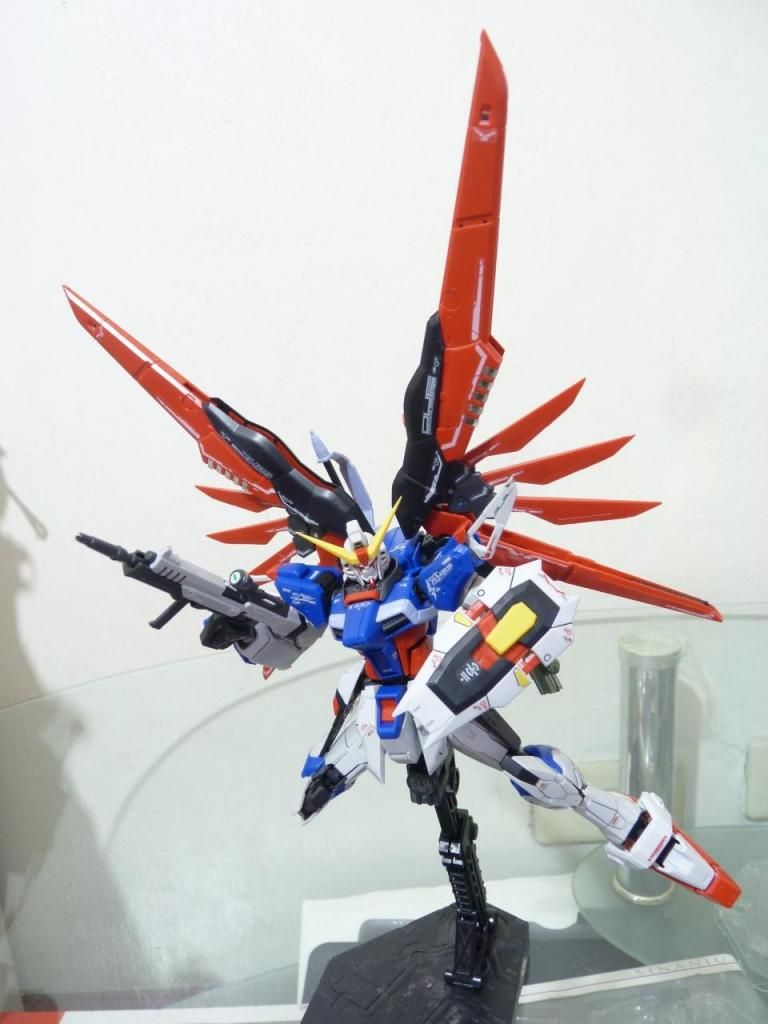
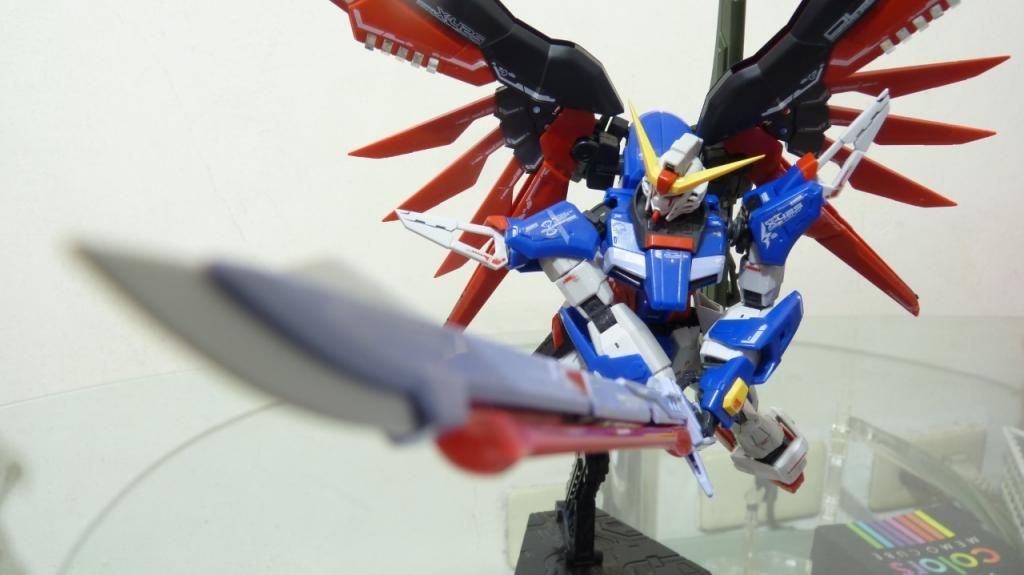
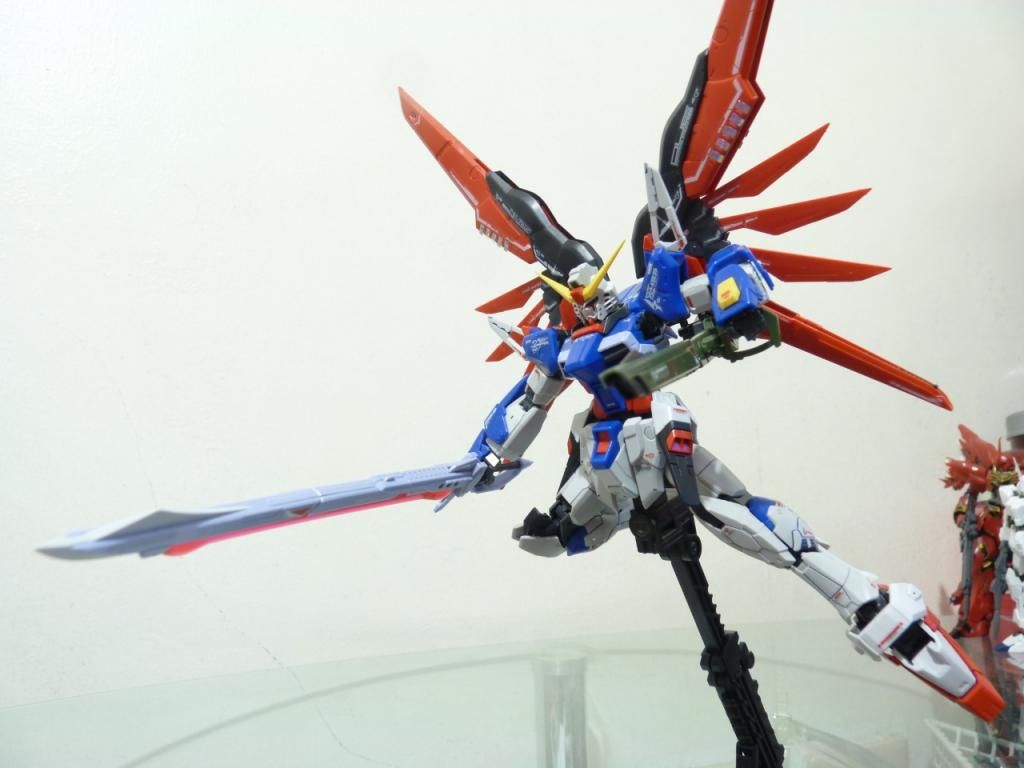


ACTION!


Boomerangs are cool!


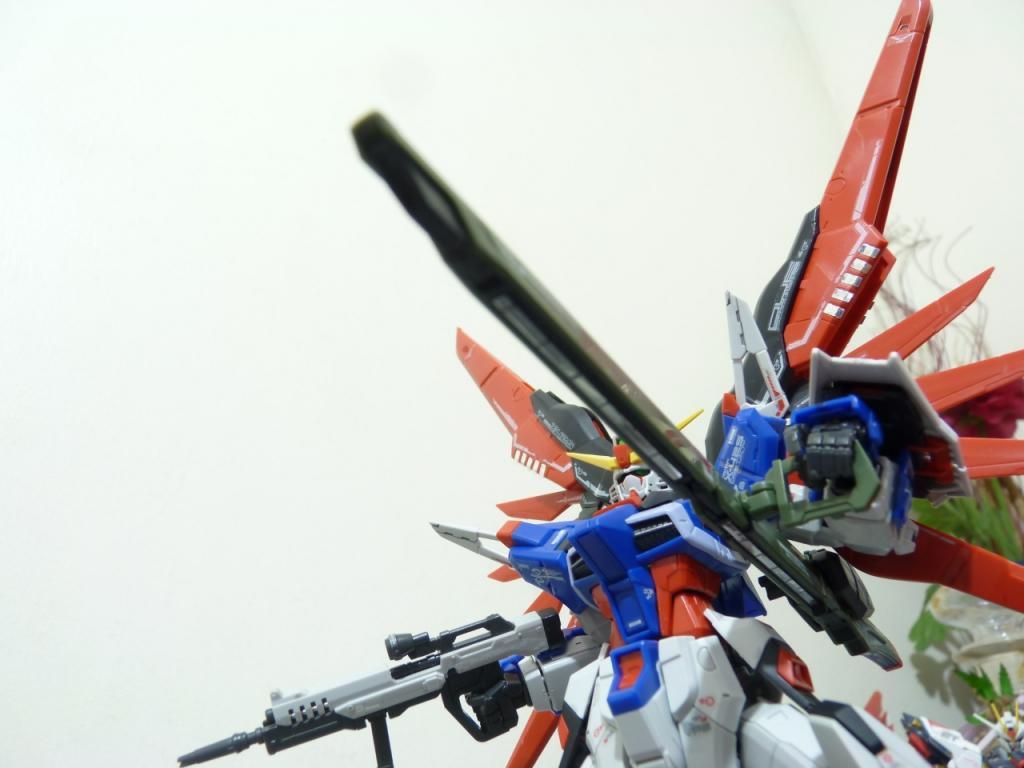
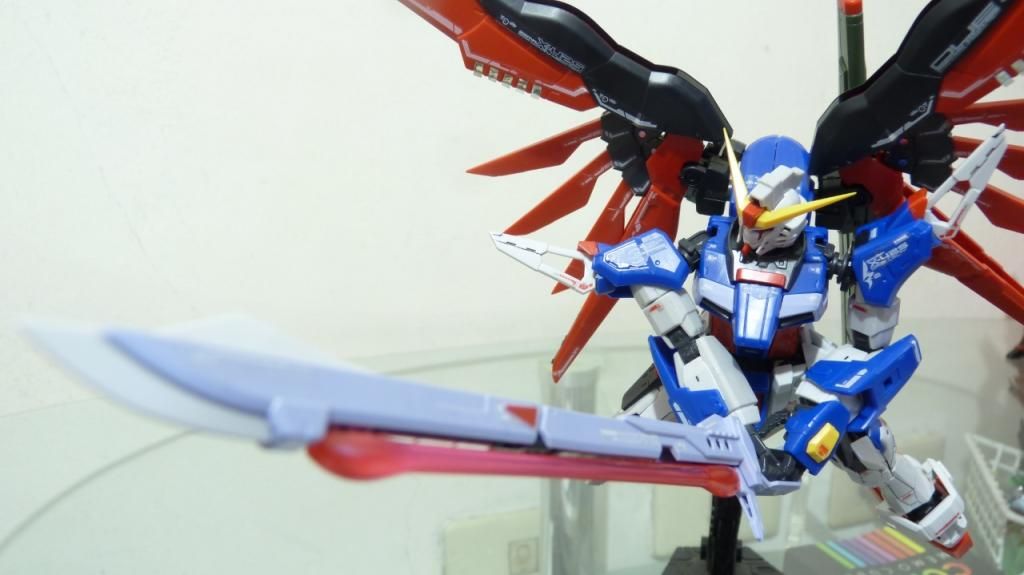
Arondight GET! Badass sword name


Shining Fing..... 


........Palma Fiocina!!!! lewlz


Who's the lead?


No versus action today..... END!


Pros:
Whether you're a fan of guns or swords - you get the best of both in Destiny
It's an RG!

Cons:
It's an RG!
Loose joints fast
Extremely back heavy
Extremely difficult to stand on its own
Weapon mount at the back is NOT reliable to hold the Arondight

I have a love and hate relationship with Real Grades. From the time it first came out I was all praises with its detail and have disregarded the major flaws. I wanted to put faith in the line as a 1/144 collector. Major flaws was and sadly still is the inner frame. It's amazing how soft and fast it gets loose from posing it a couple of times. The range of motion ain't as impressive as before when 1/144's were bricks compared to Master Grades but from post Gundam 00 kits, the articulation are just as good without sacrificing the solidity.

This may be my last Real Grade; at least until they've remedied my outcry. I get as much satisfaction from building kits with photography. But with RG's it's more of a frustration because of how difficult to pose despite its range of motion / articulation, it's not capable holding.

Model kits is a form of art I can practice as a hobby which is a frustration I was not able to pursue with my career. Being artsy. I'm still hoping Bandai would stabilize the RG's because they are a heck of a design and interpretation to marvel at. The set of hands was a step to solidifying. The RX-78-2 and Zaku II came with just the sucky articulate hands.

I may as well stick with Robot Damashii's or try MG's in the future and see how it holds (pun) up.

Ciao~

Comments

Popular posts from this blog

TT Hongli MG 1/100 Exia Ignition Mode - Review

Assembling bootleg kits can be a pain at times but this MG Exia Ignition Mode was a breeze. I was surprised from the fact that 90% went well and the other 10% were minor fixes - from shaving male connectors to gluing parts. I really enjoyed assembling my first Master Grade (I was hoping it was Bandai, my wallet was not cooperating as expected lol). Action! G...Gu...Gundaaaaaam!!!!!!!!!!! GUUUUNDAAAAMU!!! Ore wa........... Ore Wa Gundam-da!! Exia exterminating target............... Graham: Ike, Setsuna! Live and unlock the future! More swords Setsuna? Target exterminated! Joining the bunch :D Pros: Assembling is pretty easy for a bootleg Build is sturdy It came with LEDs! Cons: Joints are too stiff (for my liking, anyways, it made the kit solid though) Swords at his wait does not fit the peg in the hand Exia Repair parts does need half of the non-Repair head. (didn't bother with the transformation) The Exia Ignition Mode is a must have! I'm really g

RIP Crimson Comet

Photobucket has kidnapped my photos and I'm too lazy to re-upload and update every bit. It's been worthwhile. I'm intending to start a new blog that is more "personal" than just focus on one part of my hobby. Looking at my older posts, I can fairly say I've improved on my toy photography (and English!) in which I am thankful for this space as a medium to share my work. Thank you for reading up to this part! Cheers for 7 years!

QY SD God Gundam - Mini WIP, Assembly Cure and Review

Thank GOD I'm back! Lumix is back and my GunPla energy has been over the top! I'm feeling good this morning and built Gundam Alex. Well more on that next time, but again, thank GOD I can finally review my QY God Gundam! Starting off, here is the box of QY's bootleg of God Gundam (Deitg Warrior). Unboxing this miniscule kit, there are only 5 runners along with the polycaps. ..And here's my bootleg Unicorn (mfg by Jargon), envious why he does not have a review. Issue 01: Starting off our assembly cure, carefully shave off the chest piece by a hobby knife to snugly fit it into the chest armor. Issue 02: Like most of my QY kits, head continues to be problematic. Cut the male connectors and apply glue to the seams. Issue 03: Waist armor male connectors are too thick. Shave by a hobby knife or sand it down to fit the pieces. Issue 04: Arms too have fitting issues. Cut the male connectors and then glue. Make sure you do not forget the poly cap when gluing! Is