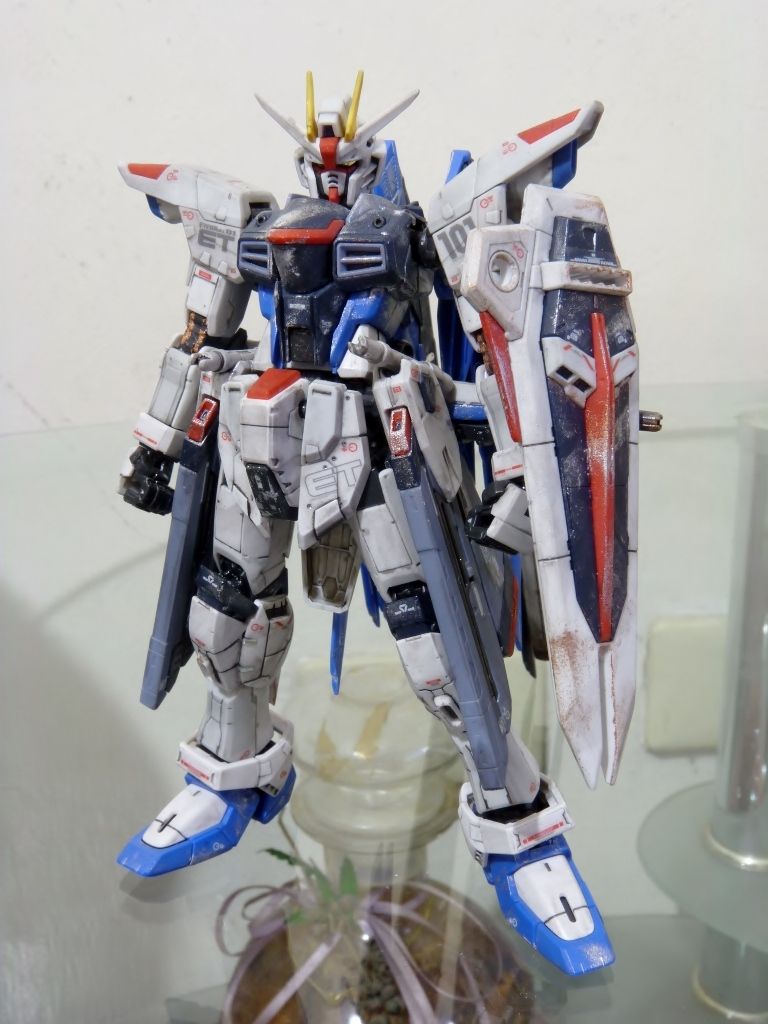
First plan with this kit was to finish it as simple and as fast as possible. Sucking at panel lining, immediate change of plans to remedy the fugliness it turned out. Inspired by kits with dirt, wear and tear, and realism, I ventured in dry brushing hoping to hone my modelling skills (sure). And of course, fix the clusterfuck it has become.

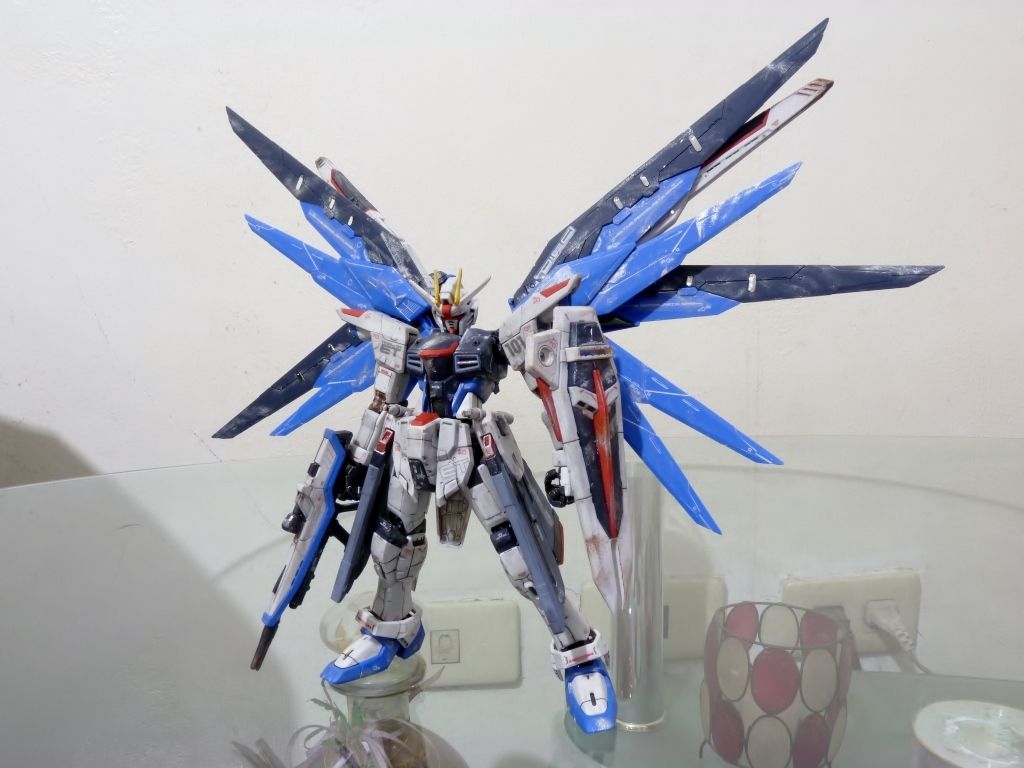


Thus I present, FREEDOM!
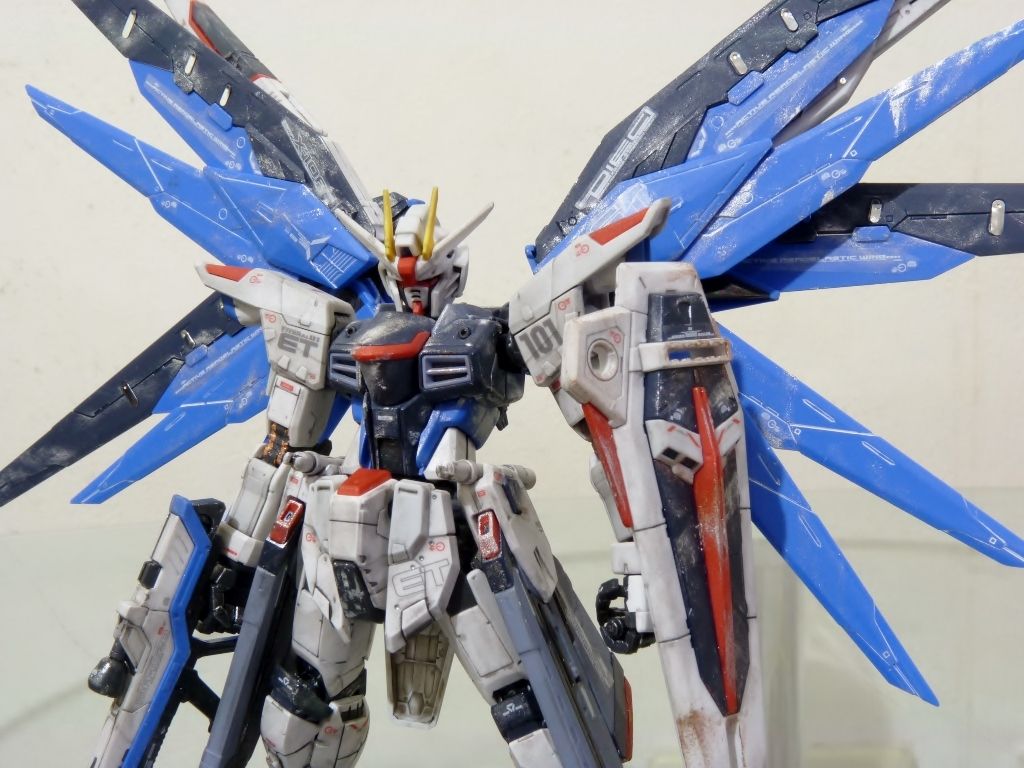
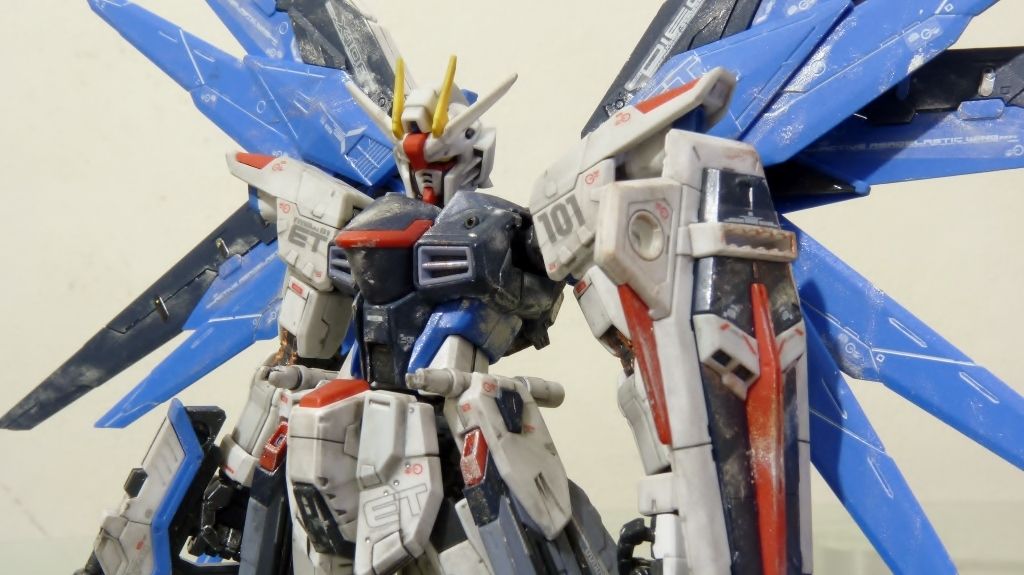
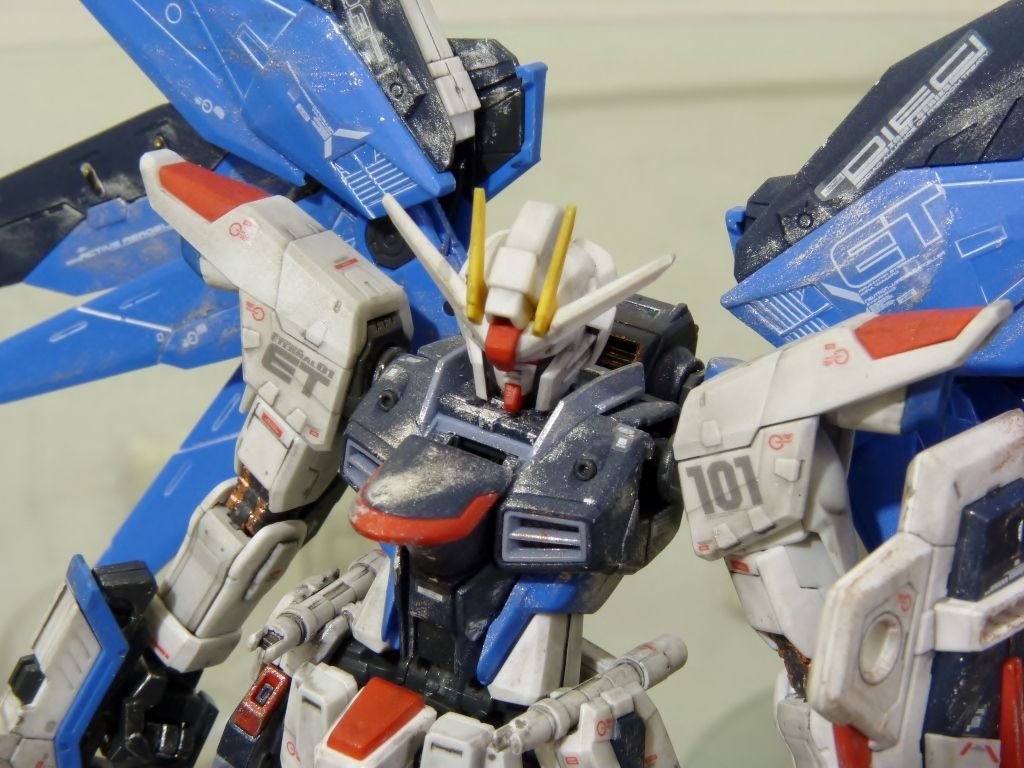
Happy with the weathering but still needs a bit of polish on some parts are too busy or too "clean"
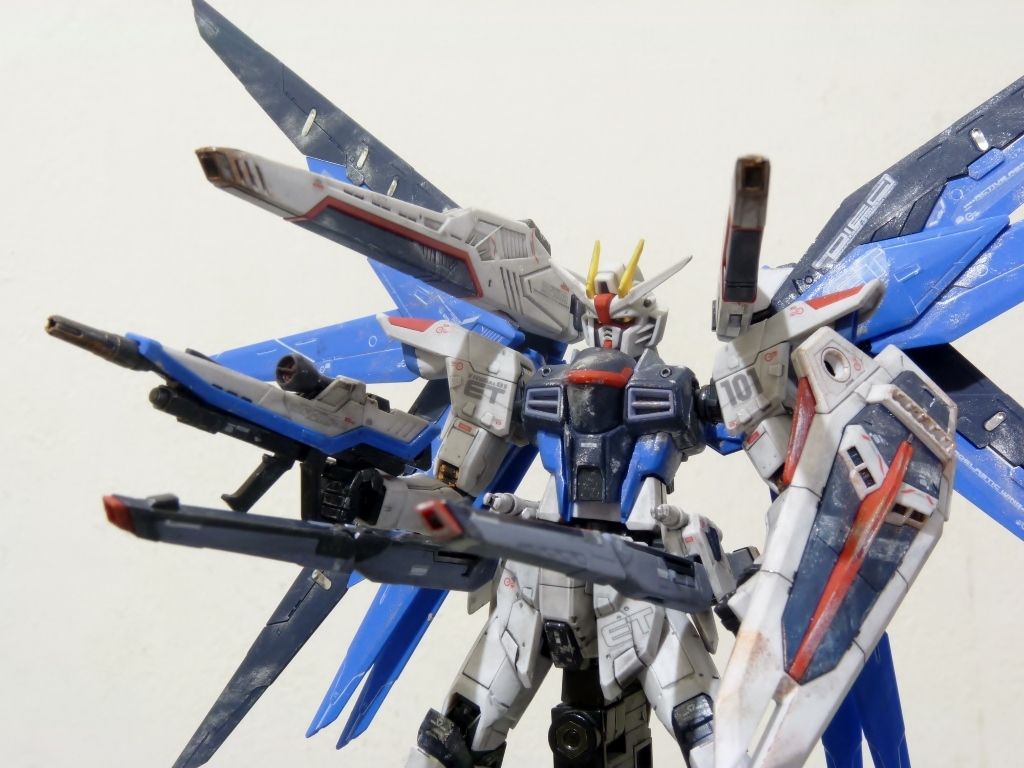
Accessories
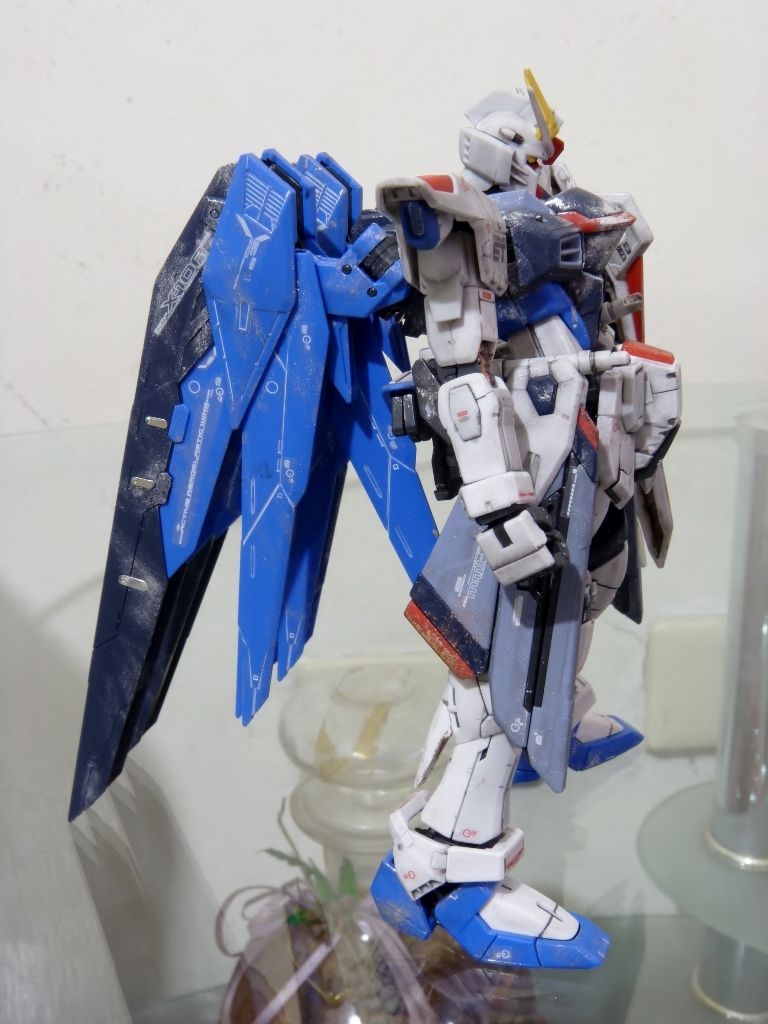
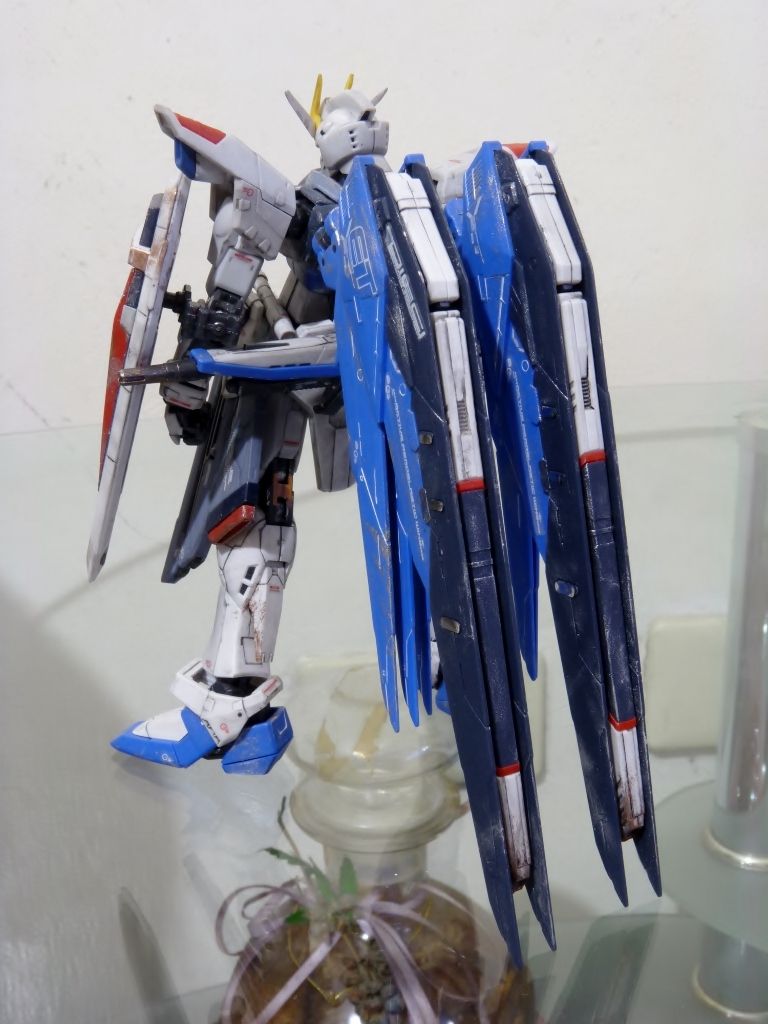
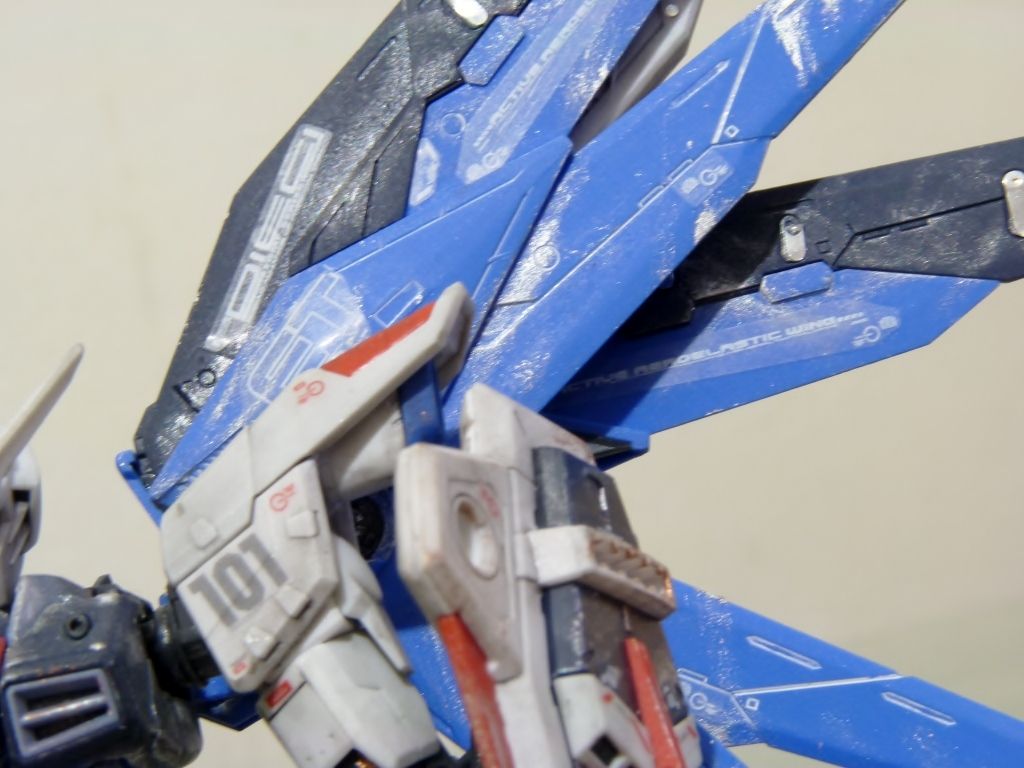
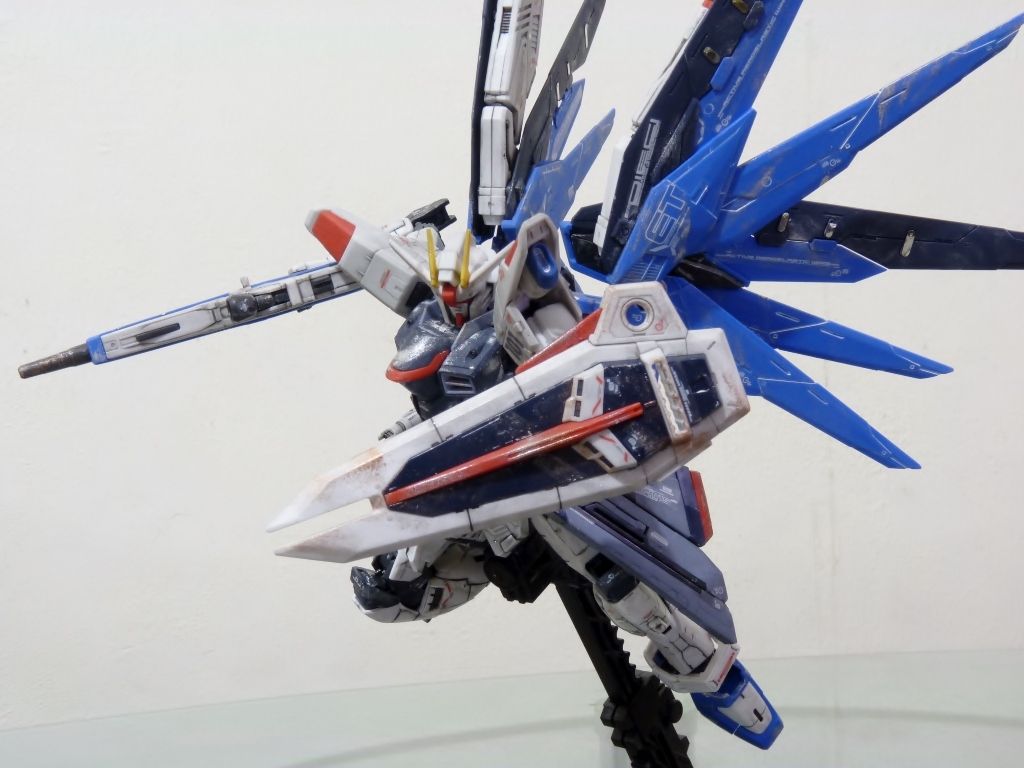
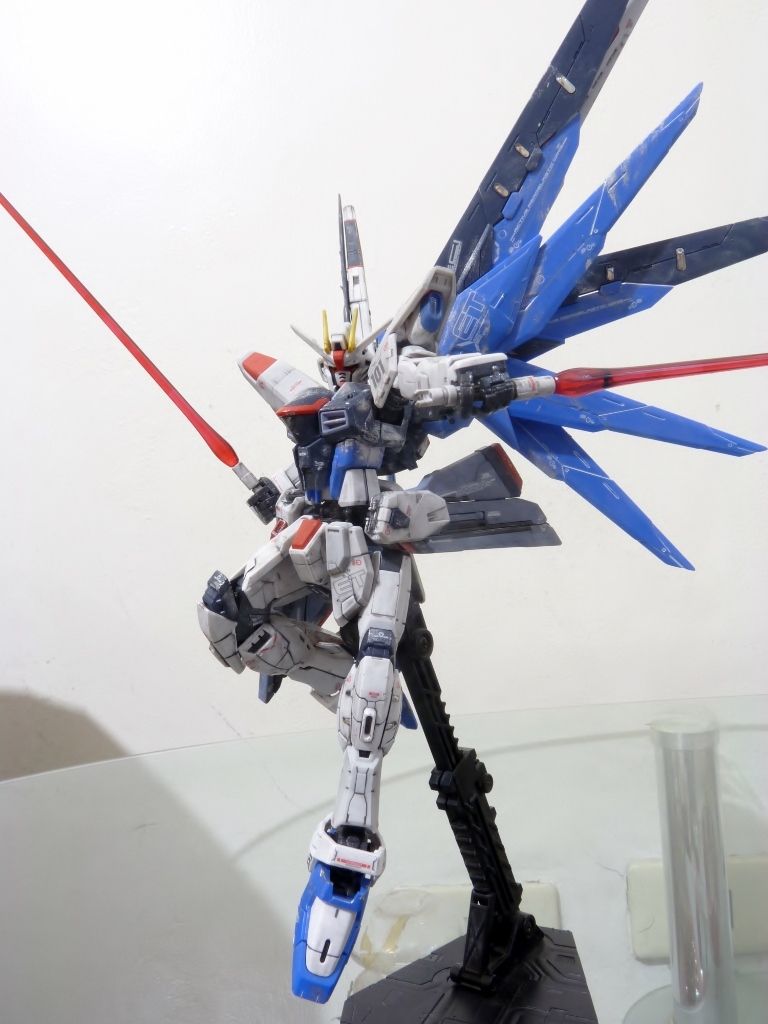
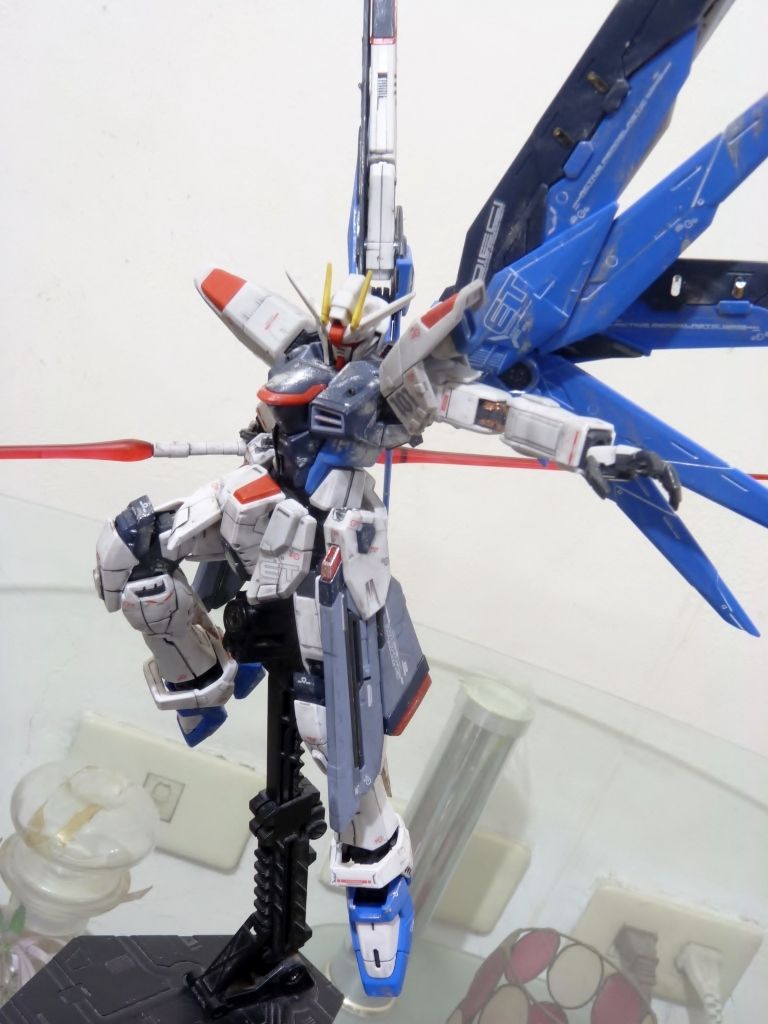
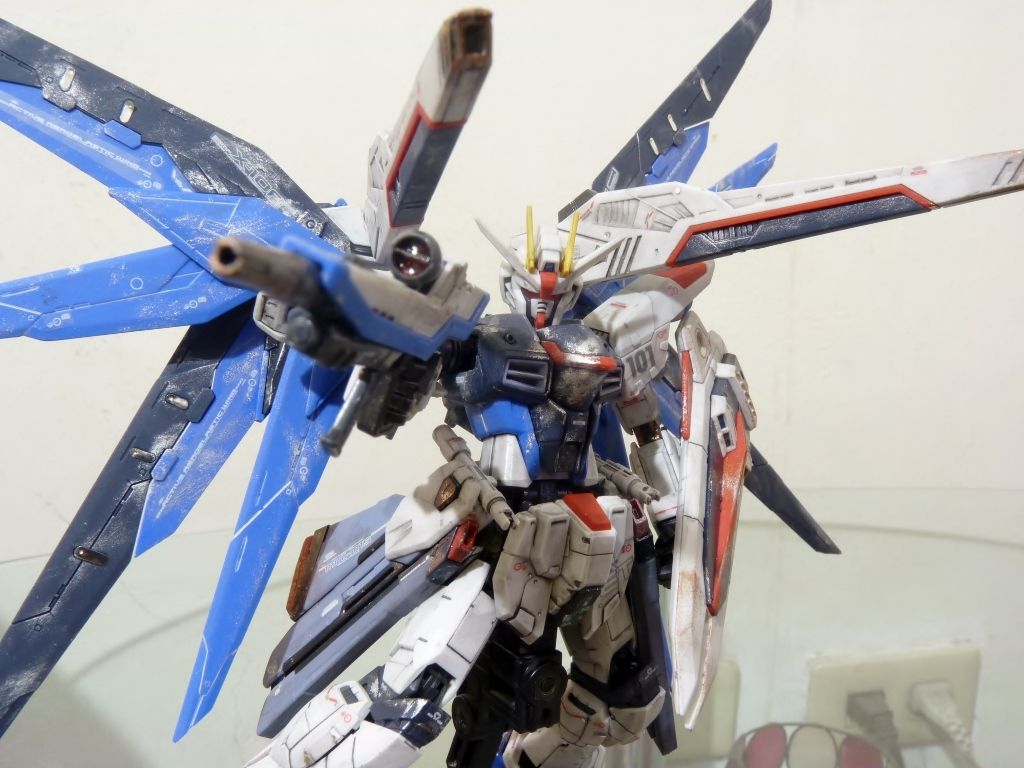
Wings are a sight to behold
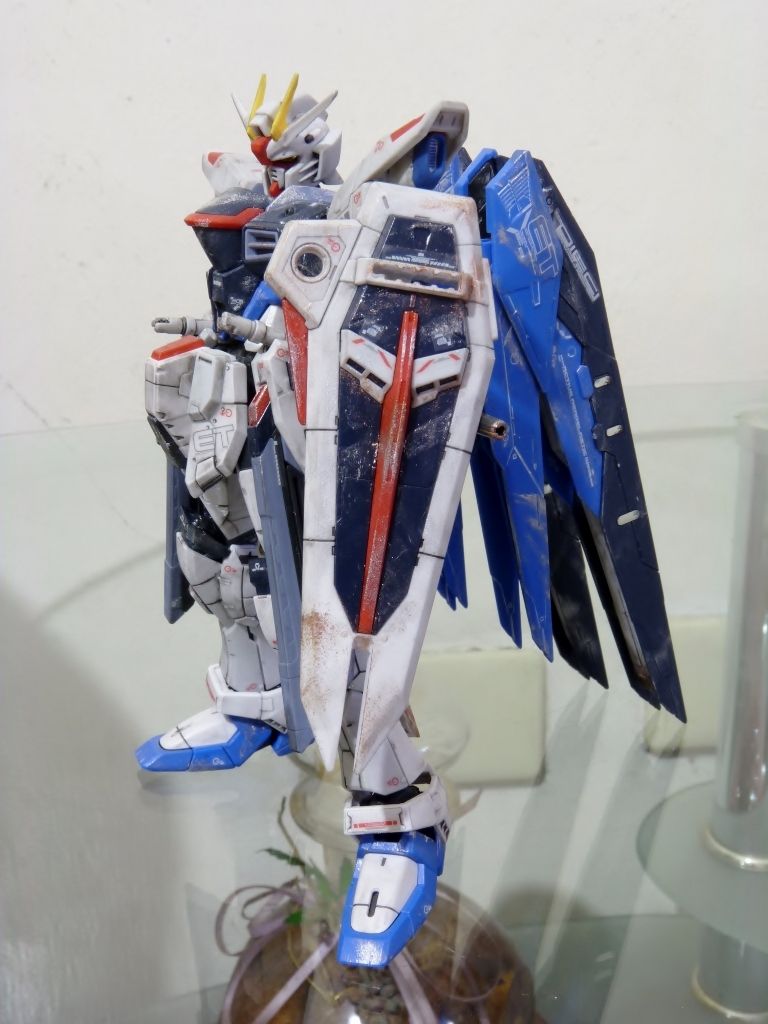
Real Grade open hatch feature. Minimal but an effective kick
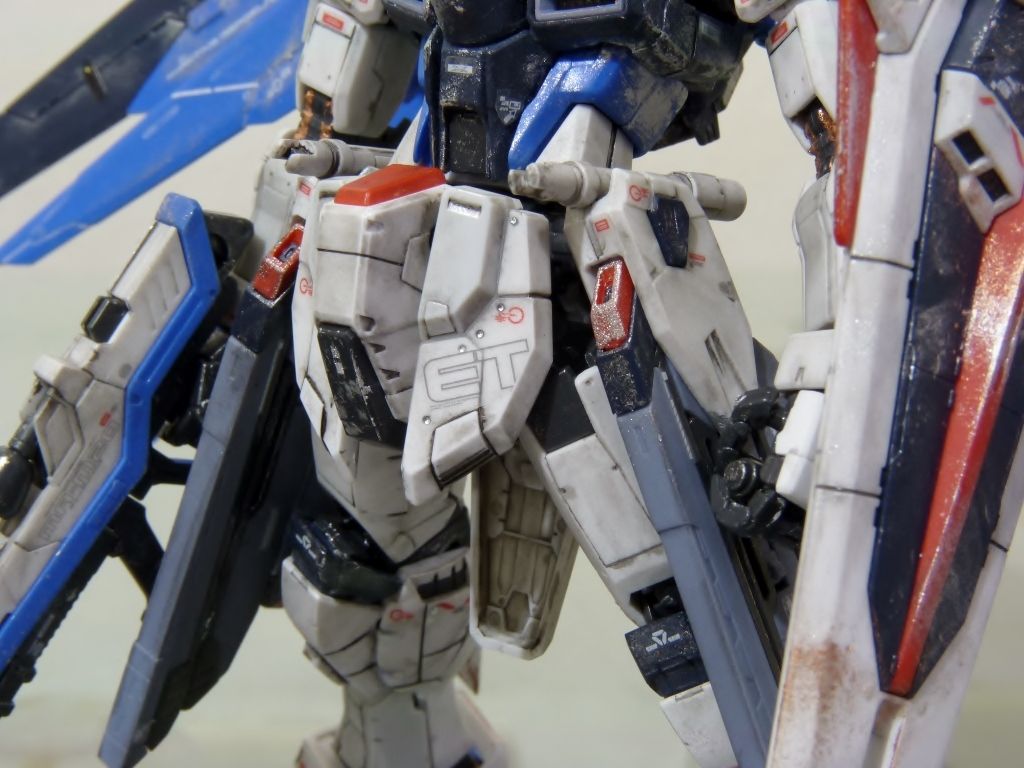
Weather on the skirts and feet are perfect IMO. Glad I was able to pull it off :)
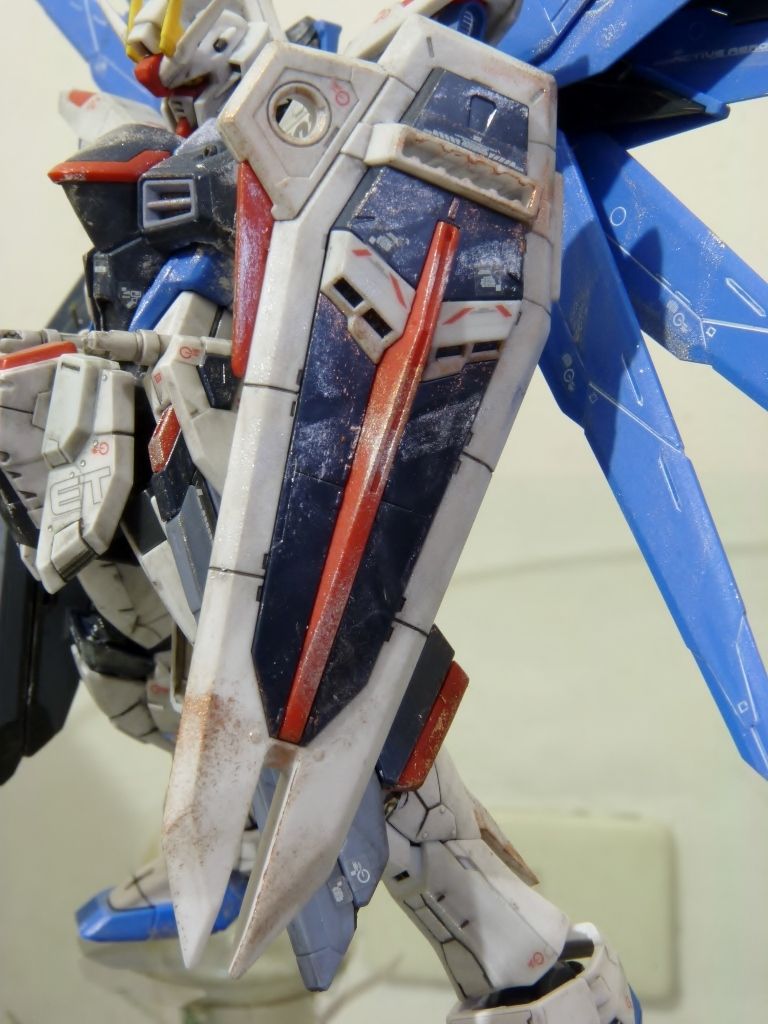
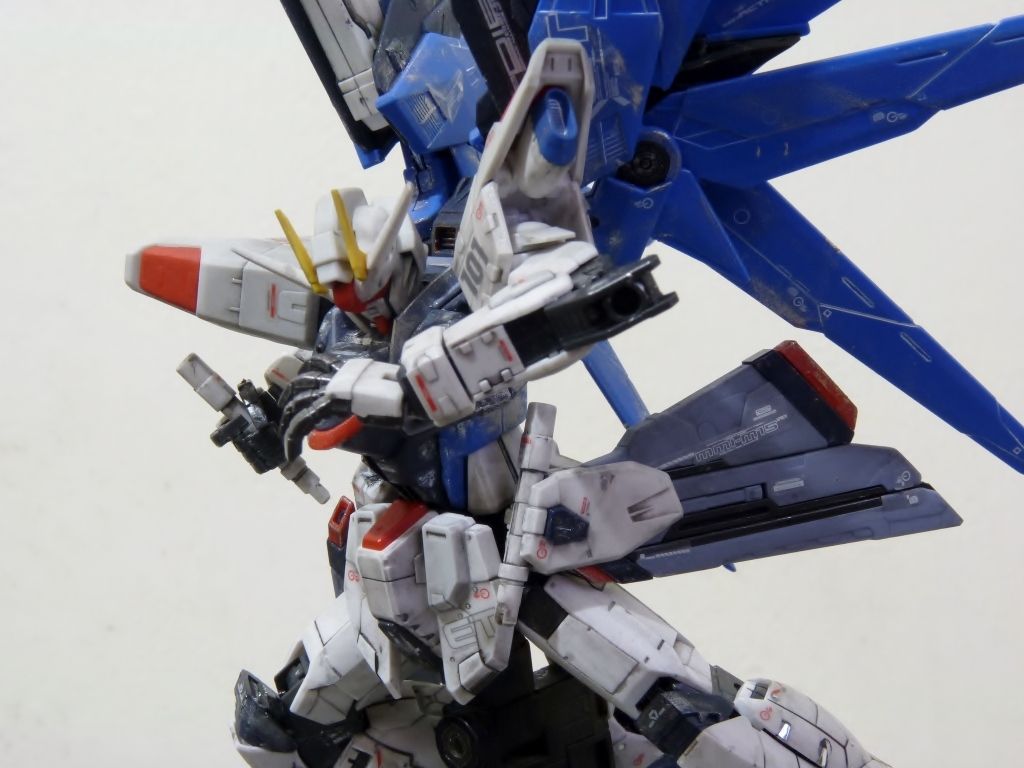
Dim with the shot of the thrusters but the details on them are well put
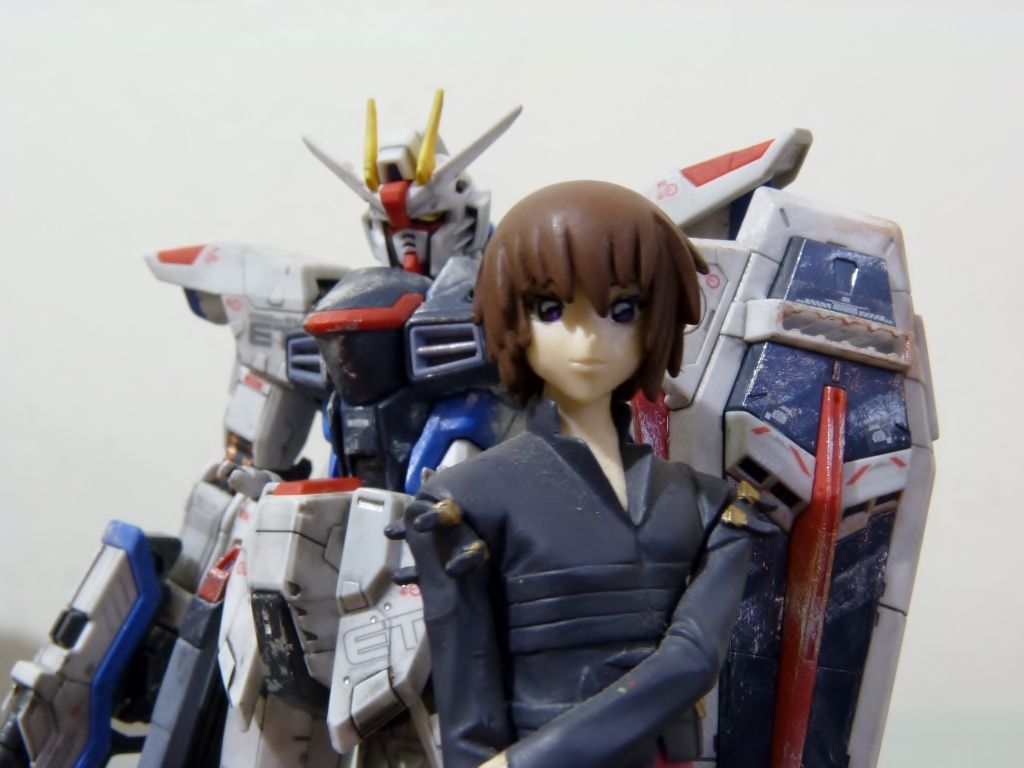
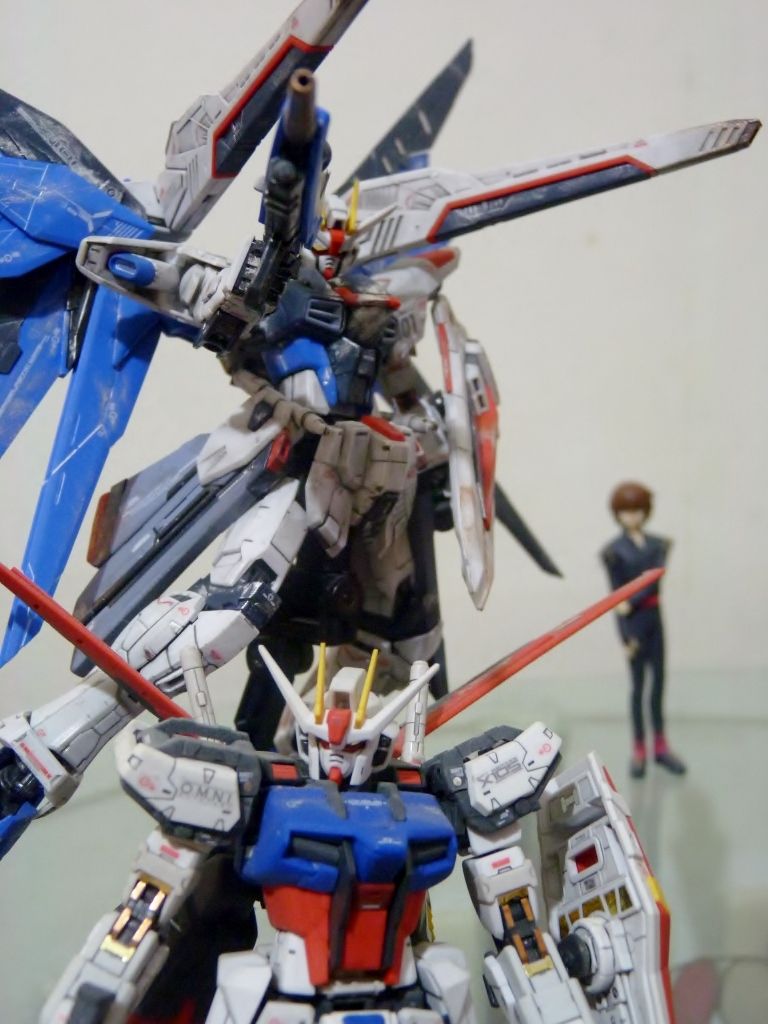
My only Kira figure. Does not project as action-y as I would like but oh well...
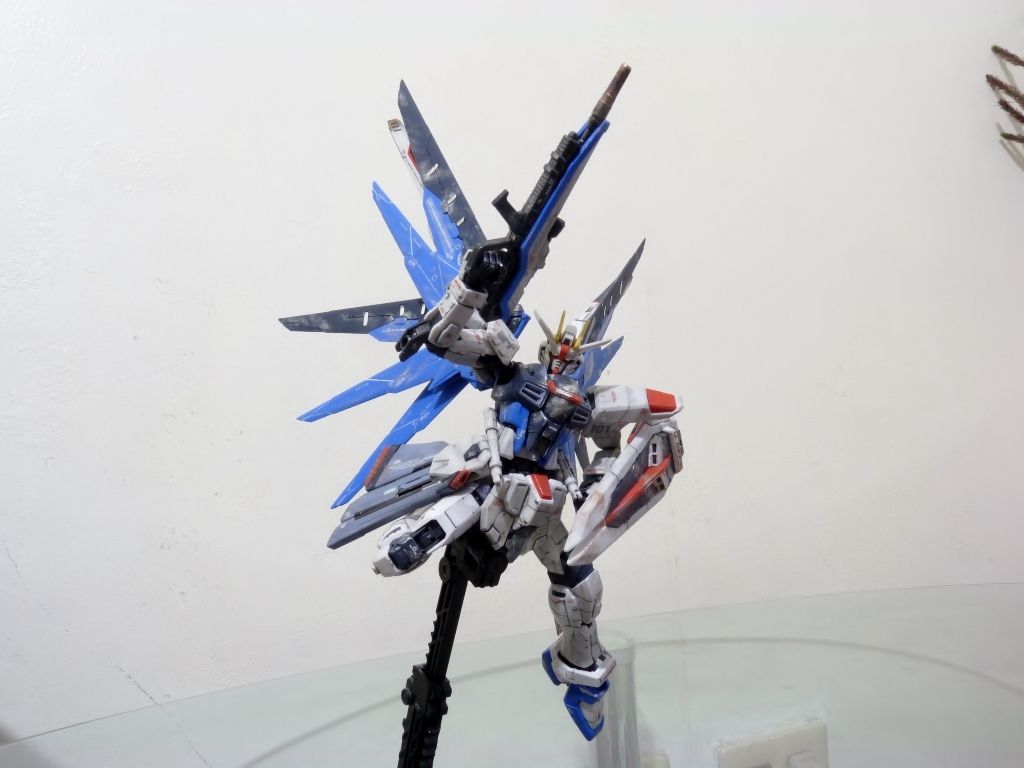
Aaaaand ACTION!
One man army is here there's nothing to fear
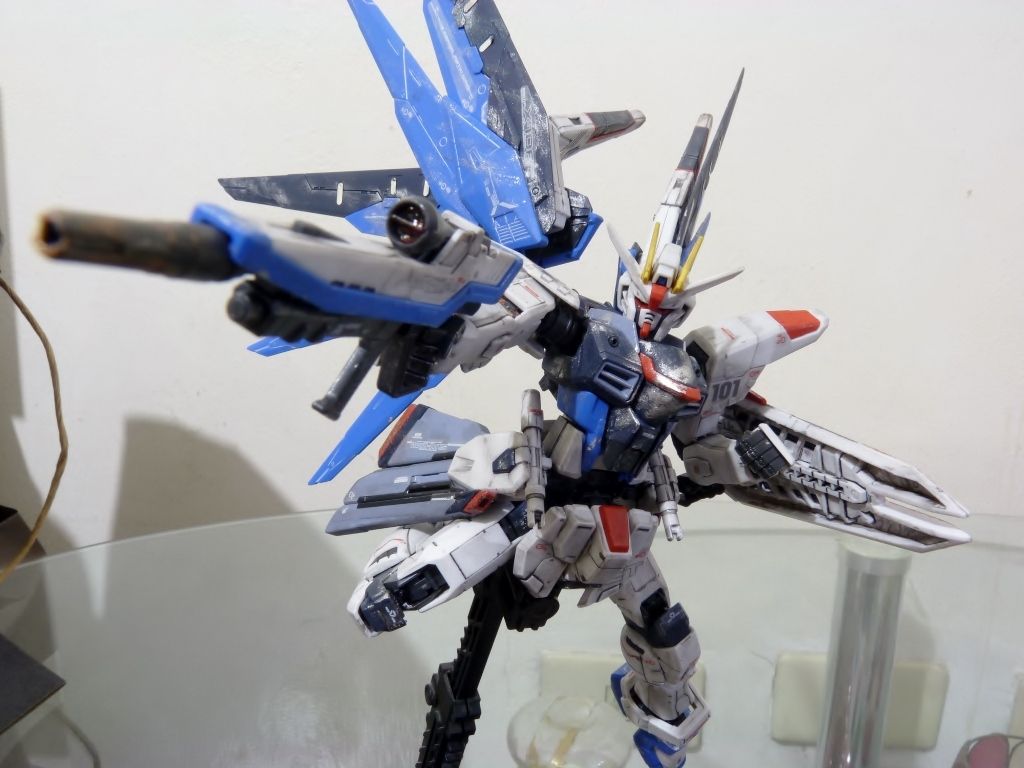
Pew pew pew!
Sword get
Hissastsu
Had fun with the dual wield
Maul's apprentice
Signature pose: BEAM SPAM!!!
Zoom zoom pew pew zoom pew!
Pros:
Wings are awesome
Articulation
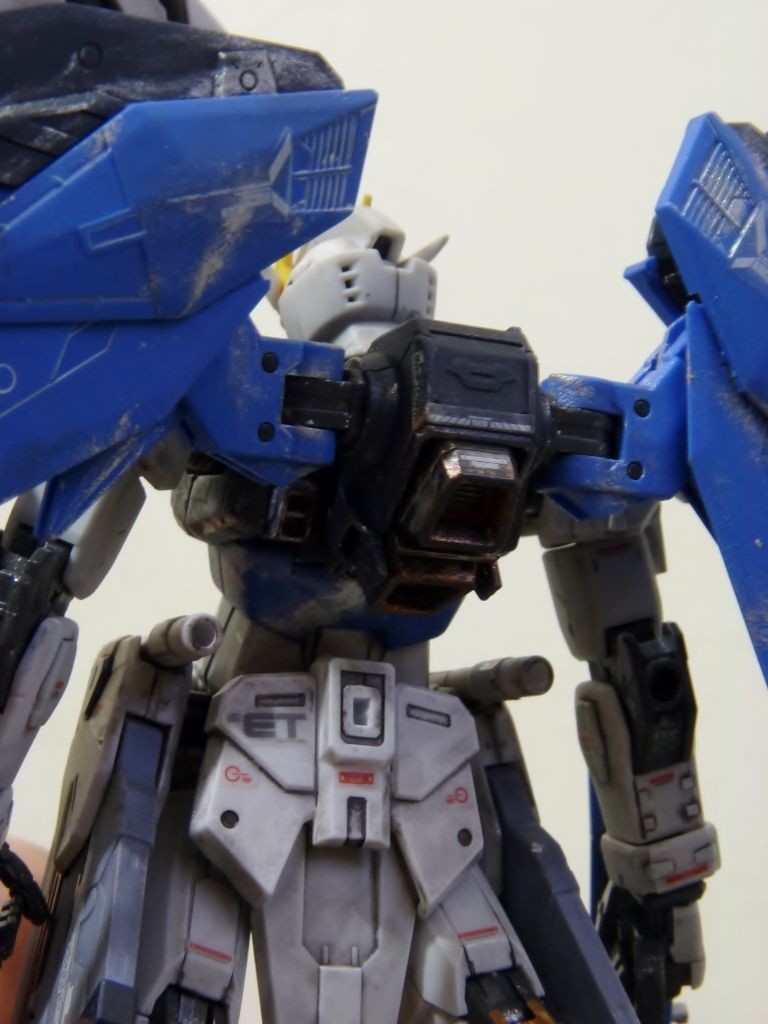
Major upgrade with the solidity of the kit
Separate hands made holding weapons easier
Cons:
As with all RG's, material used with the inner frame got loose FAST. Joints reinforced using clear cutex LOL
Lowest binder on the wing is a bit loose (design flaw)
Wasn't fond of the Freedom's design up till now I have feasted with its RG flavor. Appreciated how the wings amped up gloriously in terms of coolness pretty much what the Aile pack does for the Strike. With this, getting the Justice is a no-brainer. Focusing on my UC collection is top priority, Justice would wait a little longer.
RG still is premature for my taste. It's painstakingly hellish during photo shoot with all the issues of instability. A good sign is the kit itself. RG Freedom is a step towards that.
Cheers!
yeah, sometimes when I try to raise up the right arm of my freedom gundam RG, it falls slowly by the time goes by but my aile strike gundam RG doesn't have that problem, and also I'm quite disappointed that I can't interchange the backpack of the strike and freedom unless I need to do some minor modifications
ReplyDeleteabout the loose joints, yeah, my Aile Strike arms are still holding up but RX and Char are failing (probably fiddled with it too much) but Freedom surprisingly got loose FAST. first time trying to pose with the arm held up with its gun didn't hold. luckily my sister's cutex are lying around for reinforcement haha.
Deleteps.
dear readers please visit lightning ace's blog here:
http://lightning-ace.blogspot.com/
his photos are amazing damn double damn it is
hello, great effect there :D
ReplyDeletei think it's a good idea to make a tutorial about how to create those effect..
great work (y)
hello and thanks for the compliment! very much appreciated.
Deletesadly, i don't have the luxury to create a tut with dry brushing :(
anyway we all start from somewhere and i personally used these tuts for this build and my HG 00 7/s
http://mytoysaremykote.blogspot.com/2010/03/how-to-build-and-weather-gundam-lesson.html
http://www.gundammodelkits.com/how-to-gundam-model-kits-weathering-tutorial.html
http://www.youtube.com/watch?v=PxkV70Jvakw
HTH
thanks for visiting my outdated blog :D