Expos have been that fuel to my hobby and this one's no different. Though this targets the younger audience - Gundam, figs, and a plethora of hobby materials are pale or are no where in sight, I still enjoyed the experience! Grats to TK for bringing an event. I just hope your prices would be more reasonable! :p
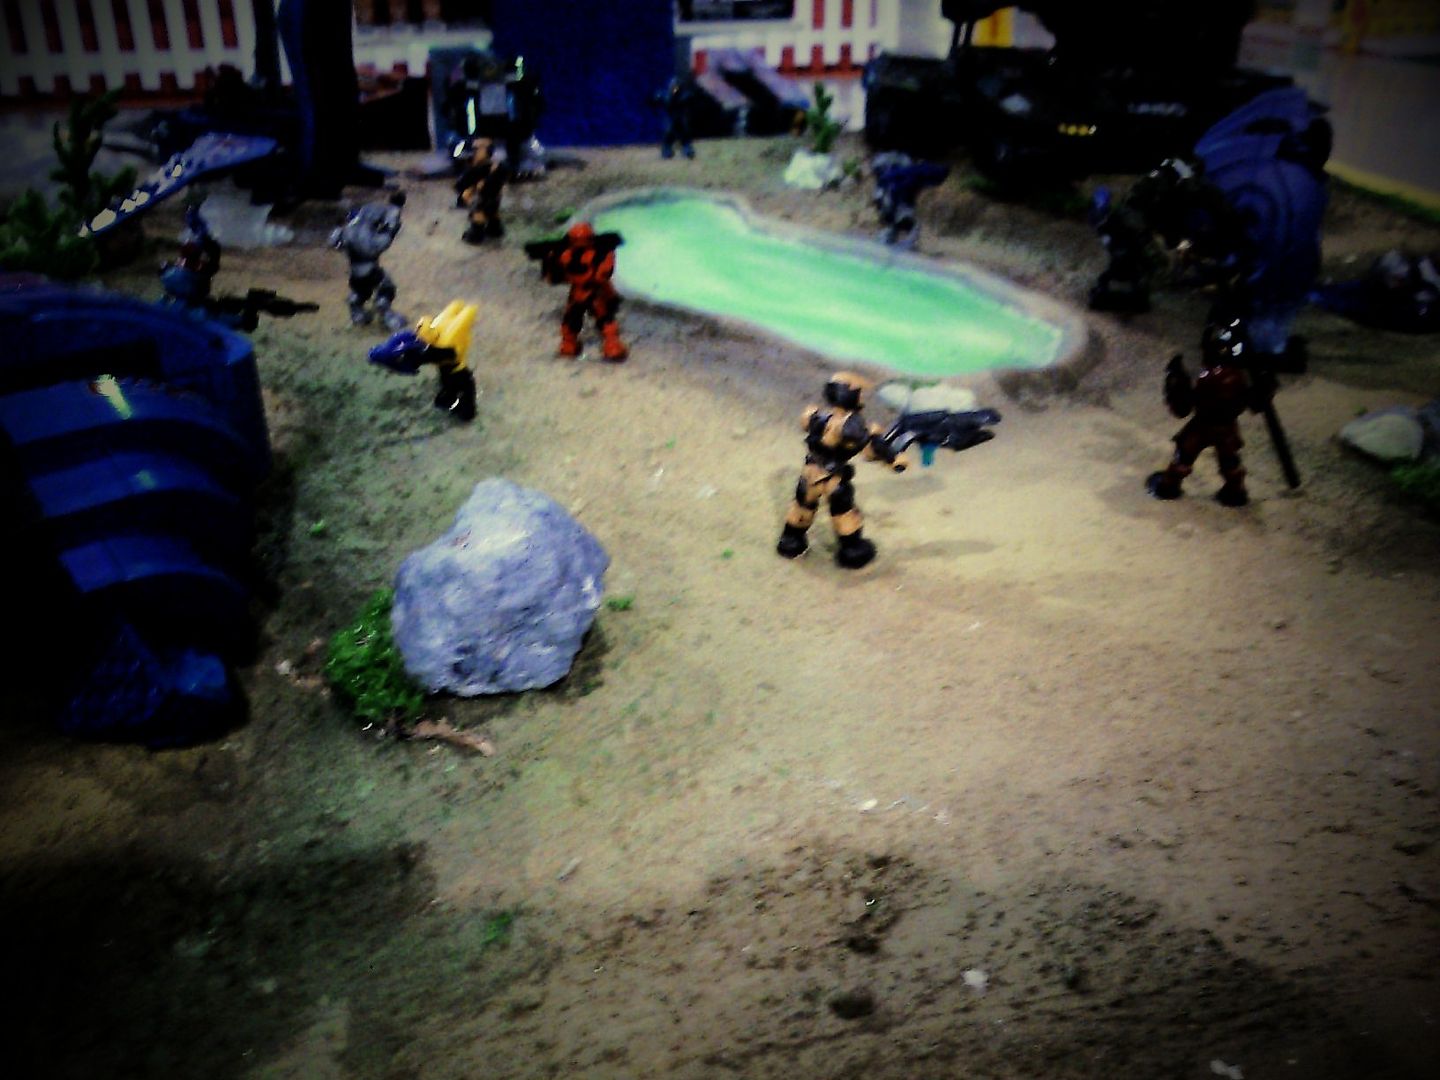


Here are a few photos to feast you're eyes. Sorry for the sub-par quality. Used my trusty phone to nab the pics.
Sweet!
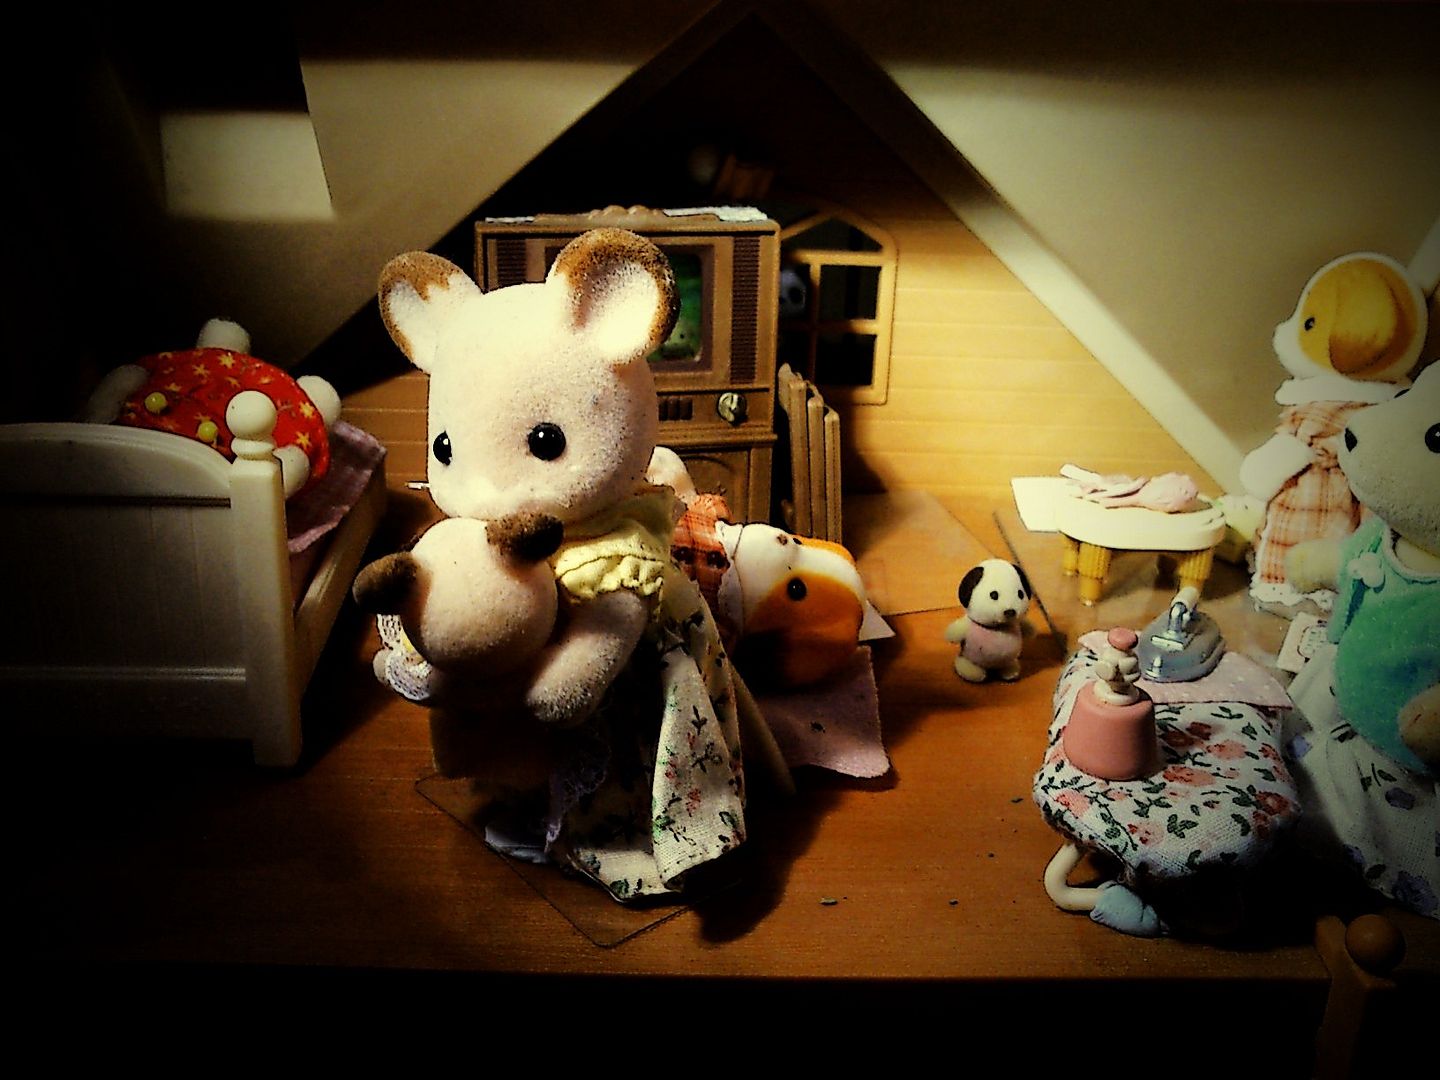
♥
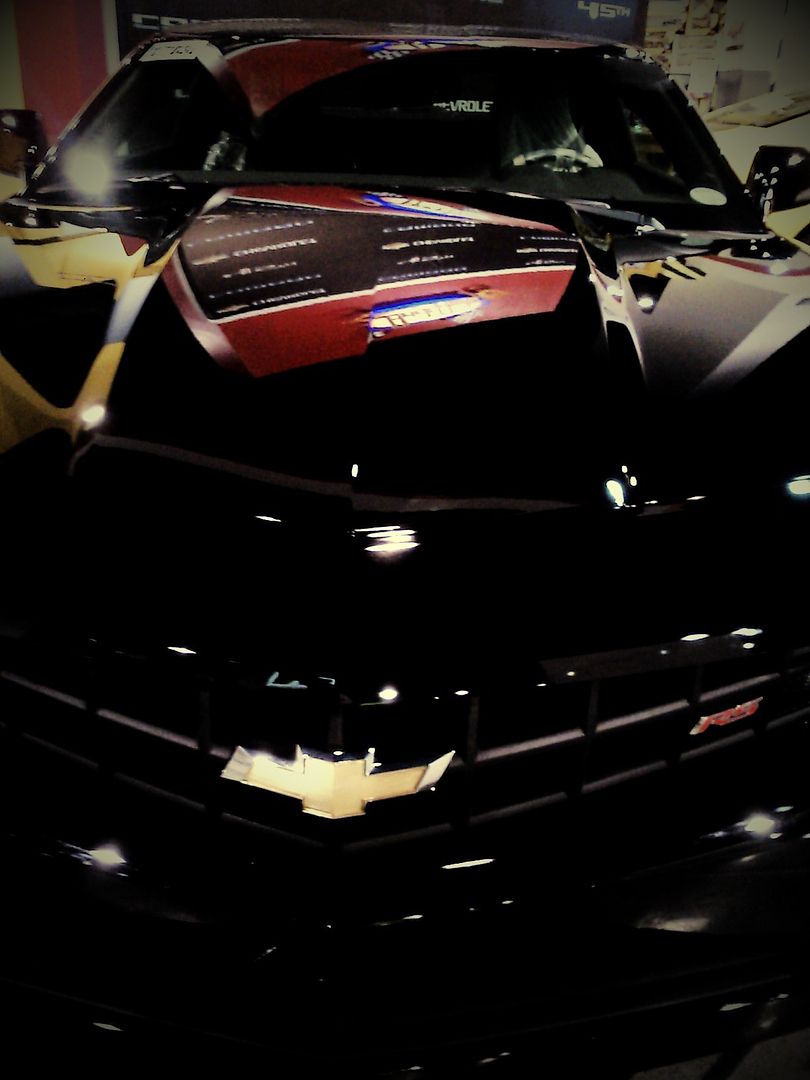
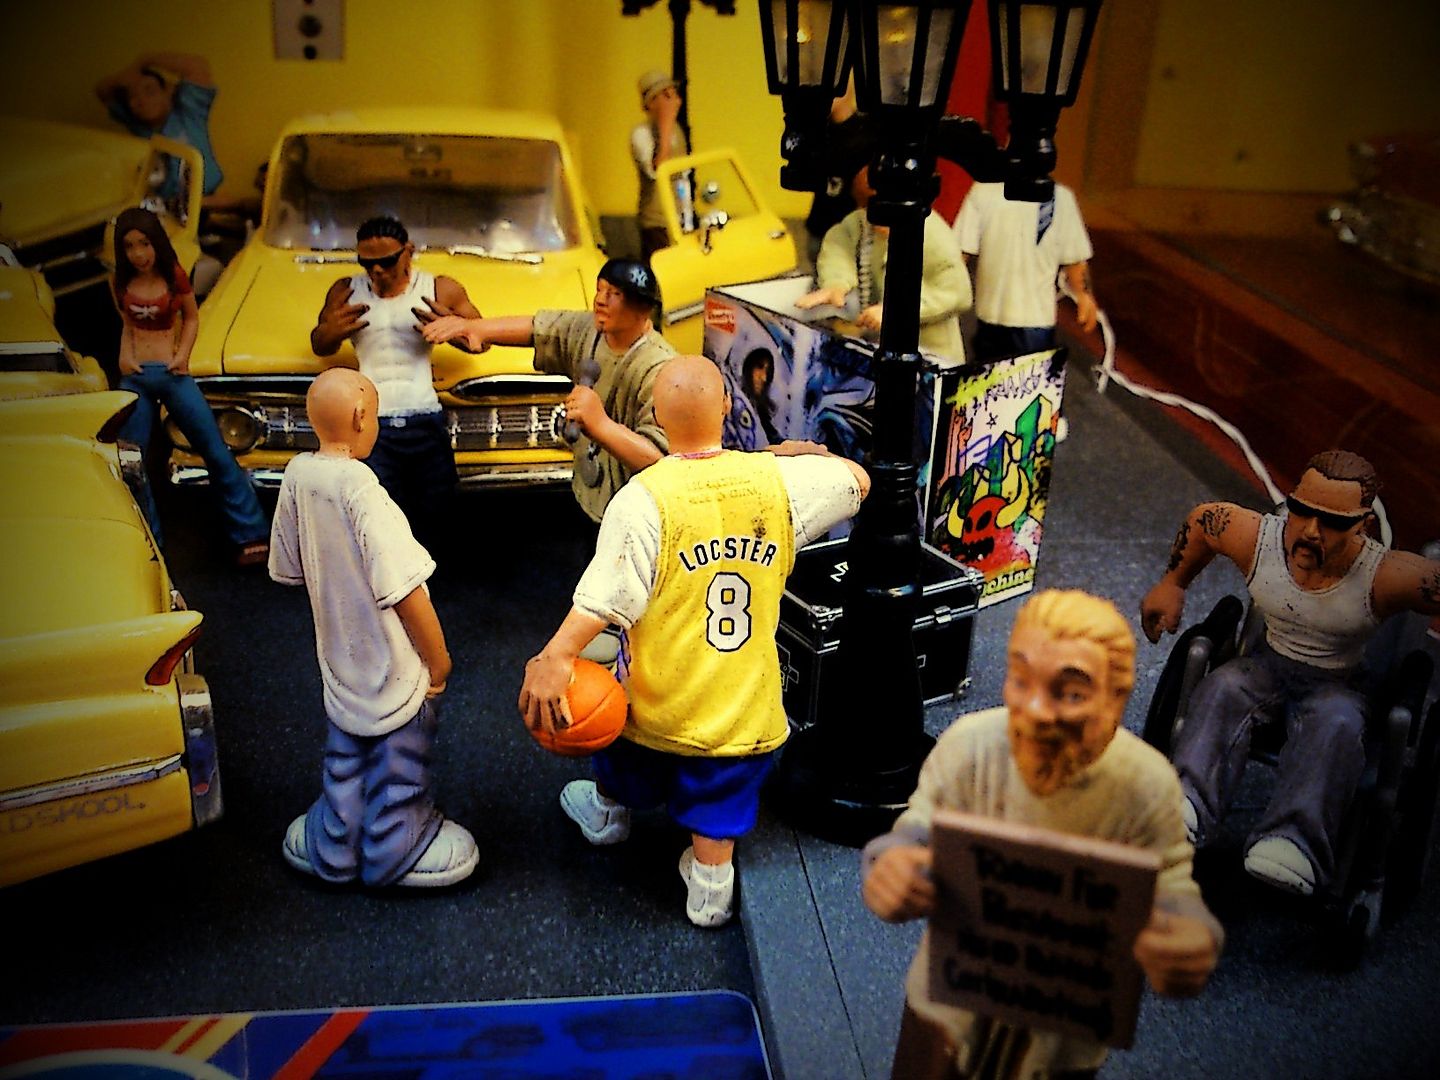
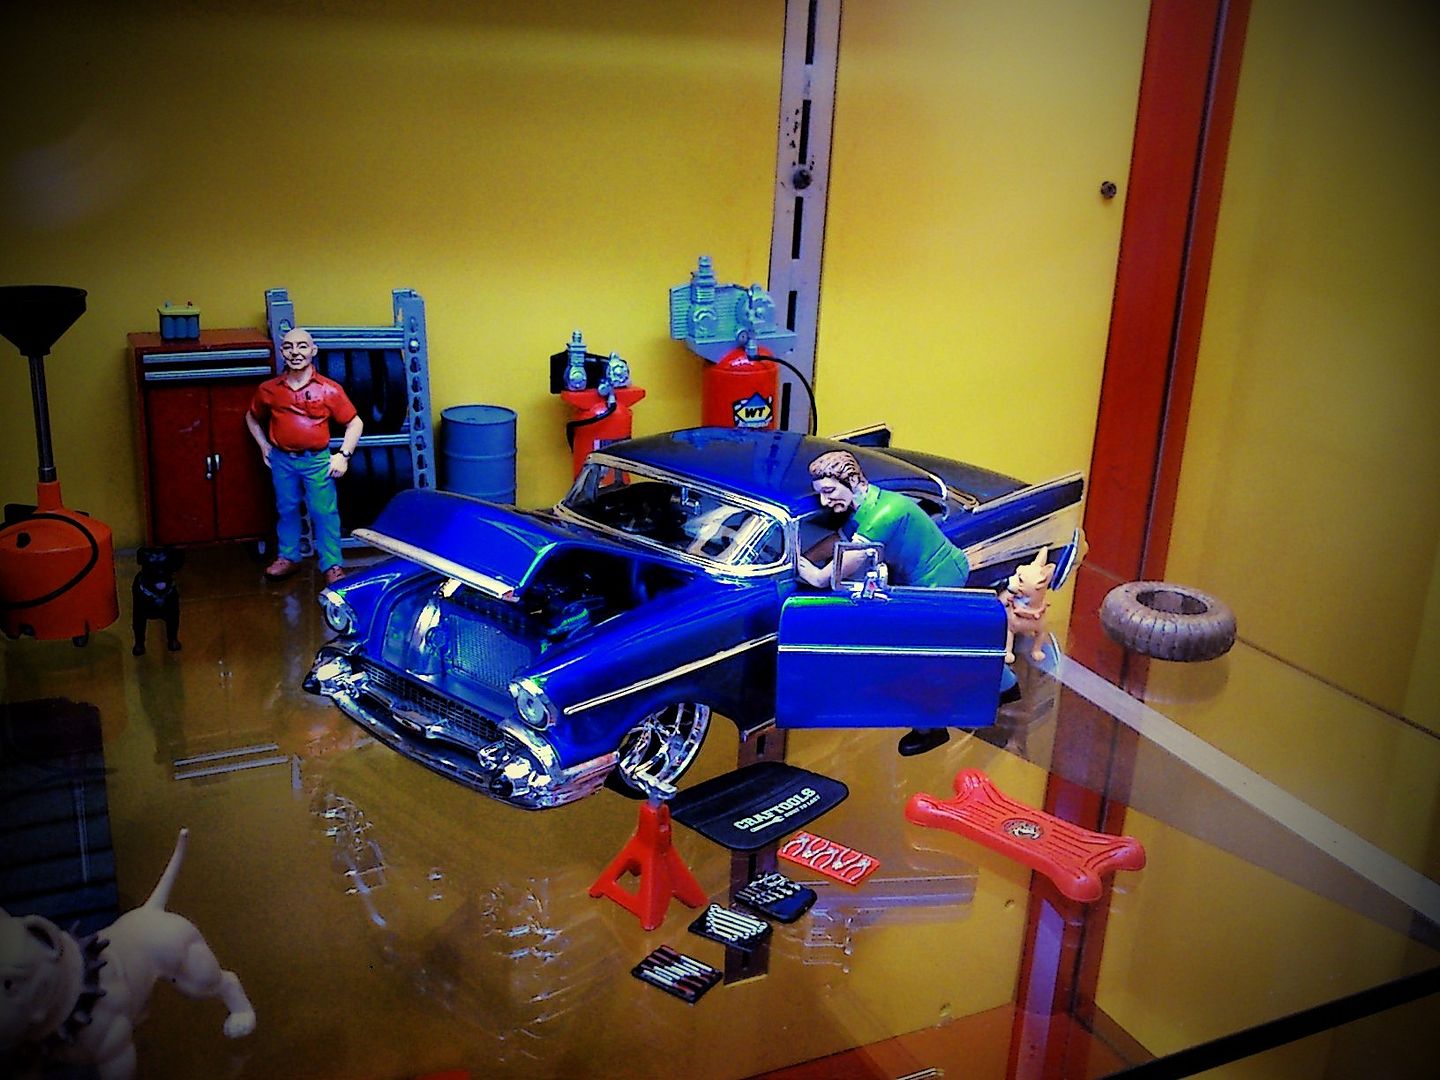
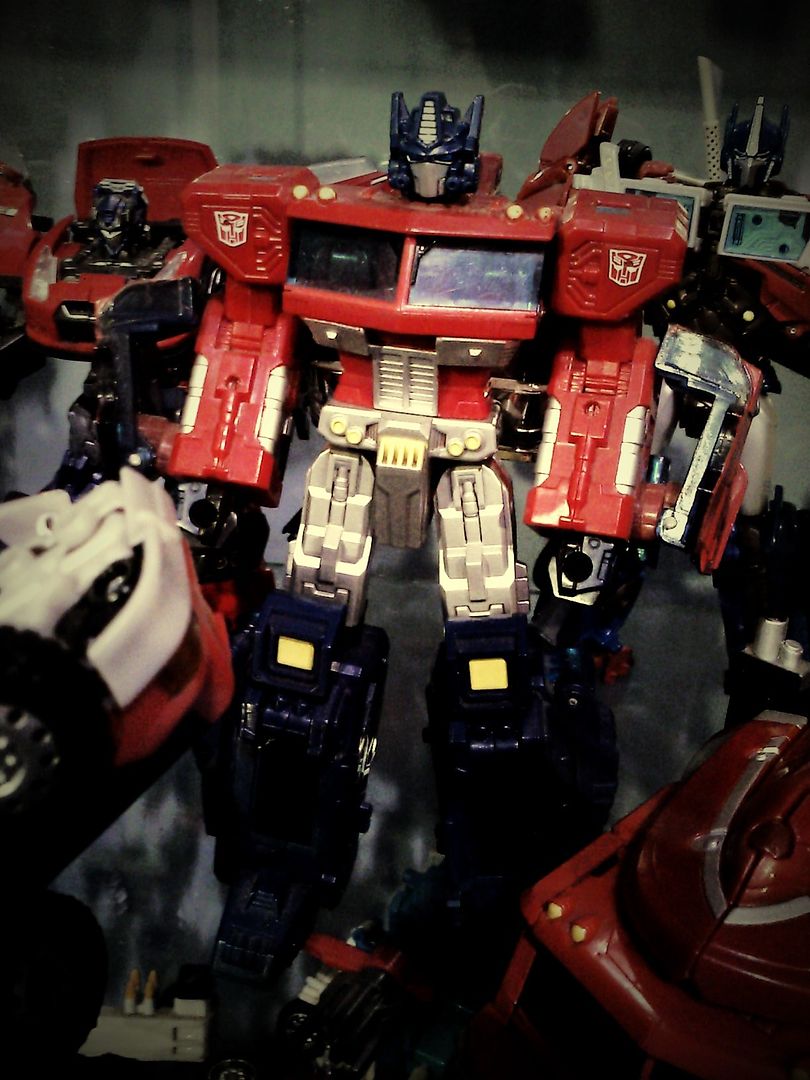
Awesome die-cast collection scene
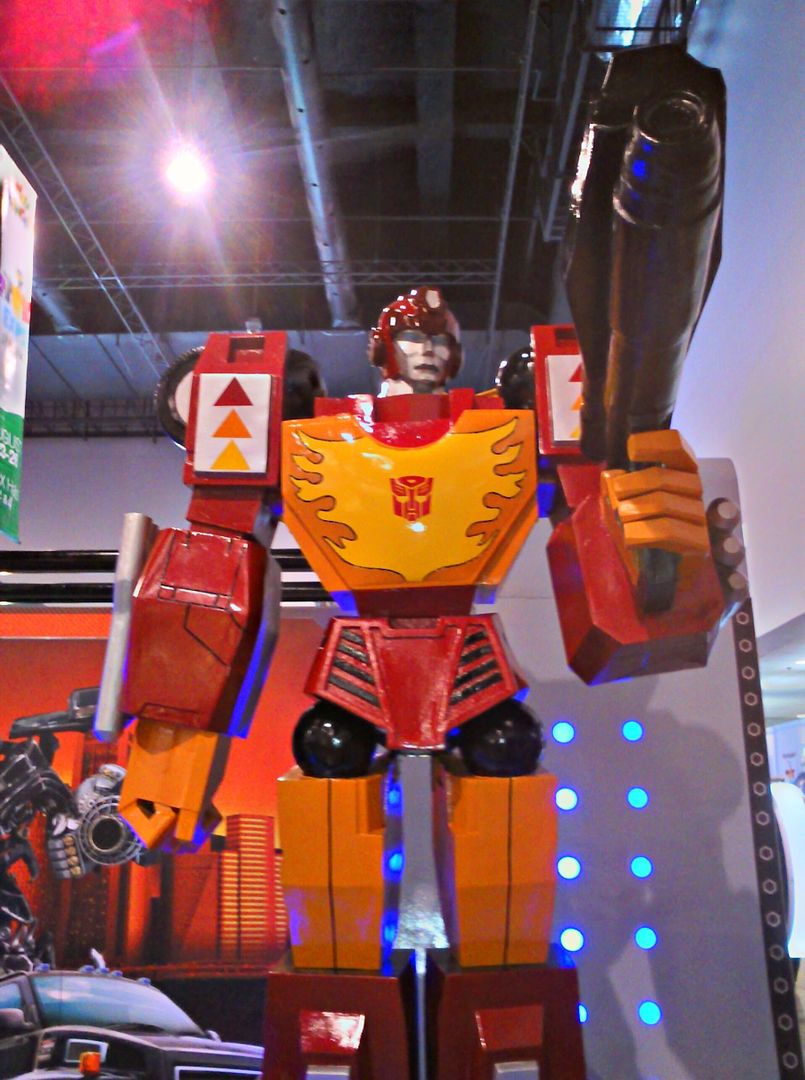
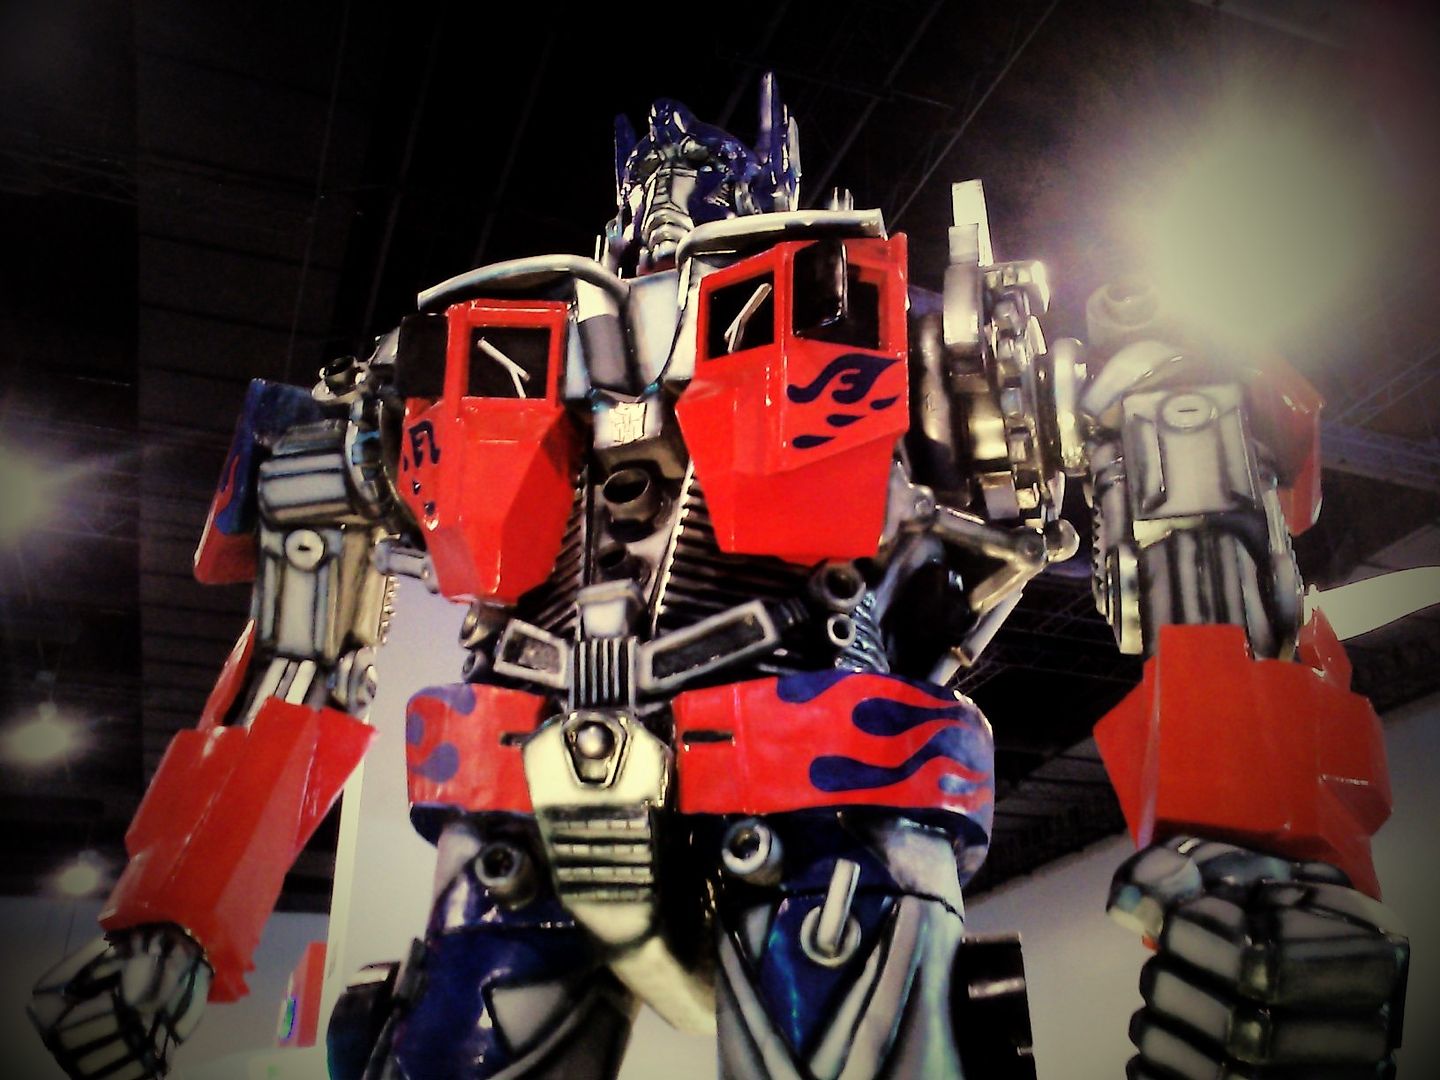
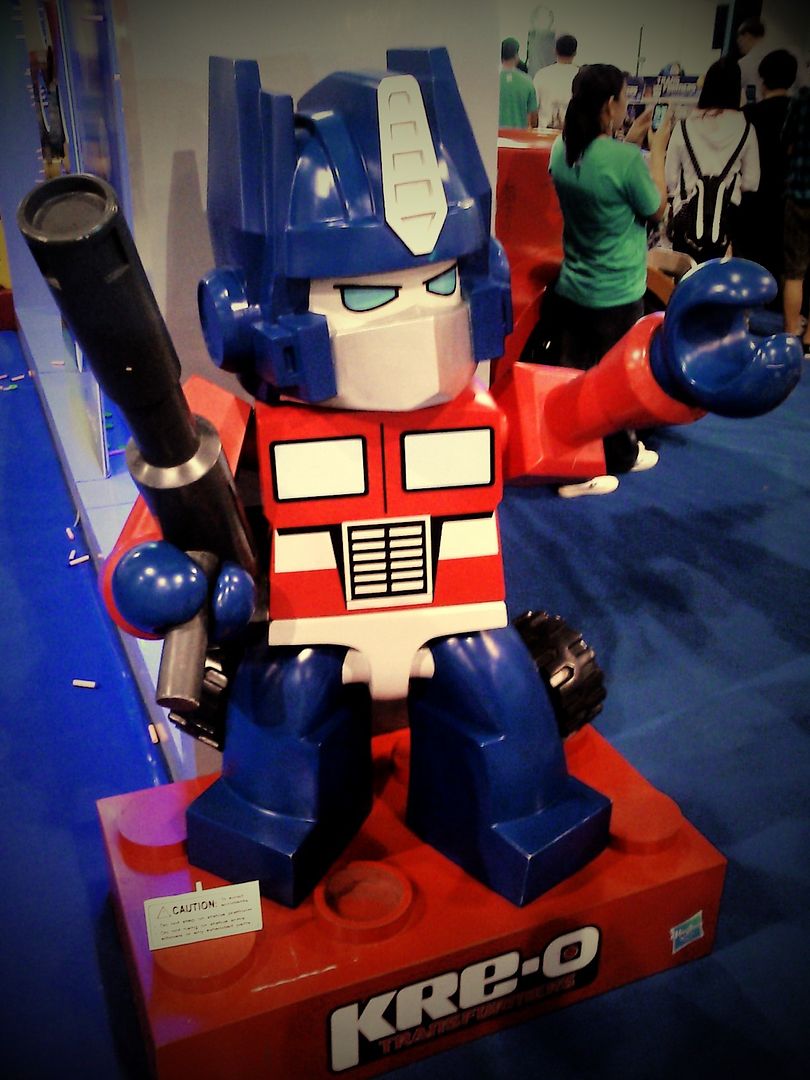
TF - been drooling to collect the merch
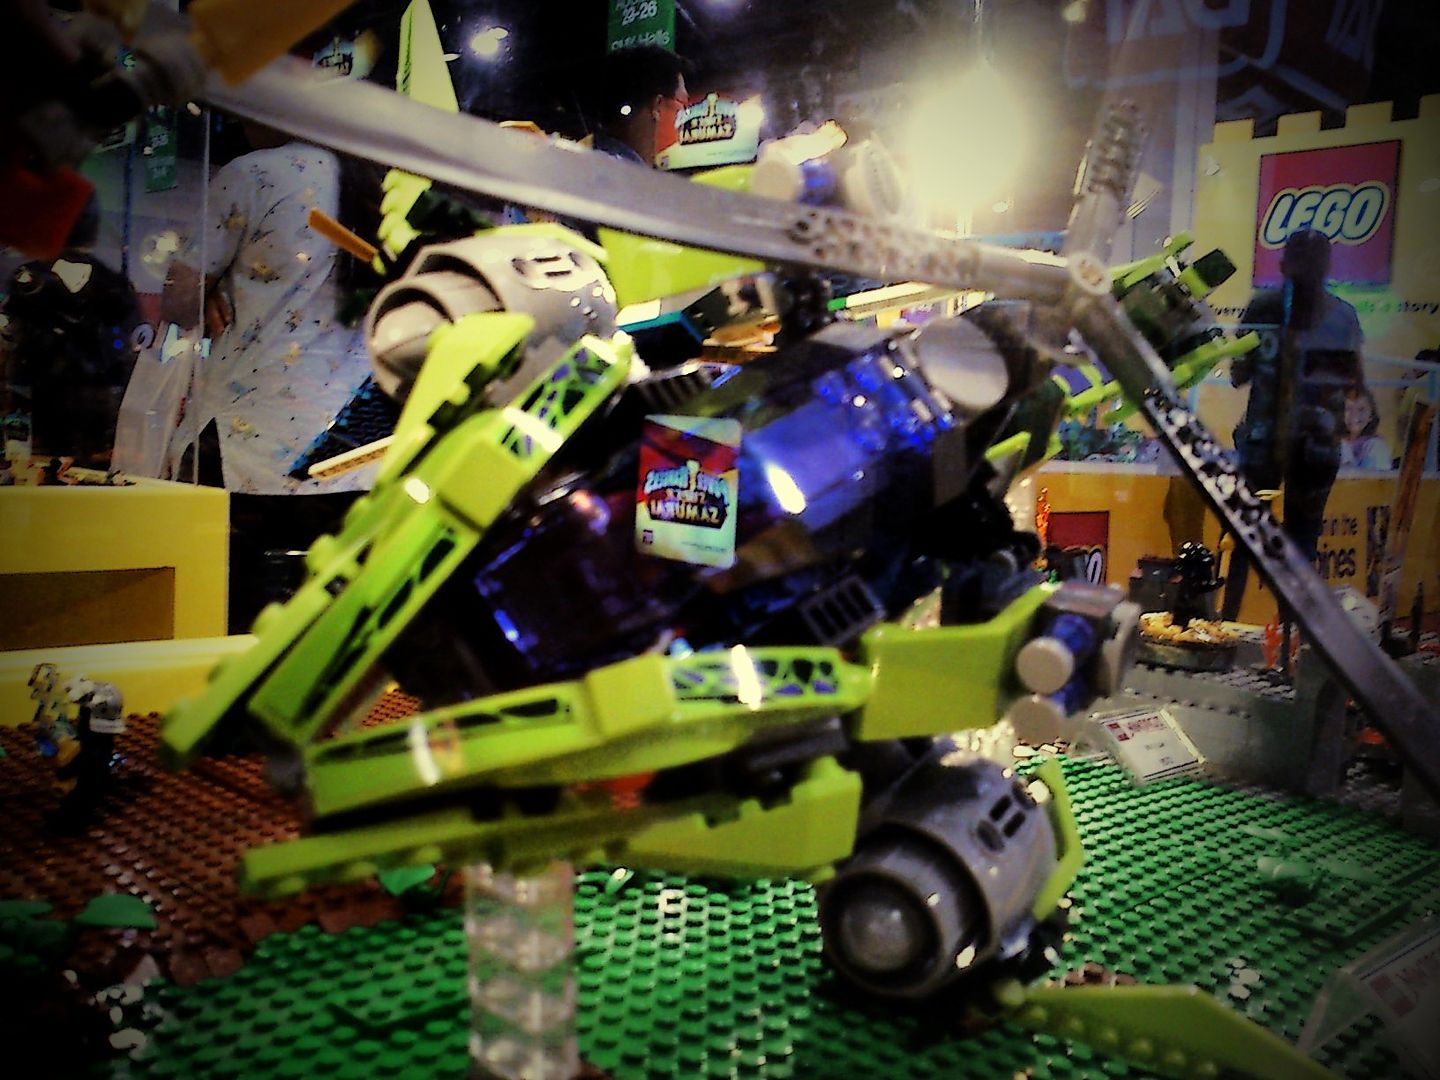
Lego on a whole different level from what I remember. Whoa!
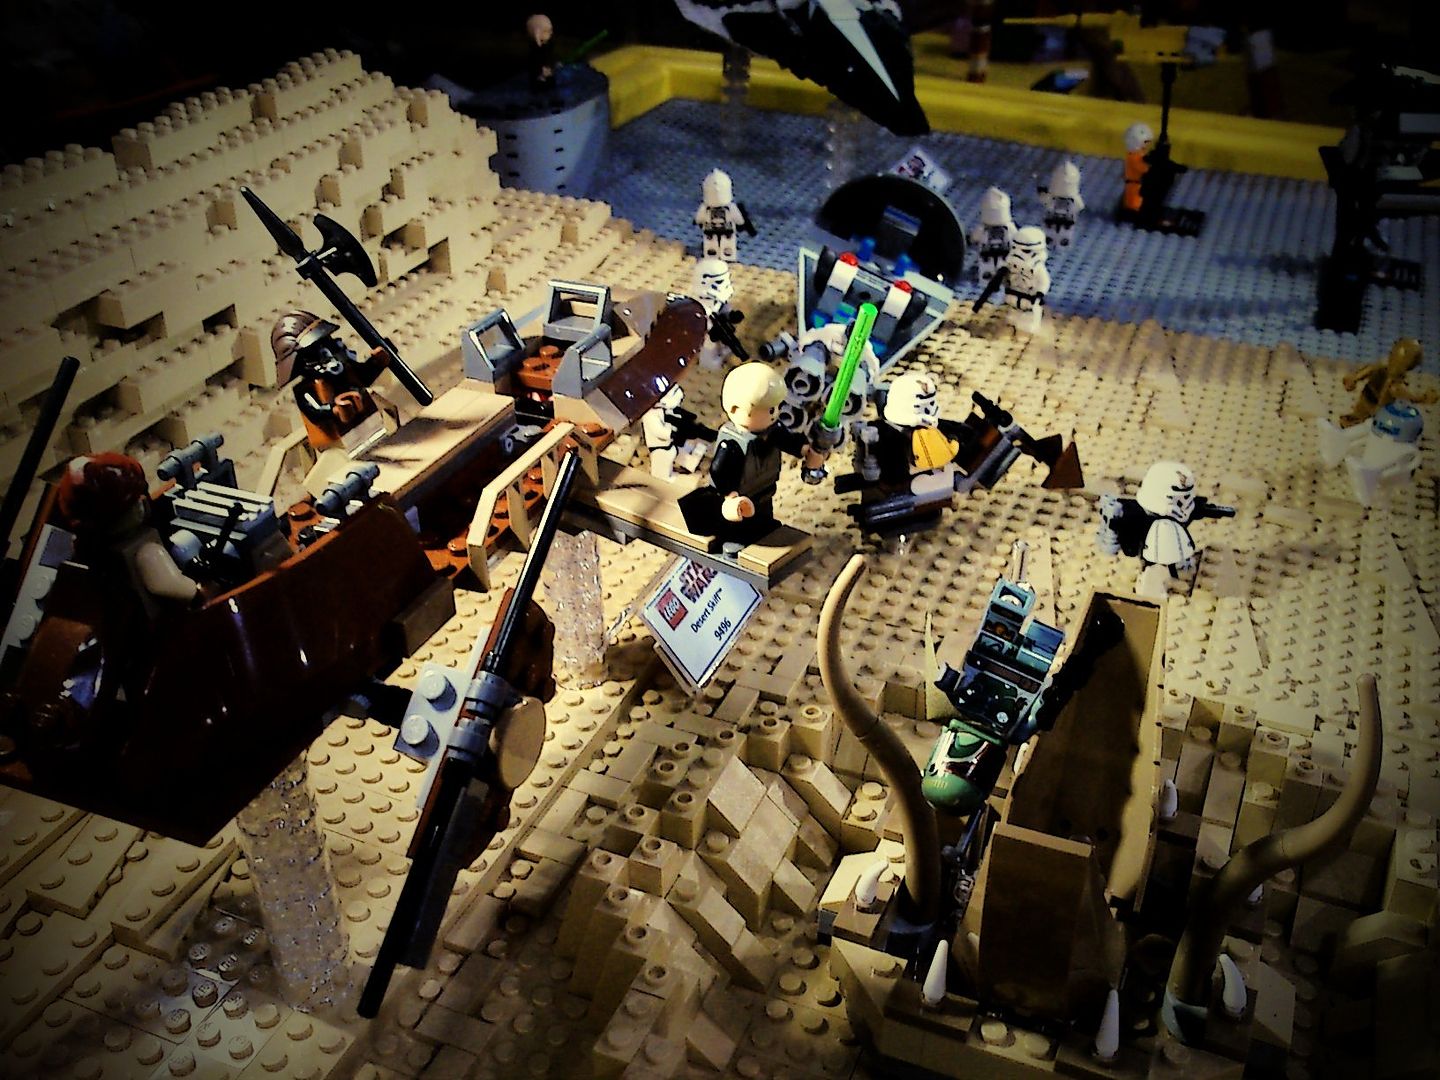
Lego-ized Luke VS Boba Fett
Ilocos in Lego World
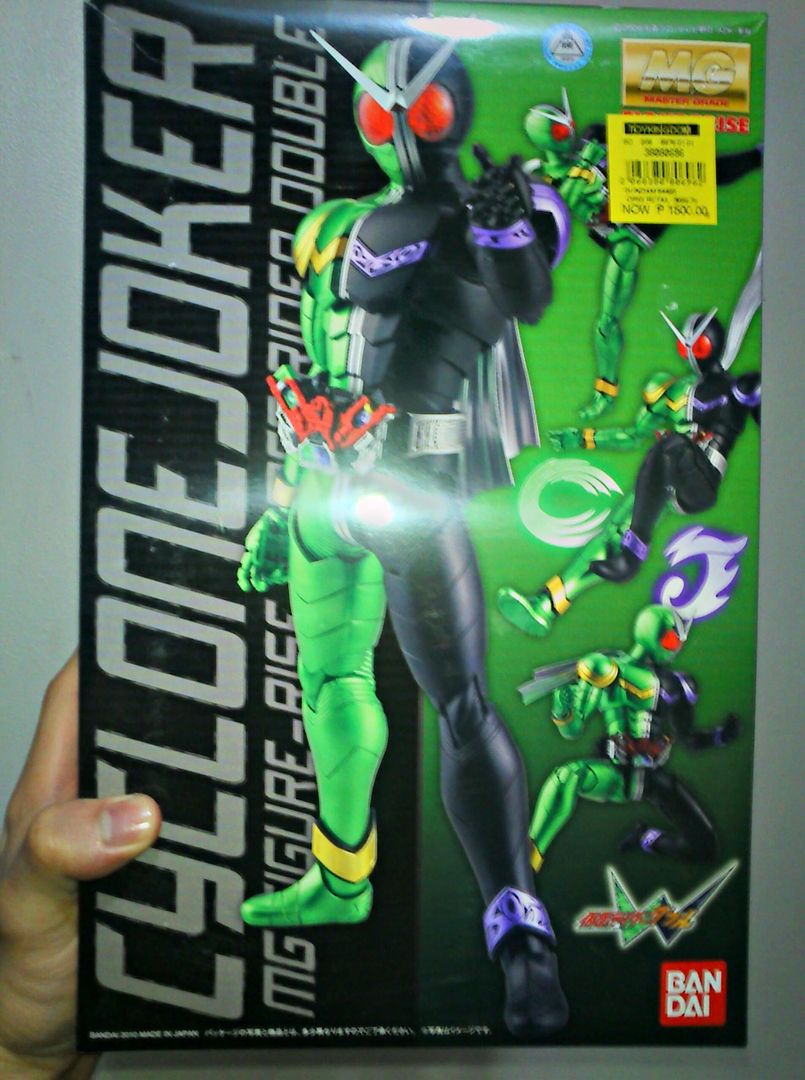
The trip gave me the urged to build something familiar but..... NEW.
SD Destiny should wait (yet again), so as my SD Nu. No black paint still. SD's would be put on hold. For now, I am having a blast building KR W Cyclone Joker. Hihihihi... WIP will be posted soon. Cheers!
Comments
Post a Comment