
Bandai MG Kamen Rider W Cyclone Joker - WIP 01

Blog is pretty much alive for August! Rocking a new loot for the recent expo trip is an MG Kamen Rider W Cyclone Joker. Haven't seen the series but saw W in action with Dekeido's crossover movies. Now let's proceed with KR W Cyclone! Joker! HEEEENSHIN!

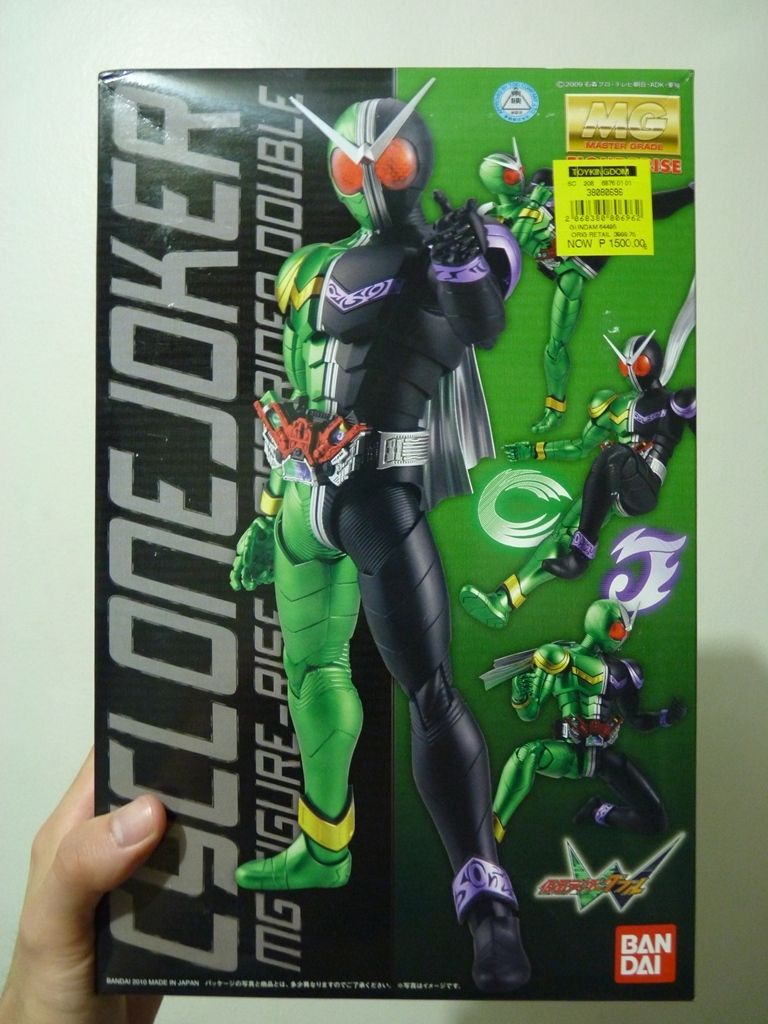
Box size is normal for an MG. Art sports the built kit inside which is new since MG Gundam is drawn. No problems though, it still look kickass awesome!


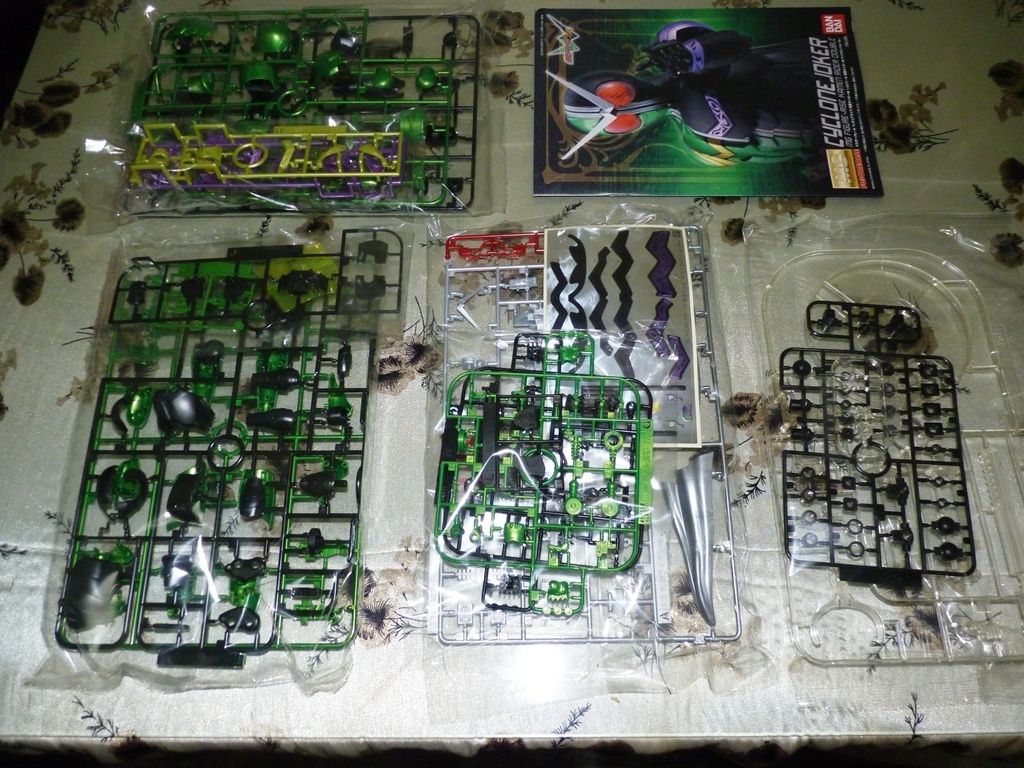
Runners total are what you expect from a humble MG. KR's a human figure to boot and judging from the manual it is comparable to an HG-ish build.


A bit disappointed with the amount of foil stickers. Painted the shoulder brace with a Gundam Marker (not the best I've done to be honest lol. The lazy boy inside got the best of me).


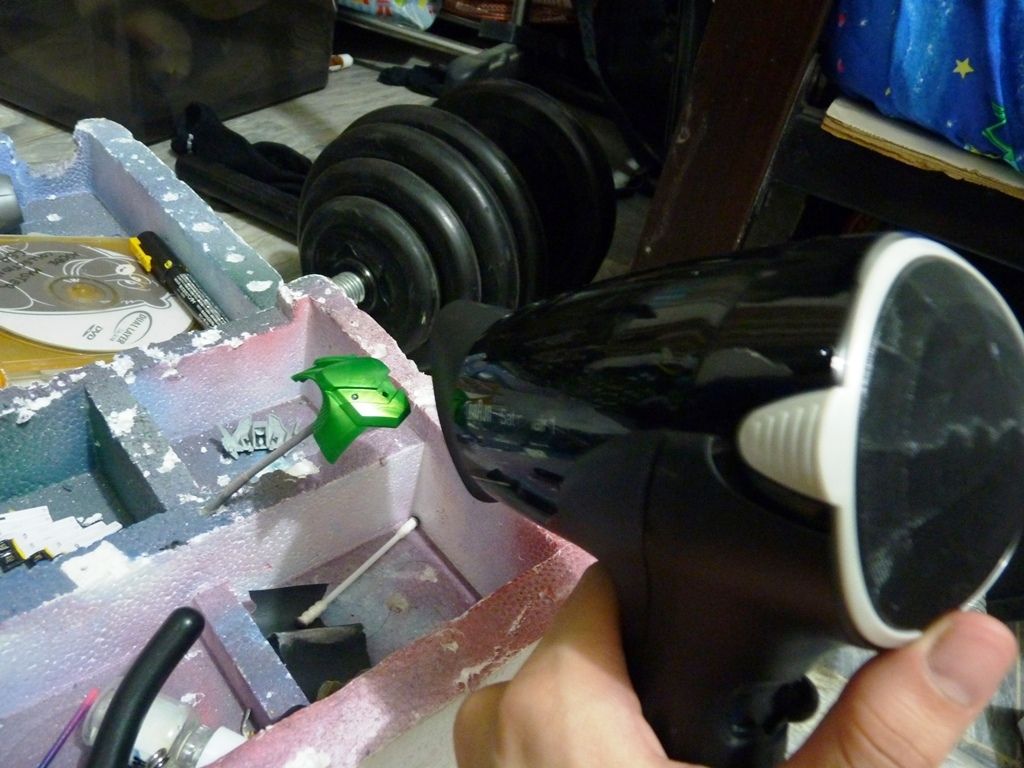
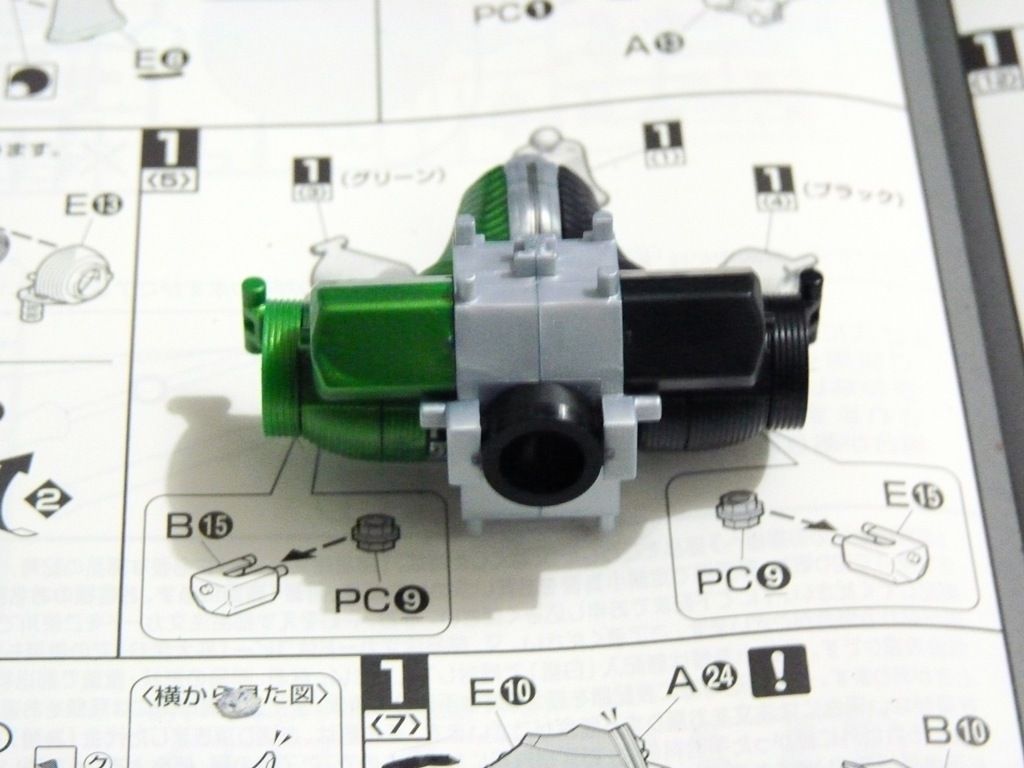
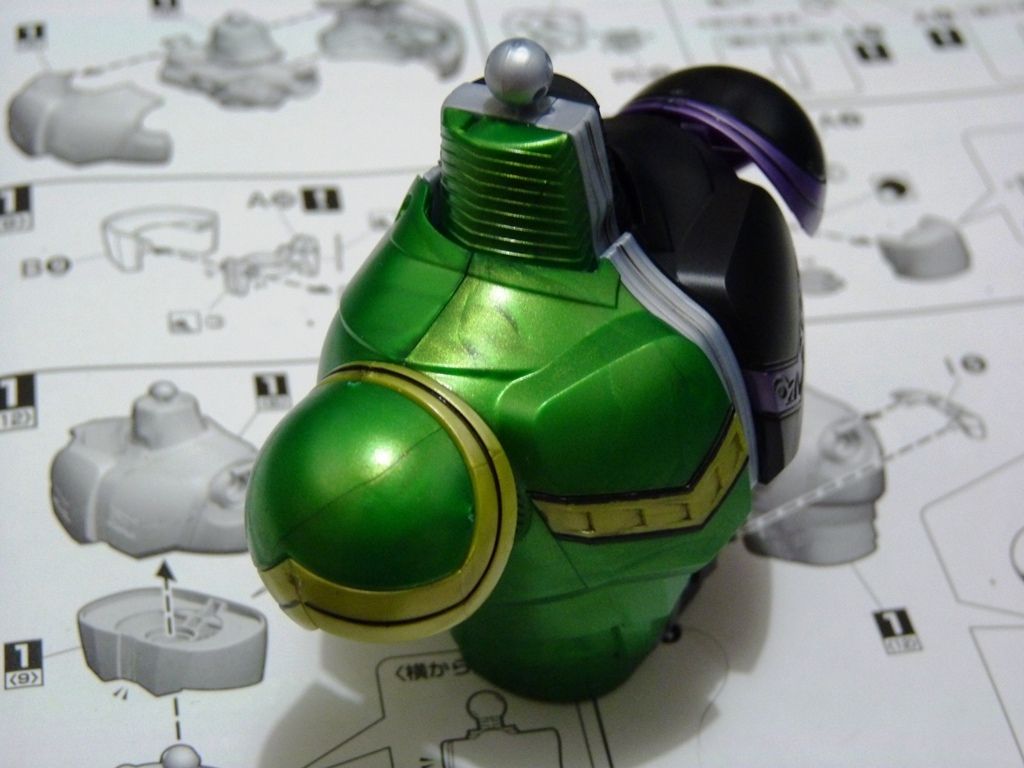
What keeps me from progressing to another piece is top coating the green parts with gloss. Here showing a trick I picked up from the "Gundam Fans na Pinoy" Facebook group. Hair drying the painted piece immediately after spray painting negates the frosting effect if room temperature is cold.


Another piece that screams to be painted is (are) the brace/s. Hand painted and it was hell but worth it. I sure don't want to use the foil stickers for this. Hand painting LEVEL UP!
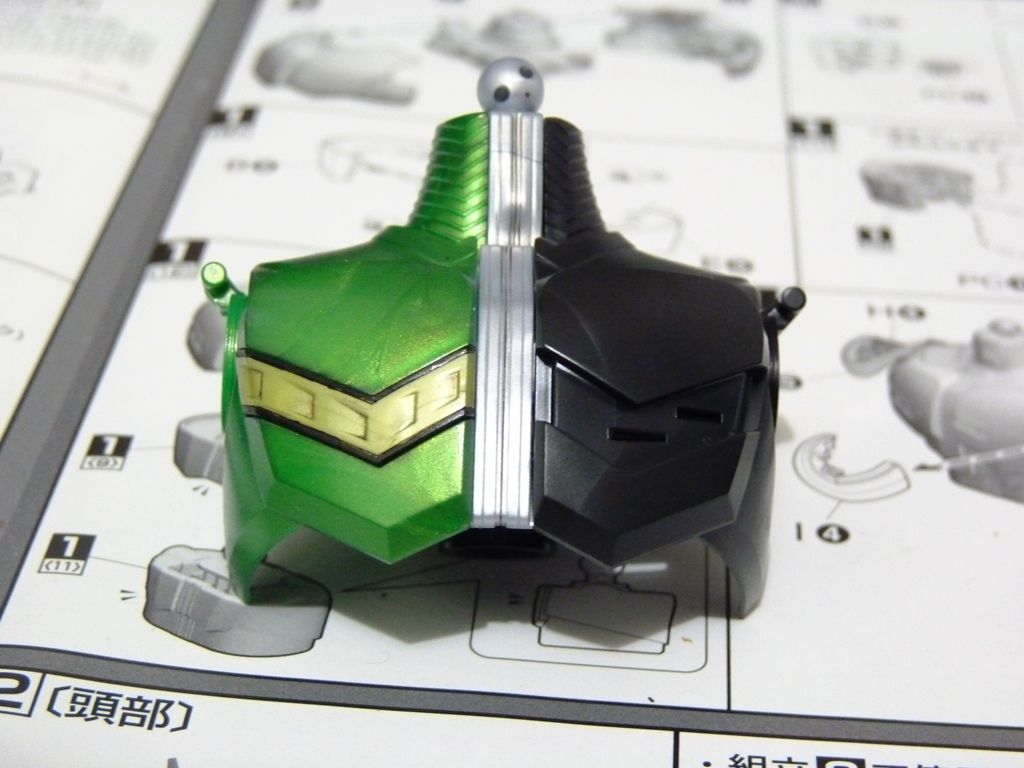

Body


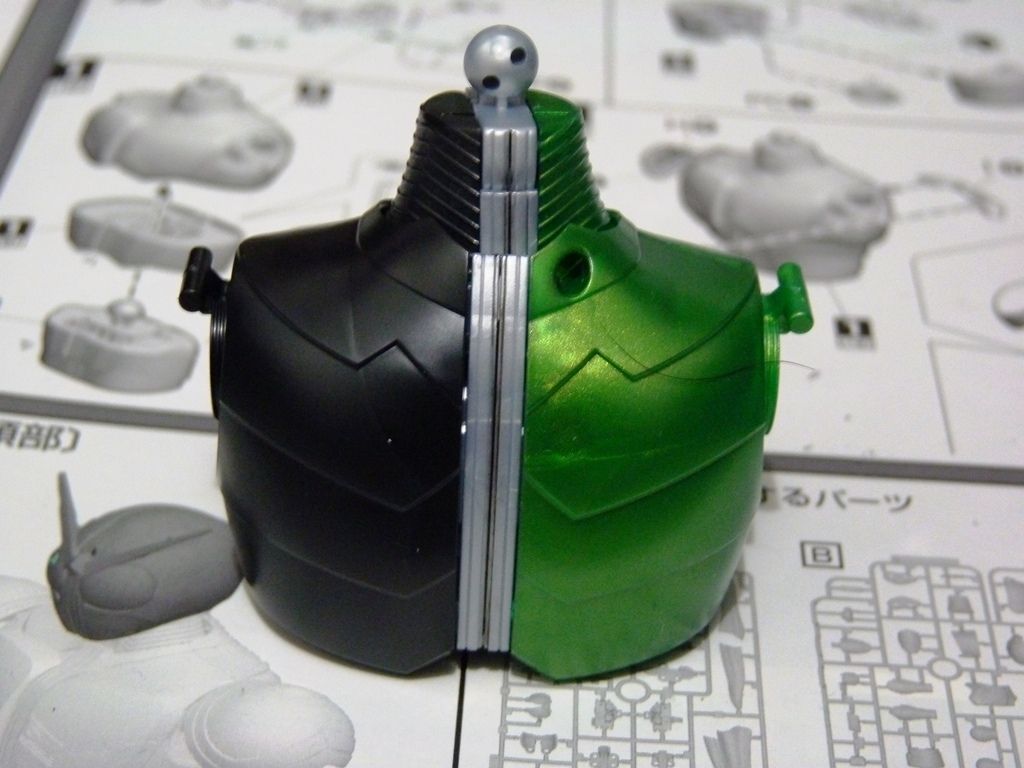
Worried about the nasty nub mark at the top :(


Kamen Rider abs lol


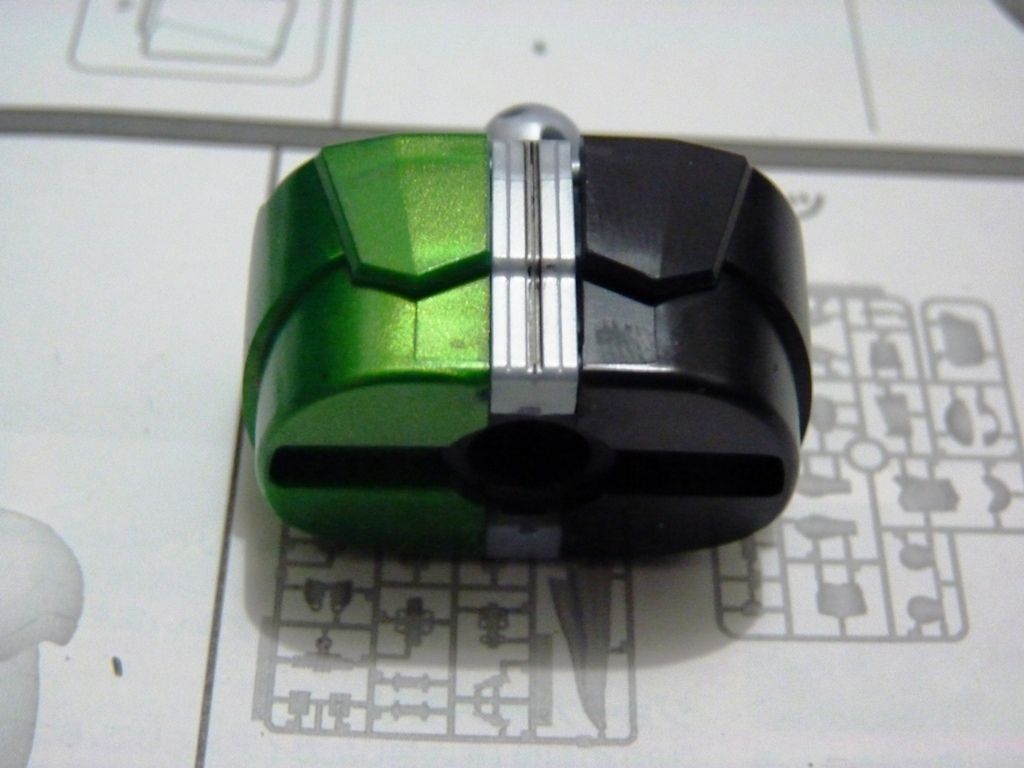
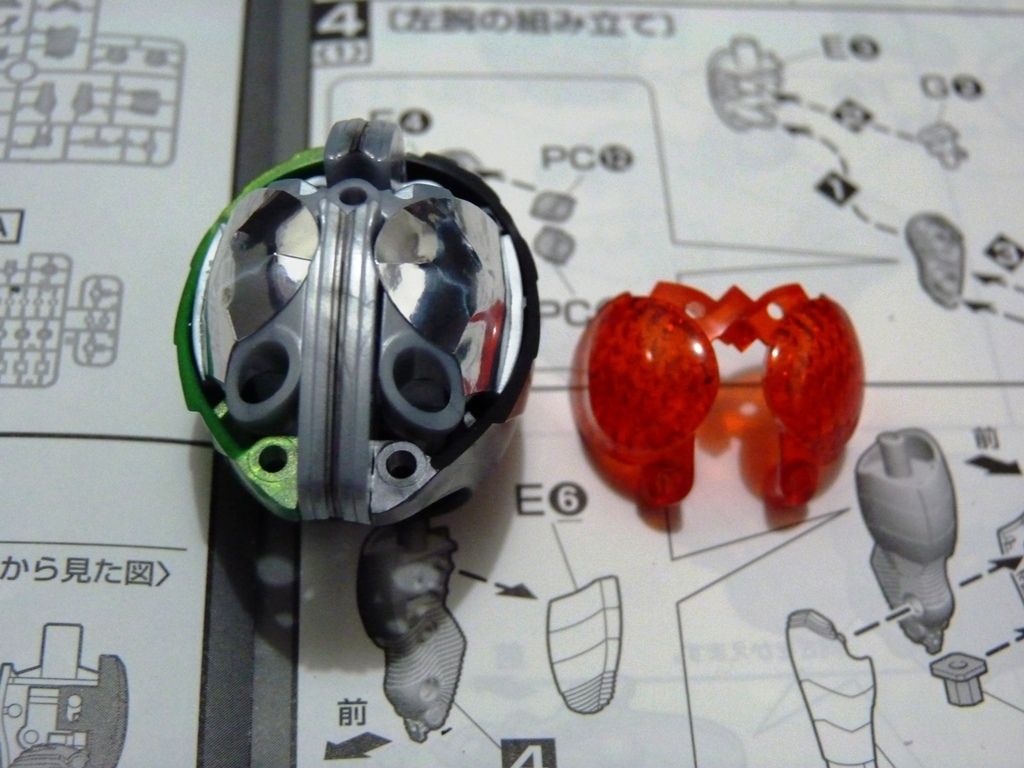
Woo-hoo! Nub mark is well placed and it is hidden from view after snapping it in the chest


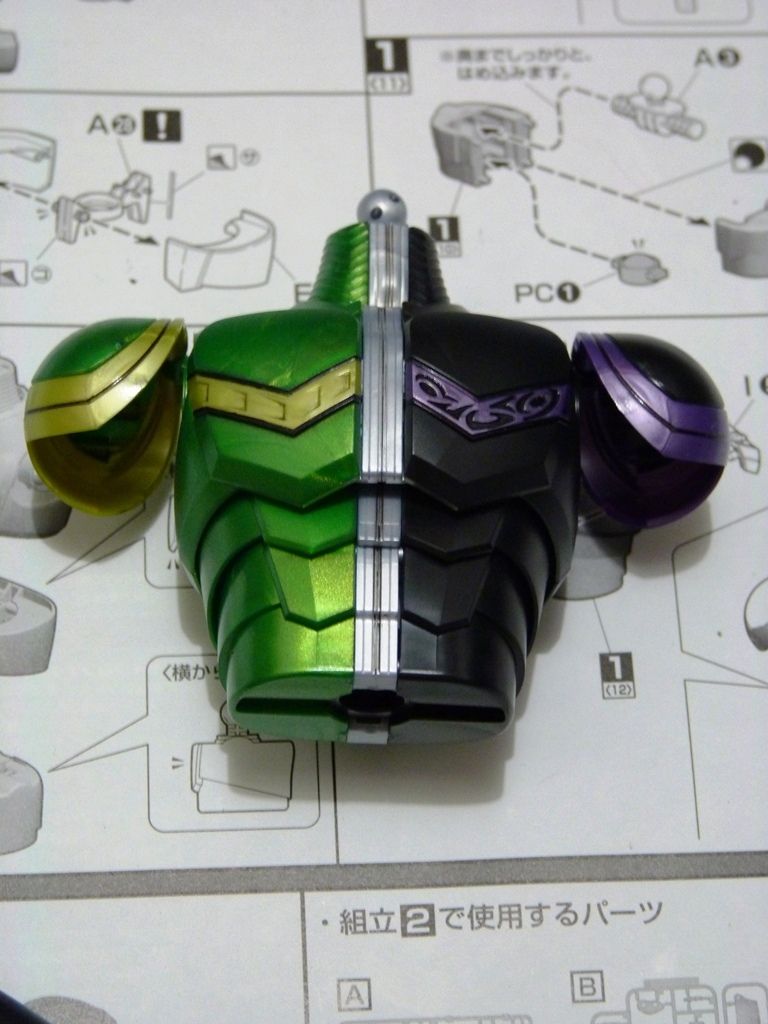
Panel lined the shoulder guard. Yep, skip the stickers!


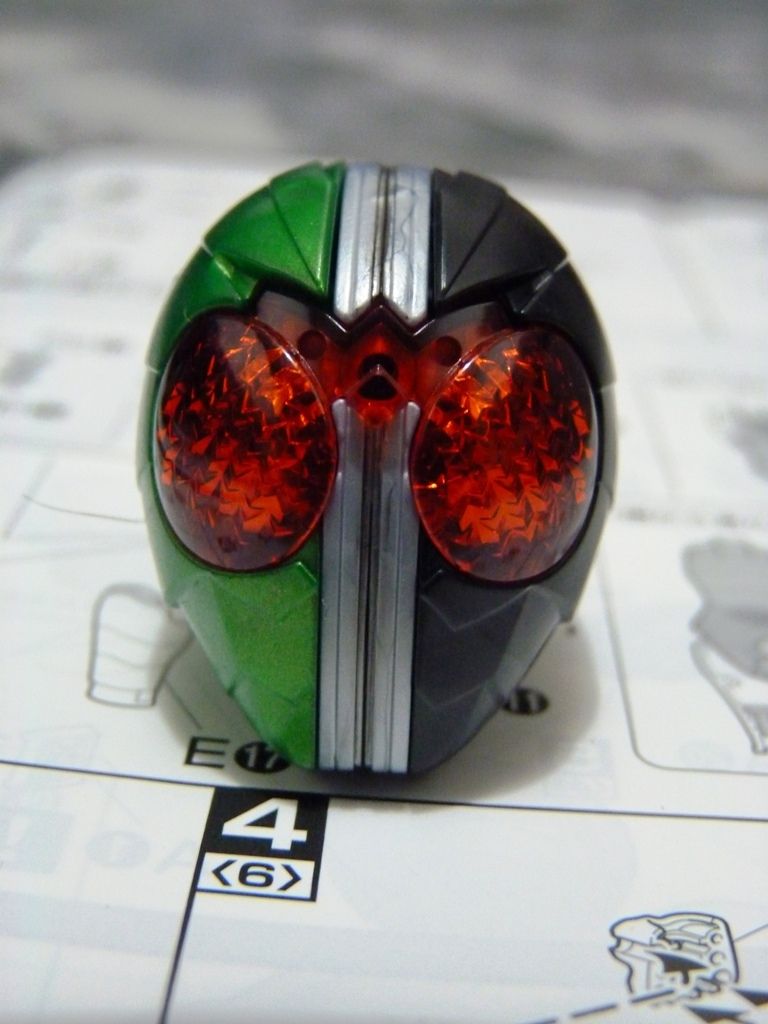
No, don't skip the stickers for the eyes. The silver foil sticker would give the eyes that glow definition! Stick to the sticker!


See?! Looking good!!!!


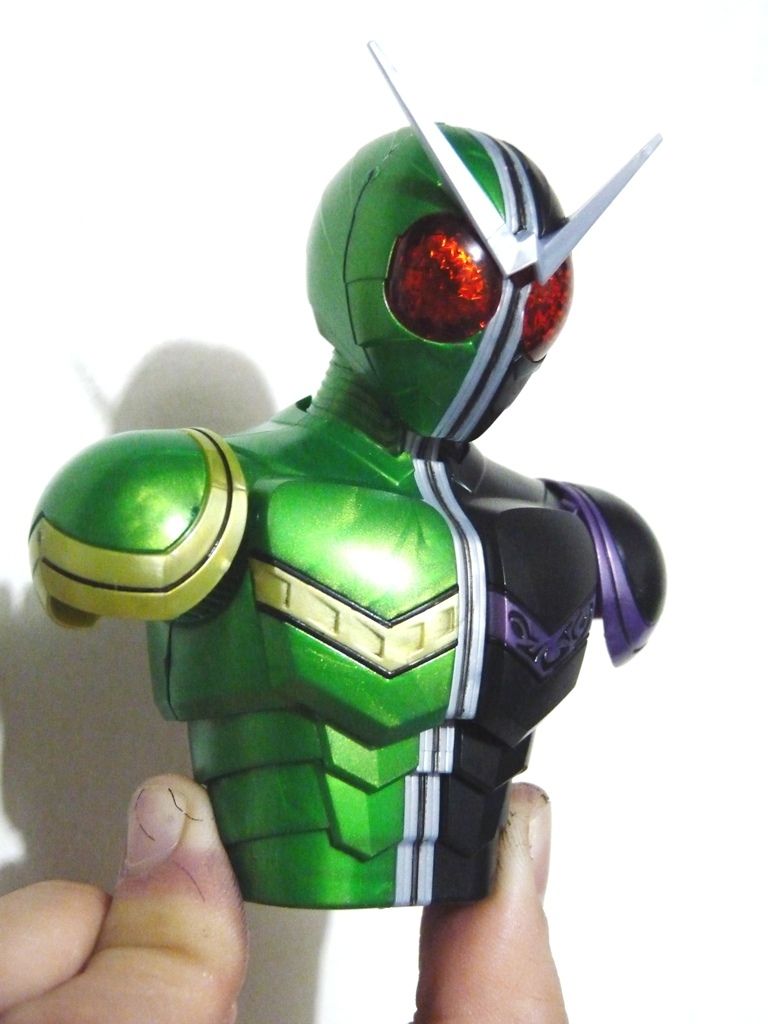
And here's what we have so far ~


Initial thoughts: A bit disappointed with the amount of foil stickers that came along with this kit. For an MG, it is unforgivable! Quality of plastic is what you'd expect from a Bandai kit - top notch! The shiny finish for the green pieces are awesome BUT has prevented me from going flat this time. Gloss would look better, trust me! The black pieces has that mix in between - gloss / matte. Have NOT top coated the black half as I like how it is with that mold. TBC.

Comments

Popular posts from this blog

TT Hongli MG 1/100 Exia Ignition Mode - Review

Assembling bootleg kits can be a pain at times but this MG Exia Ignition Mode was a breeze. I was surprised from the fact that 90% went well and the other 10% were minor fixes - from shaving male connectors to gluing parts. I really enjoyed assembling my first Master Grade (I was hoping it was Bandai, my wallet was not cooperating as expected lol). Action! G...Gu...Gundaaaaaam!!!!!!!!!!! GUUUUNDAAAAMU!!! Ore wa........... Ore Wa Gundam-da!! Exia exterminating target............... Graham: Ike, Setsuna! Live and unlock the future! More swords Setsuna? Target exterminated! Joining the bunch :D Pros: Assembling is pretty easy for a bootleg Build is sturdy It came with LEDs! Cons: Joints are too stiff (for my liking, anyways, it made the kit solid though) Swords at his wait does not fit the peg in the hand Exia Repair parts does need half of the non-Repair head. (didn't bother with the transformation) The Exia Ignition Mode is a must have! I'm really g

RIP Crimson Comet

Photobucket has kidnapped my photos and I'm too lazy to re-upload and update every bit. It's been worthwhile. I'm intending to start a new blog that is more "personal" than just focus on one part of my hobby. Looking at my older posts, I can fairly say I've improved on my toy photography (and English!) in which I am thankful for this space as a medium to share my work. Thank you for reading up to this part! Cheers for 7 years!

QY SD God Gundam - Mini WIP, Assembly Cure and Review

Thank GOD I'm back! Lumix is back and my GunPla energy has been over the top! I'm feeling good this morning and built Gundam Alex. Well more on that next time, but again, thank GOD I can finally review my QY God Gundam! Starting off, here is the box of QY's bootleg of God Gundam (Deitg Warrior). Unboxing this miniscule kit, there are only 5 runners along with the polycaps. ..And here's my bootleg Unicorn (mfg by Jargon), envious why he does not have a review. Issue 01: Starting off our assembly cure, carefully shave off the chest piece by a hobby knife to snugly fit it into the chest armor. Issue 02: Like most of my QY kits, head continues to be problematic. Cut the male connectors and apply glue to the seams. Issue 03: Waist armor male connectors are too thick. Shave by a hobby knife or sand it down to fit the pieces. Issue 04: Arms too have fitting issues. Cut the male connectors and then glue. Make sure you do not forget the poly cap when gluing! Is