Coming from a competition really fired my GN Drives up! I am now onto my 1st WIP of 2012, SD Zeta!
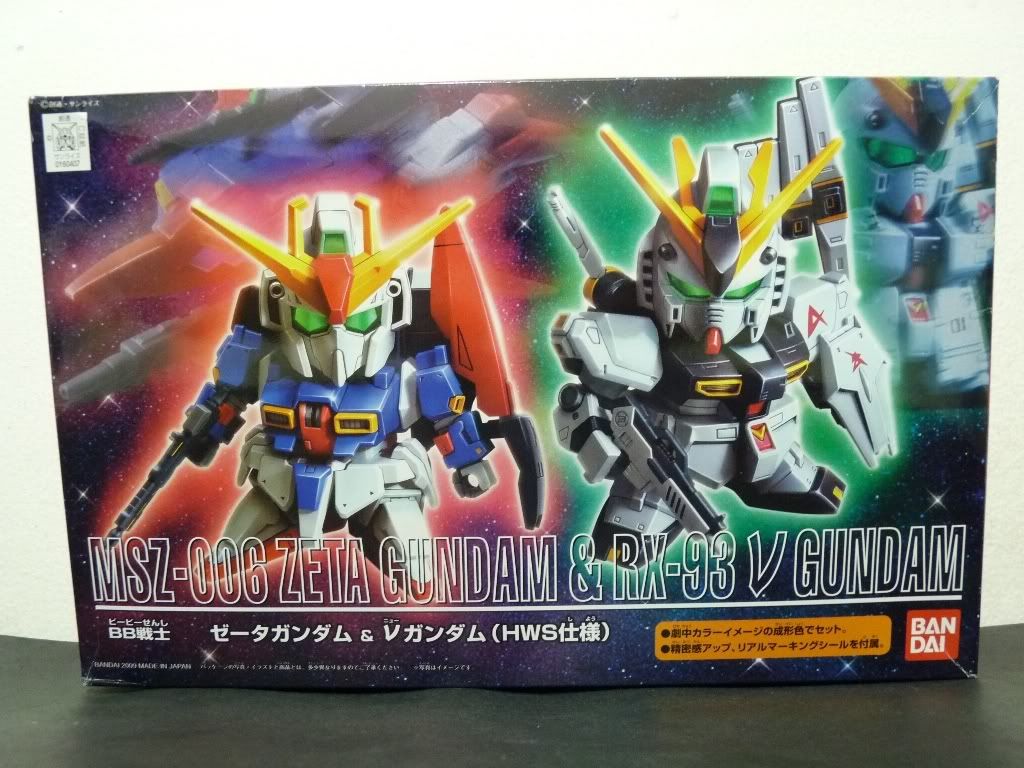


This 2-pack kit was actually bought before I even knew about the GFP competition. But G-SHOT and the 1/144 Challenge came along and the fun and excitement was too hard to pass up!
I initially thought of doing Zeta in its accurate colors. Watching Gundam AGE really blew me and I fell in love with white MS's particularly seeing how the G-EXES pawns the UE. Right then and there I decided to try something different, something that I've never tried before (well, sort of).
BTW, if you've never encountered the Zeta Karaba Assault it sorta looks like this ~
It is a limited edition color scheme of the MG Zeta V2. The Karaba Assault was piloted by the White Unicorn AKA Amuro Ray. (Photo above is NOT mine. Thank you GundamPH for the reference. Visit his site too. There are a lot of GunPla, mech, and other anime-related cool stuff there to see)
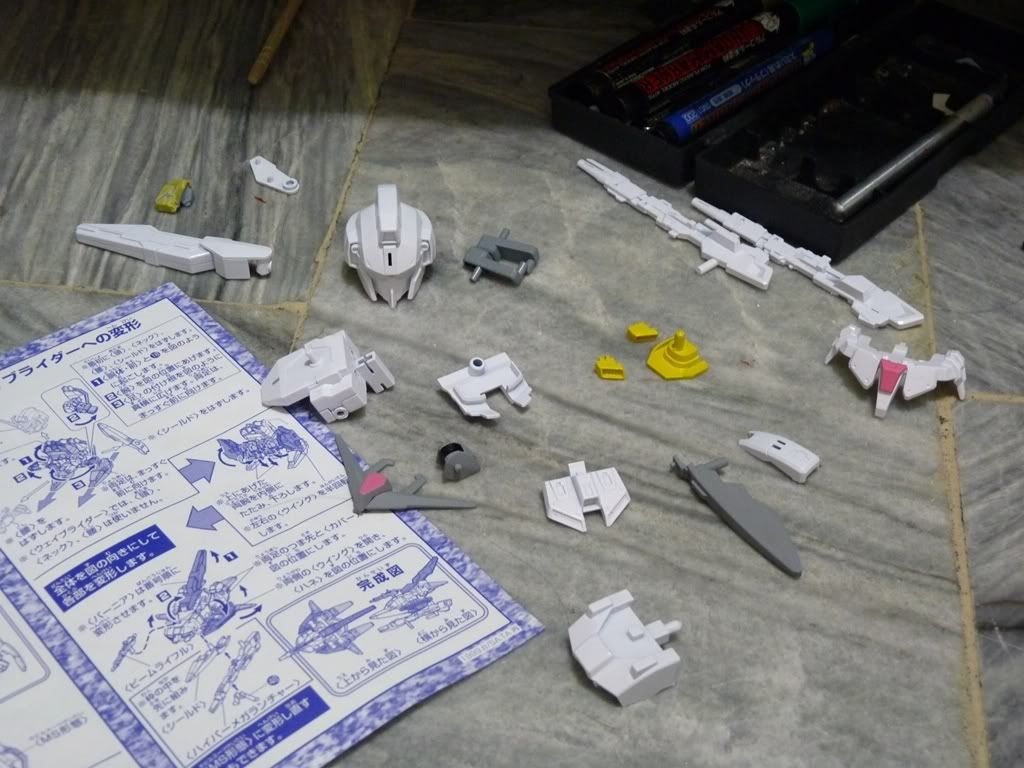
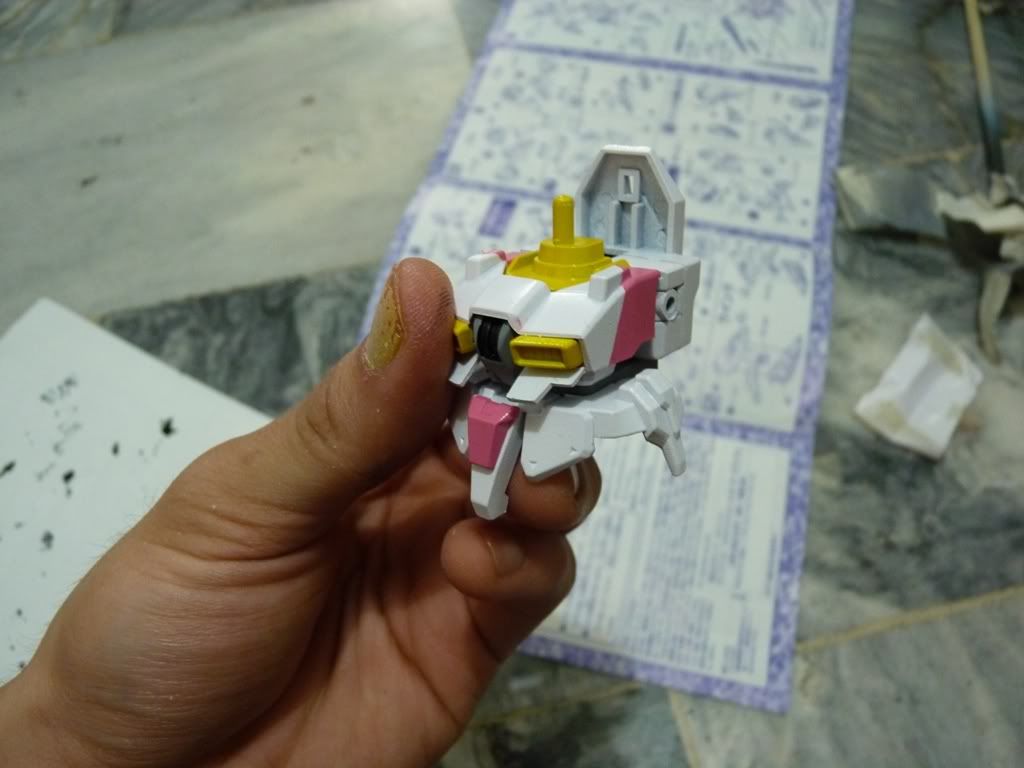
Upon straight building this dude, I proceeded immediately with painting to plan where to put the Karaba Assault stripes.
I haven't tried to do my own custom design colorization. I always follow the scheme on which I do my custom paint (IE. blue > red, yellow > gold, etc..). This is the first time I'll be trying to jam in some stripes here and there, add a couple of details, and hopefully level up on my masking skills *shudder* (I know I am not the only one that hates masking.)
I used the ever so trusty Bosny Spray Cans for my paint. The pink I used was Rose Pink. It looks so sweet and creamy! Crap, I'm craving for a strawberry sundae XD
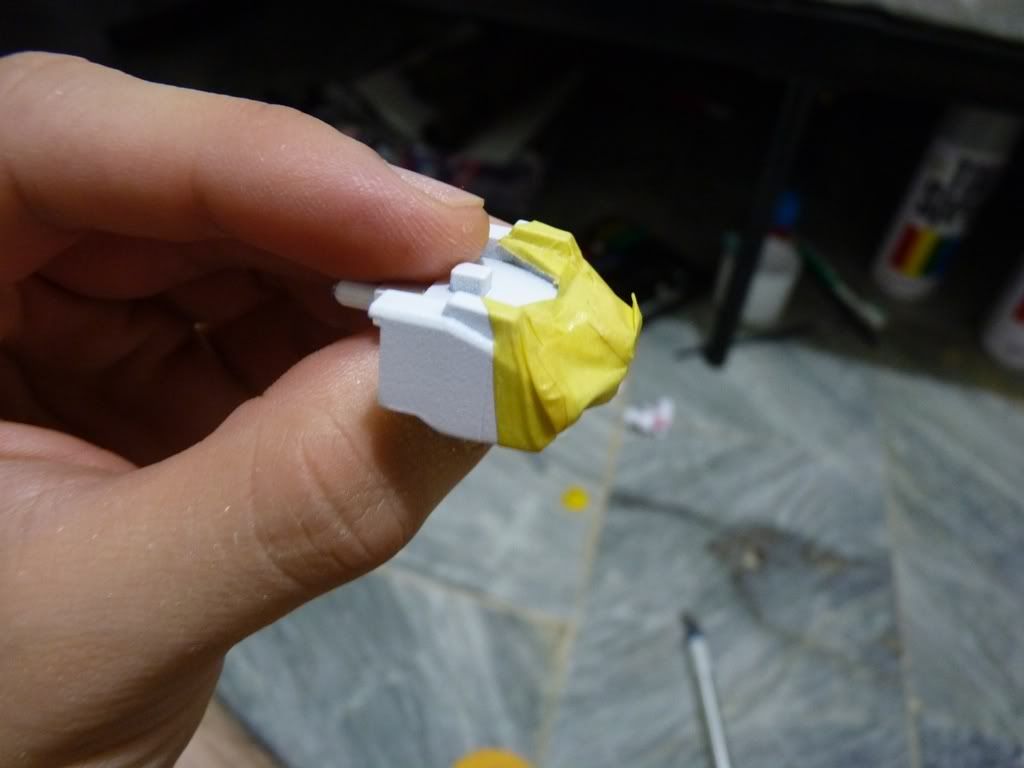
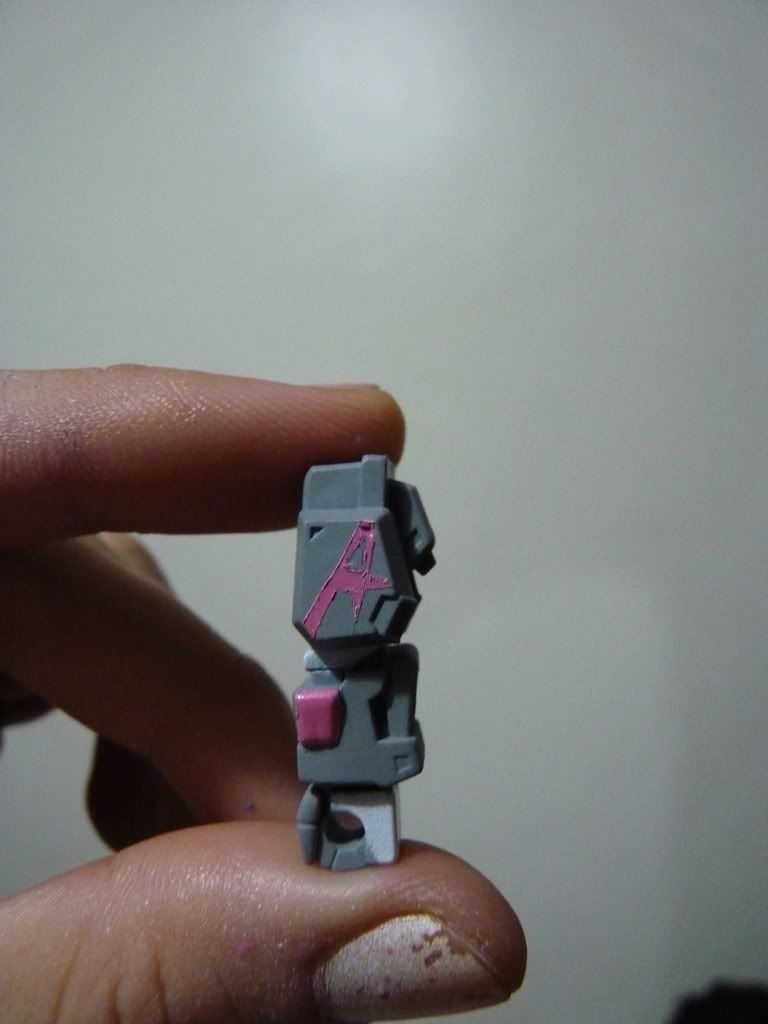
"Etching" Amuro's insignia on his left shoulder was almost impossible with the normal masking tape..
Going with a normal masking tape proves to be too sticky to etch something cleanly out of it. The secret? Tamiya Masking Tape! Yeah, I thought it was gimmicky sporting it as a "hobby" merchandise. Tamiya Masking Tape didn't have that same viscosity as the normal ones which is great for this kind of job. Also, it's gentle on the paint which sometimes the normal masking tape rips off when masking (Oooohhh, the horror!). All the hobby items that I see in shops at first for me are "overpriced". I was wrong. But still, I think there is a cheaper equivalent of this kind of tape on stores. Knowing full well that this is a TAMIYA brand assures me that the quality is tip-top.
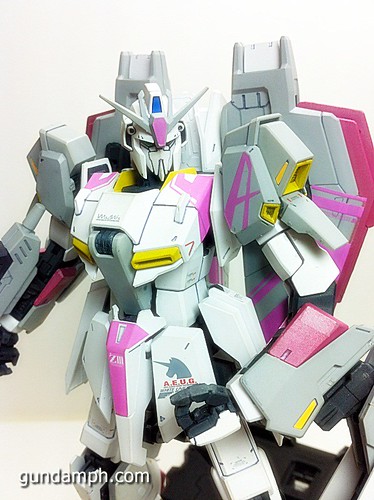
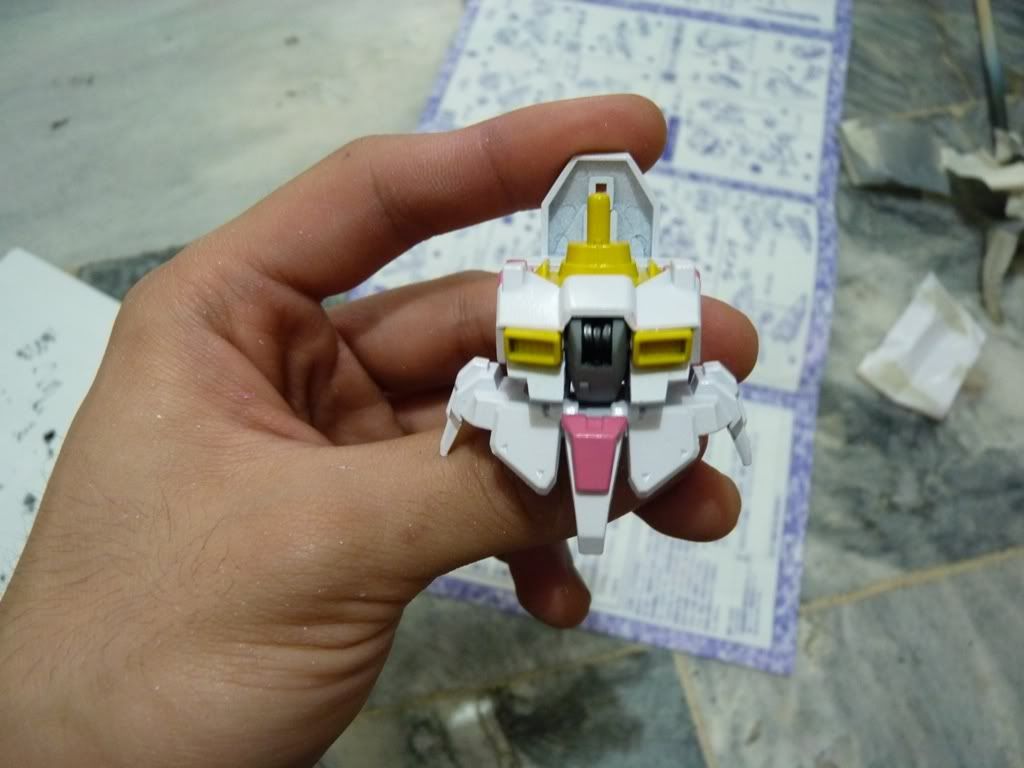
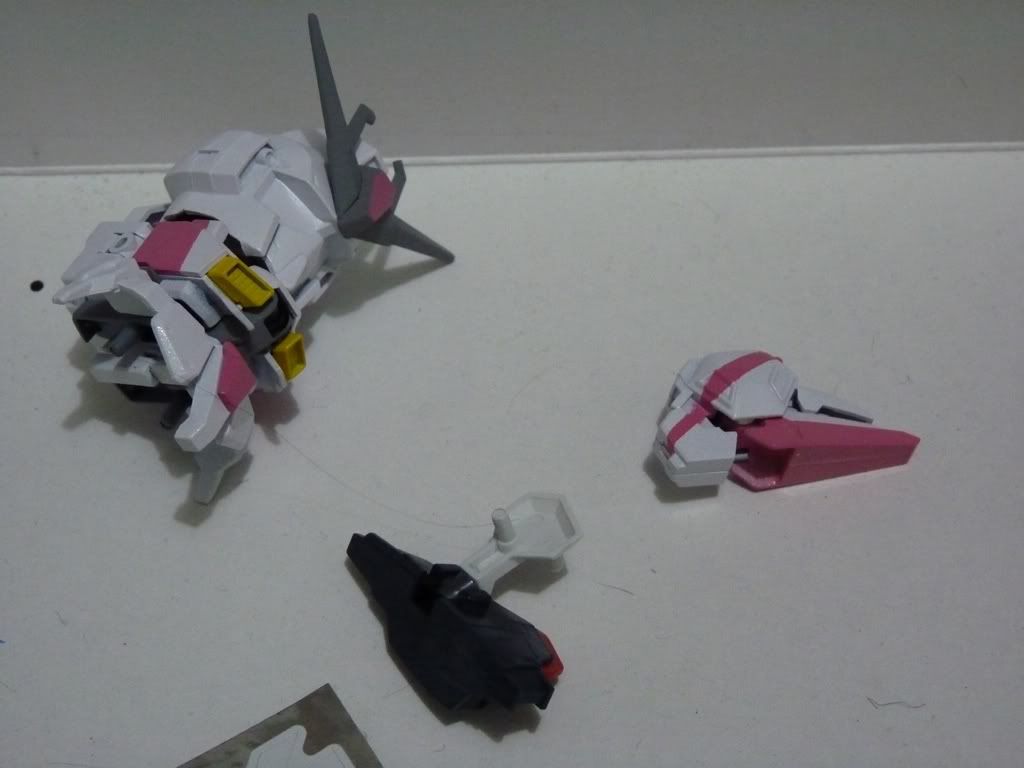
Progress so far
Head, arms, and body are done. All that's left are the right foot, flaps, wepaons, and of course, panel lining. I am very happy with the scheme I chose. I can't wait to finish this dude and sum up all the back logs! Haha! Wait for me HG Zeta and ZZ!!!!
PS.
Thank God I am holding my wallet for not buying impulsively. I promised myself not to buy any kit (err, unless it really is a steal!). There's still a couple of back logs left, the SD Nu and... *drumroll* a surprise. Stay tuned!
Sir what bosny color did you used in the gray parts?
ReplyDeleteHello and thanks for visiting my blog :)
DeleteI used primer gray
oh I thought it's light gray, thanks for the info, I'm going to paint my 1/60 NG zeta gundam in to this karaba assault color scheme
DeleteOooohhh tasty project you got there!
DeleteGood luck! Do you have a blog? Lemme follow
Very interested on what yer cookin :)