Got up and finished my "Masking Level Up" project! A bit delayed because I got stuck finding the right paint stripper since I cluster-fucked the wing binders (present in WIP 02). Thanks and props to Kent of GFP for helping me out. Cheers! Now onto the review...

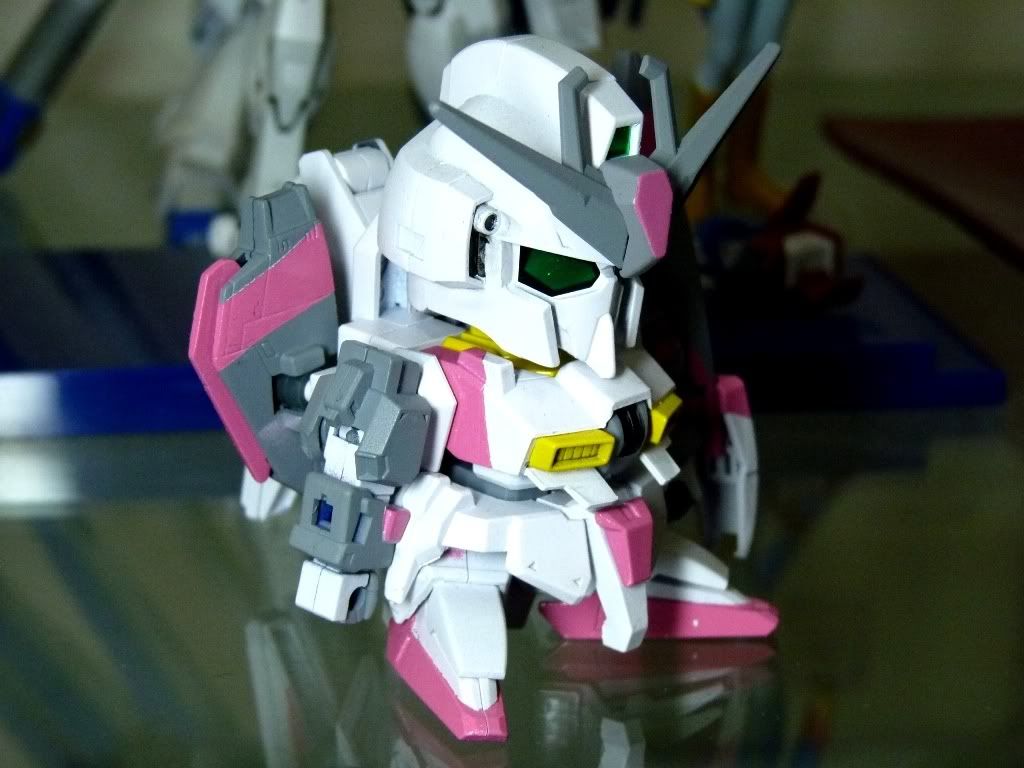
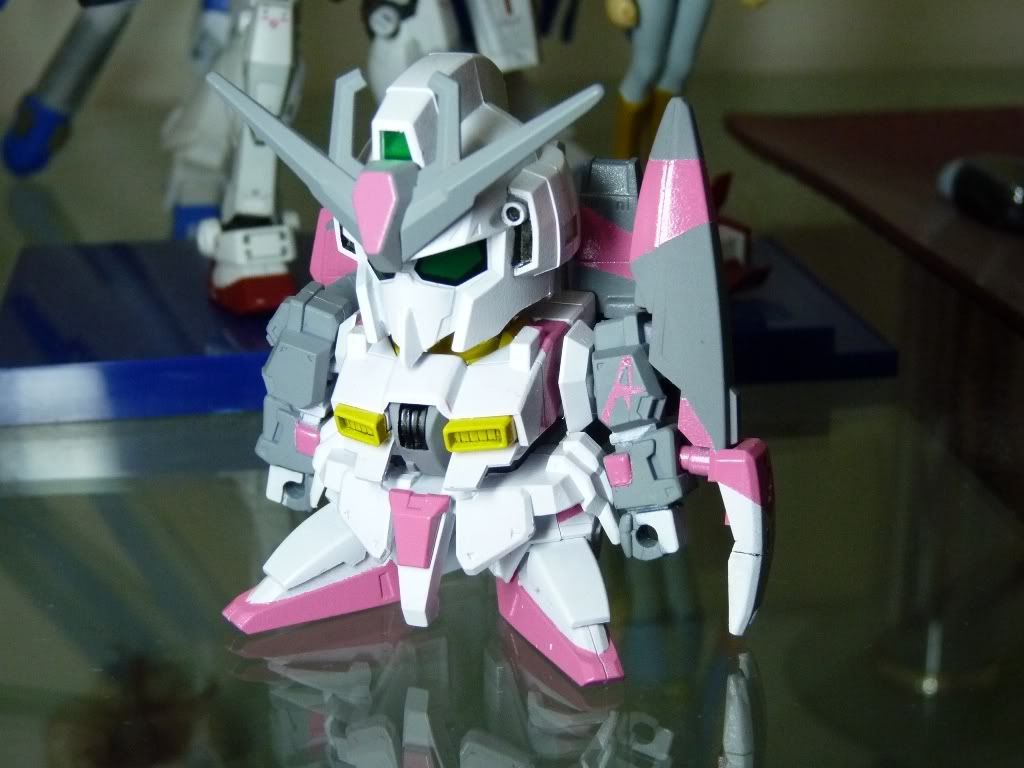

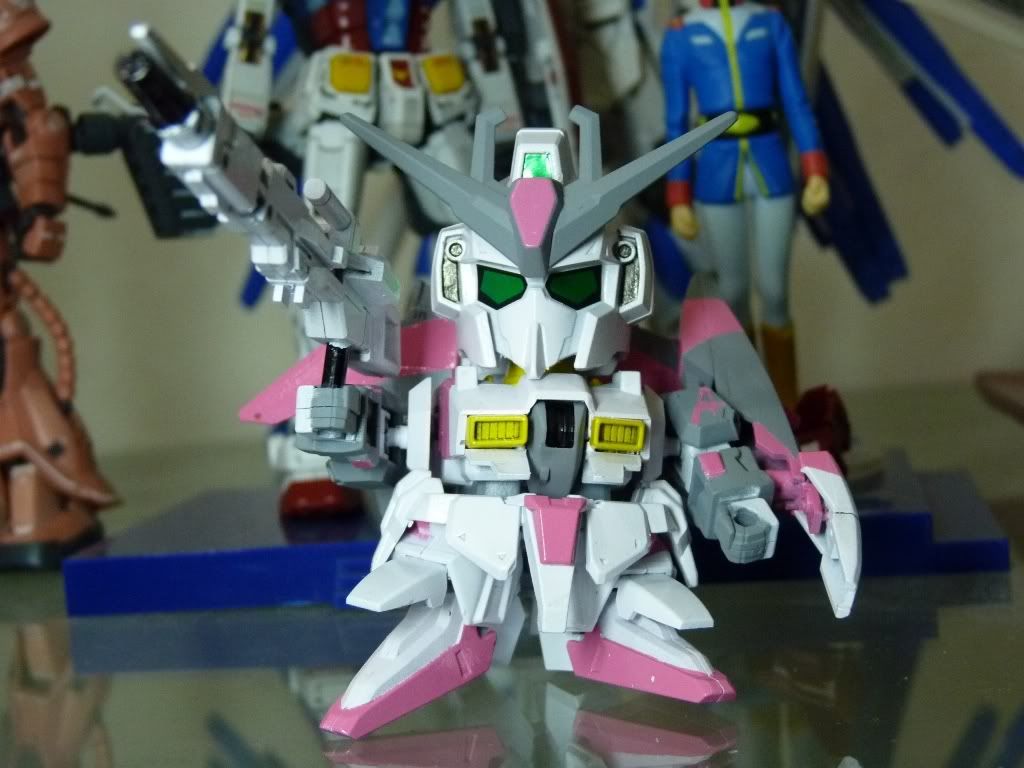
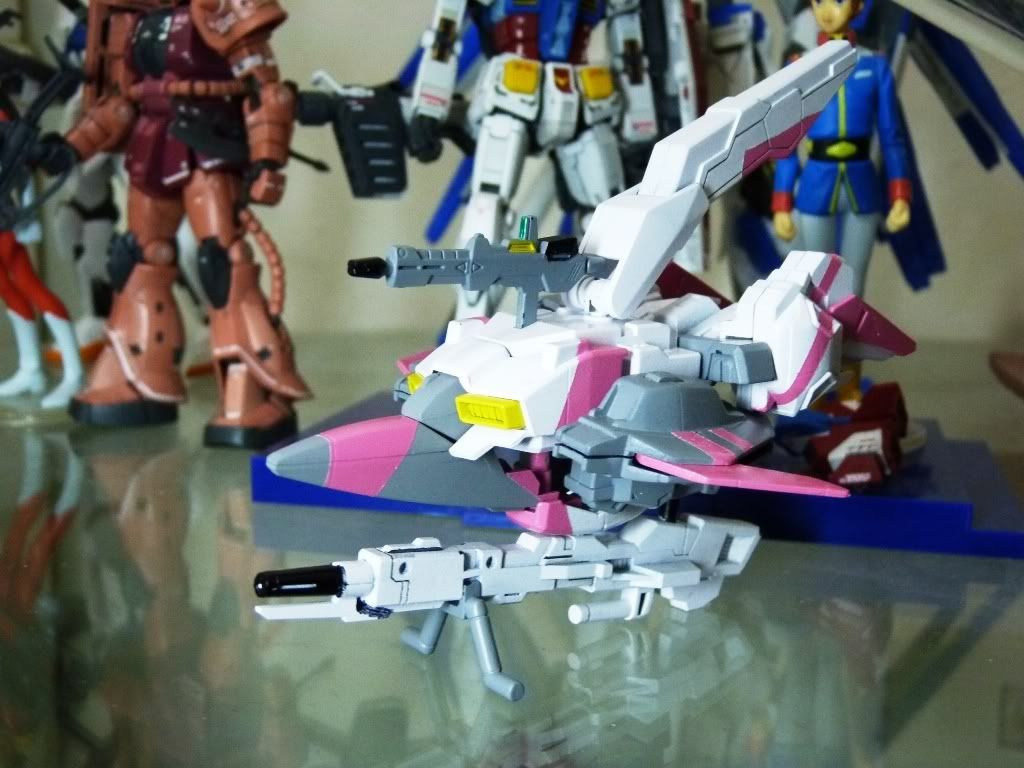
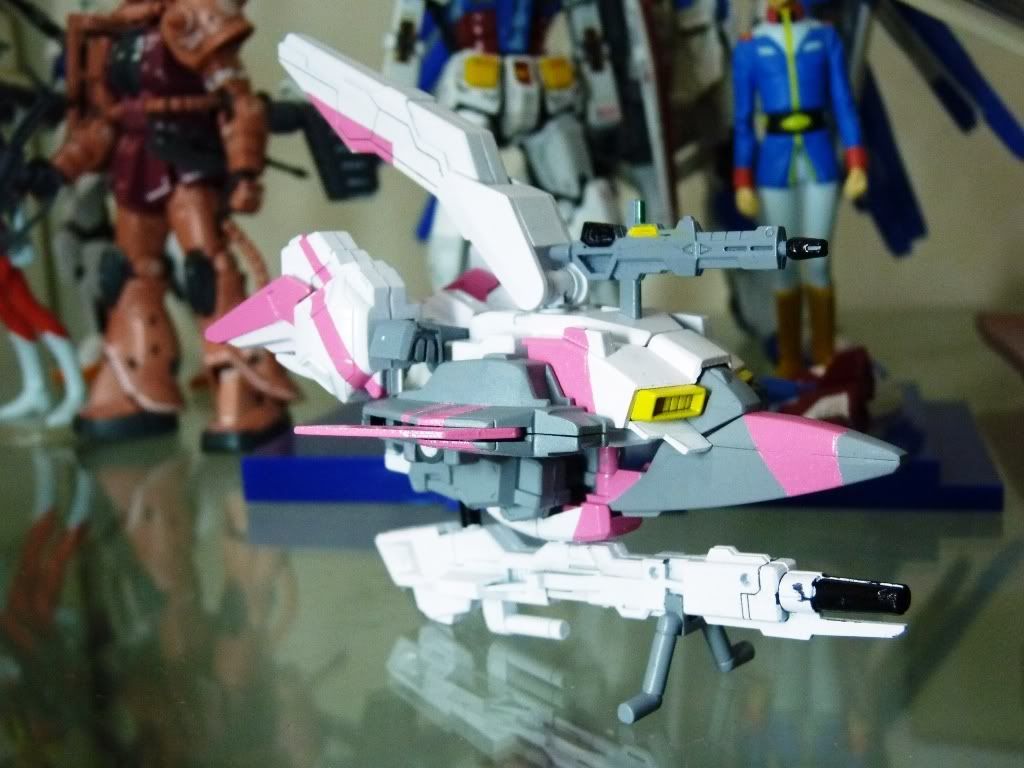
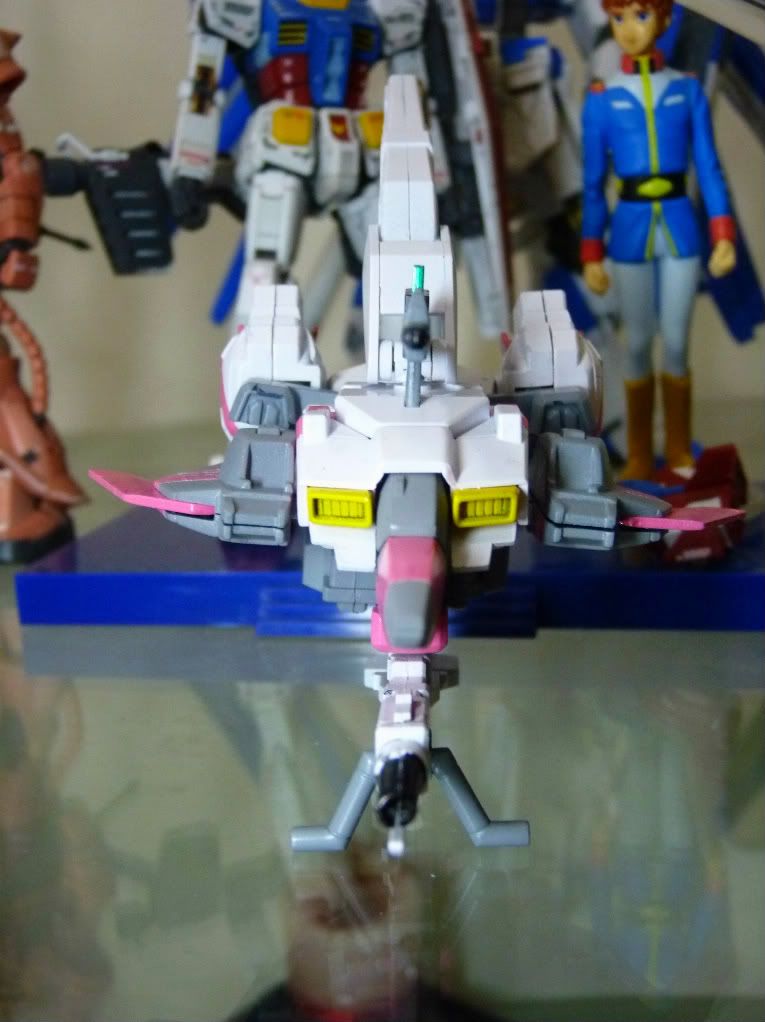
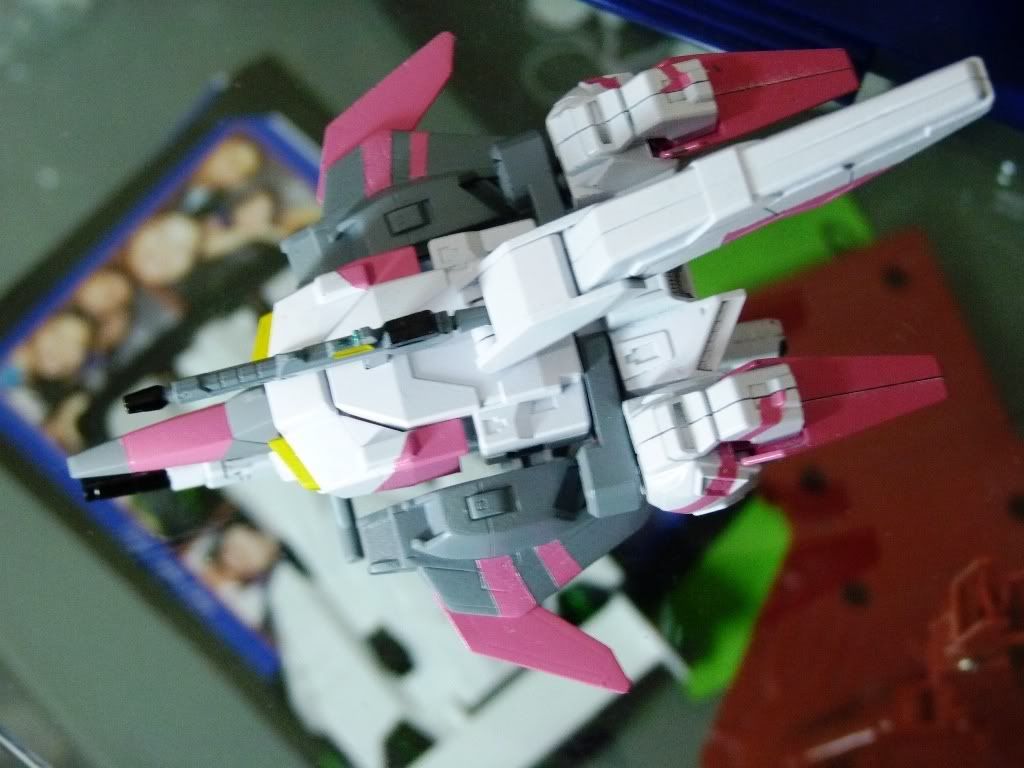
Oh boy, the Karaba Assault color scheme breathed new life to the already sexy design of Zeta (one of my most adored MS designs). The usual, a 360 view of the kit
A good tap on the back for a job well done etching the Amuro 'A' insignia on Zeta's left shoulder.
Level up +1
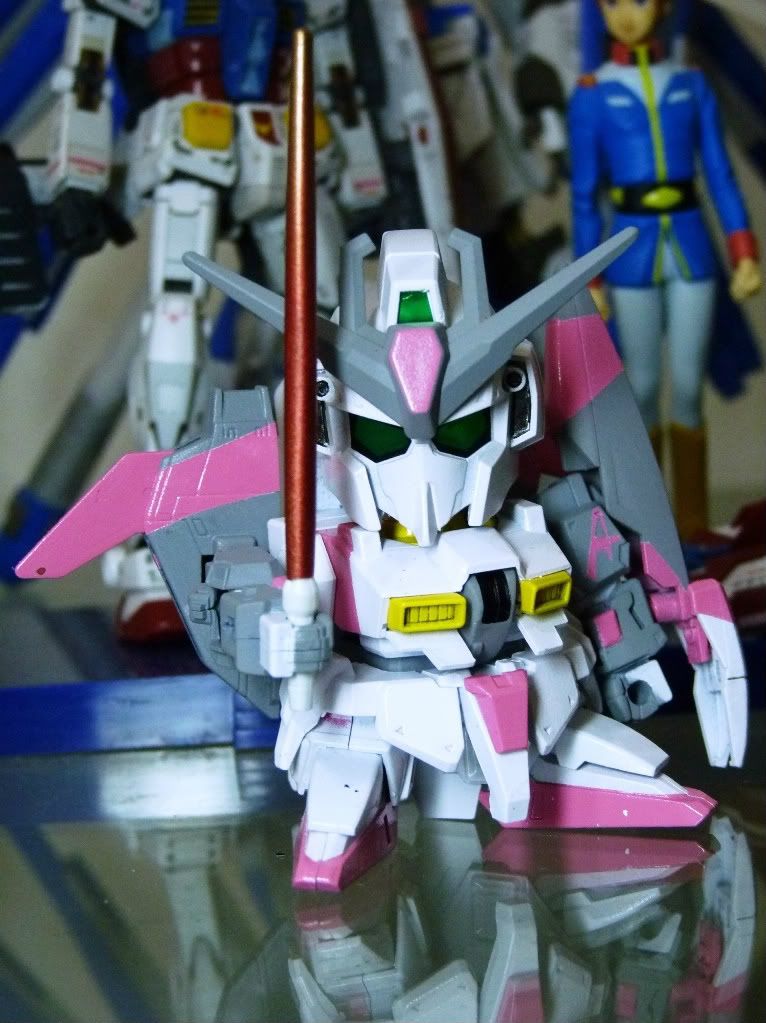
I really fell in love with the stripes of Zeta KA
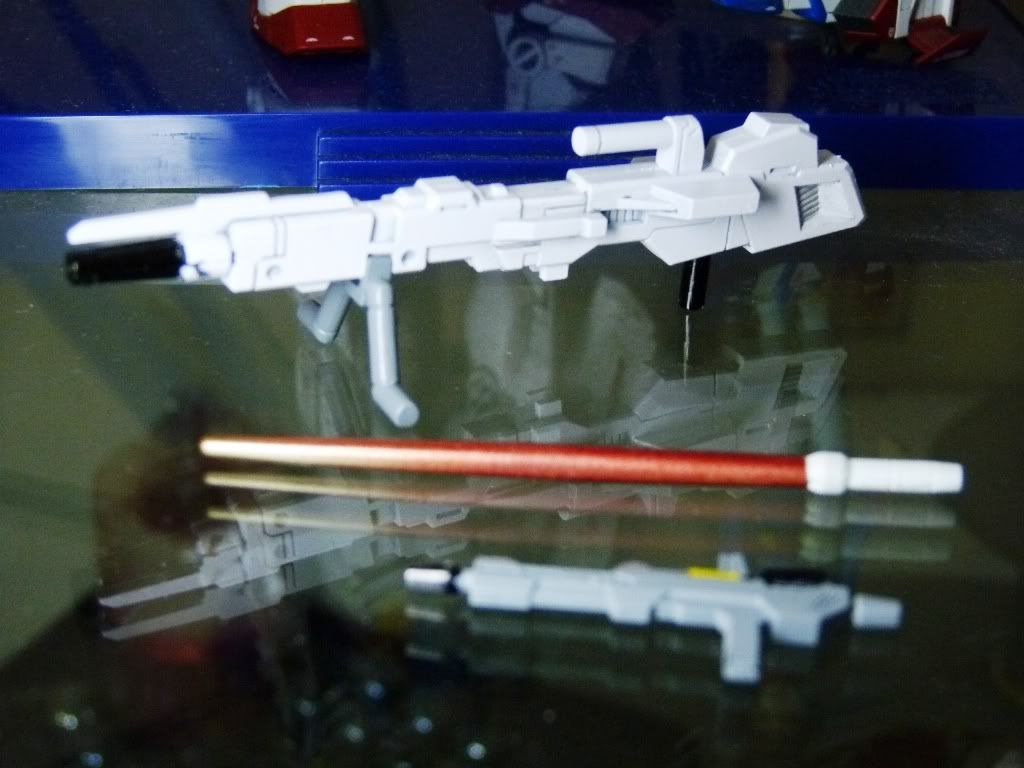
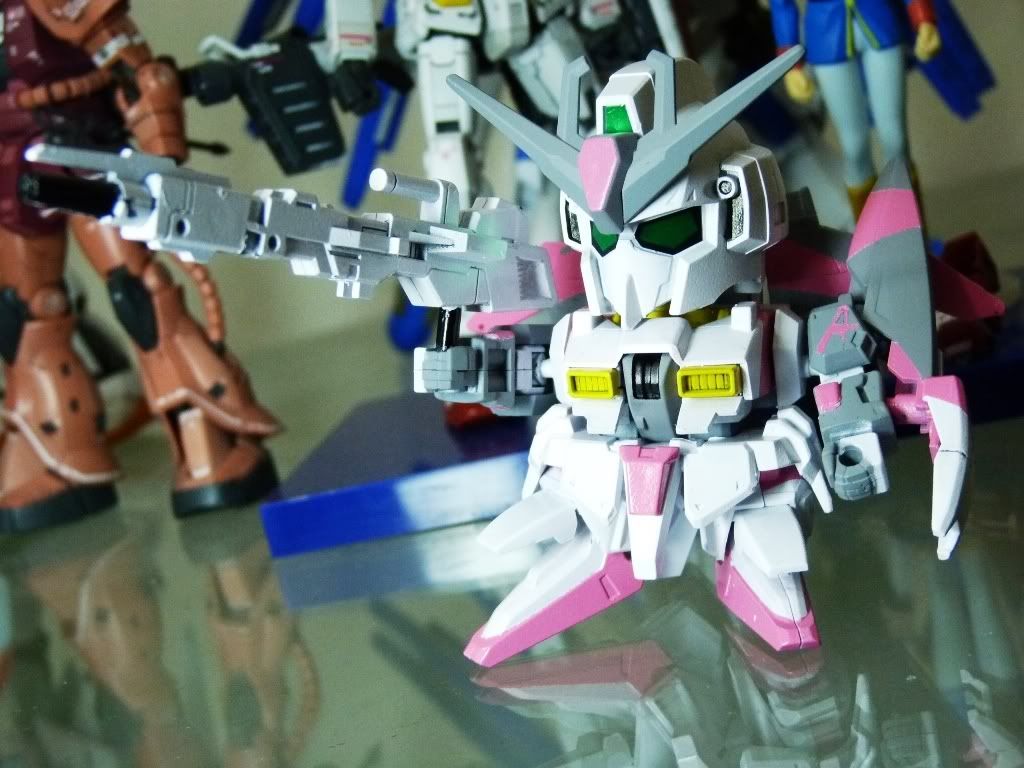
Zeta's armaments. Had a little bit fun too with the beam saber. Two-tone painting success!
Level up +2
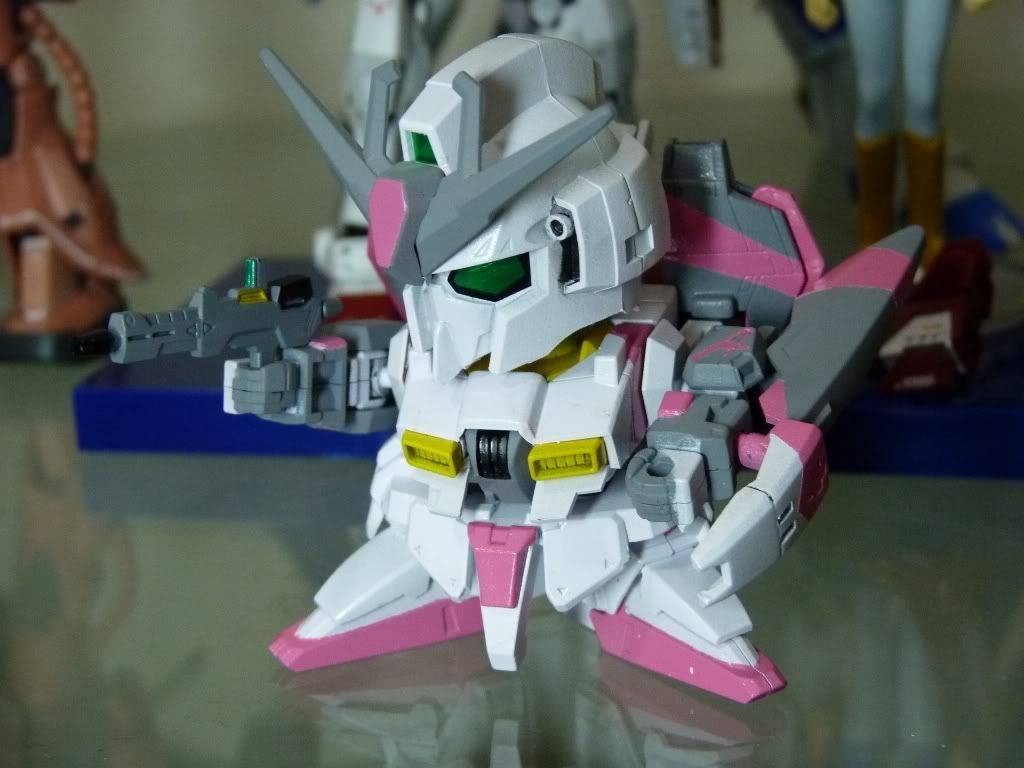
Action sequence - commence!
Pew pew pew!
Though articulation is limited (which is a given for an SD kit), I am a bit surprised how well this guy is as agile and yet as solid while being complicated the Zeta's transformable design come. There are a lot (and I mean A TON) of movable parts for an SD of its era release.
THIS IS ZEEEETAAAA!!!!
Waverider mode - Transforming the kit while following the manual without being able to read Jap is a bit tricky. User's manual came a long way though as the newer kits are more comprehensive and understandable with its approach compared to the manual of old.
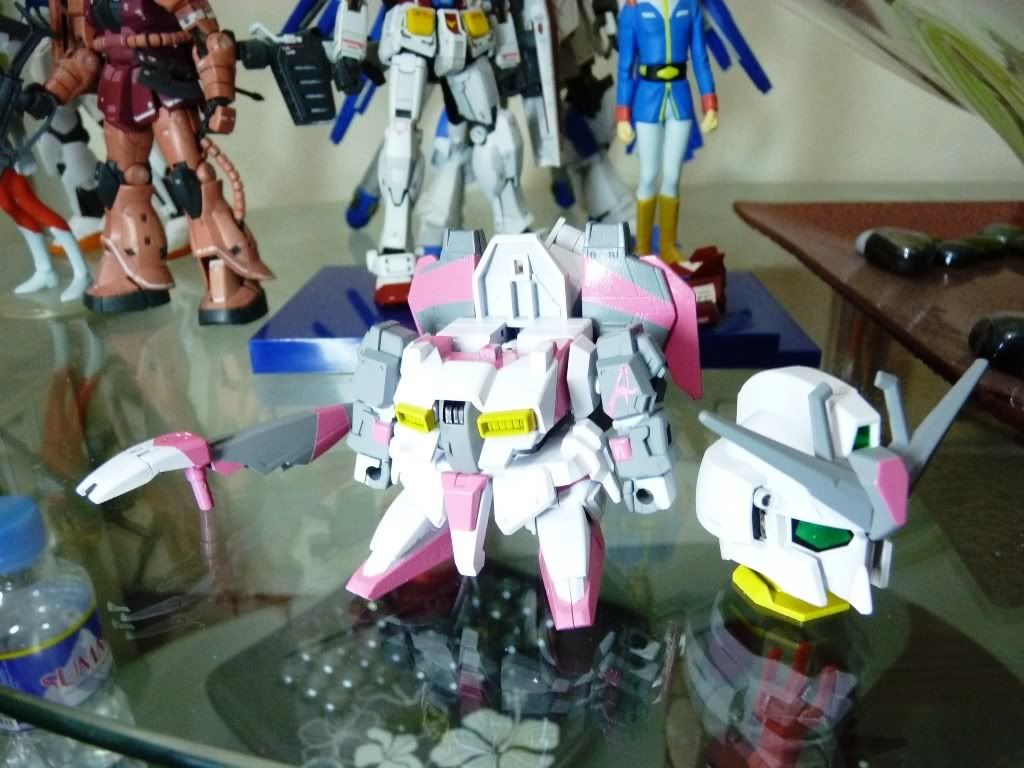
Pop off the head, shield, and front skirt.
And with a few twists and magic turns - and a slight headache wanting and forcing to understand the manual, I was able to pull the waverider mode off!
Awesome how the Hyper Mega Launcher acted as a stand. Good job on the engineering of this kit!
Angry bird's eye view (lol)
Pros:
Engineering
Pretty solid for a transformable unit
Design (I mean who doesn't love Zeta?)
Can turn into its waverider mode
Cons:
Instructions for transforming the kit requires Asian Level mastery (lol, teeny weeny nitpick)
I was not able to clean out dirt on some parts from panel lining. I wish it was a bit darker too, I am still yet to master the art of the wash technique. Some lines are too subtle to even notice. I will surely finish detailing this kit when I have the funds to try lining it with a mechanical pencil (a fellow GFP has suggested).
Things that I enjoy most with this hobby is the journey of learning something, being free, and creative at the same time. For this project, I really enjoyed masking (which I curse so much before) -- which was made a little bit easier by the Tamiya Masking Tape VS the generic ones. Quite honestly I still hate it but seeing how the effort pays off with this kit, you can really tell it sure is HELL WORTH IT!
Ever since I joined that GFP 1/144 challenge something struck me to do better as I progress. From doing an unconventional color scheme to creating my own stripes, it was FUN! Sure, time (and of course money haha!) has not been cooperating with my GunPla hobby but again, I learned as I progressed to enjoy every moment, take my time and move at my own pace - without feeling any pressure.
Never settle on your comfort zone. PUSH! Ciao~
Comments
Post a Comment