3rd post and December is almost over. Other priorities, work, and a whole bunch of stuff just kept on getting in the way of at least pursuing the hobby ever since I was a child. Quitting the hobby inevitably looms on my mind BUT by simply looking at the "incomplete" collection sparks a light to give my GunPla blood a little rush. It's a bit depressing, really, to have the mere thought of leaving.
With that out of my chest and my future as a collector and a modeler is in jeopardy, grasping whatever what's left on my back log and taking responsibility to the GFP 1/144 HG challenge, I present -- 00 Raiser Ver. CH! This is a WIP follow up from my straight build entry at G-SHOT. Obviously I used the same kit. :p
With that out of my chest and my future as a collector and a modeler is in jeopardy, grasping whatever what's left on my back log and taking responsibility to the GFP 1/144 HG challenge, I present -- 00 Raiser Ver. CH! This is a WIP follow up from my straight build entry at G-SHOT. Obviously I used the same kit. :p
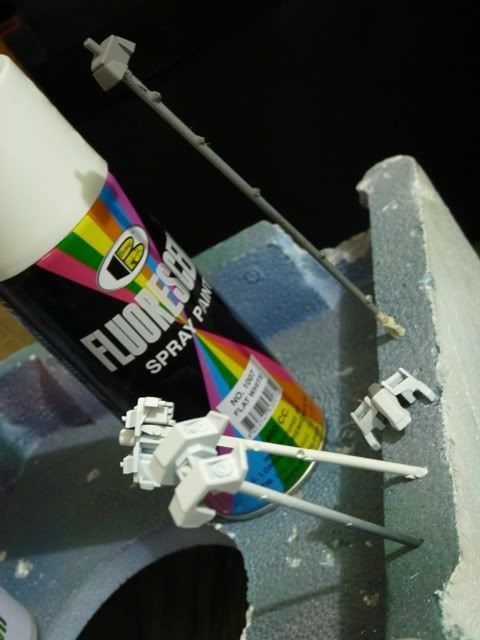
The ever so reliable Bosny Spray Cans! Flourescent Flat White as white FTW!
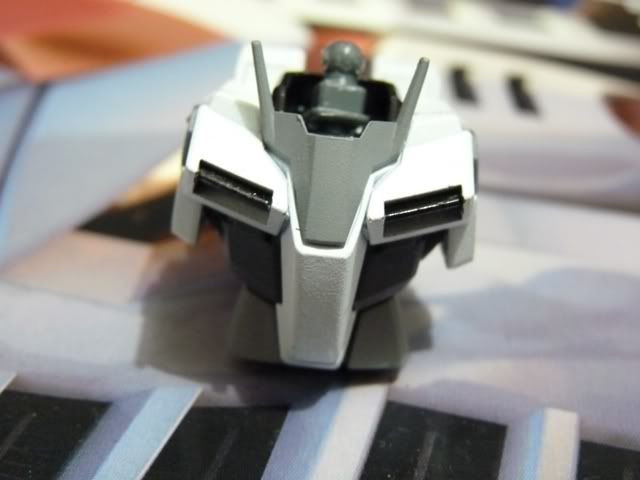
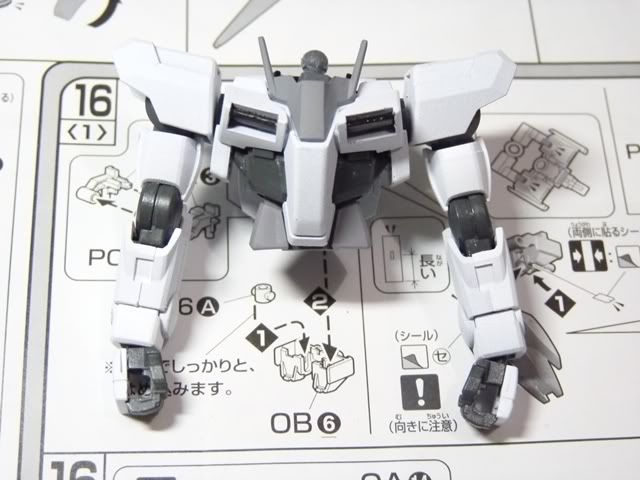
Chest complete - looking sharp!
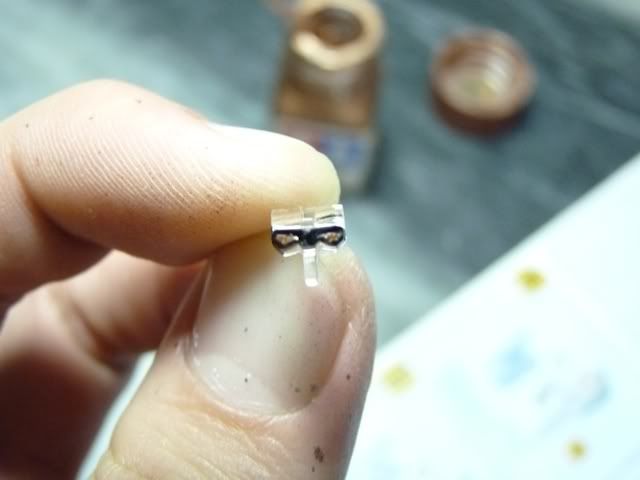
I've decided to try something different with the eyes instead of the usual GREEN or RED, I chose bronze
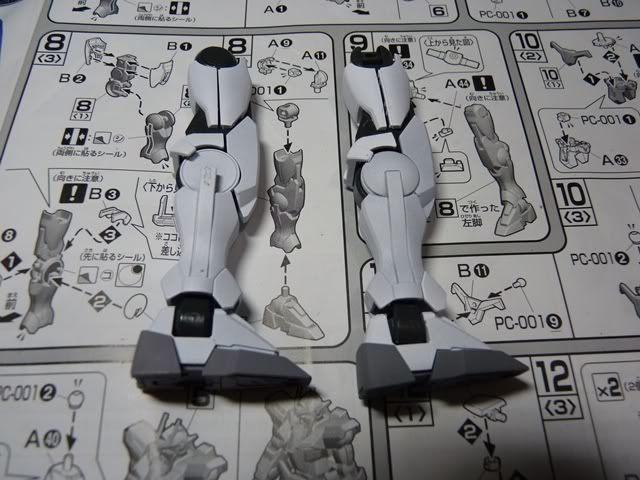
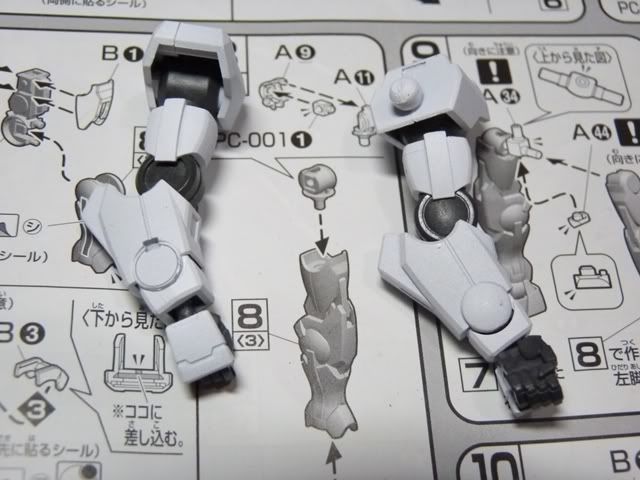
Legs are looking good too thanks to the Flourescent Flat White
Arms done
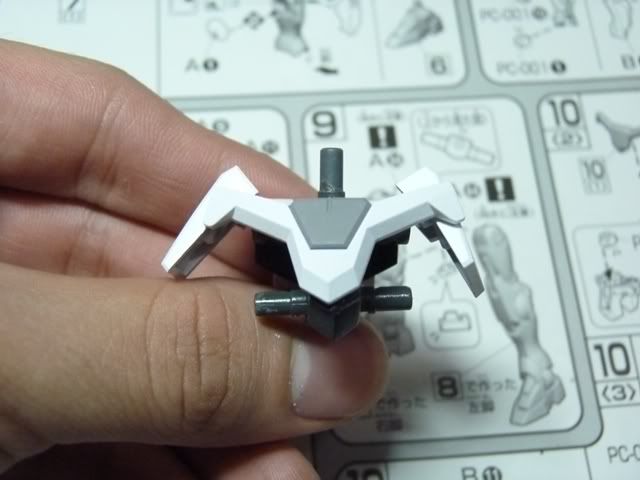
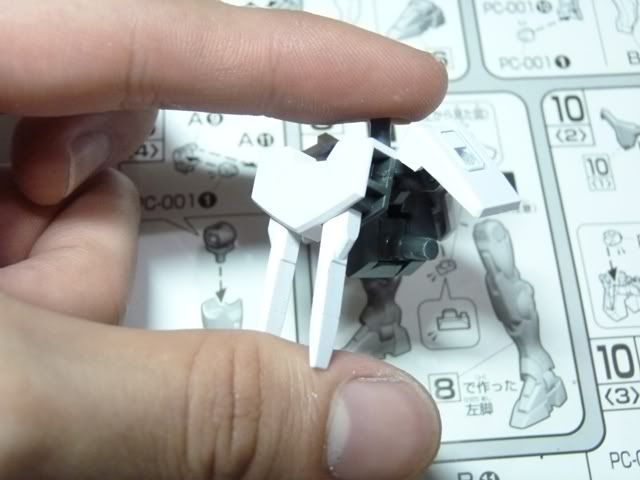
Skirt
Putting the arms and body together
Progress has been good this past week. I was able to complete the whole 00 Gundam and already started the wing binders and the GN Drives (for this, I will use the drives instead of the condensers). I forgot to take photos of the head but I am loving how it turned out! Fingers-crossed as I hope I can finish it all this week.
PS.
I must be pressuring myself comparing my progress from when I was just getting rebooted in the hobby. I was locked on painting, purchasing whatever, and building non-stop. I think I should just take my time and move at my own pace with all this. Upon writing this blog entry, I just realized that. What's clear though is that I'll be building it straight (no paint method) from here on out (as soon as I finish the paint projects - 2 SD kits and this). Cheers and happy holidays!
Comments
Post a Comment