
Bandai HG 00 Raiser Condenser Type - WIP 01

Finished everything and this post was due yesterday. Sorta busy so I guess a day late ain't that bad (considering I was gone for almost a month) >:D

This is my entry to G-SHOT's straight build category. Nothing fancy in this build, just trying to clean as much nub marks with my hobby knife. No touch-ups, top-coat, and only panel lining is allowed for this cat so this 00 Raiser would be too plain for most. Even I cringe as this kit won't not get much attention. Worry not though since this very same kit will be my entry to the friendly HG competition at GFP on facebook.

Box shot (Love it)


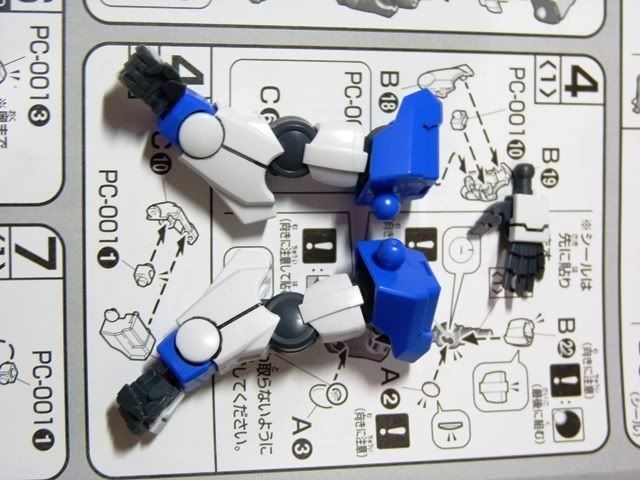
Building this kit is pretty straight forward. No mess and its rock solid from in and out.


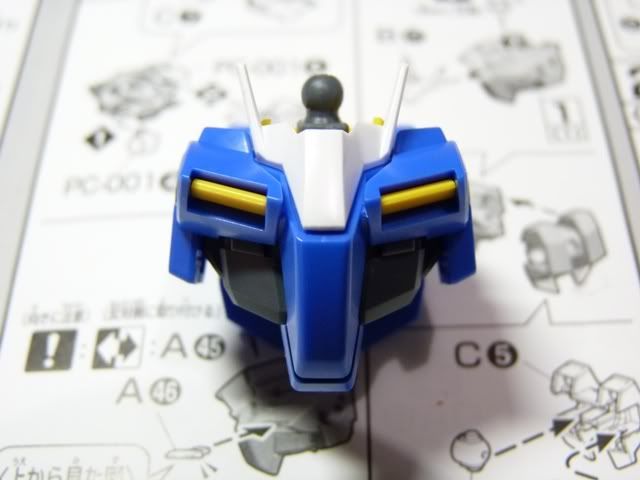
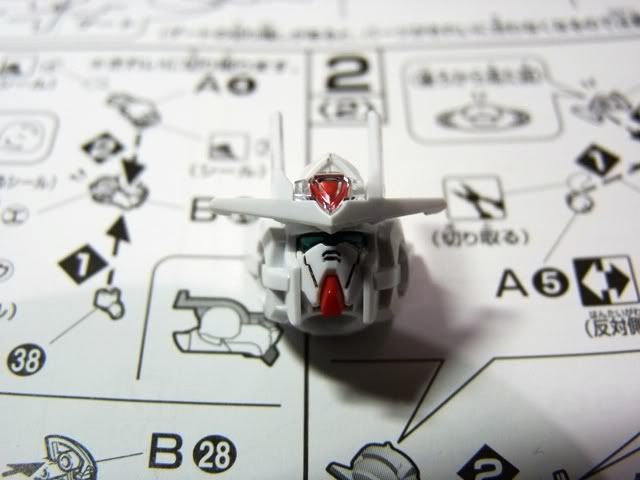
Compared to my TT Hongli HG 00 7s/G's head, the panel lines are deep and detailed. I expect nothing less from Bandai of course


Didn't bother with the foil stickers as the competition in GFP (mod and paint are allowed) is my top priority.


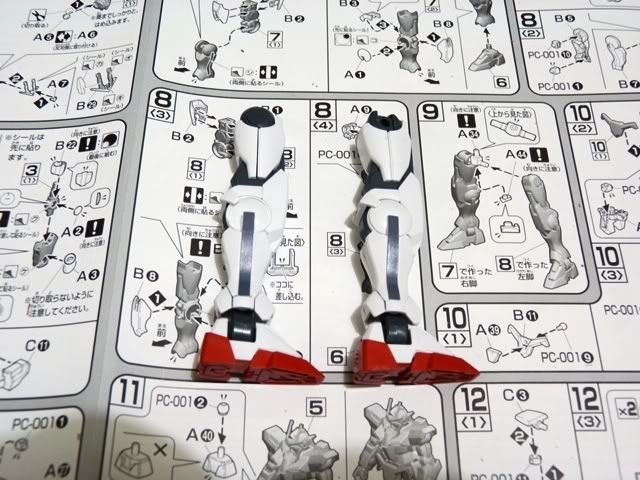
Legs too are rock solid


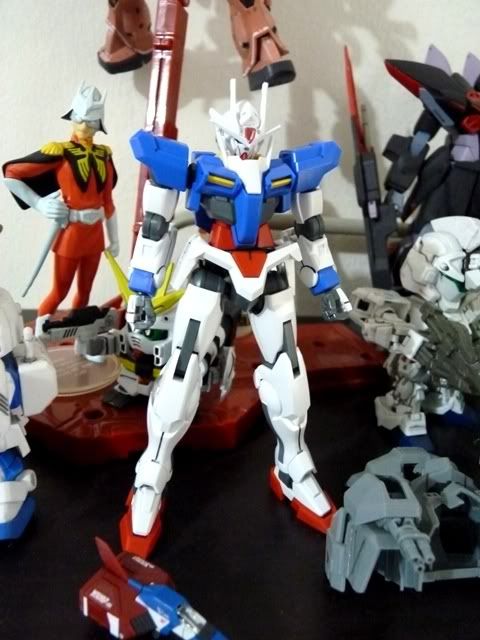
...And putting it all together

Ore Wa......~


It's around 70% complete. All that's left are the 0 Raiser and weapons. (50% for GFP's HG build-off since I will be painting the whole kit. STOP BEFORE I SPOIL THE BEANS).

PS.
Told you I wasn't slacking off! >:p

Comments

Popular posts from this blog

QY SD Shining Gundam - Mini WIP, Assembly Cure and Review

It has been a while since the last time I blogged. Reality bites and I have to focus on the "more important things in life." Work, girlfriend, and of course going outdoors - a much needed "distraction" to regain my appetite for GunPla. In all honesty my interest has gone downhill and the promised TT Hongli MG Sinanju is nothing more of a plan than a work-to-be-done. There will always be the GunPla itch so I picked this teeneeweenee SD that caught my eye. Welcome to the club, Shining Gundam!! To start off, the box. Runners - 5 in total along with the polycaps Issue 01: See the yellow fin attached to the head? Don't force to plug it in. You'll only damage the plastic. Shave off the little opening to fully accommodate the fin. Repeat it on the other side. Issue 02: The usual suspect in QY kits. What I did was shave the male connectors with my hobby knife. Head done! Notice I used the foil stickers. It's not that I was too lazy to paint the eyes, b...

Bandai SD Zeta Karaba Assault - WIP 01

Coming from a competition really fired my GN Drives up! I am now onto my 1st WIP of 2012, SD Zeta! This 2-pack kit was actually bought before I even knew about the GFP competition. But G-SHOT and the 1/144 Challenge came along and the fun and excitement was too hard to pass up! I initially thought of doing Zeta in its accurate colors. Watching Gundam AGE really blew me and I fell in love with white MS's particularly seeing how the G-EXES pawns the UE. Right then and there I decided to try something different, something that I've never tried before (well, sort of). BTW, if you've never encountered the Zeta Karaba Assault it sorta looks like this ~ It is a limited edition color scheme of the MG Zeta V2. The Karaba Assault was piloted by the White Unicorn AKA Amuro Ray. (Photo above is NOT mine. Thank you GundamPH for the reference. Visit his site too. There are a lot of GunPla, mech, and other anime-related cool stuff there to see) Upon straight building this dude, I ...

TT Hongli MG 1/100 Exia Ignition Mode - Review

Assembling bootleg kits can be a pain at times but this MG Exia Ignition Mode was a breeze. I was surprised from the fact that 90% went well and the other 10% were minor fixes - from shaving male connectors to gluing parts. I really enjoyed assembling my first Master Grade (I was hoping it was Bandai, my wallet was not cooperating as expected lol). Action! G...Gu...Gundaaaaaam!!!!!!!!!!! GUUUUNDAAAAMU!!! Ore wa........... Ore Wa Gundam-da!! Exia exterminating target............... Graham: Ike, Setsuna! Live and unlock the future! More swords Setsuna? Target exterminated! Joining the bunch :D Pros: Assembling is pretty easy for a bootleg Build is sturdy It came with LEDs! Cons: Joints are too stiff (for my liking, anyways, it made the kit solid though) Swords at his wait does not fit the peg in the hand Exia Repair parts does need half of the non-Repair head. (didn't bother with the transformation) The Exia Ignition Mode is a must have! I'm really g...