Ahhh yes I'm back. Crap I missed blogging! So you thought I was slacking huh? Well, being away doesn't mean my GunPla crave stopped! I was able to snag a rare kind at the GBWC event and boy I am one happy camper!
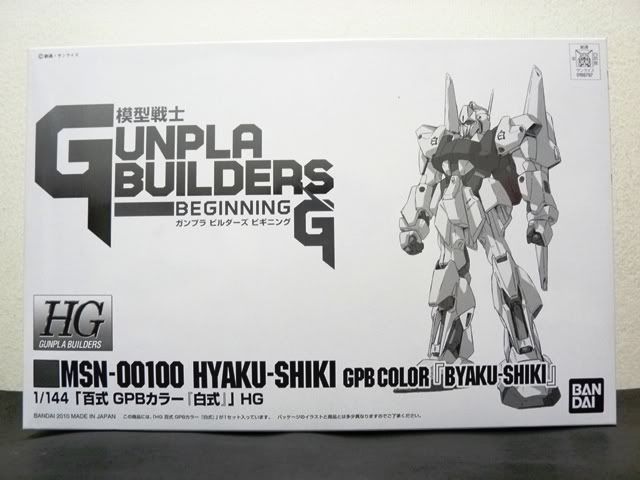


I present Hyaku Shiki GPB Custom BYAKU Shiki
This is basically a re-color of the Golden Hyaku Shiki of Quattro Bageena (CHAR, uhh, BAGEENA - that sounds something.... green..). Byaku came out in the anime GunPla Builders - Beginning G
Not a single care if this IS Char's MS or not (well, sort of) but since it is a limited kind, it was an insta-buy for me. I was able to get this for 800 bucks. Good deal :)
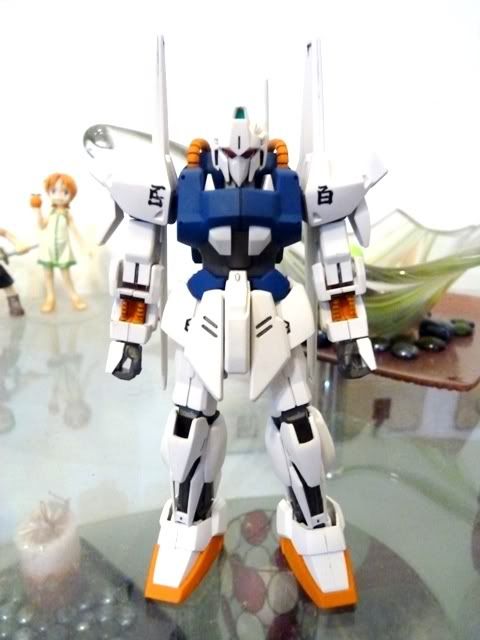
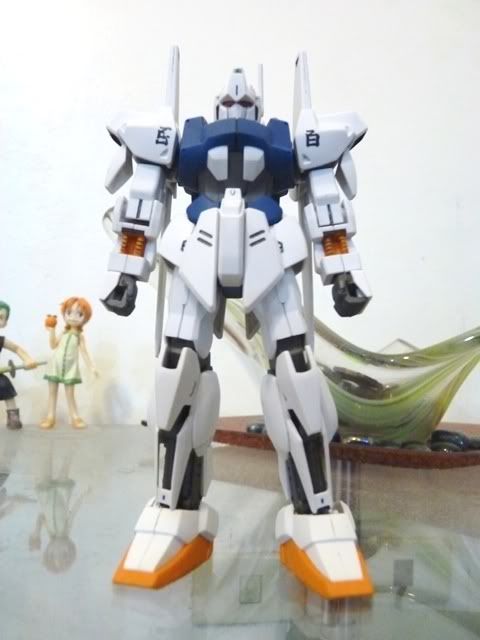
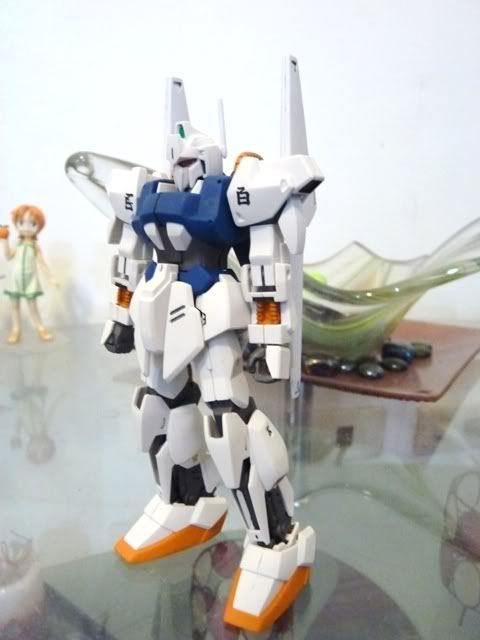
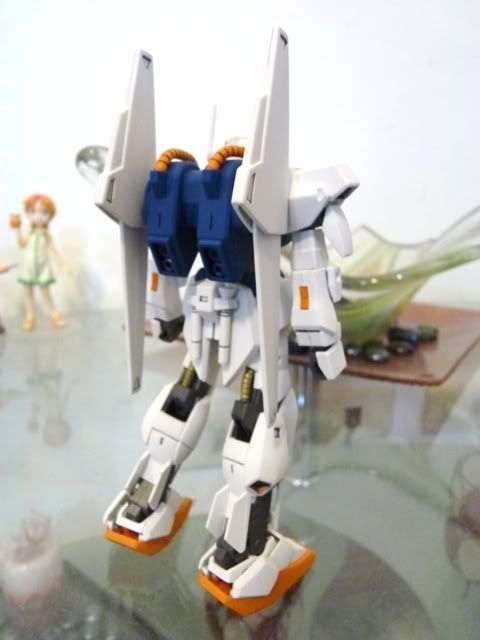
Starting off, 360 view ~
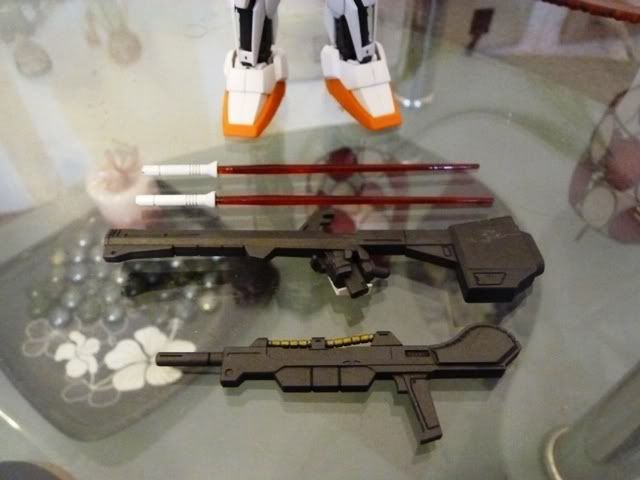
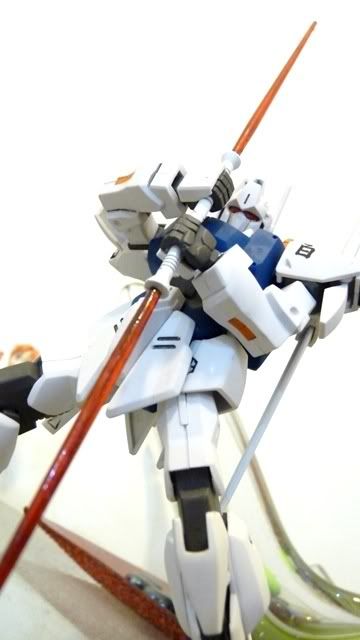
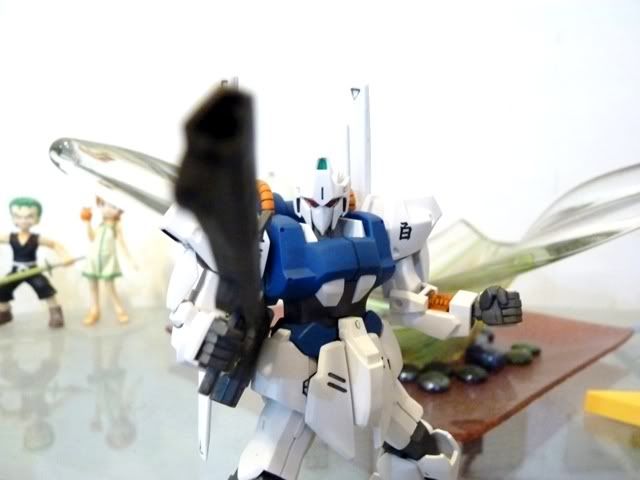
Byaku's few armaments. I've painted the saber clear red (it was originally transparent yellow)
This kit is a brick. Not much posing for this guy - though he looks awesome! Also painted his eyes (shades) with bronze and mixed it up with clear red to get the orange-y effect. The foil sticker black was a bit boring for my taste
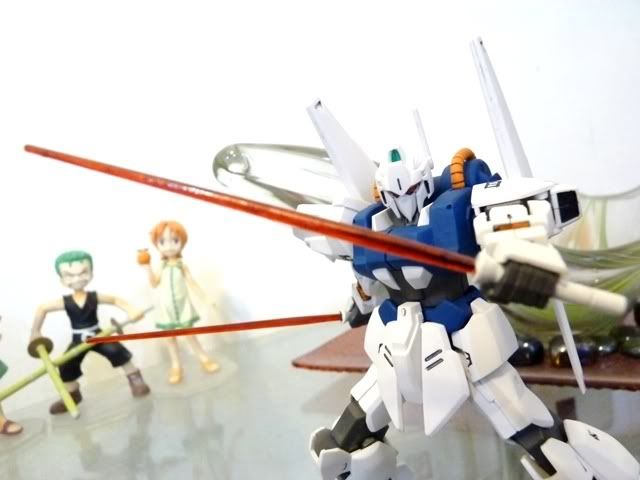
Darth Maul Byaku lol
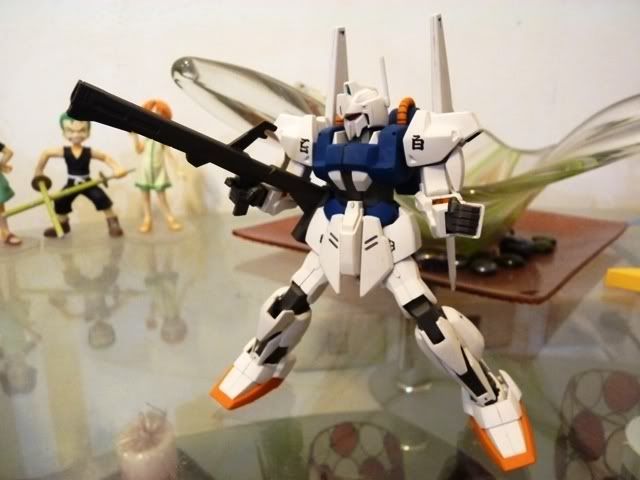
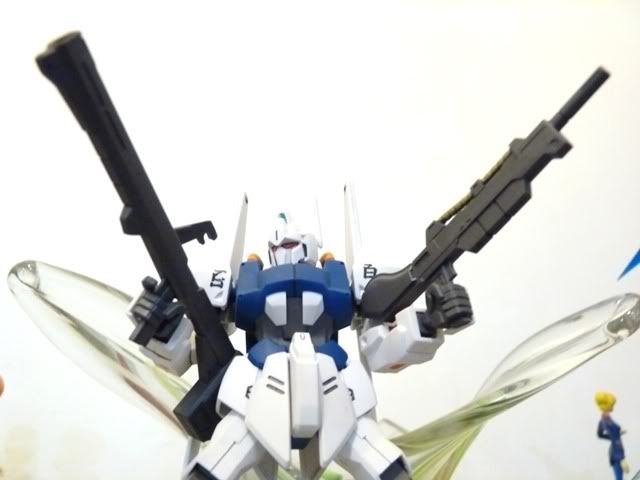
Dual wield!!
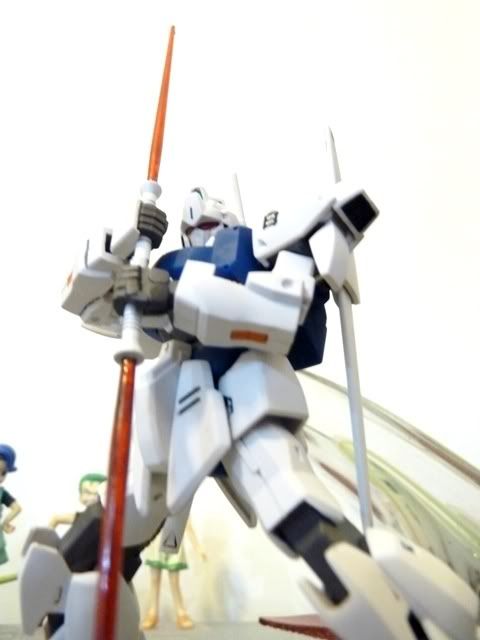
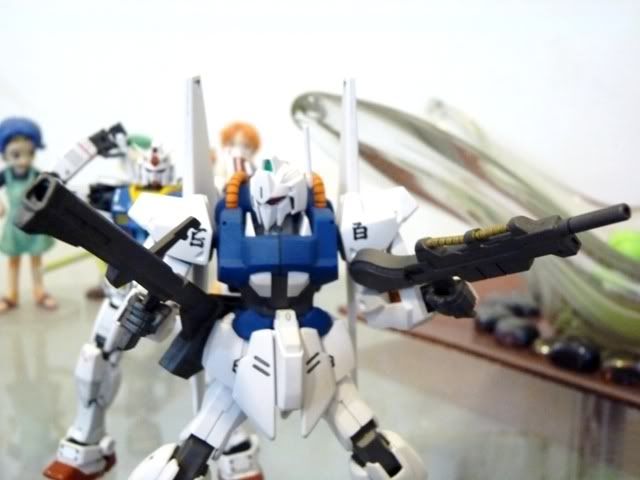
Byaku Cannon
Peeeeeew peeeeeew
Rampage
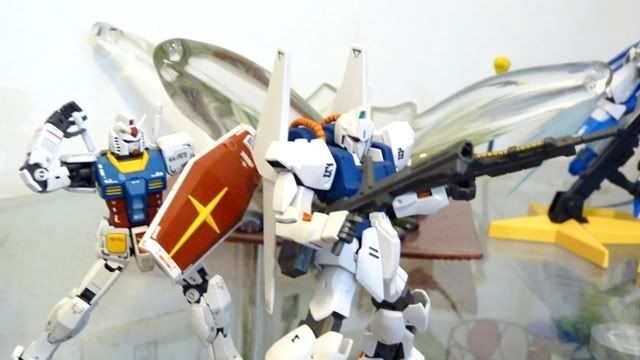
My Newtype senses are tingling!!!
Oh shi..... AMURO YOU SNEAKY BASTARD!!
Pros:
Looks good out of the box
Limited Ed for cheap
Cons:
Brick - not much articulation. Quite understandable for a re-color of a relatively old kit.
Re-color - it could have worked if they tweaked a little bit to improve its articulation
I love this kit really. A bit biased judgement since this is Char's MS no matter how you look at it. Byaku Shiki's eyes is a funny (but cool) depiction of its pilot, Quattro Bageena's signature sunglasses. I'm pretty sure eventually I'll get HYAKU even though the articulation is abysmal. Collect Zeta START!
PS:
Meh, an HG kit. SO YOU ARE SLACKING?!
No I am not - I've already started painting the SD Zeta:
Hoping I don't mess up XD. I plan on doing a Karaba Assault scheme so wish me luck!
PPS:
SD's progress has been halted to pave way for the G-SHOT competition. An HG 00 Raiser is in the works and would be custom painted to again, join an HG 1/144 friendly build-off @ GFP. For G-SHOT, I will be eyeing to join the straight build category. Details here: G-SHOT 2011
Comments
Post a Comment