Avengers Age of Ultron hangover and sponsored by my brother - Iron Man's 6th iteration of MCU!

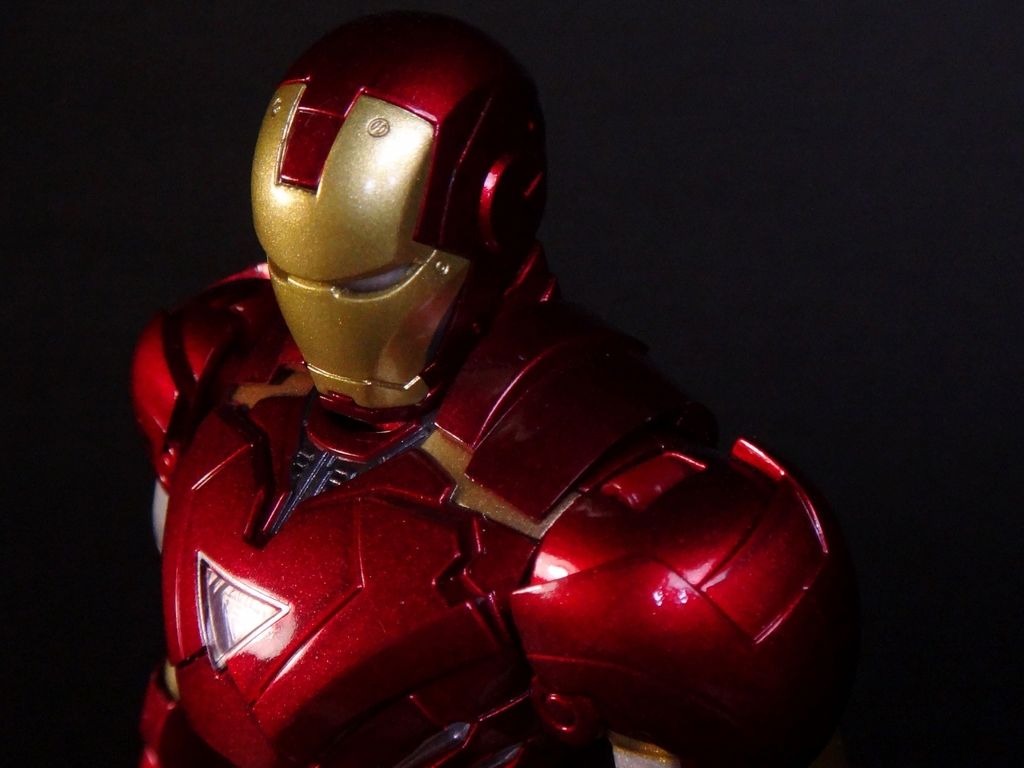

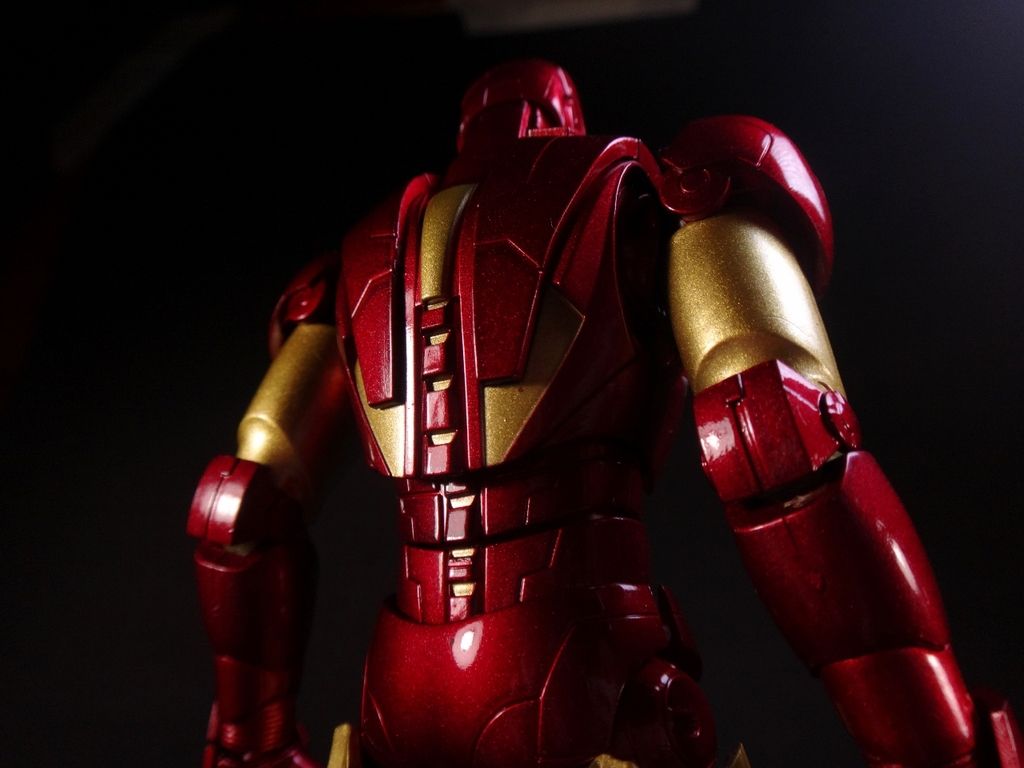


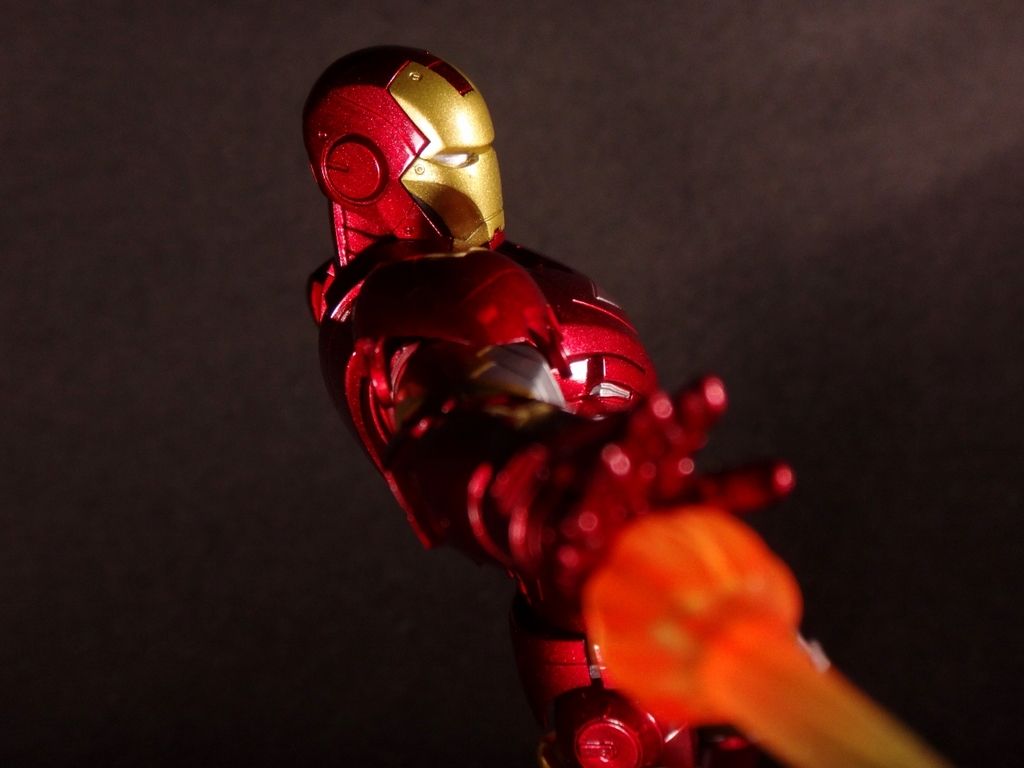


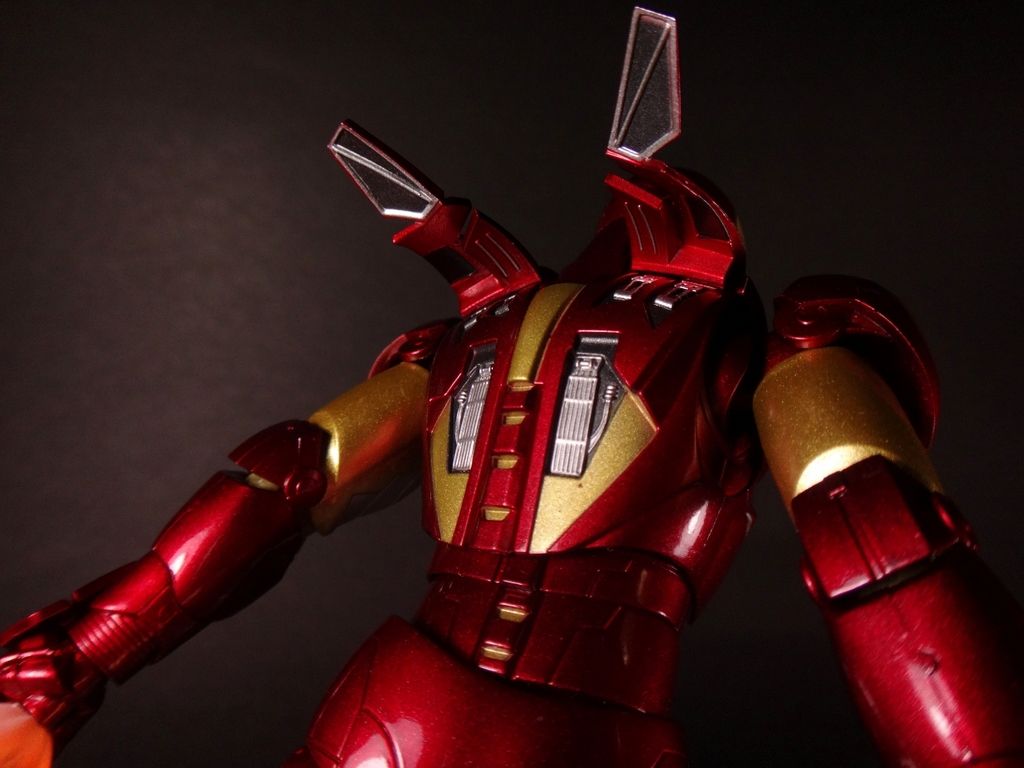
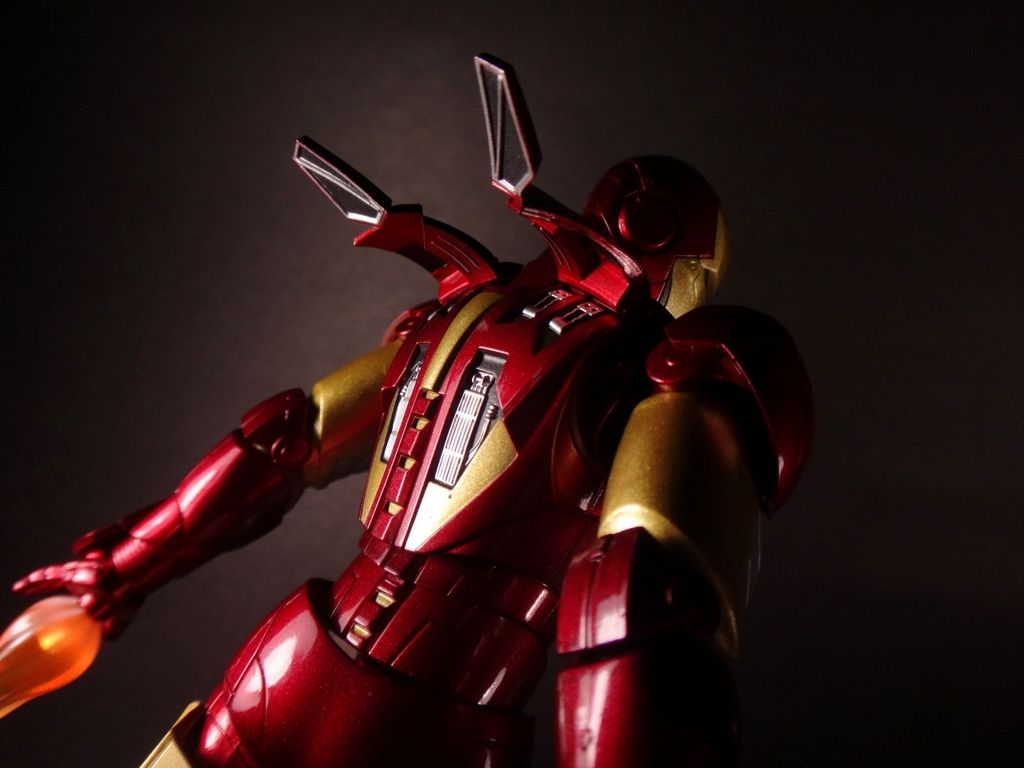
We have been blessed by the Japanese for their attention to detail. It's spectacular to behold on such scale!
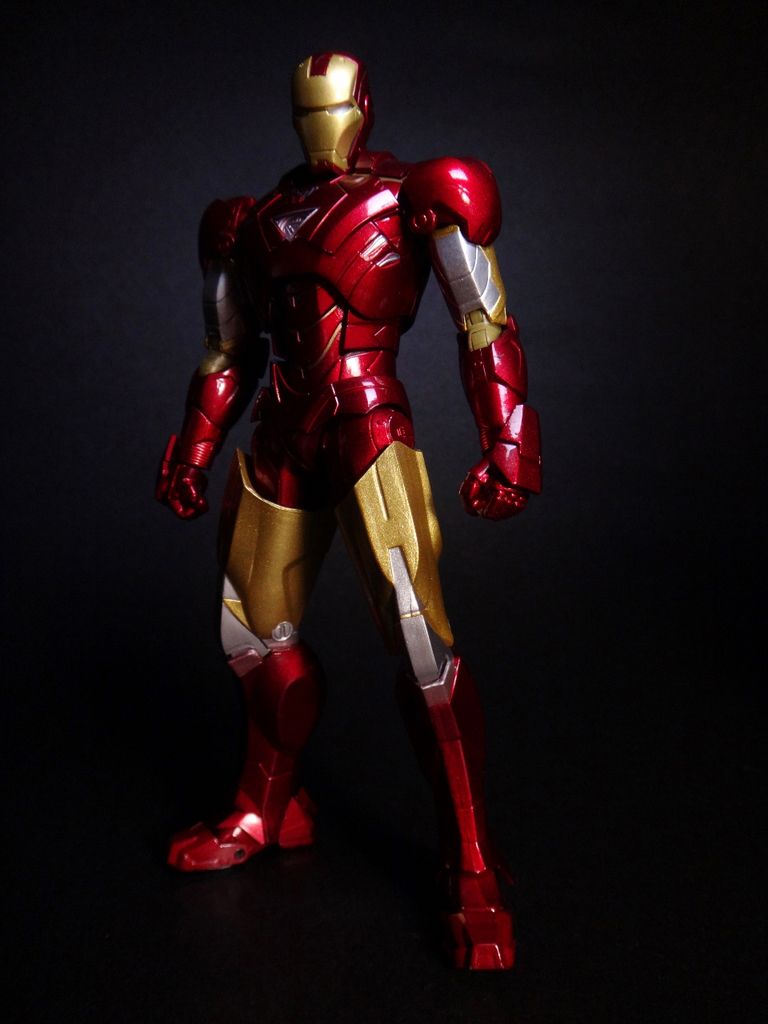
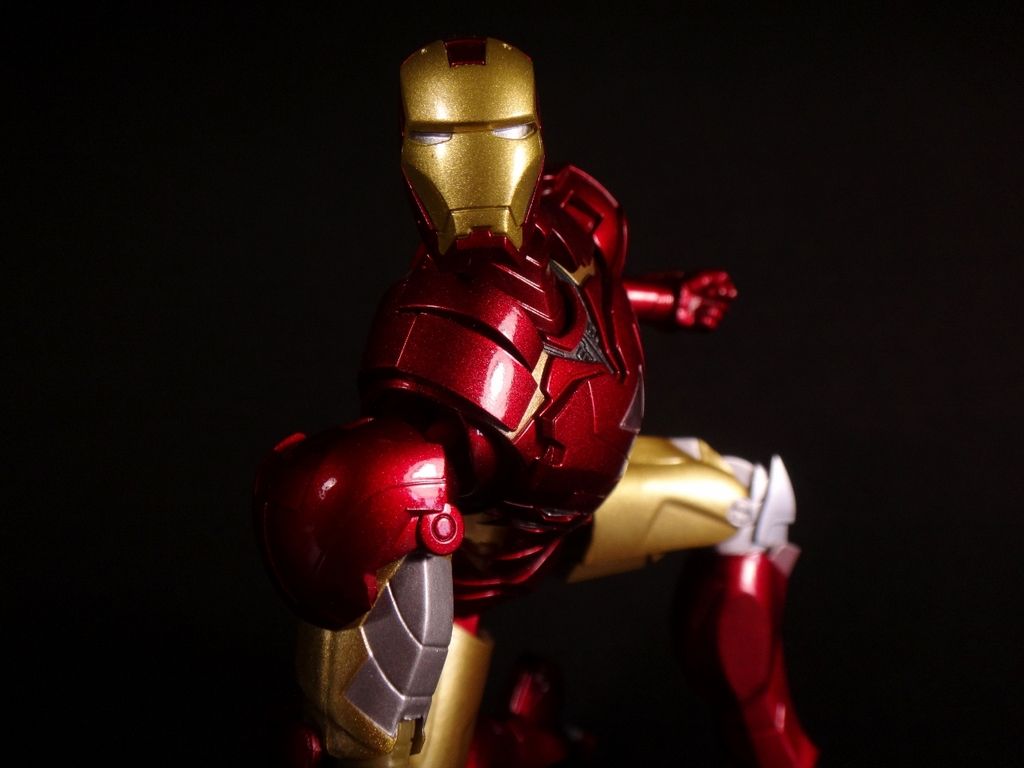
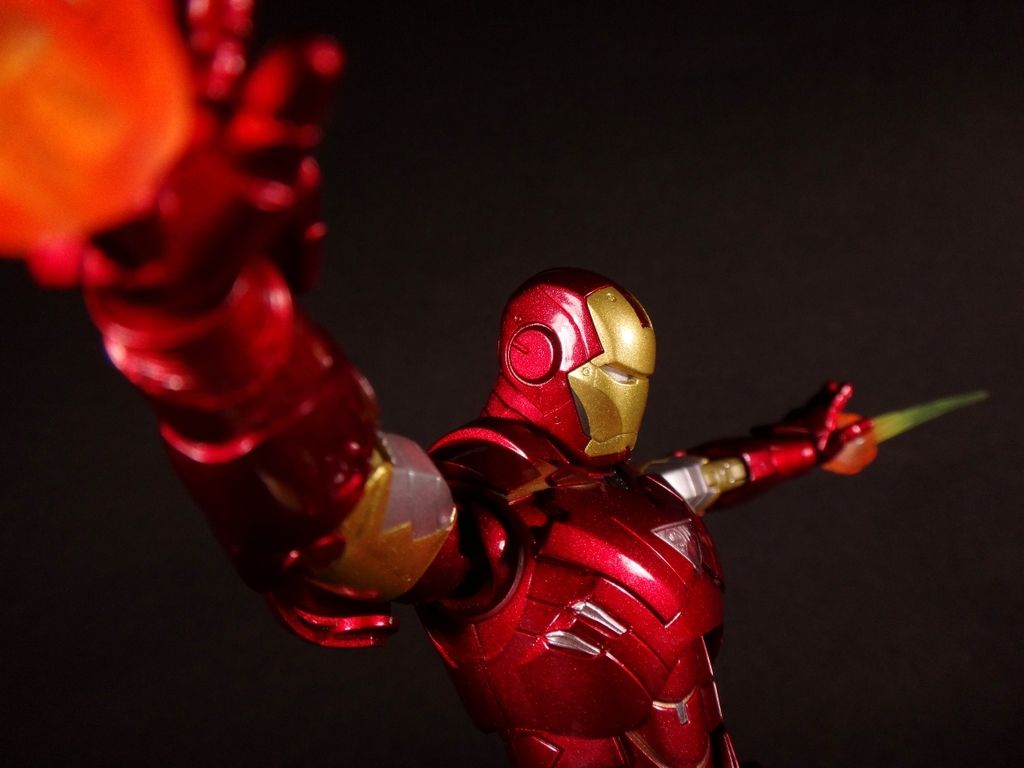
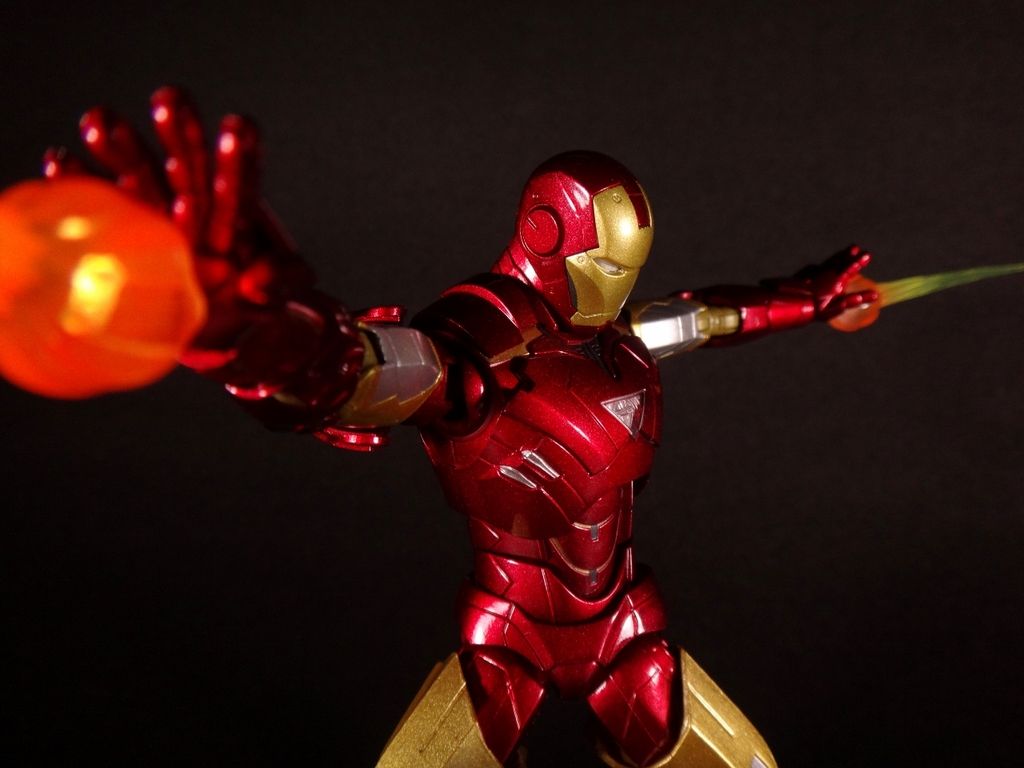
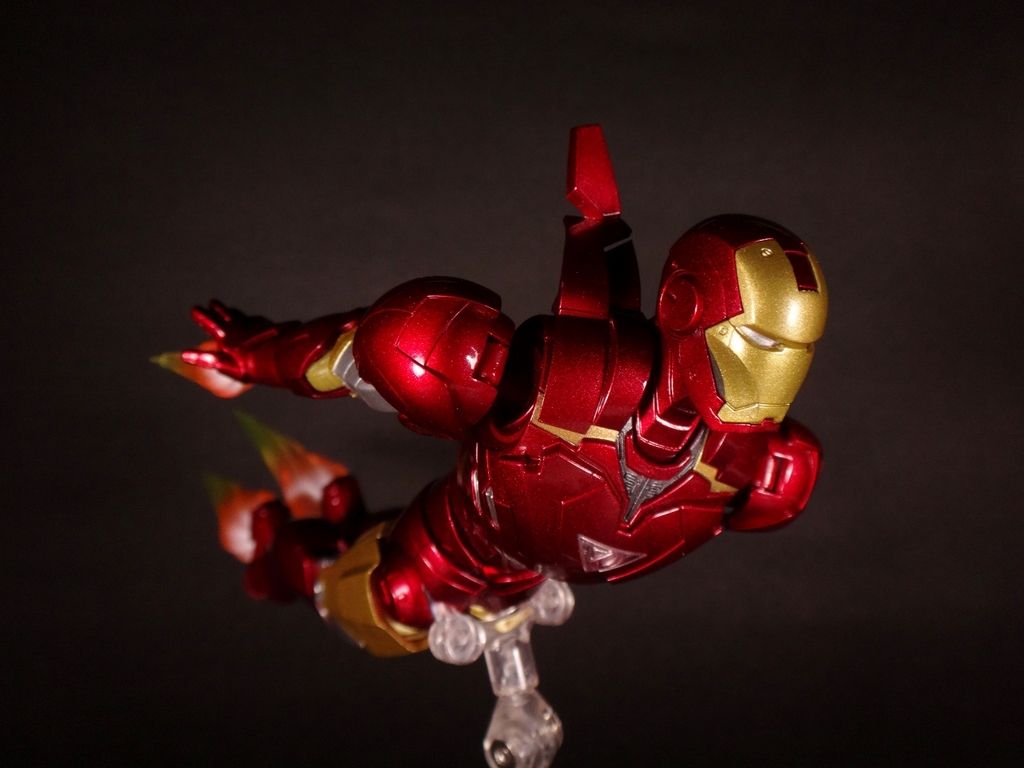
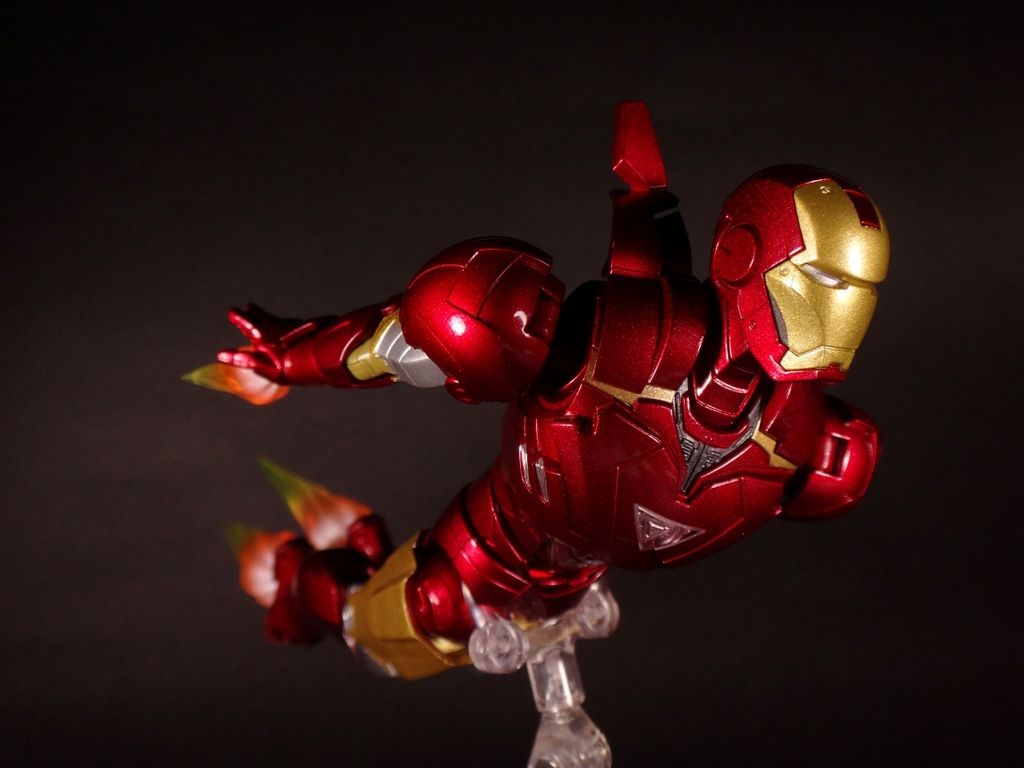
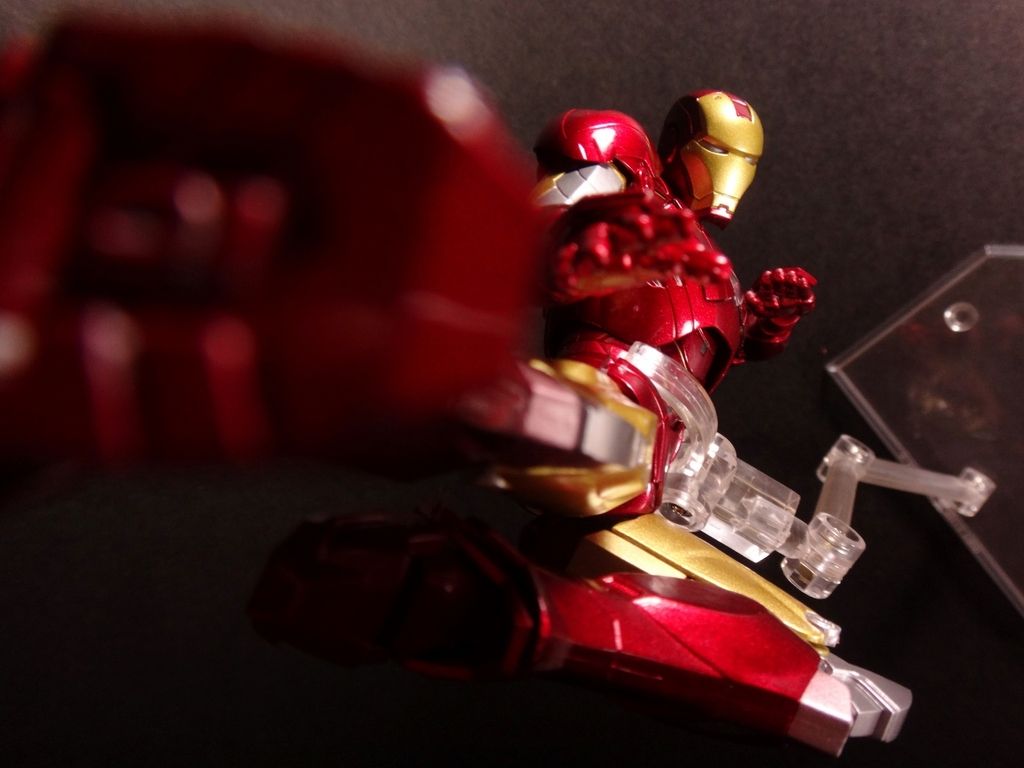
The signature MCU Iron Man pose --
Perfect
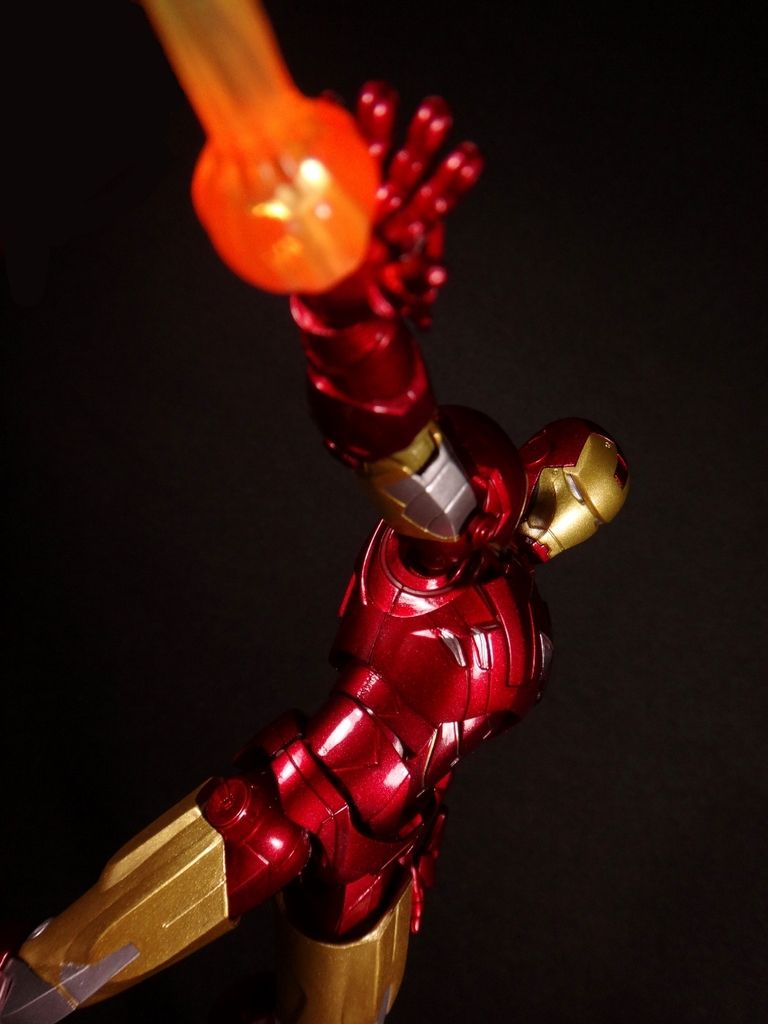
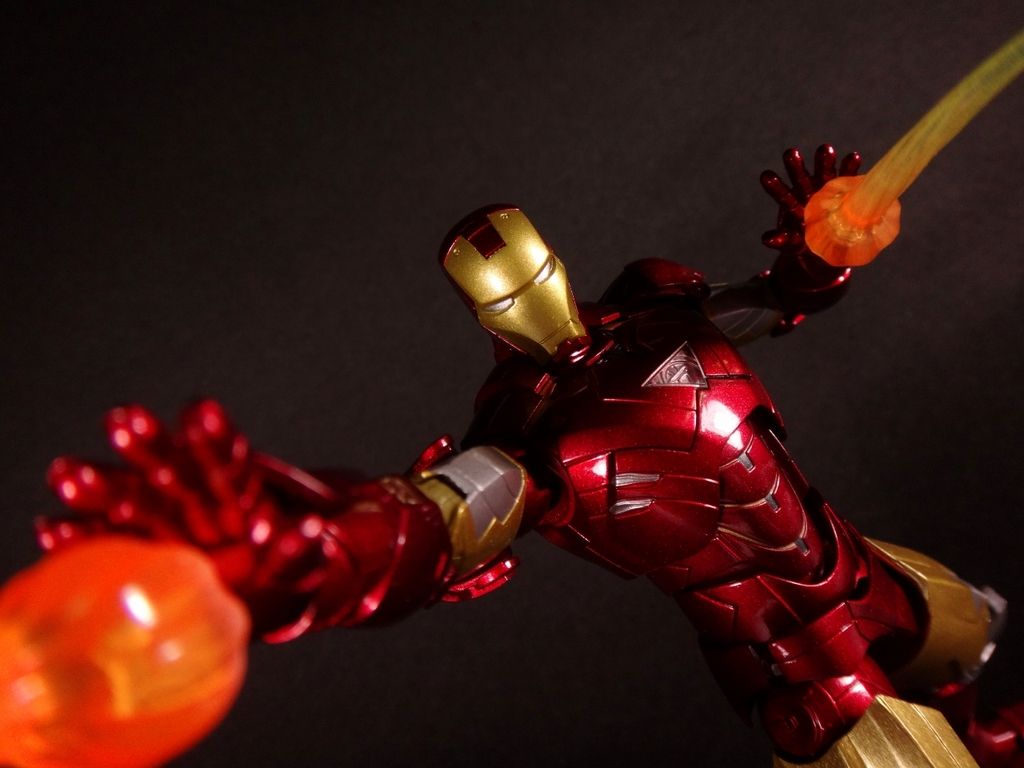
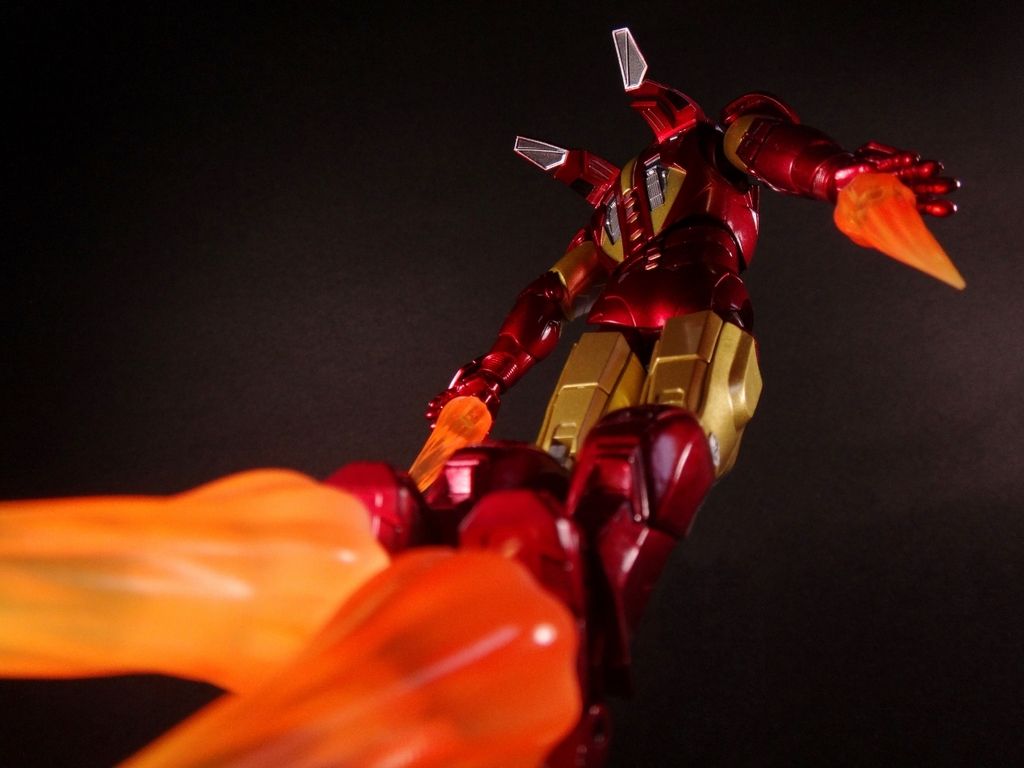
Uni beam!
Pew pew pew LIKE A BOSS
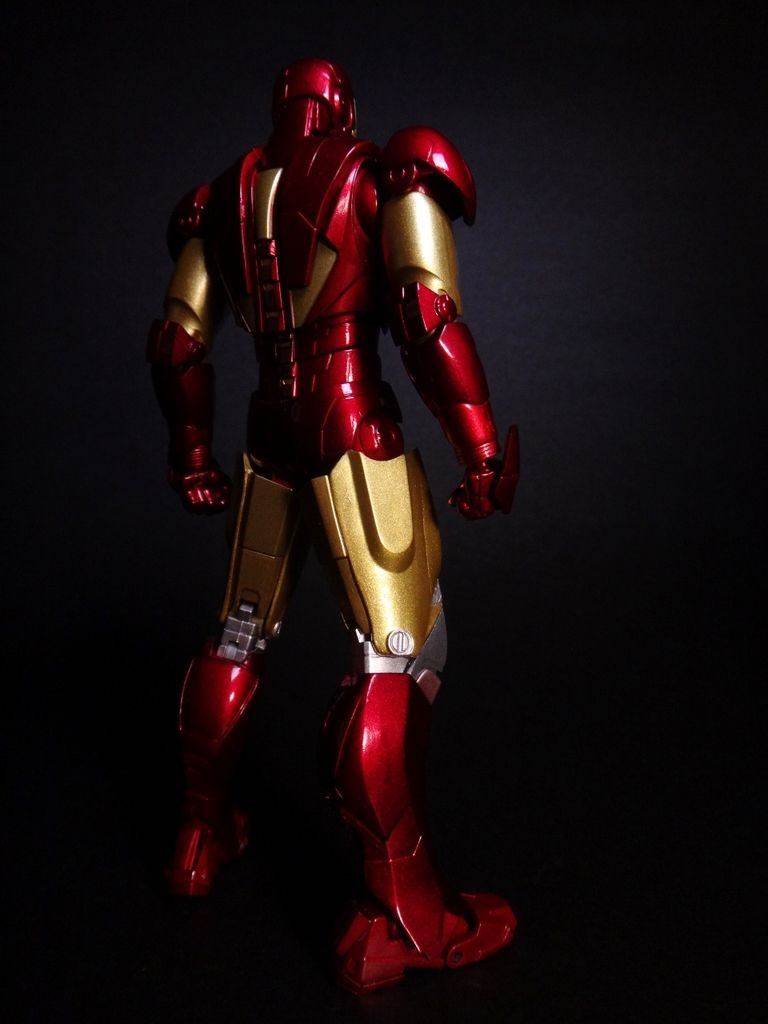
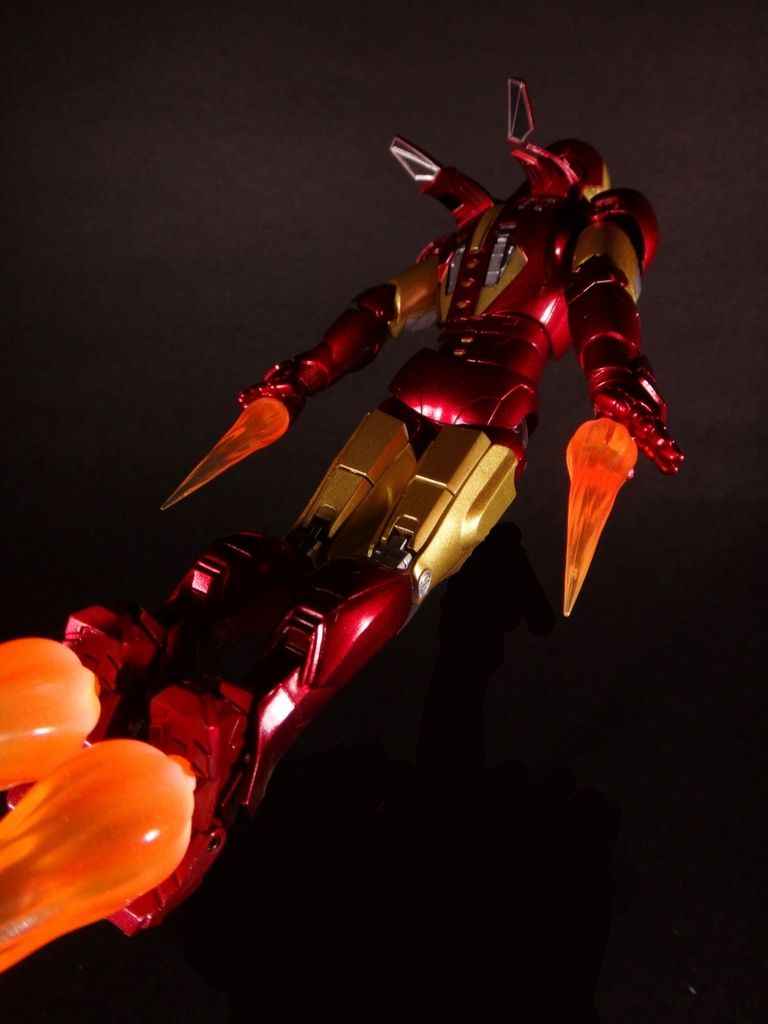
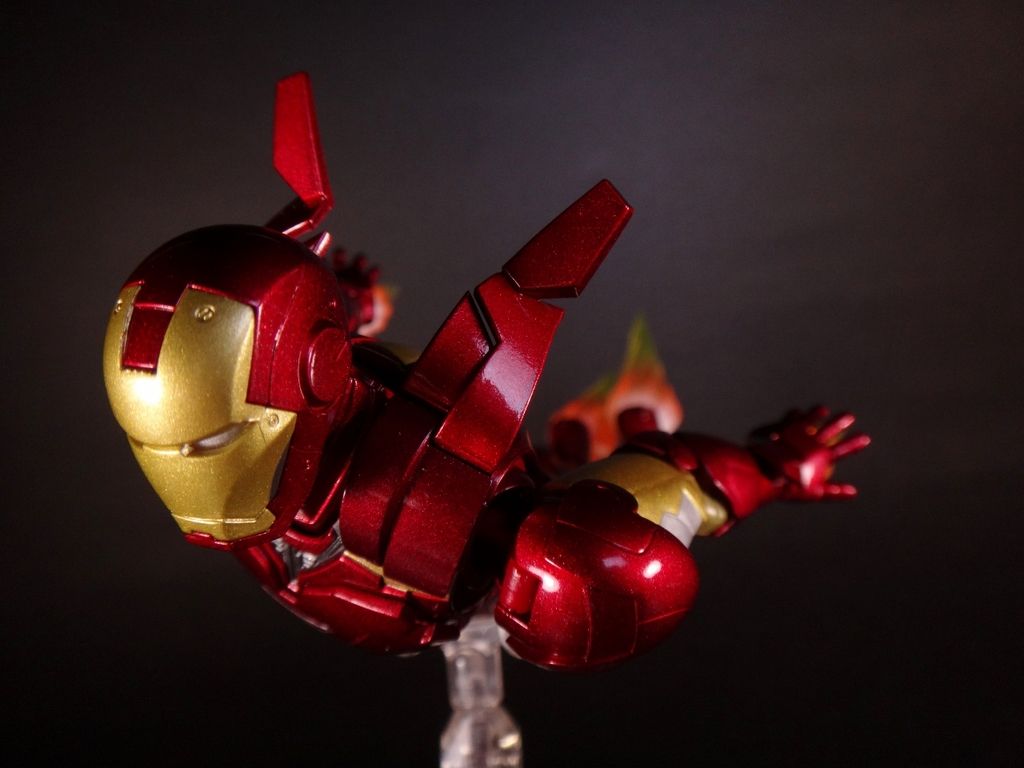
Fail. I didn't know you could open the flaps behind his legs. *Note to self: Check the box for features :(
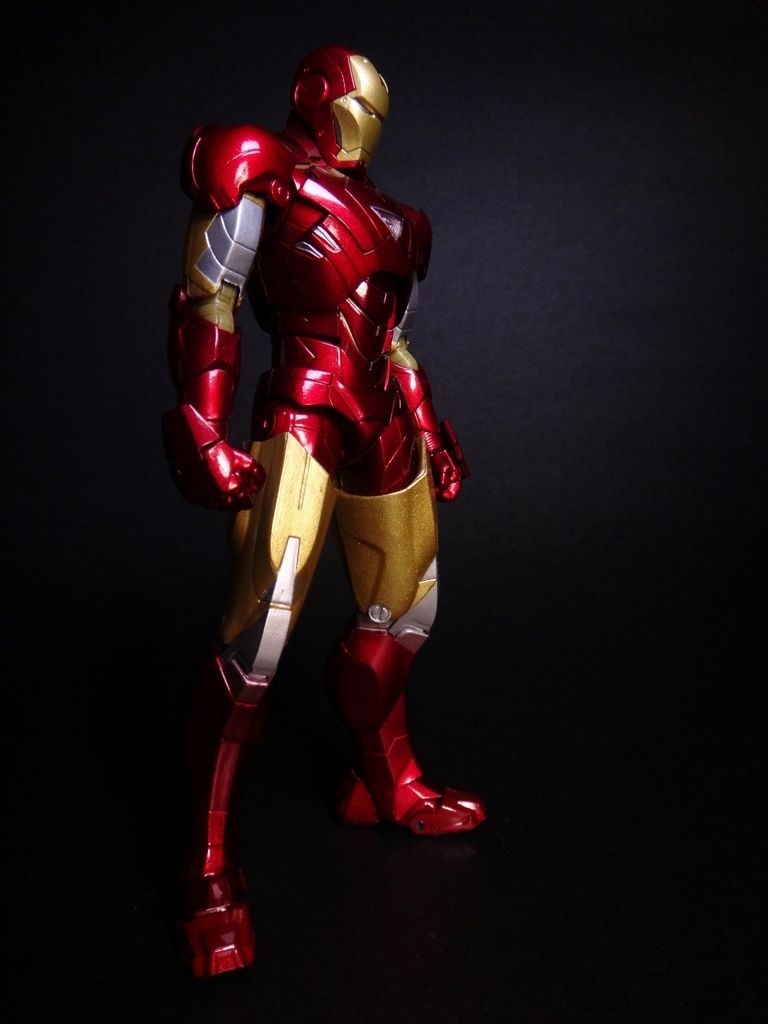
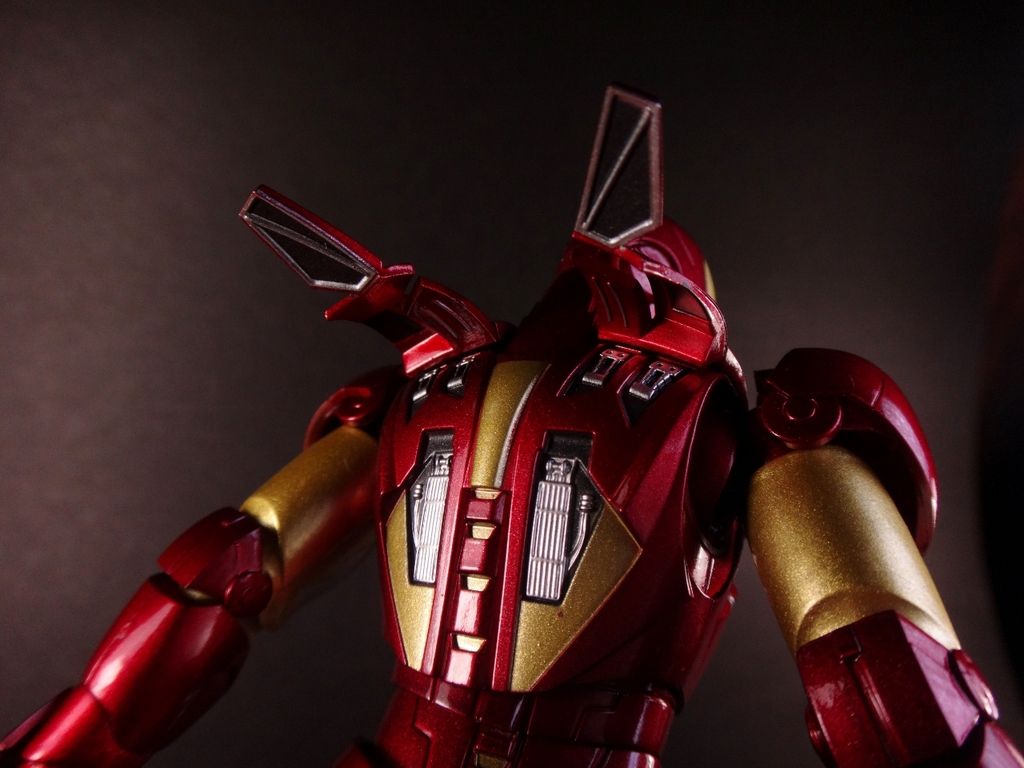
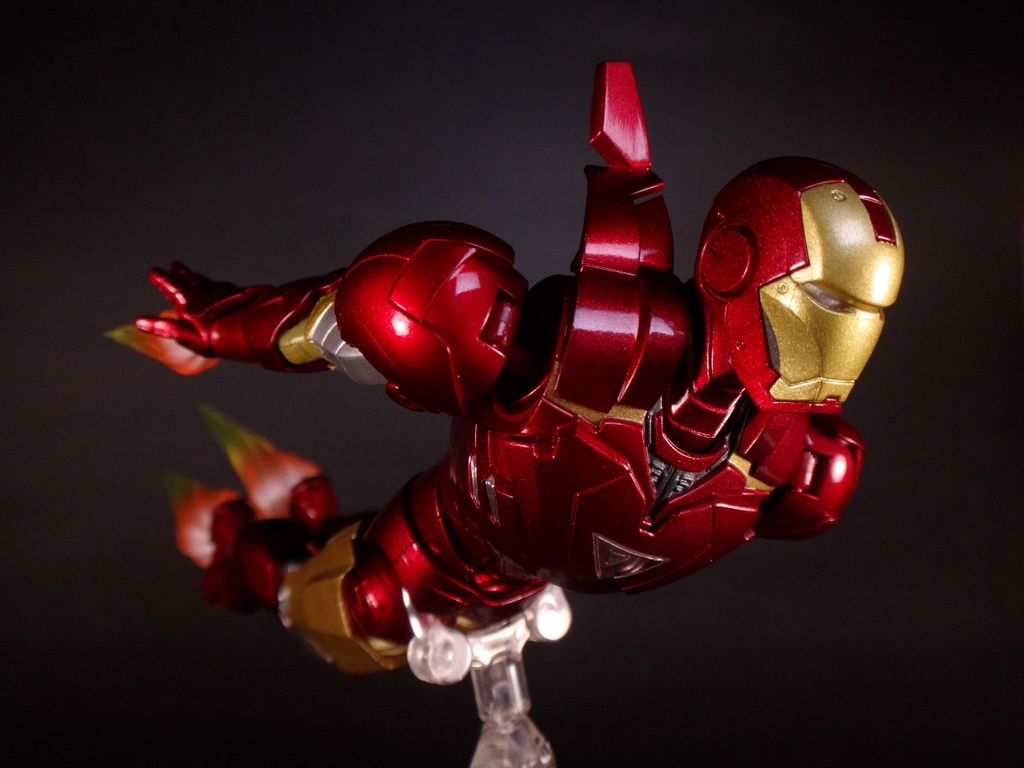
The Japanese have really thought this through! Paint application is superb
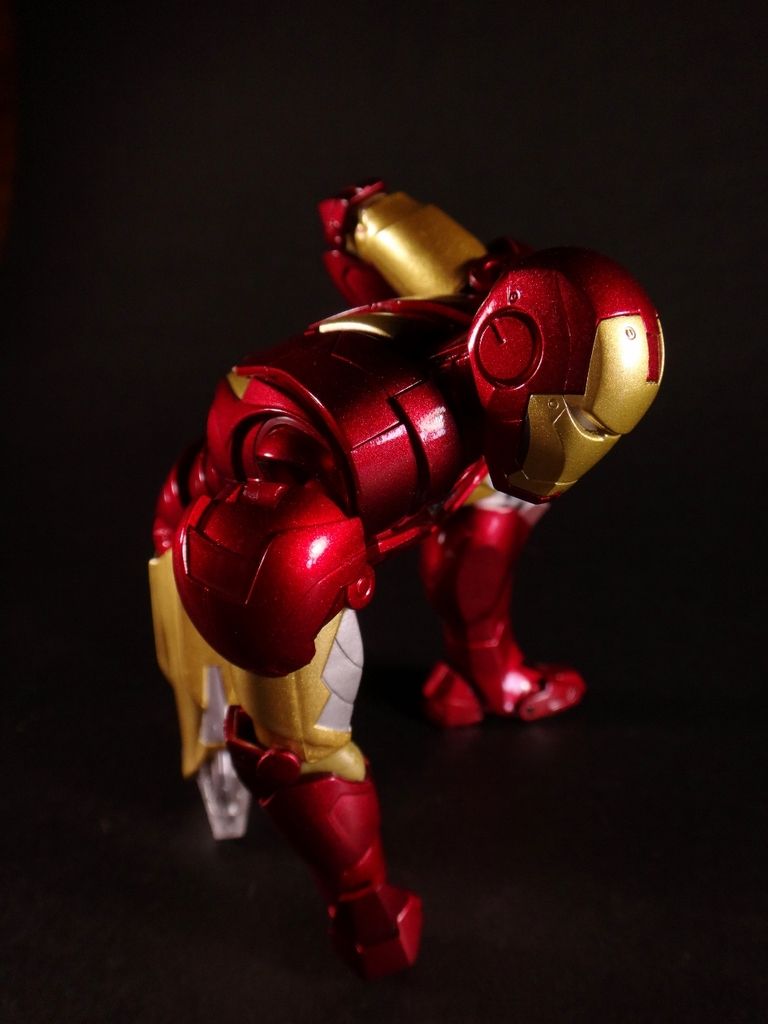
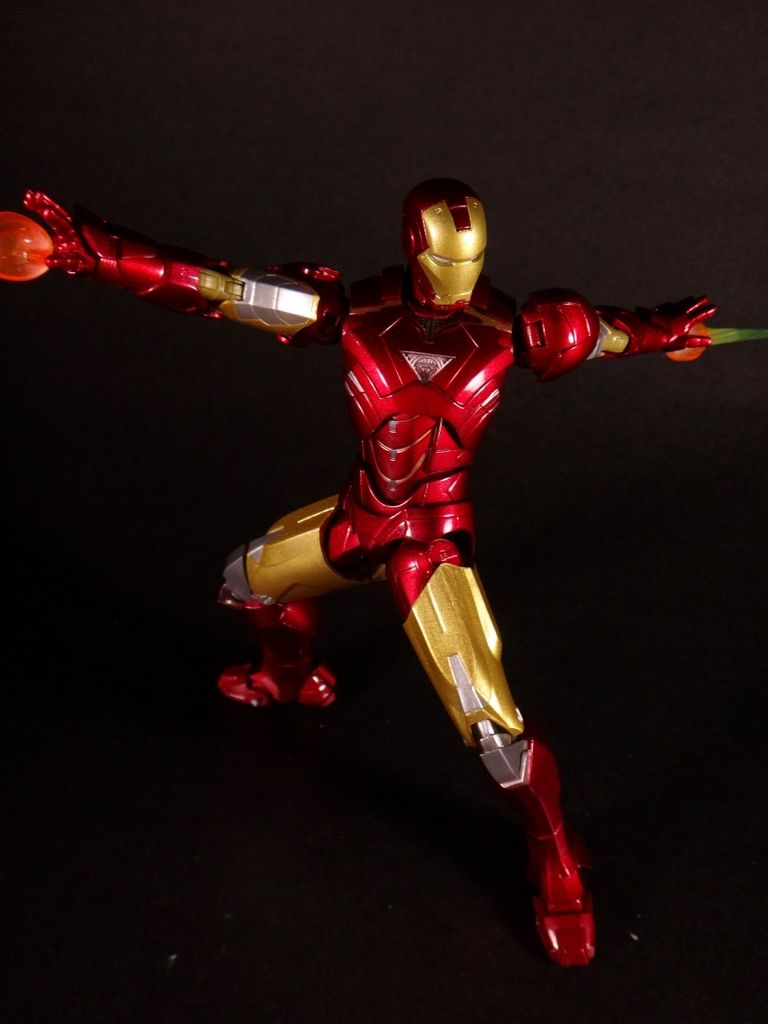
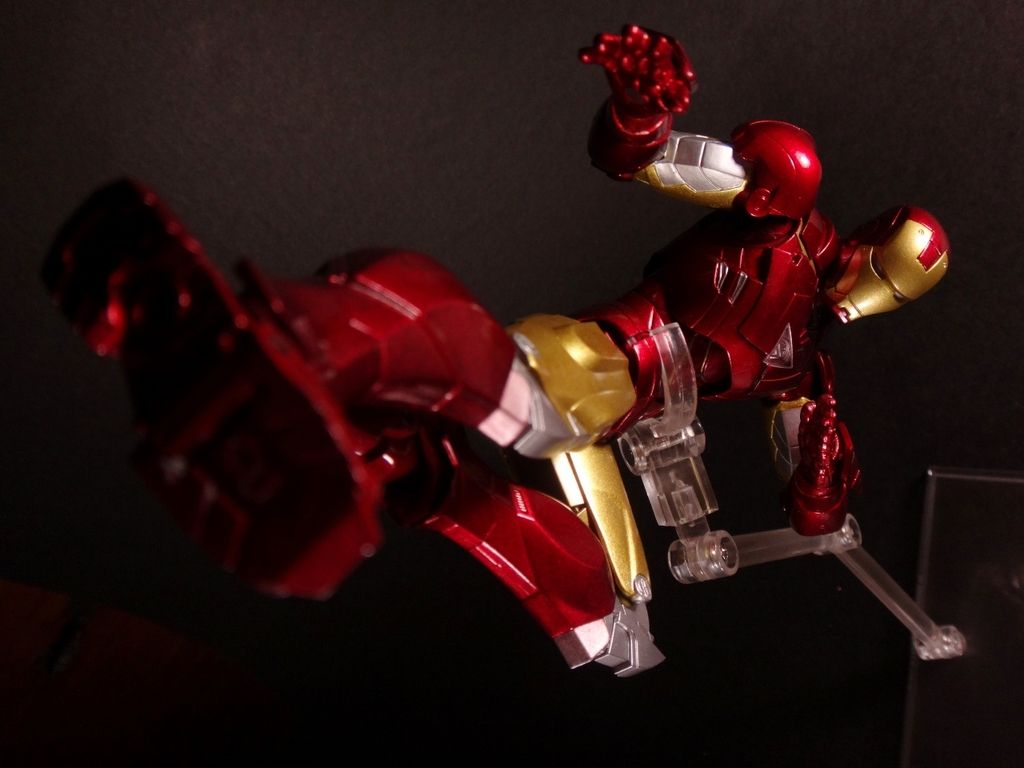
Because Bruce Lee
Pros:
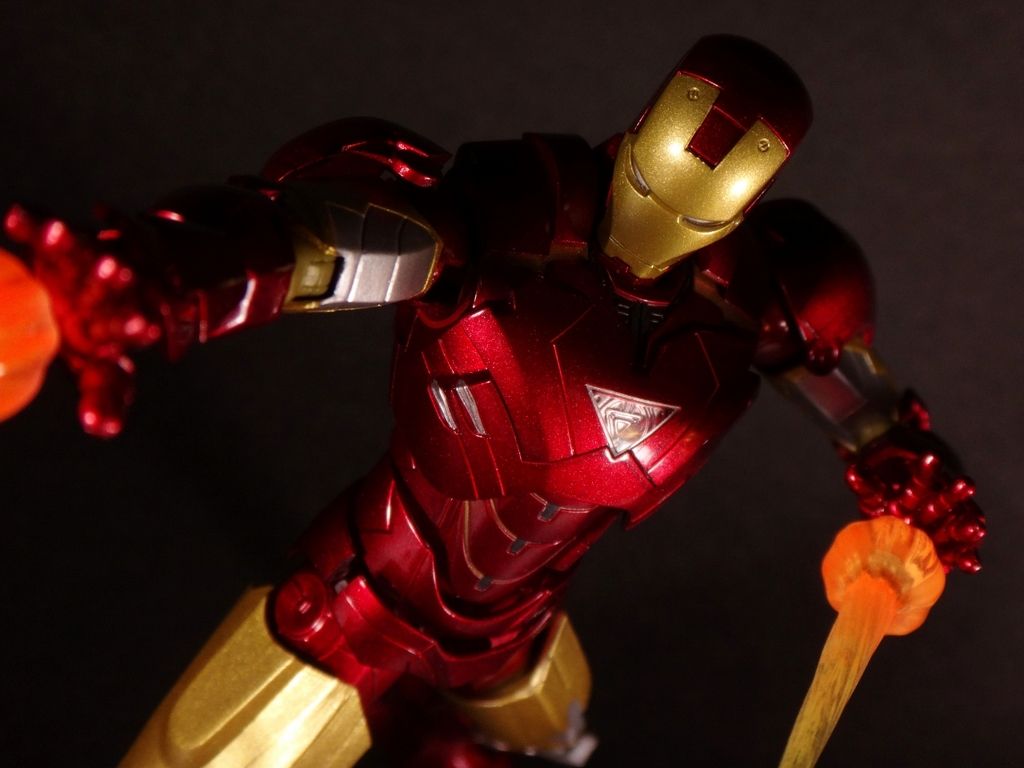
Details
Articulation
It's Iron Man
Cons:
Loose
No glory hole for the stand!!!!!
Japs having the license to produce gaijin characters from the west is the best thing that has happened for collectors. Sure the library of Marvel merchandise isn't as wide as Hasbro's (yet) but the amount of detail and articulation is far superior. S.H. Figuarts and Figma leads the way of how the 6 incher figures should be.
This is my first experience on playing with Figuarts. As perfect as the praises may sound, what I found disturbing -- a potential deal breaker for some -- is how easily the figure got loose. I know every toy would suffer degradation. The way Figuarts lost its joints strength was so poor I had to cheat gravity just to make the flying kick pose at the end (look how the stand was positioned at the last photo!). The joints on the legs simply didn't hold up.
I do hope that the newer released figures are not plagued by the abysmal degradation. Another nitpick is the lack of hole for the humanoid soul stage act stand. Sure the crab claws can hold but I thought it is a bit distracting and sometimes cumbersome to position it away from the audience's view. Despite that, I would recommend the line for serious collectors who are in to toy photography and for collector purists.
PS.
You may have noticed the noise on the photos. The camera I usually use is my brother's old but trusty bridge camera Lumix FZ35. In this entry I tried to use my girlfriend's capable point and shoot Sony TX30 which positively I found good and handled pretty well and much easier on the user when looking for that dynamic angle! An important "skill" especially for toy photography. The 3 lamps did help quite a bit to ease the load on the camera preventing it from cranking up the ISO (on the TX30, anything above 400 is shit). I say the end result is good!
Comments
Post a Comment