A trip down memory lane...


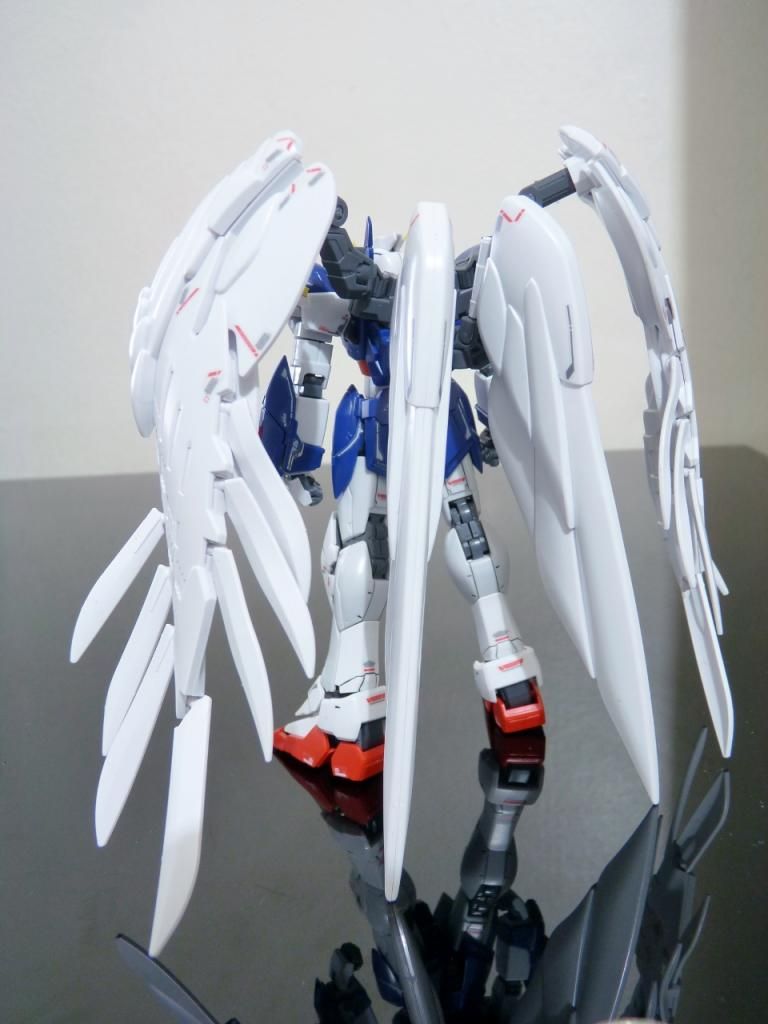
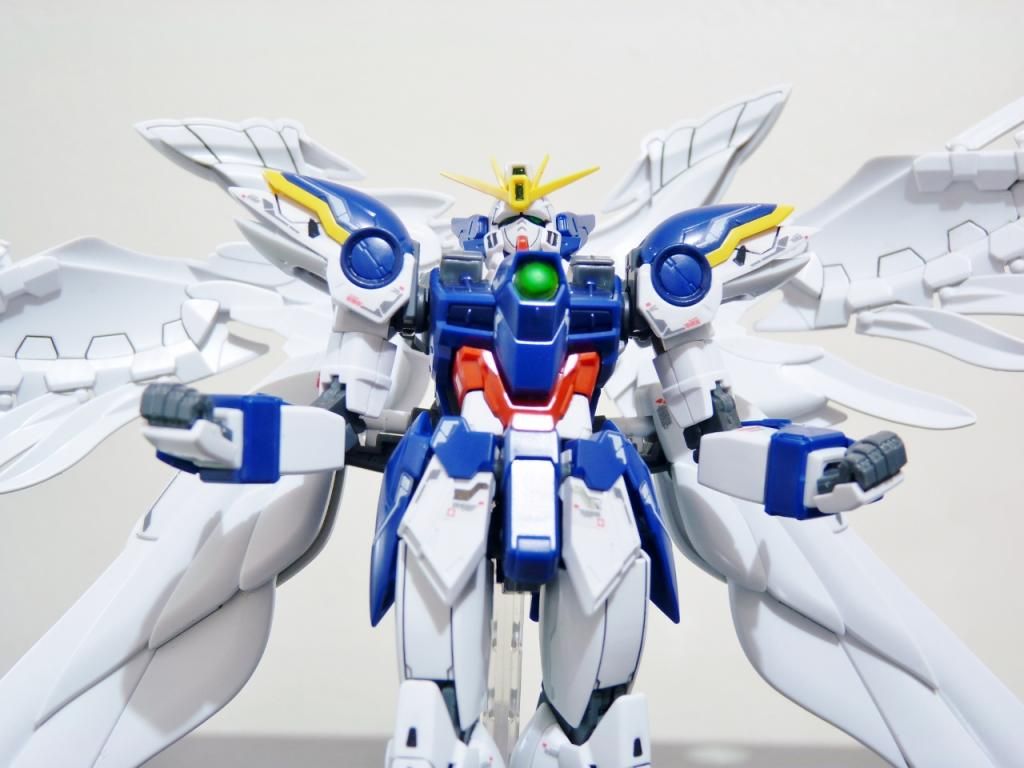
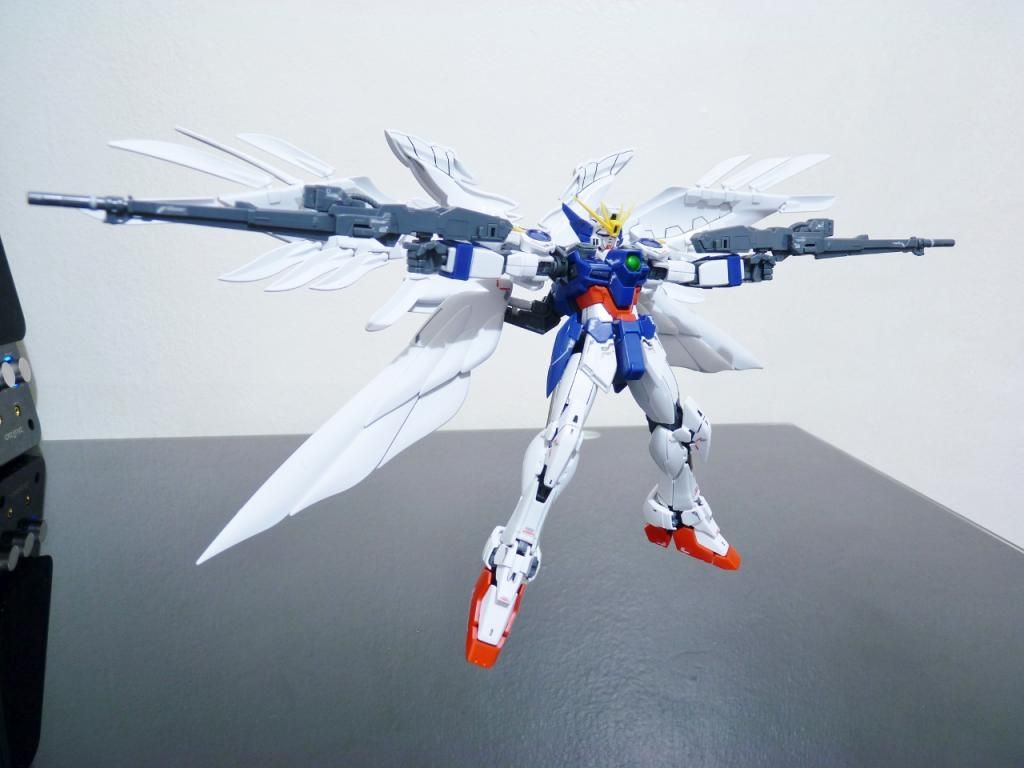


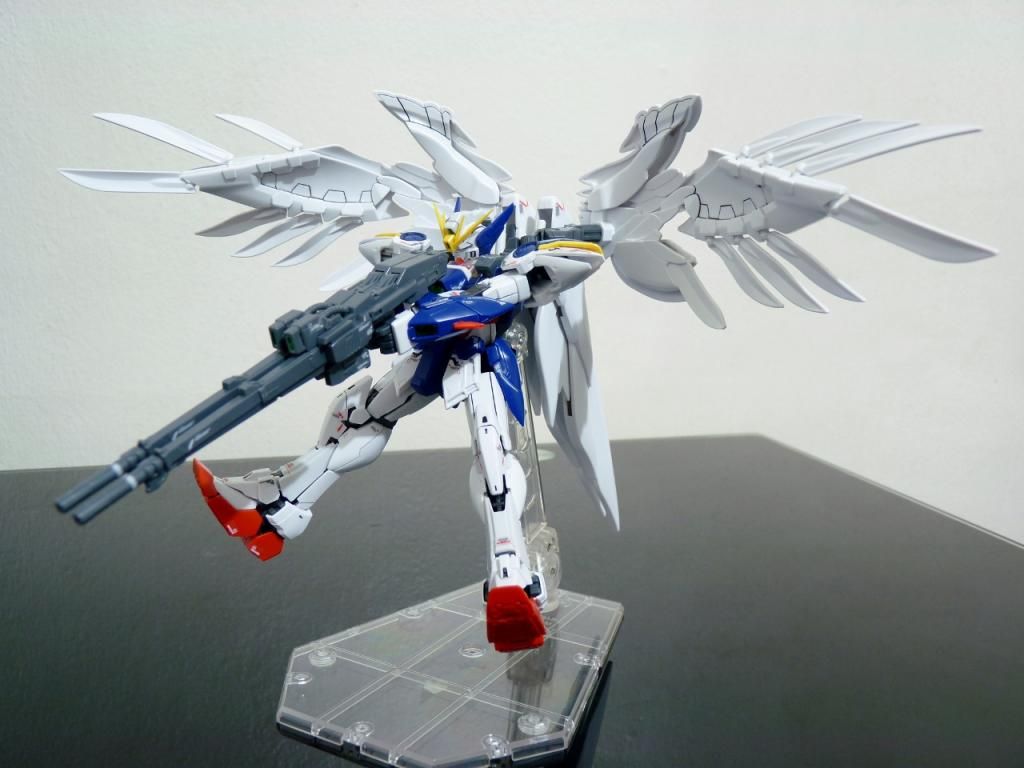


The Wing series started the Gundam/GunPla craze for boys of my generation. This kit, even unassembled, holds bias to my heart. Even with my anticipation for the RG flaws, I know this will be a monumental experience. Ahhh the uncontrollable tension building... I present: Wing Gundam Zero EW!
360
"WING"
No polycaps! Yay!
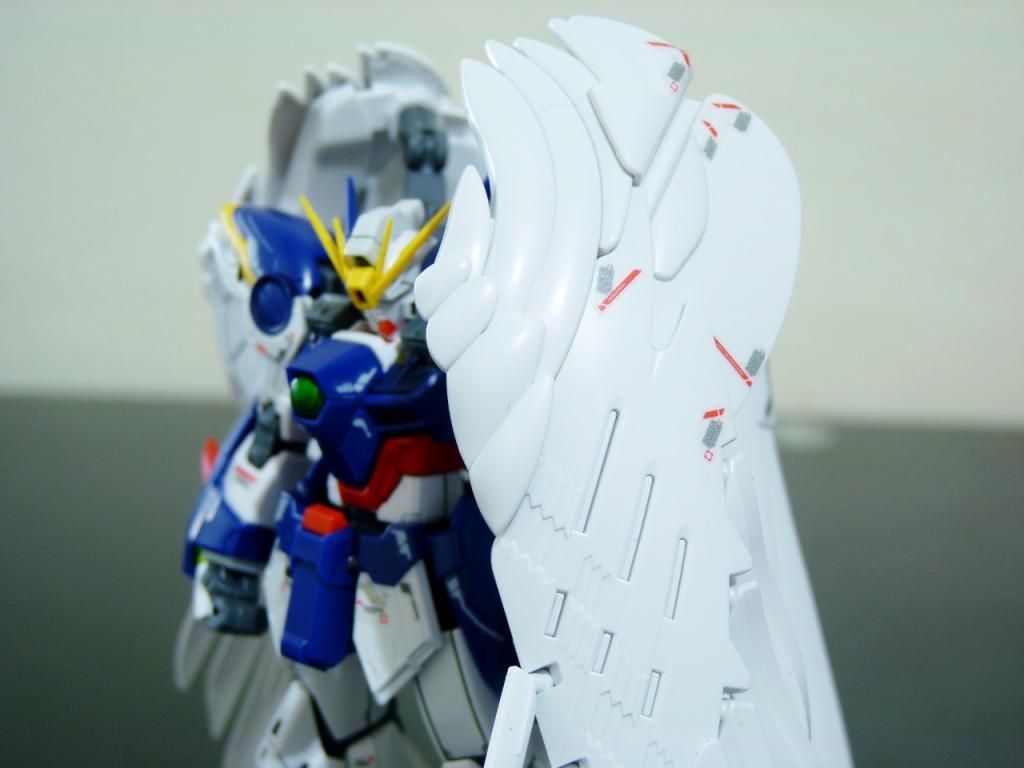
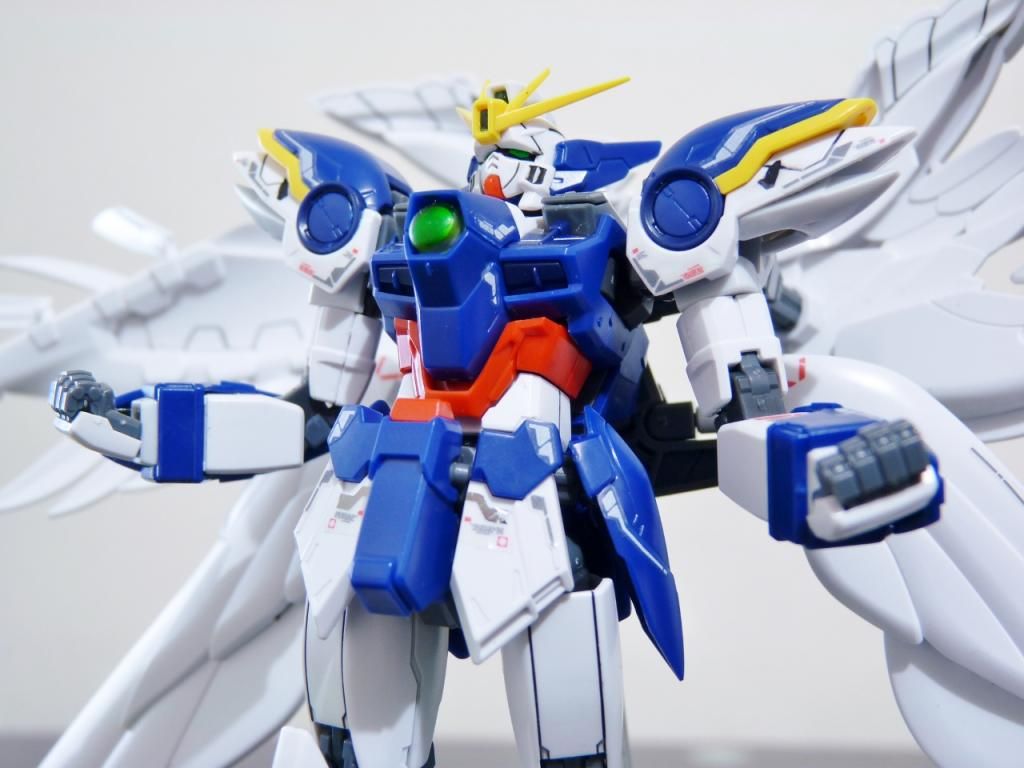
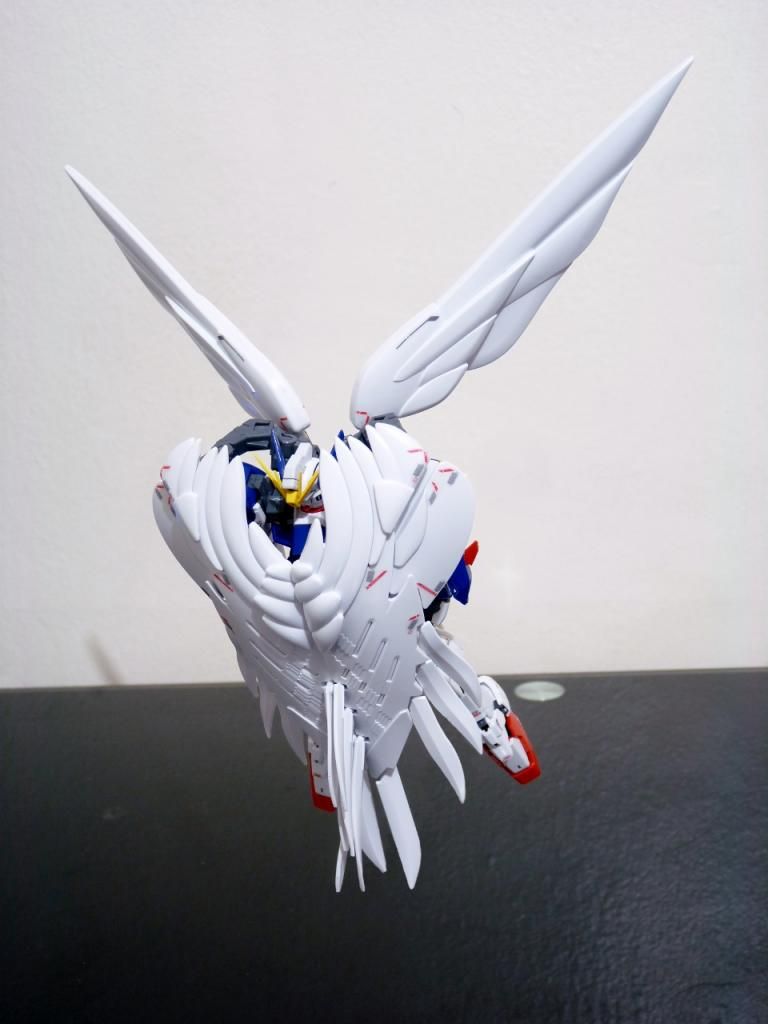
Oh dear.... Beautiful!
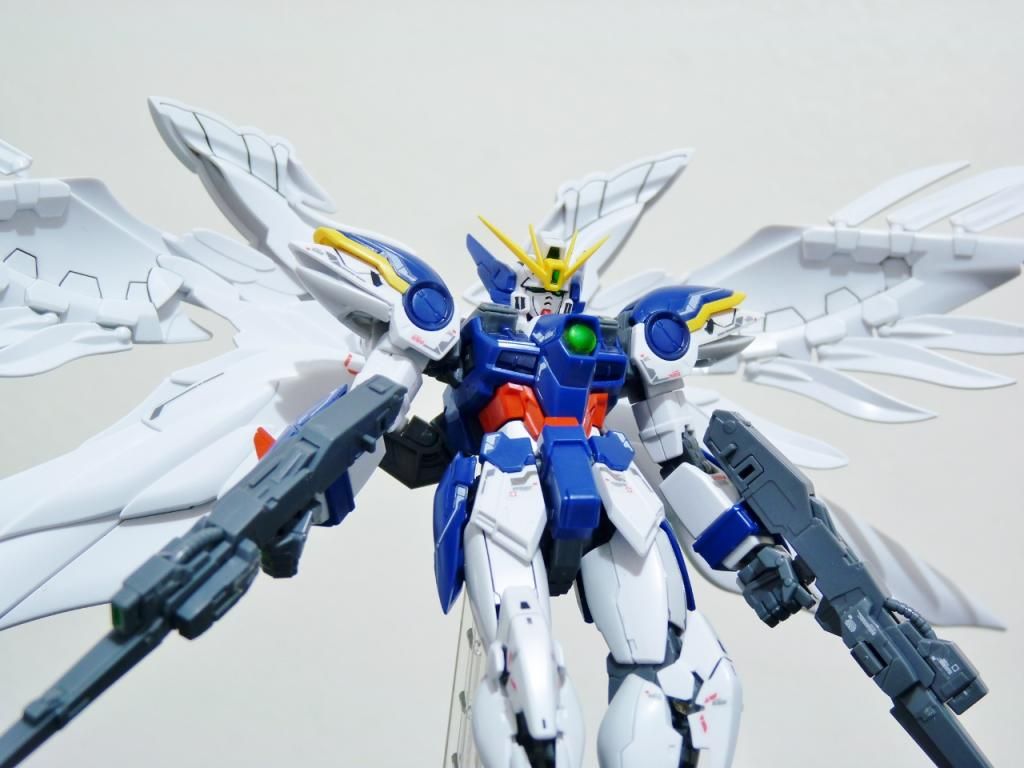
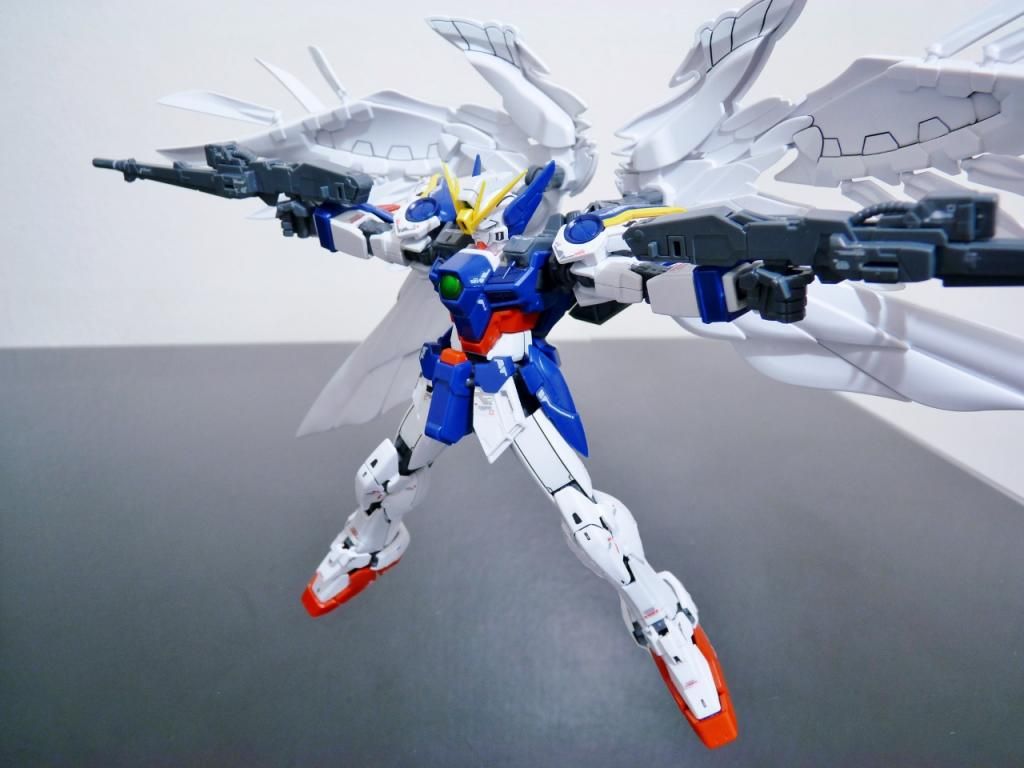
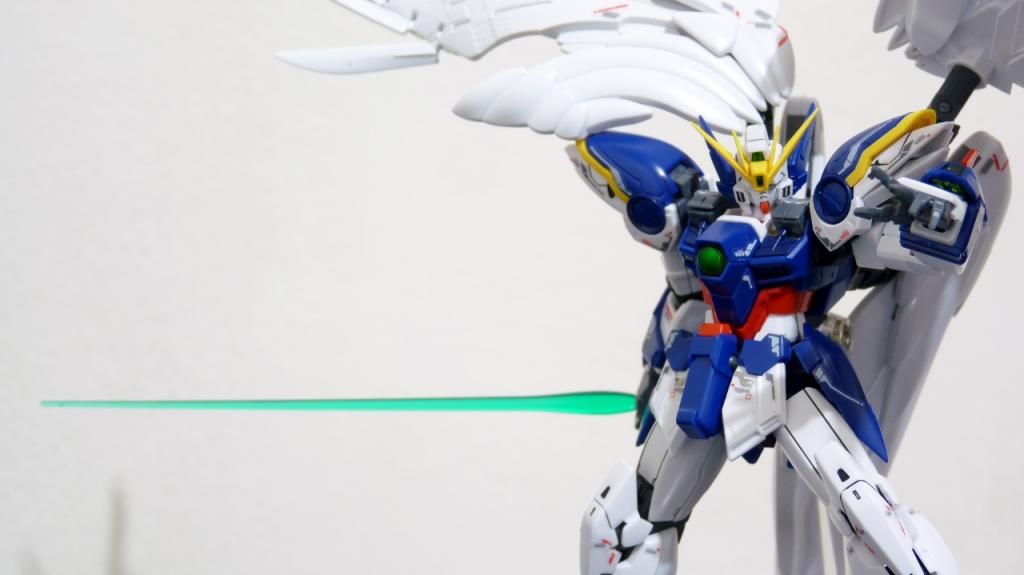
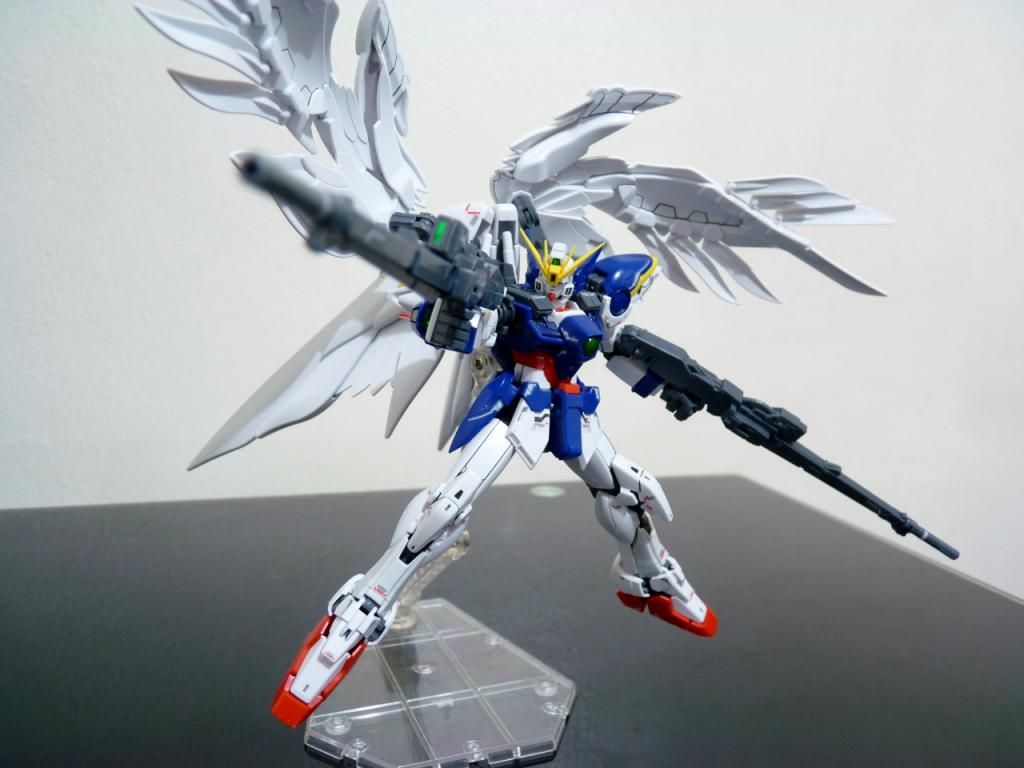
Pew
Pew pew!
Target locked
99.99% accuracy!
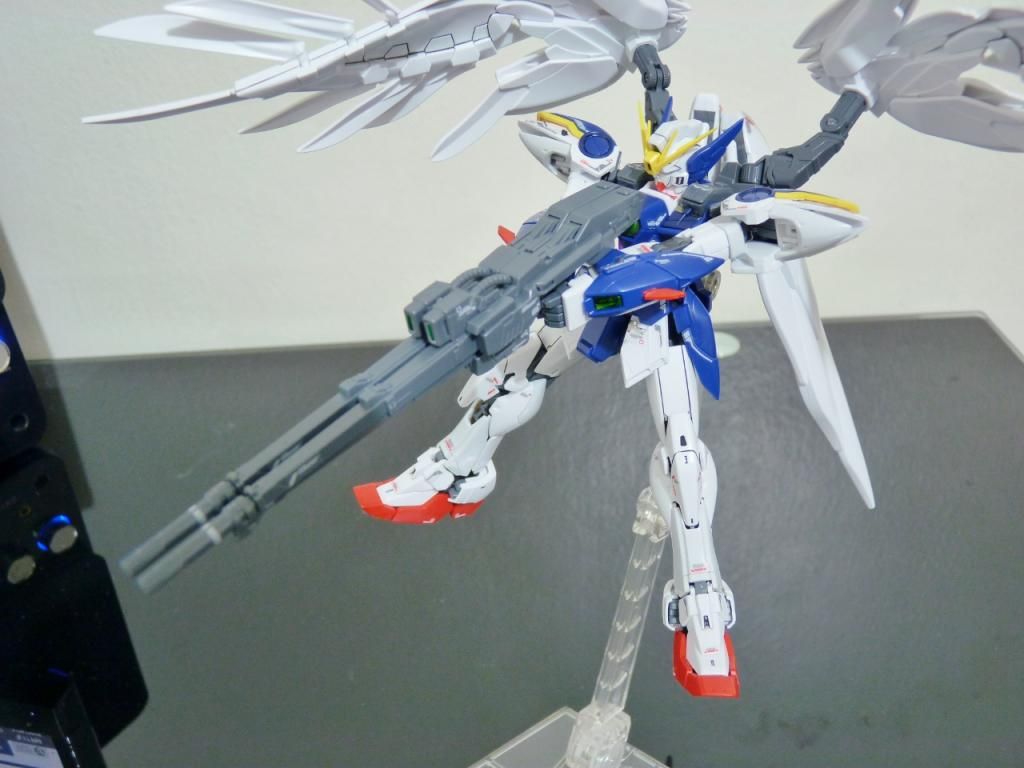
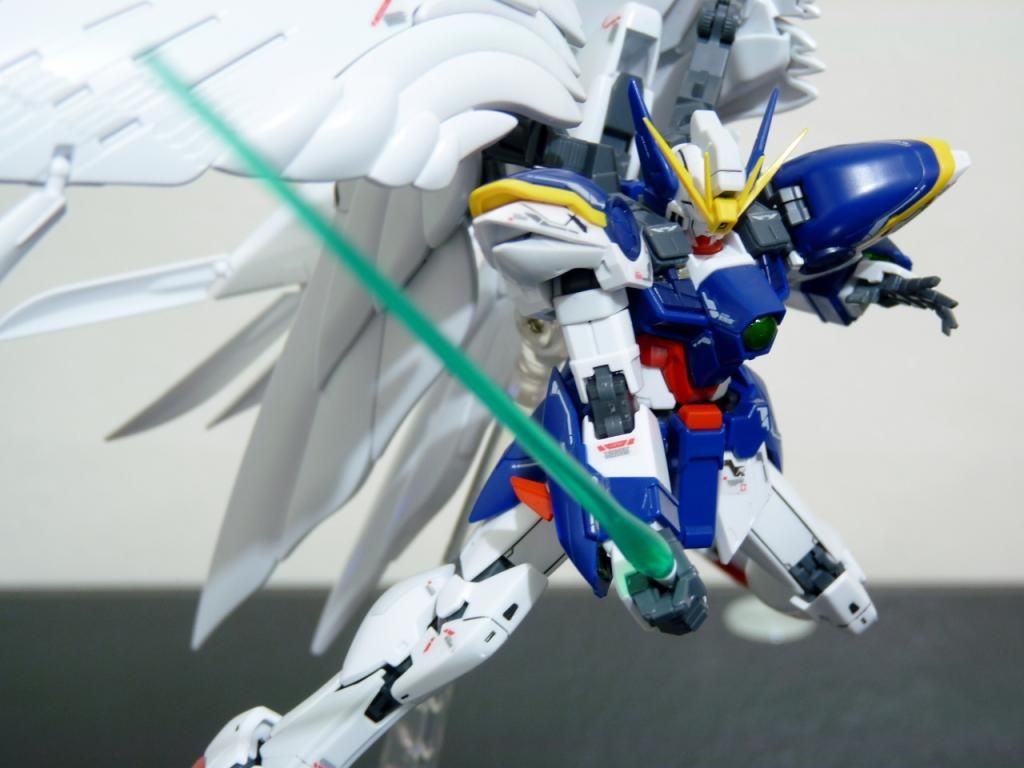
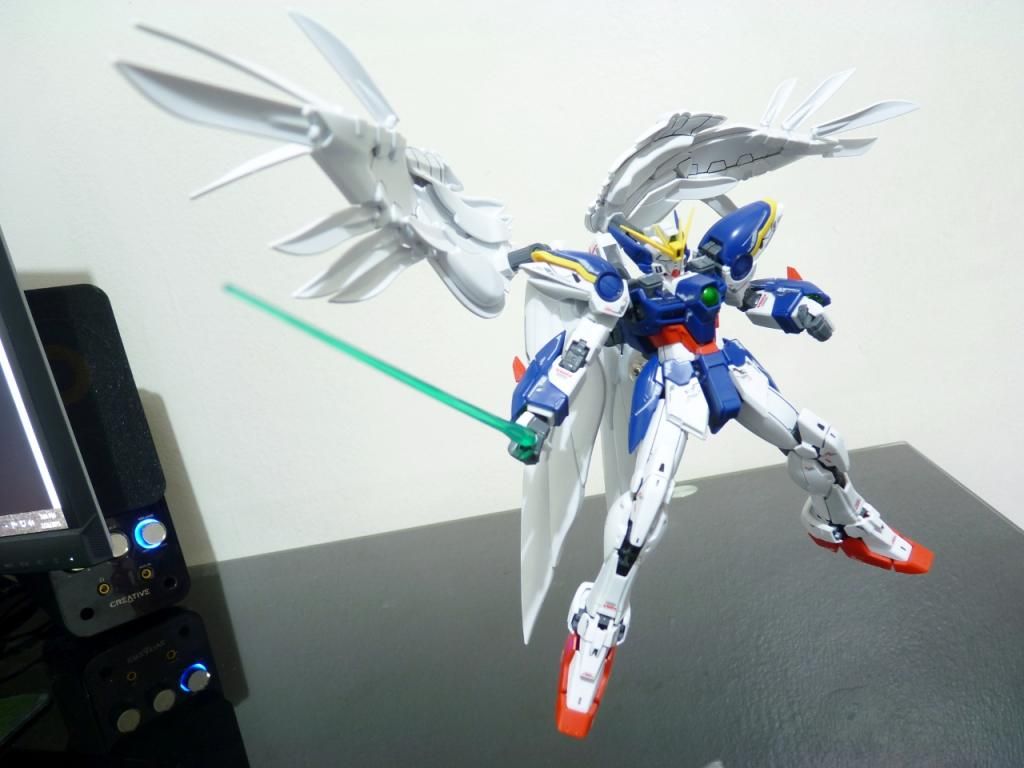
Sword GET
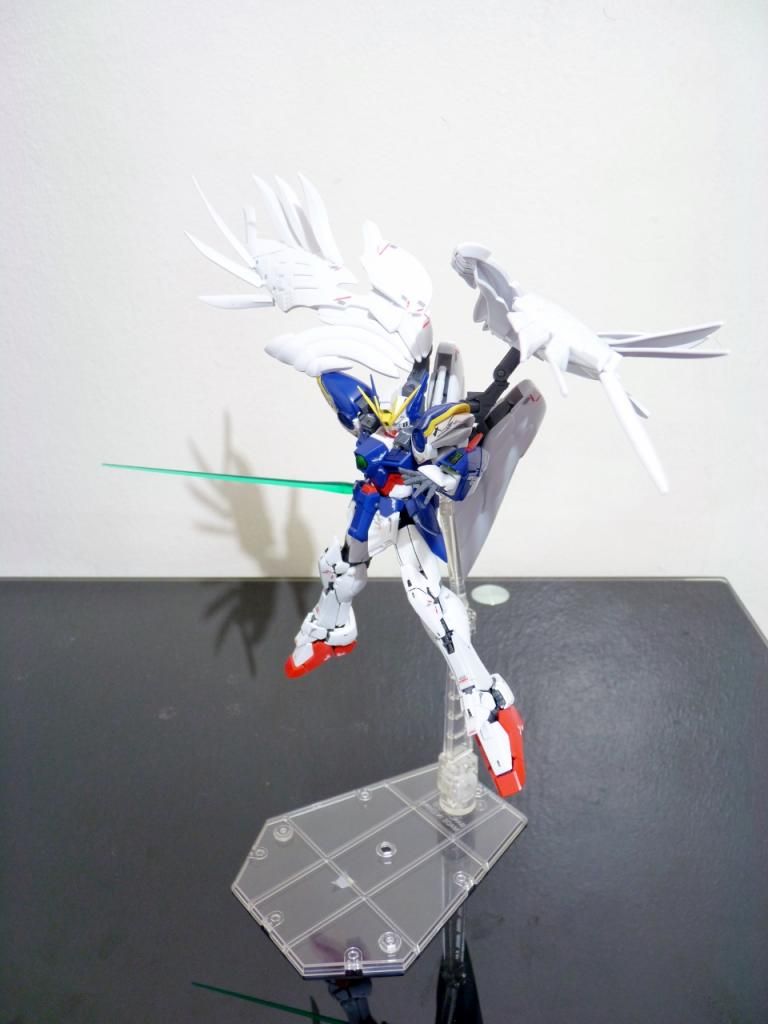
I'm surprised it can do a kneeling pose with no problems
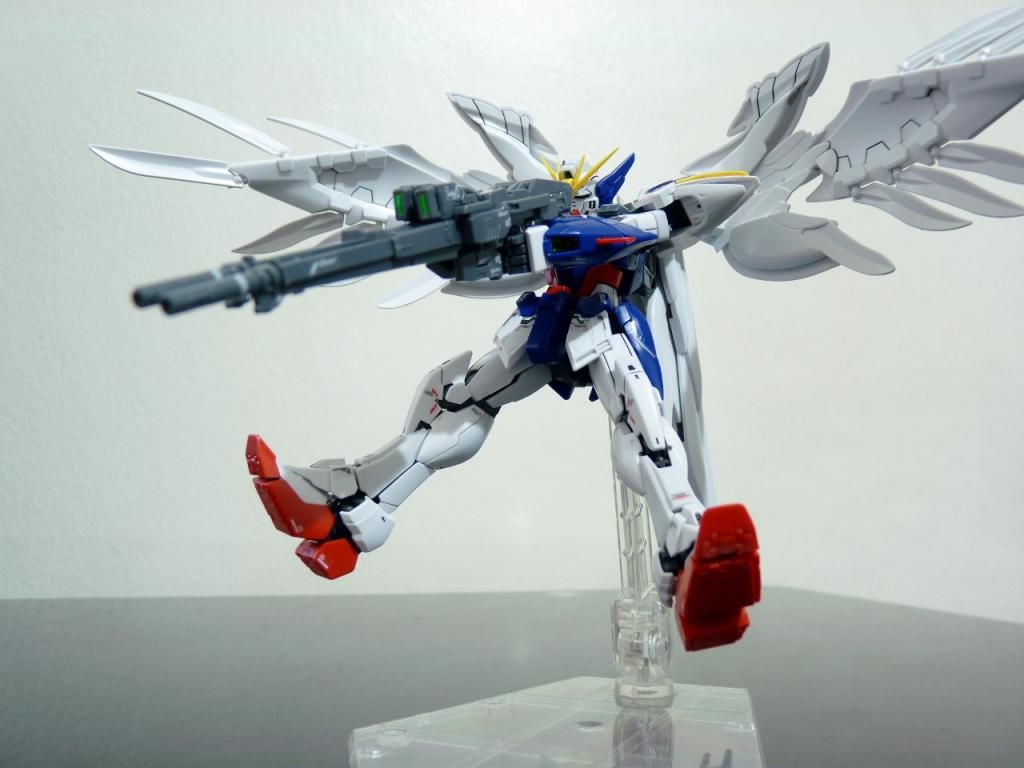
Atmospheric entry: Operation Meteor commence
Pew pew pew
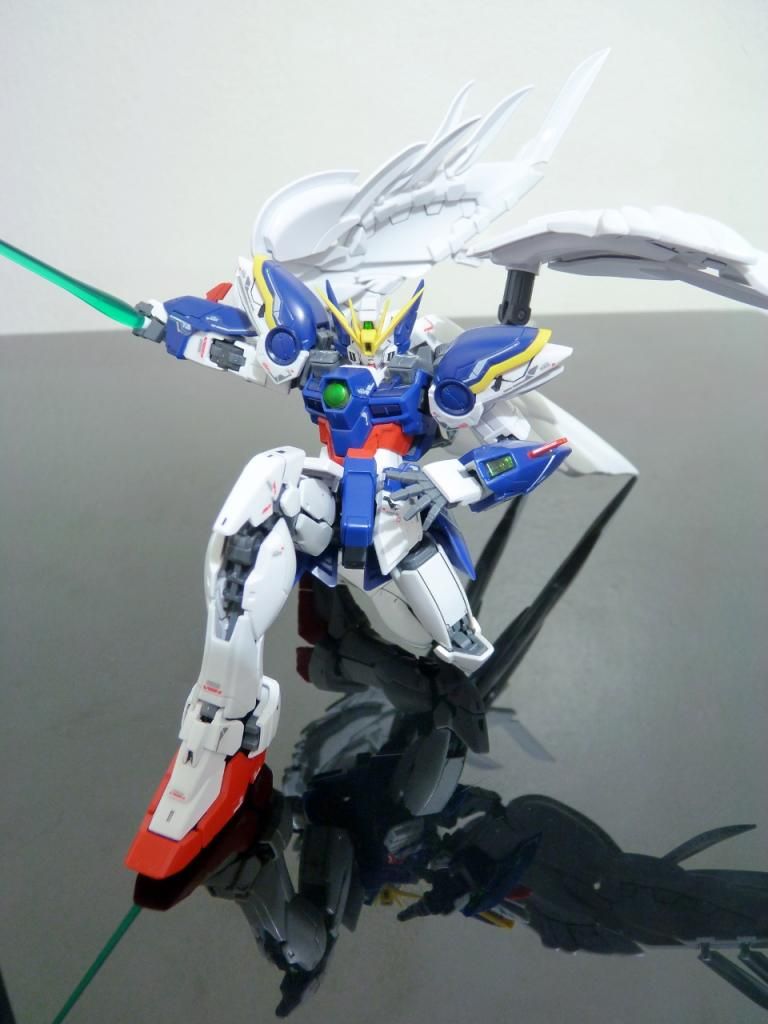
Beam spam turn - RIP grunt units...
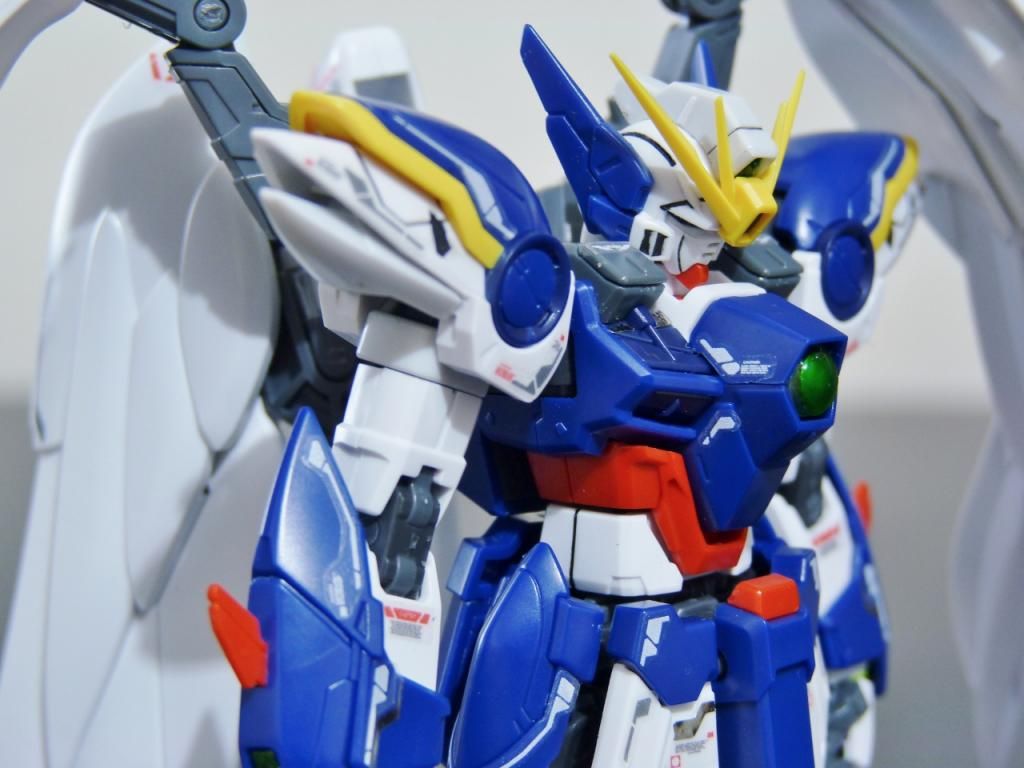
Ore wa GUNDAM!
Pros:
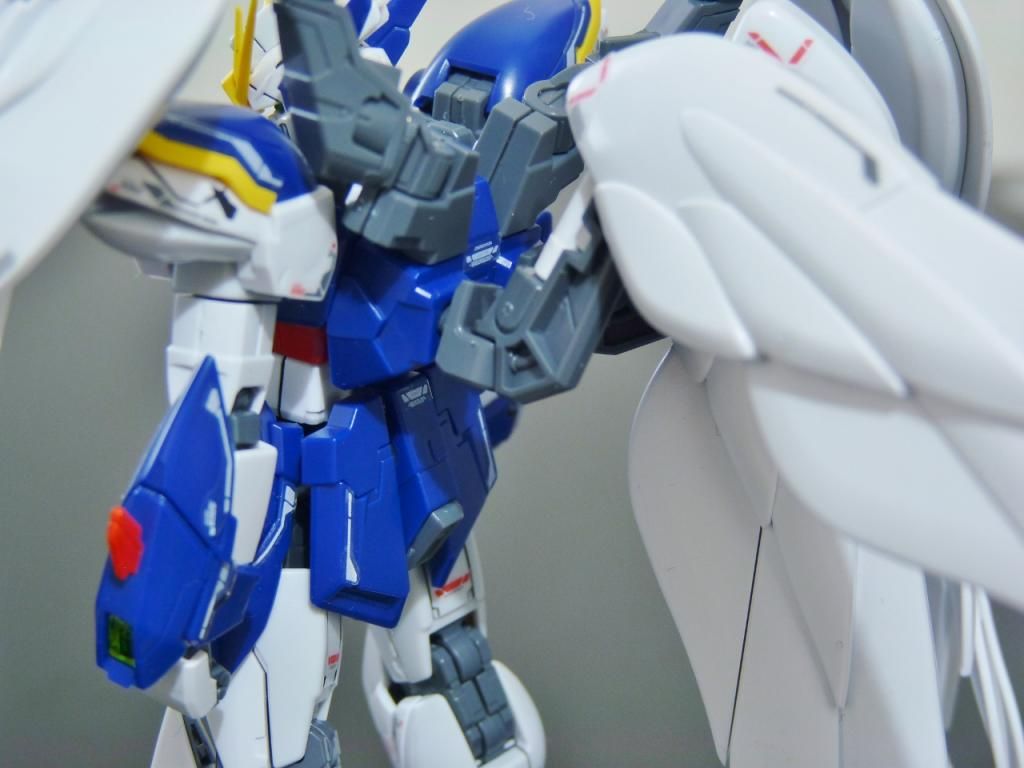
Finally! An RG inner frame that works!
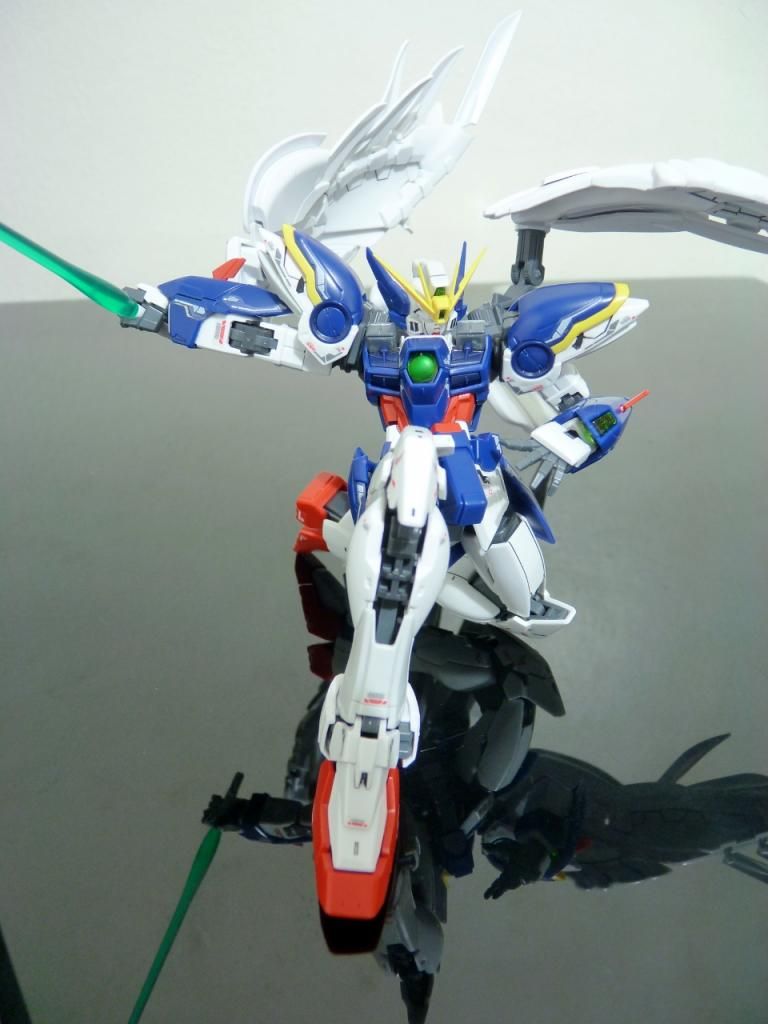
Solid
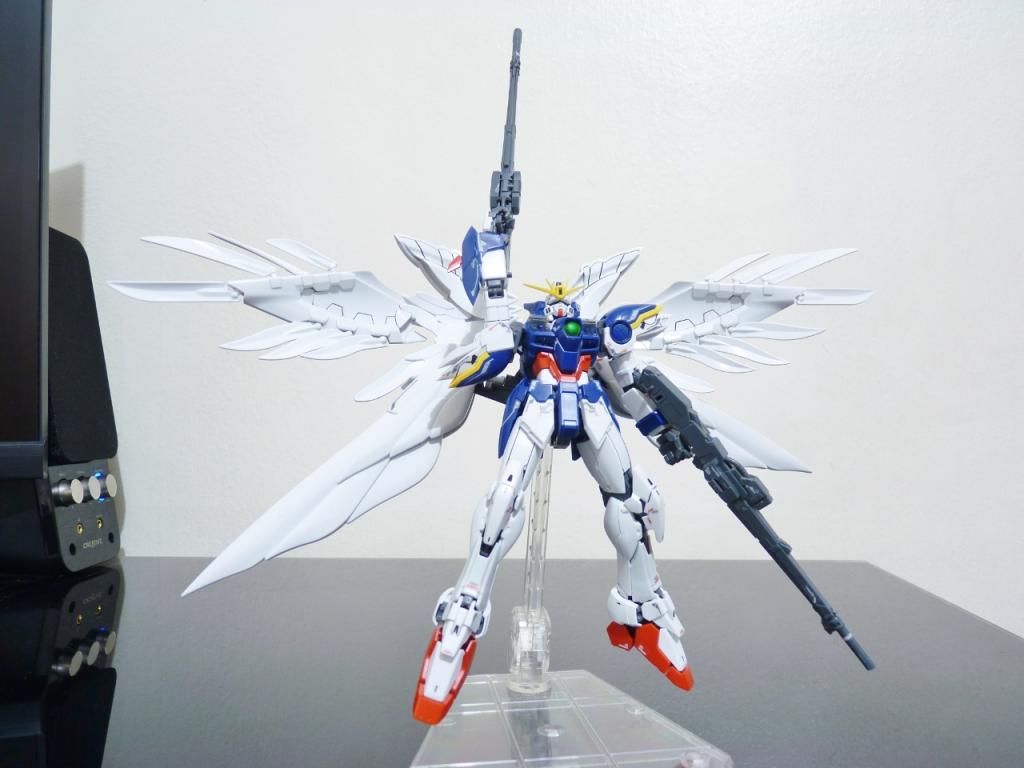
Cool wings
Cons:
Bit too simple for an RG
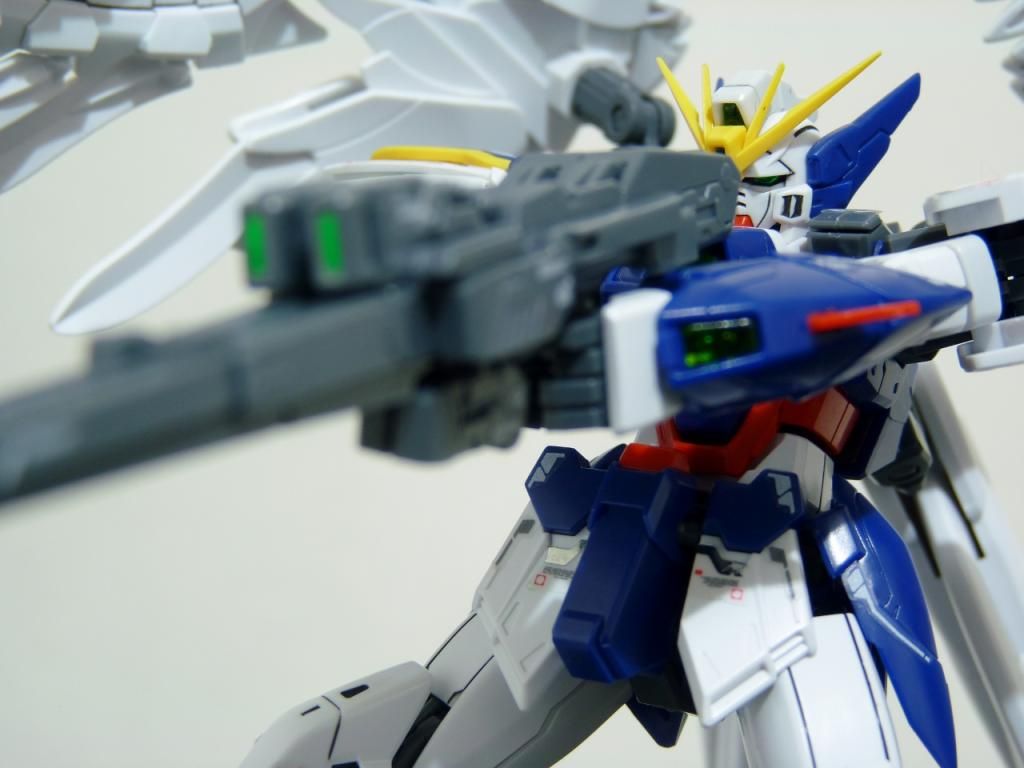
Props to Bandai for pulling off this icon! Solidity is the surprise here with the enforced arms connection feel sturdy. It's a new design (at least from my collection) in which the connection is "tubed" instead of a ball joint clipped without any support under to resist the heavy load falling (quite miserably) to gravity after a slight play through. I played a lot with the heavy guns and I haven't experienced deterioration of joints unlike my Strike Freedom and Destiny. Knee caps should be glued as they pop off very easily. Wings gimmick is great!
Now, if they can release and RG Tallgeese III or D-Hell to pair this bad boy with.
How were you able to pull off the iconic twin buster rifle pose completely in the center?
ReplyDeletethe arm/shoulder joints can "pop" off quite a bit for extending the arms and hold the rifle in its signature pose. hope this helps and thank you for visiting my blog :D
DeleteYep I know about it but my problem is in the wrist, the hand holding the rifle can be place at the center but the rifle itself is not pointing exactly towards the middle, its a bit pointing to the left if the right hand holds the rifle and a bit pointing the right if the left hand is holding the rifle, the hand cant pull it off to the center because of the wrist armor, Thanks for replying though~
Delete