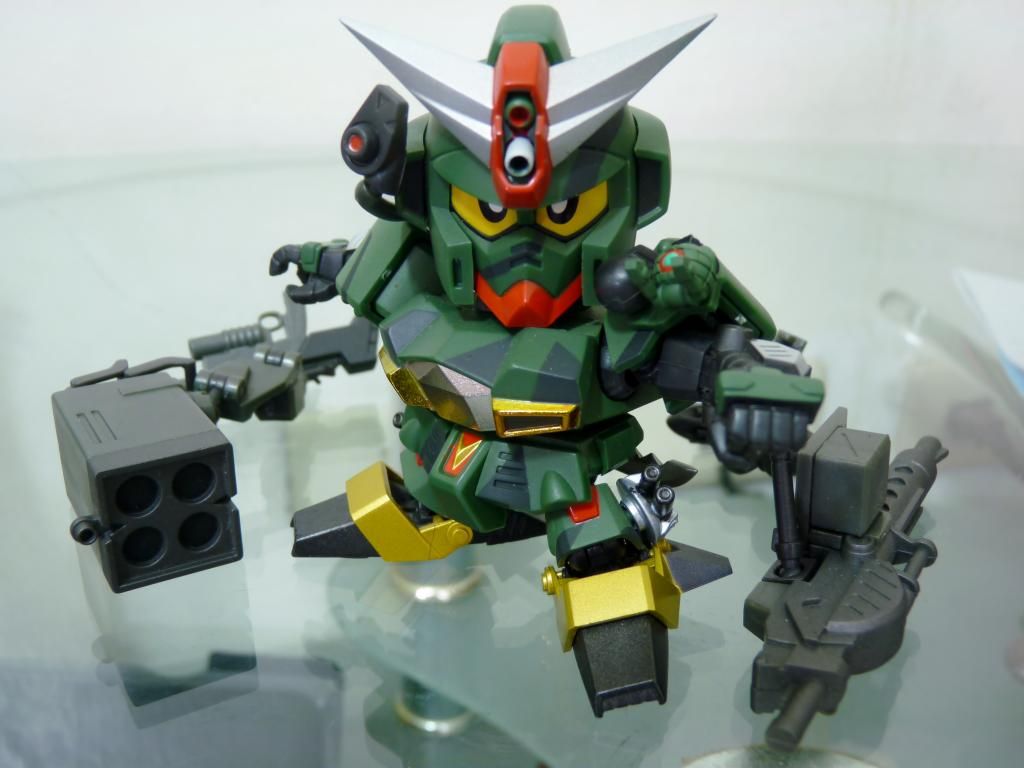
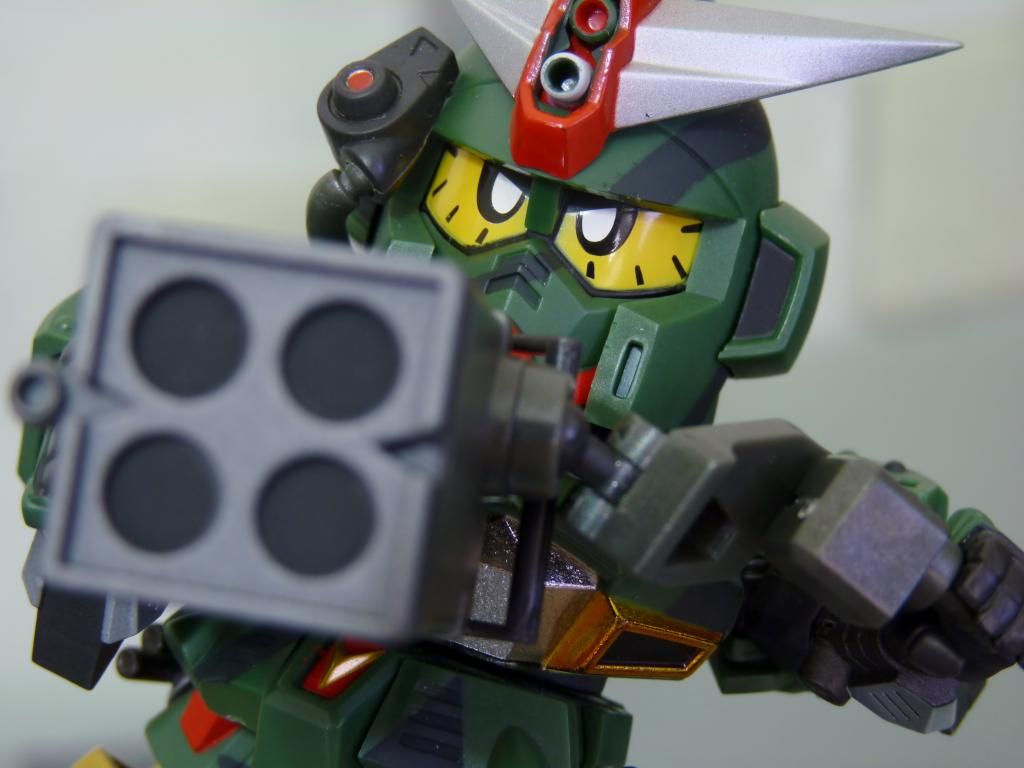
Some say that he feeds his Mecha Stingray chocolate filled Gundam debris from the One Year War. And even Hades fear what's behind the mask. All we know is..... He's the Mask Commander! (Top Gear reference there IYKWIM lol)
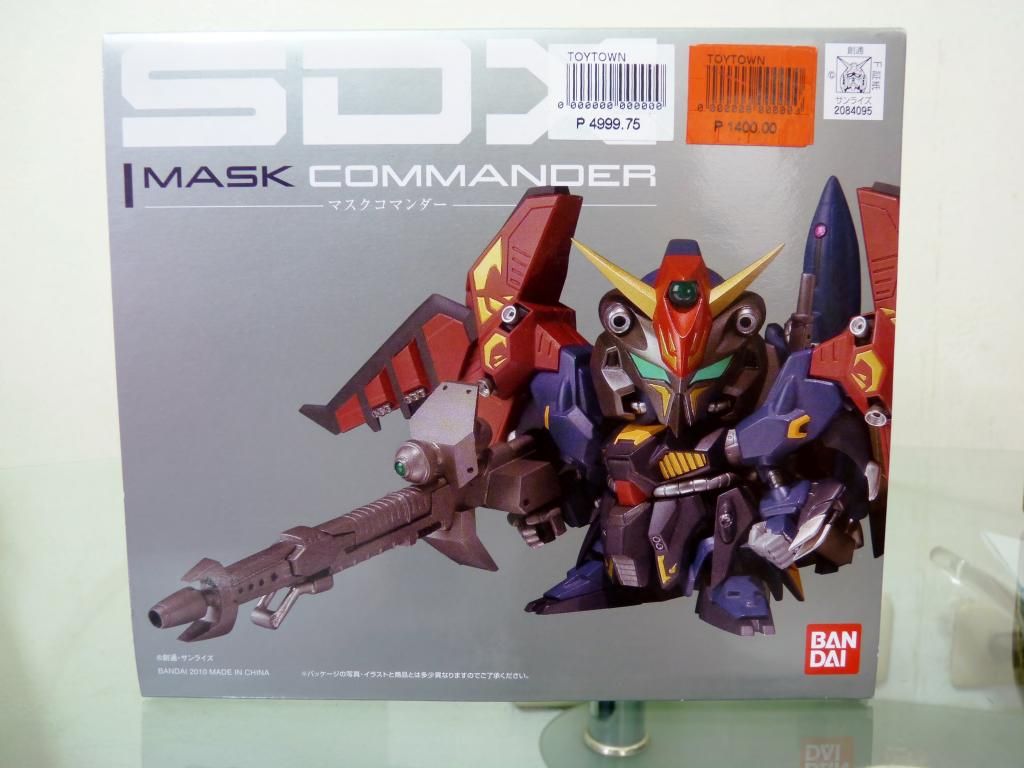


No hesitation picking this guy up. Going for 1.4k bucks PHP (~$32) is a steal!
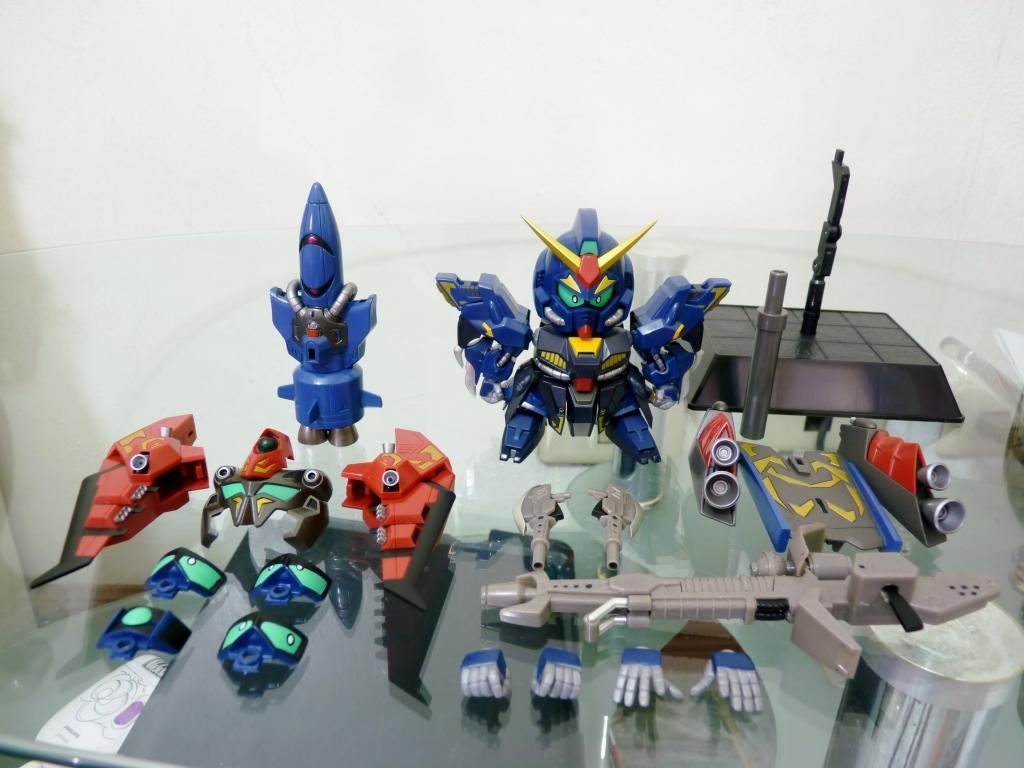
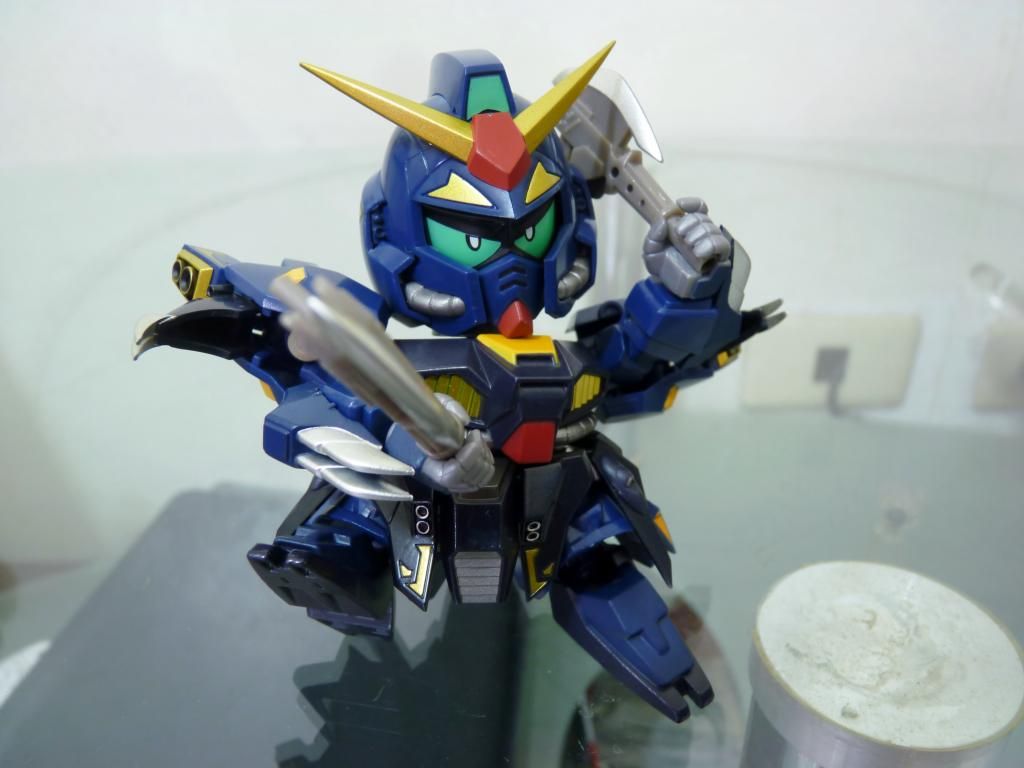
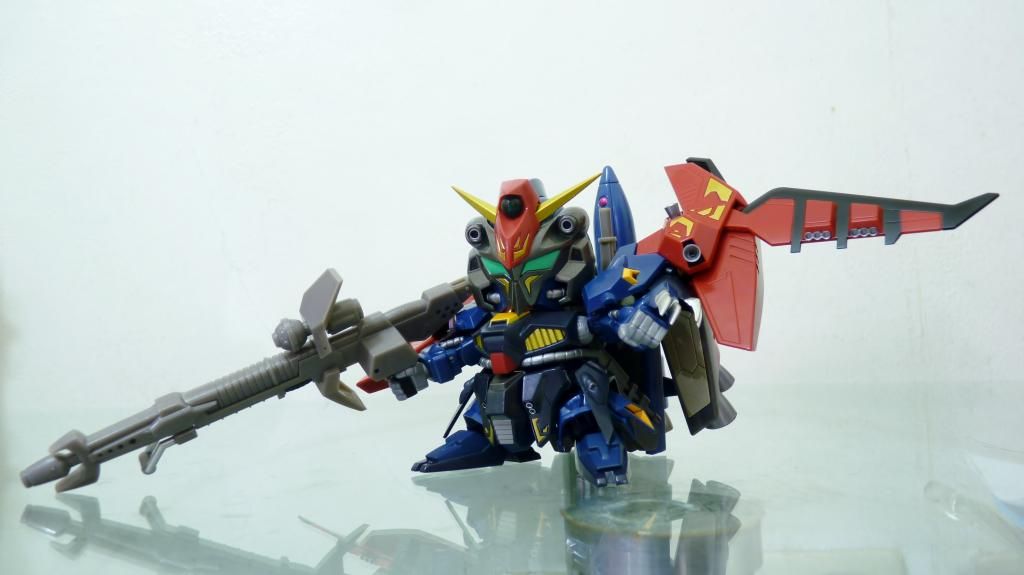
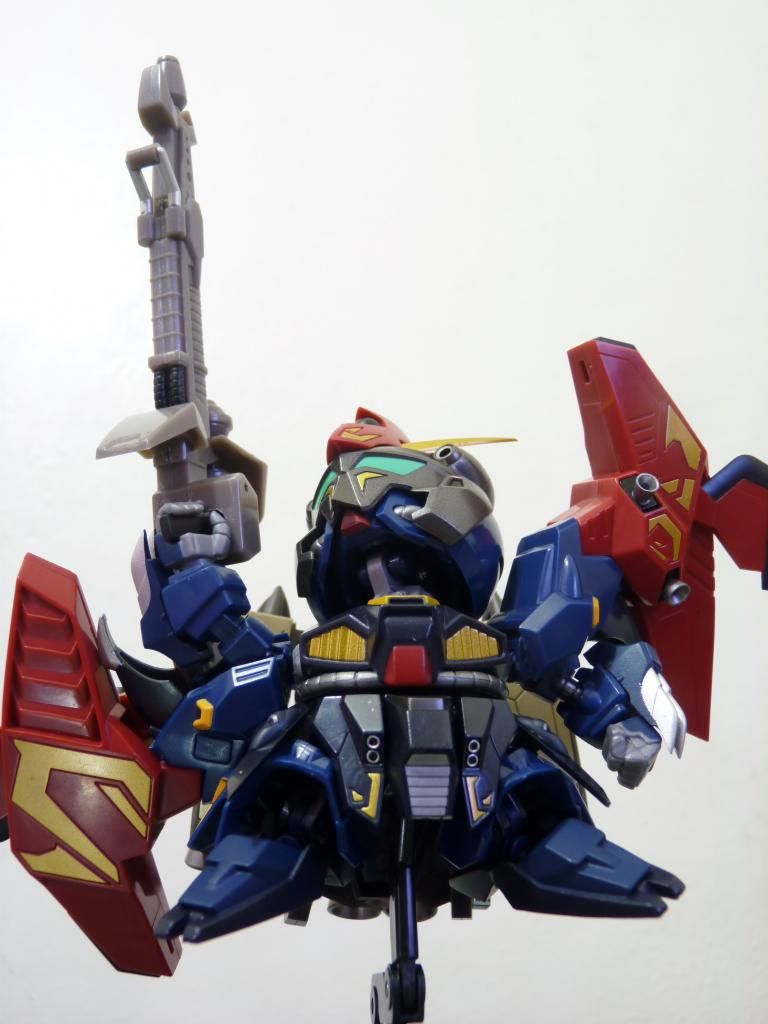
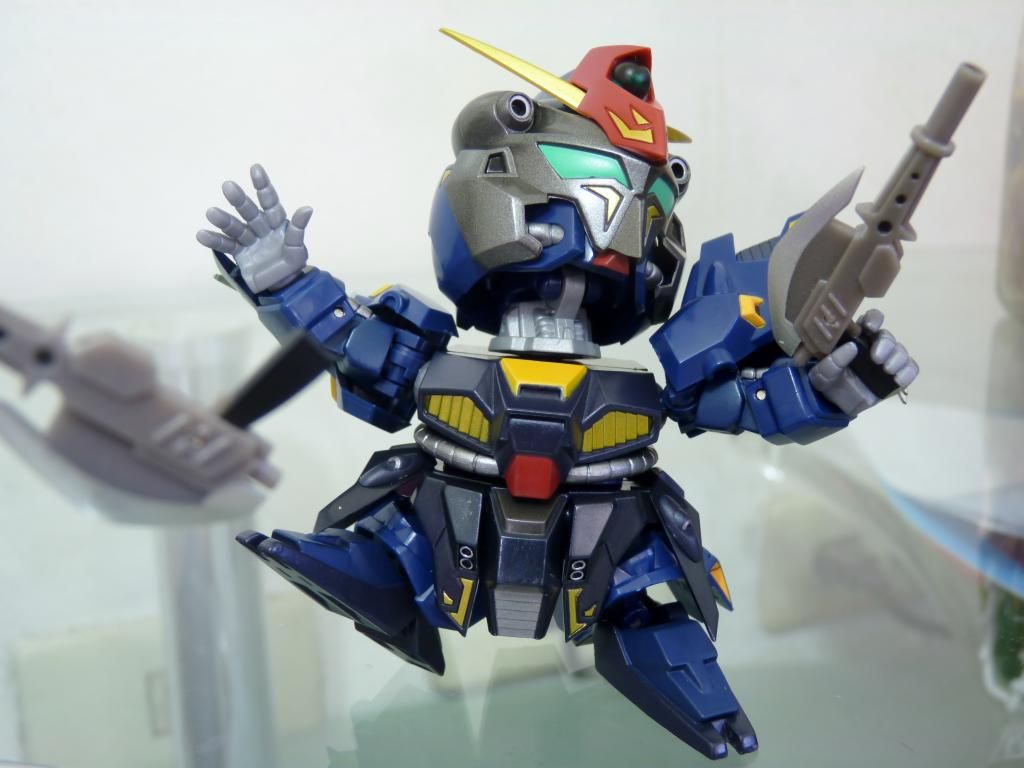
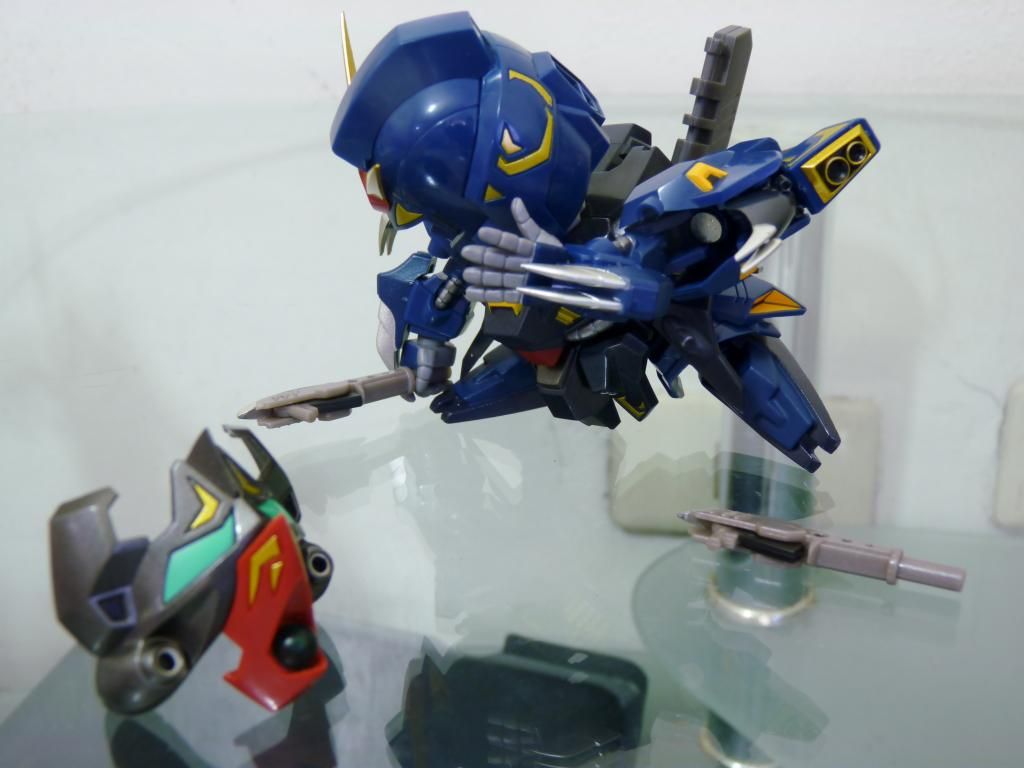
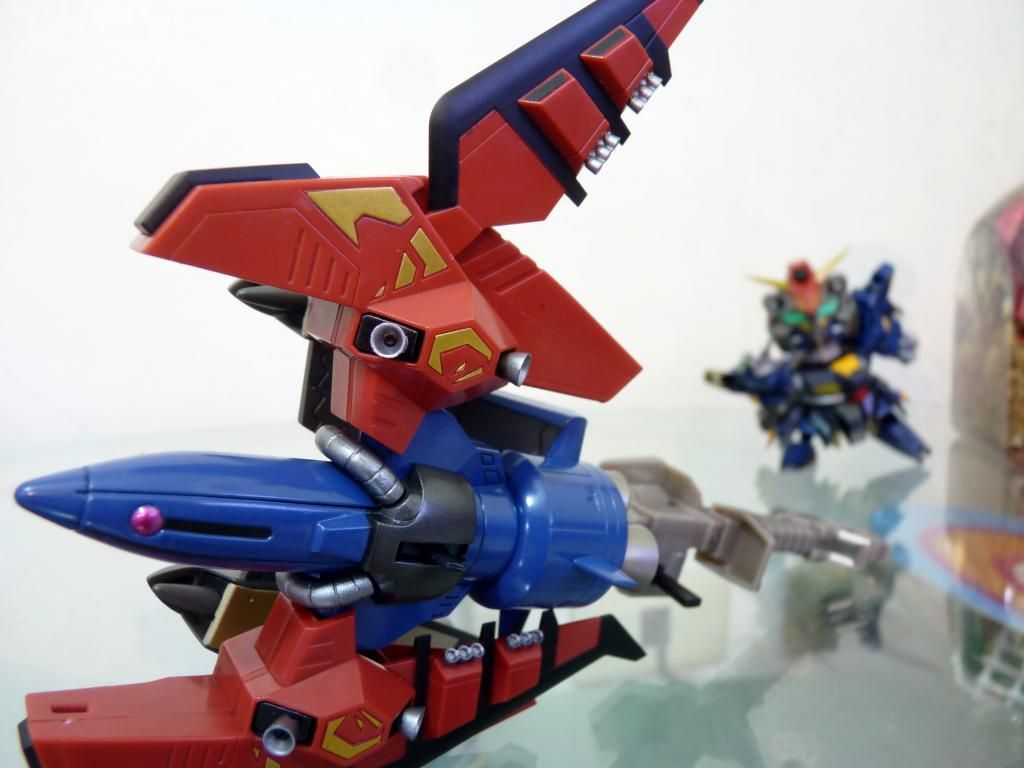
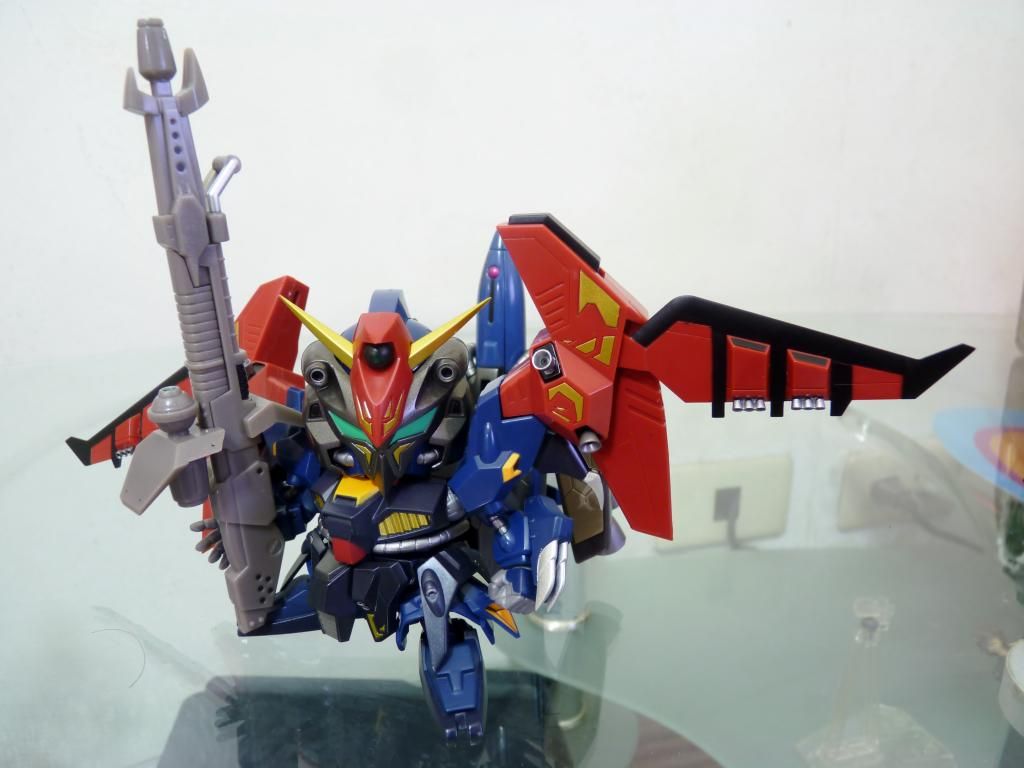
All but the kitchen sink
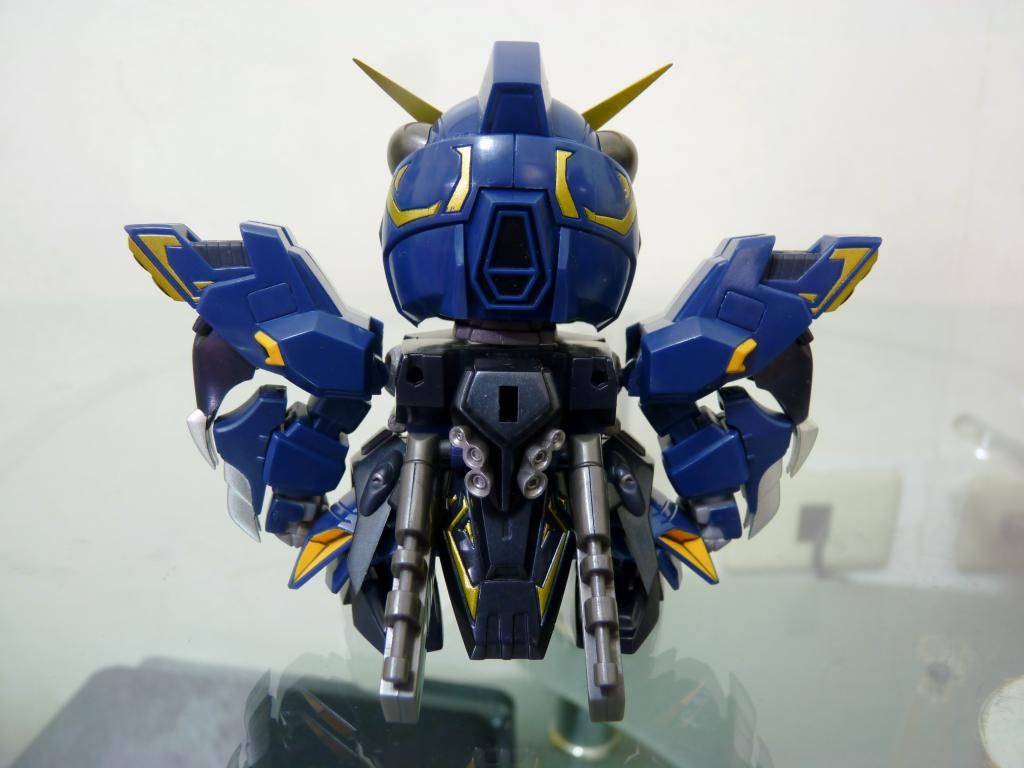
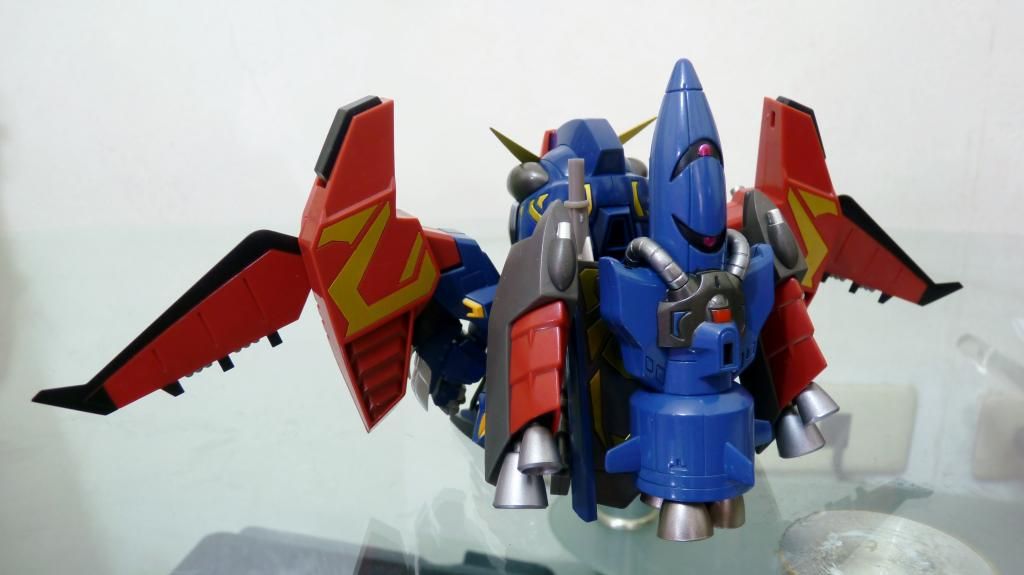
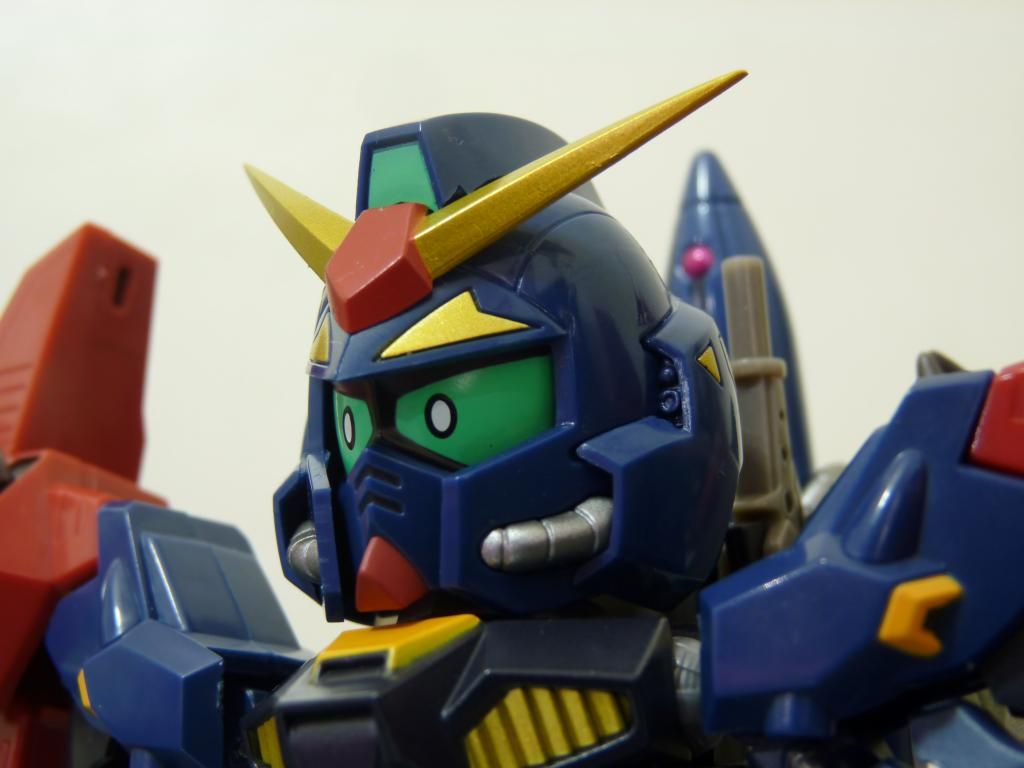
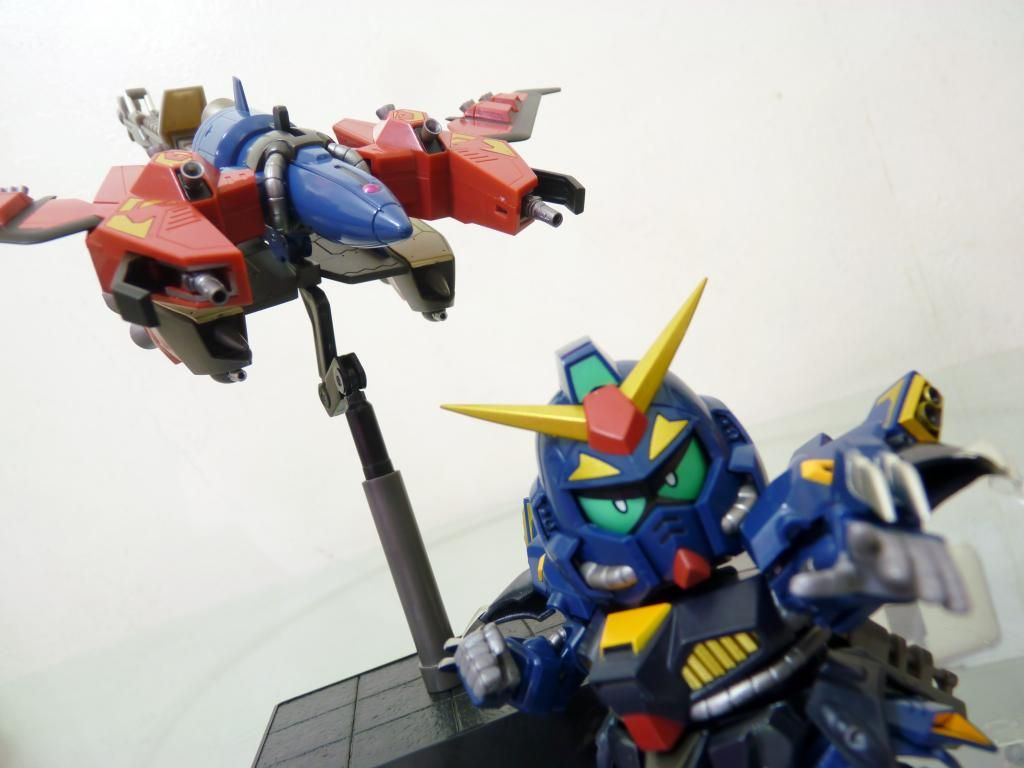
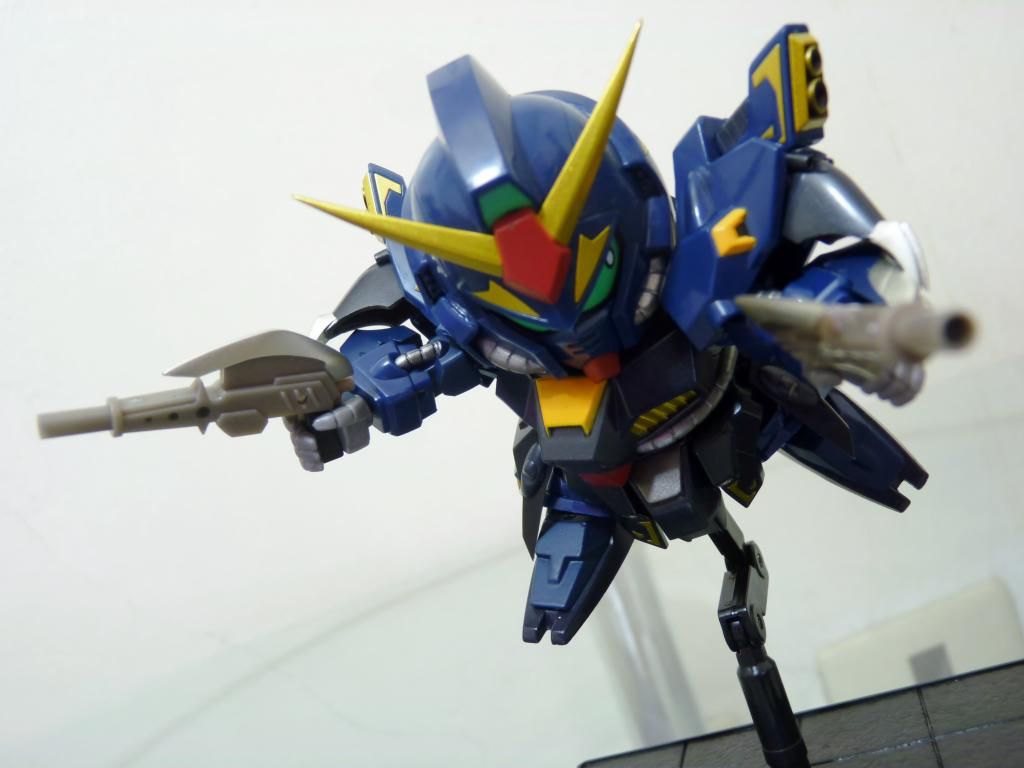
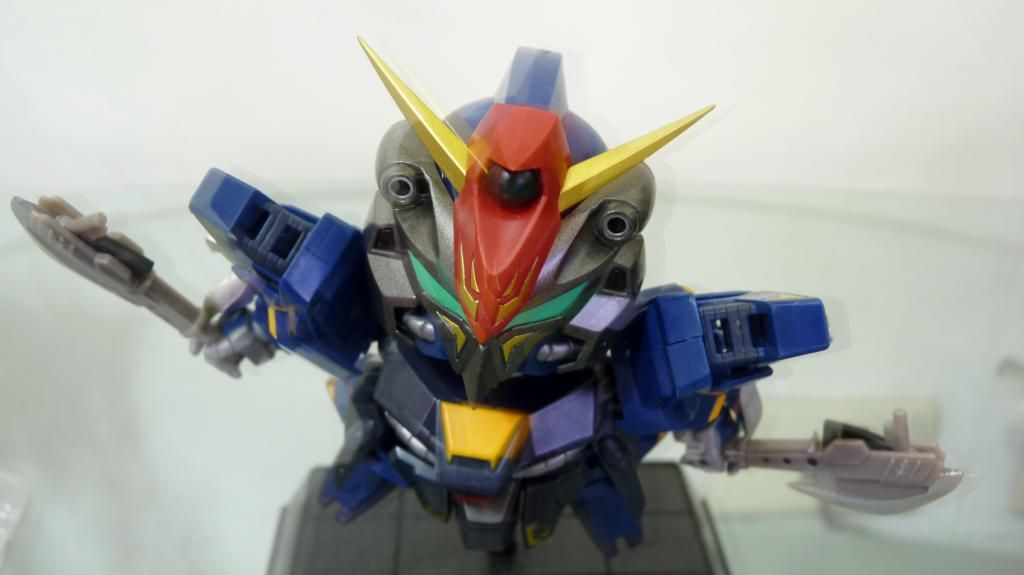
With his pet combined. He must be Zeta and Mk II's child
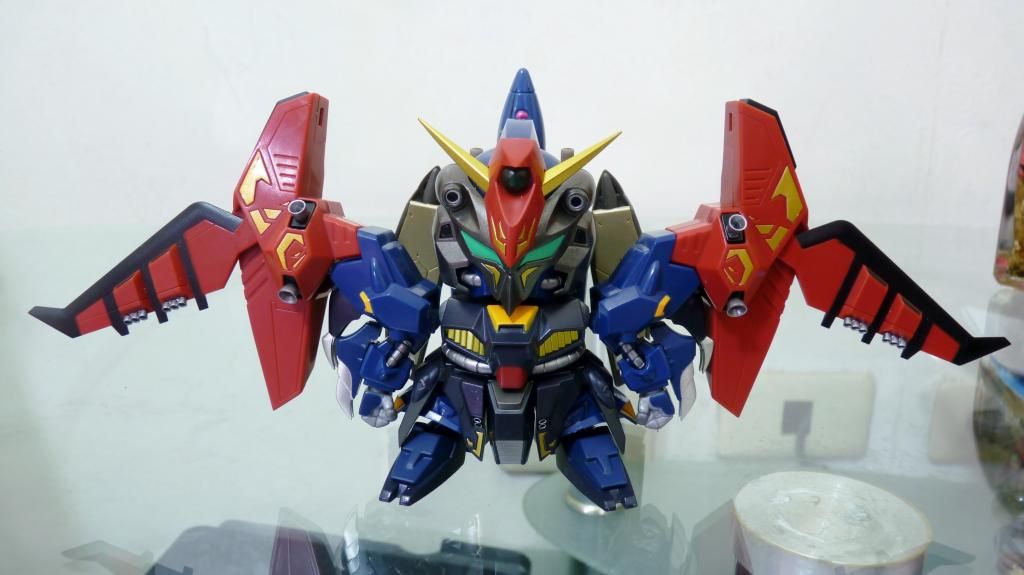
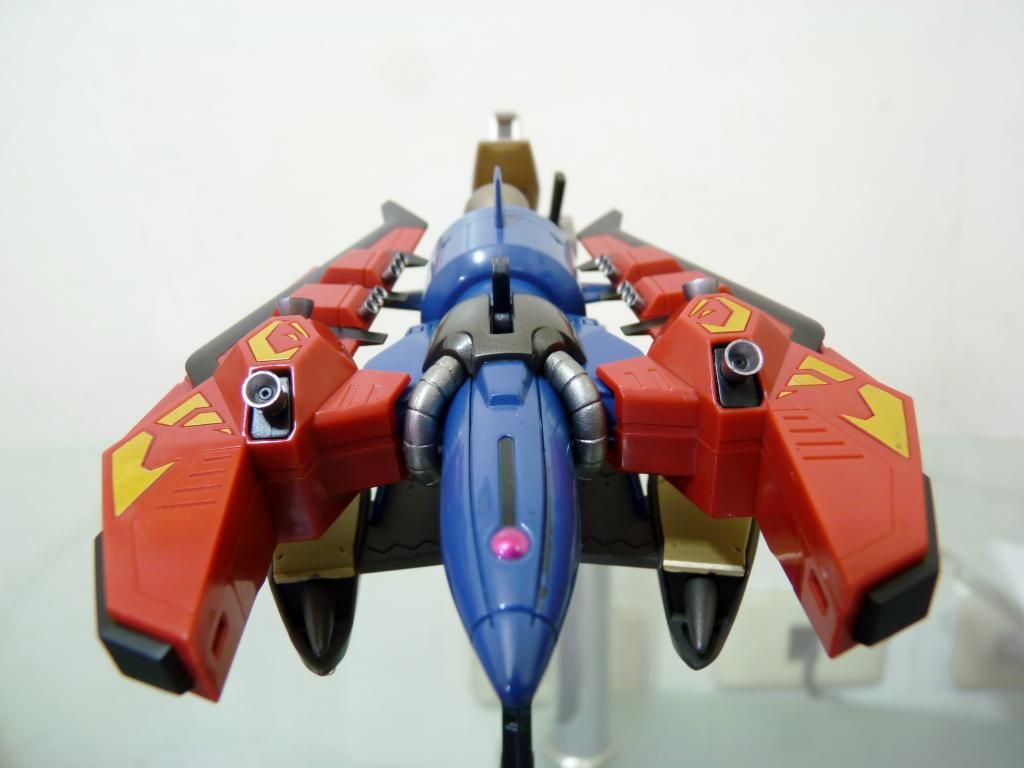
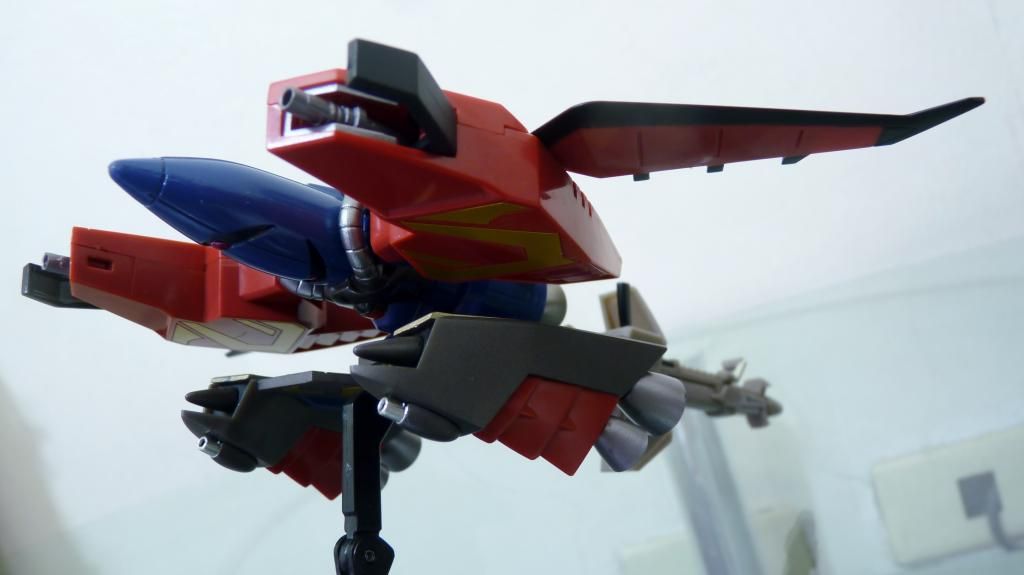
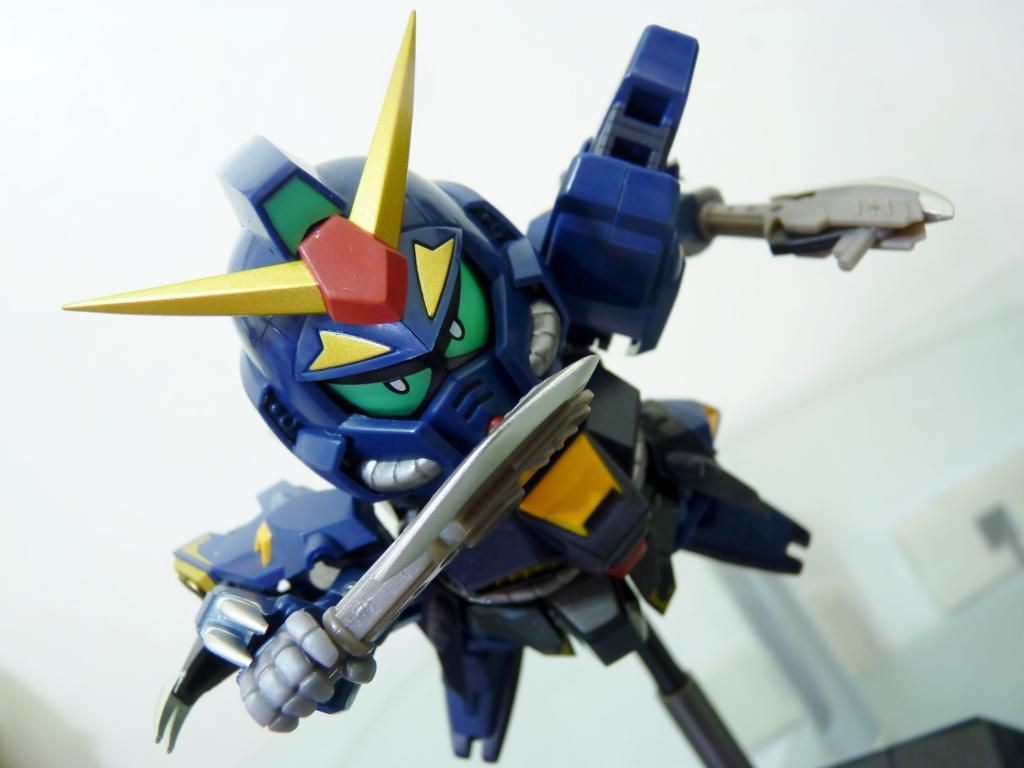
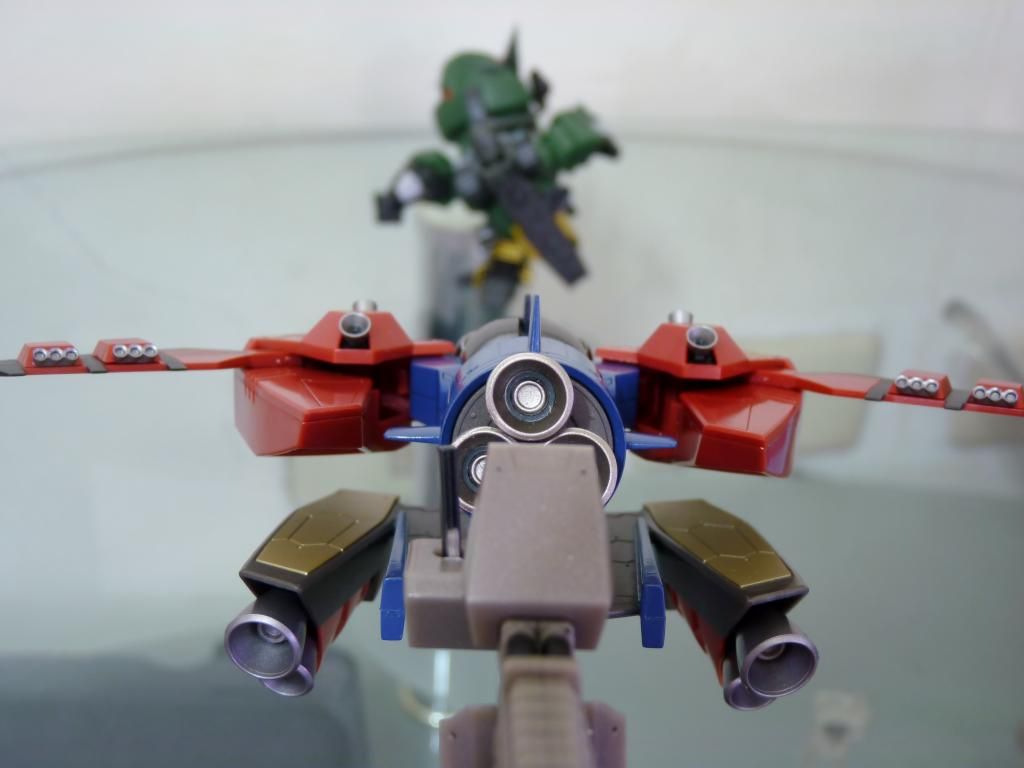
Cool gimmick on the wings
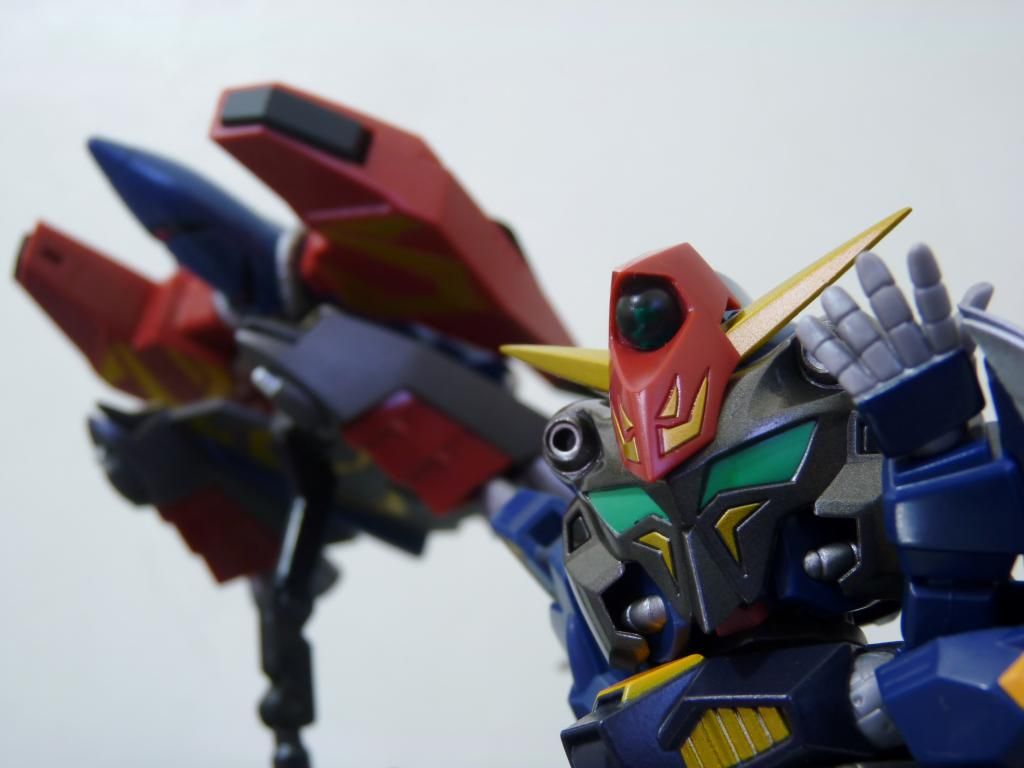
Can someone fill me which mobile suit / armor on his back?
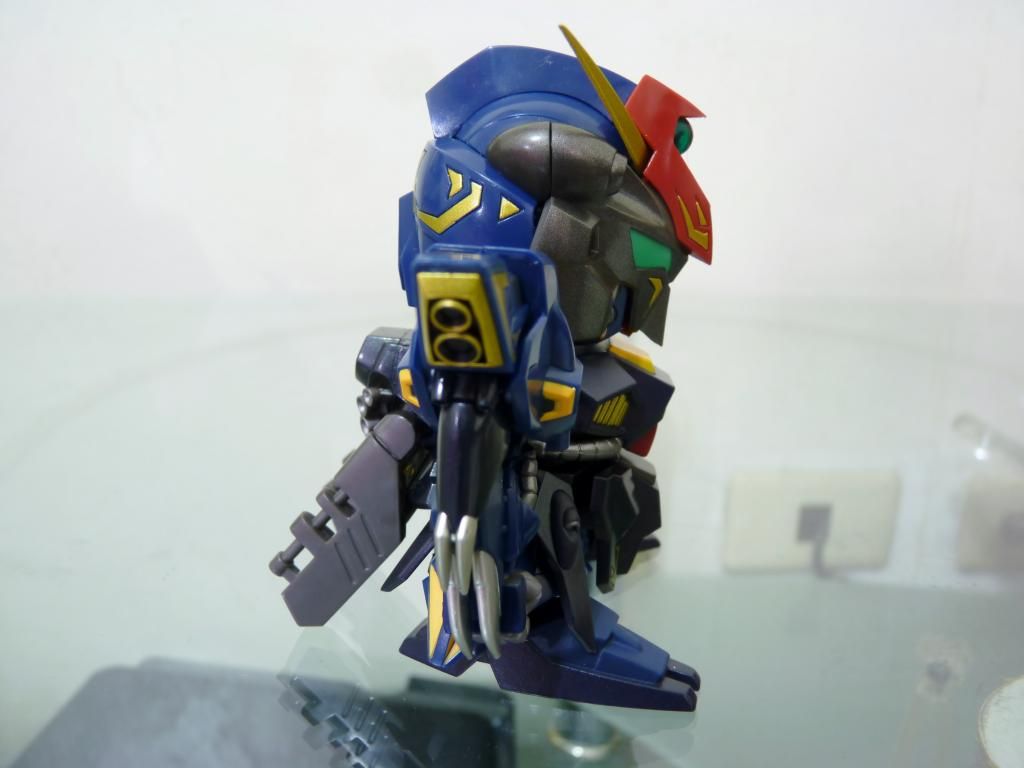
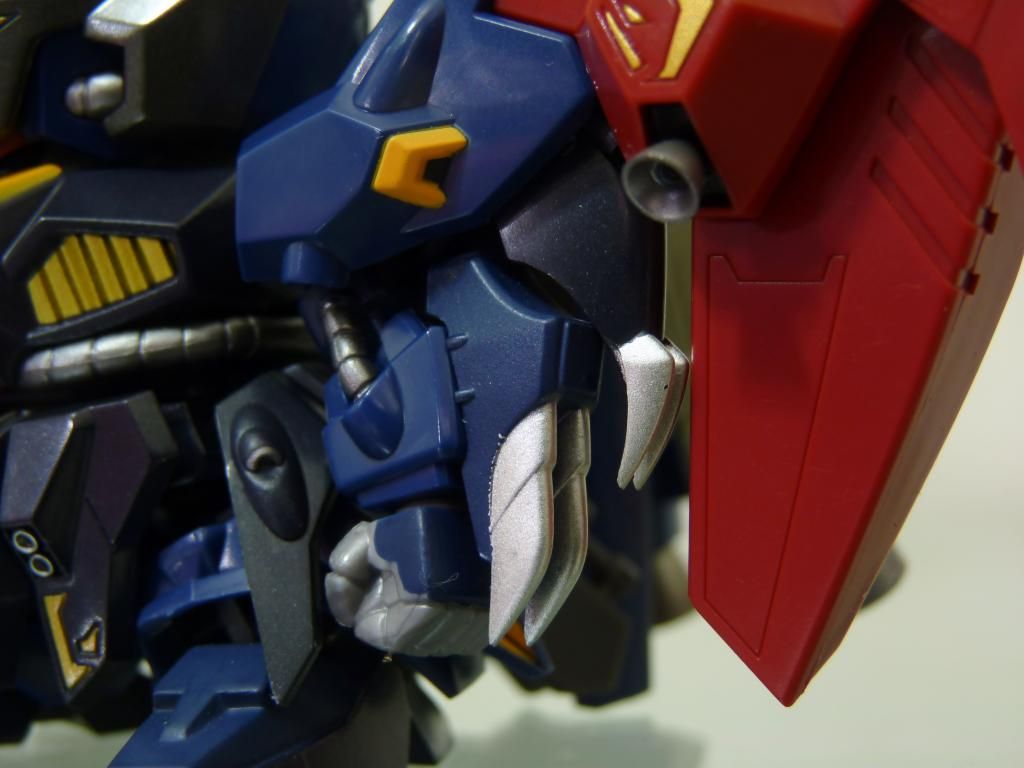
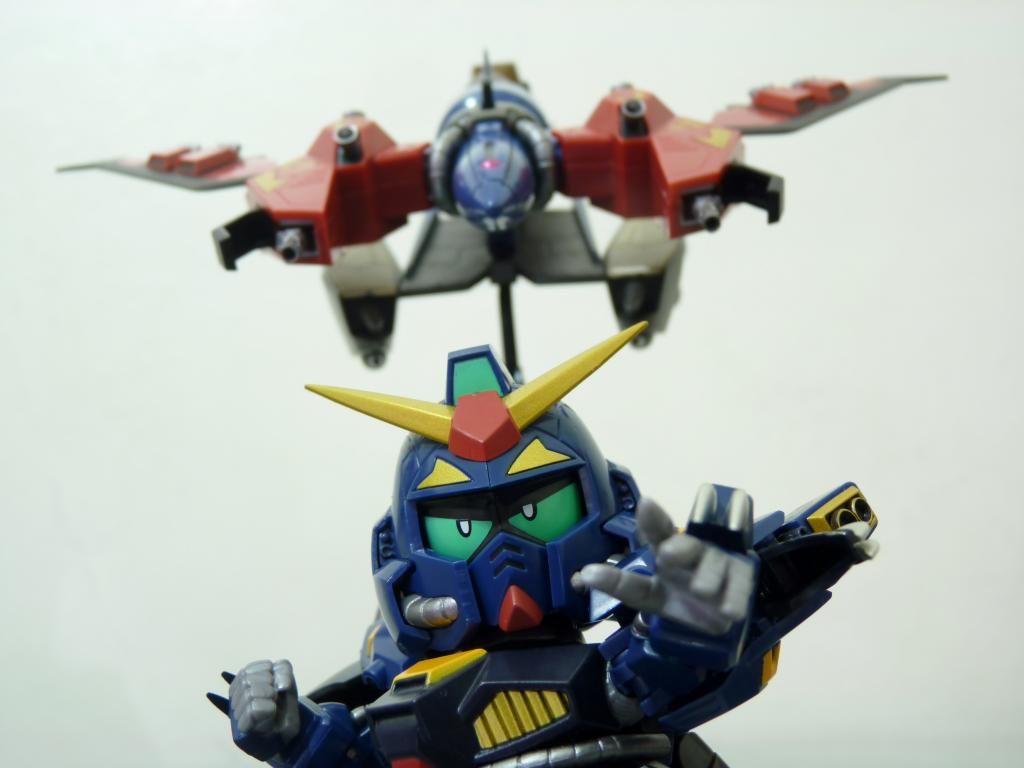
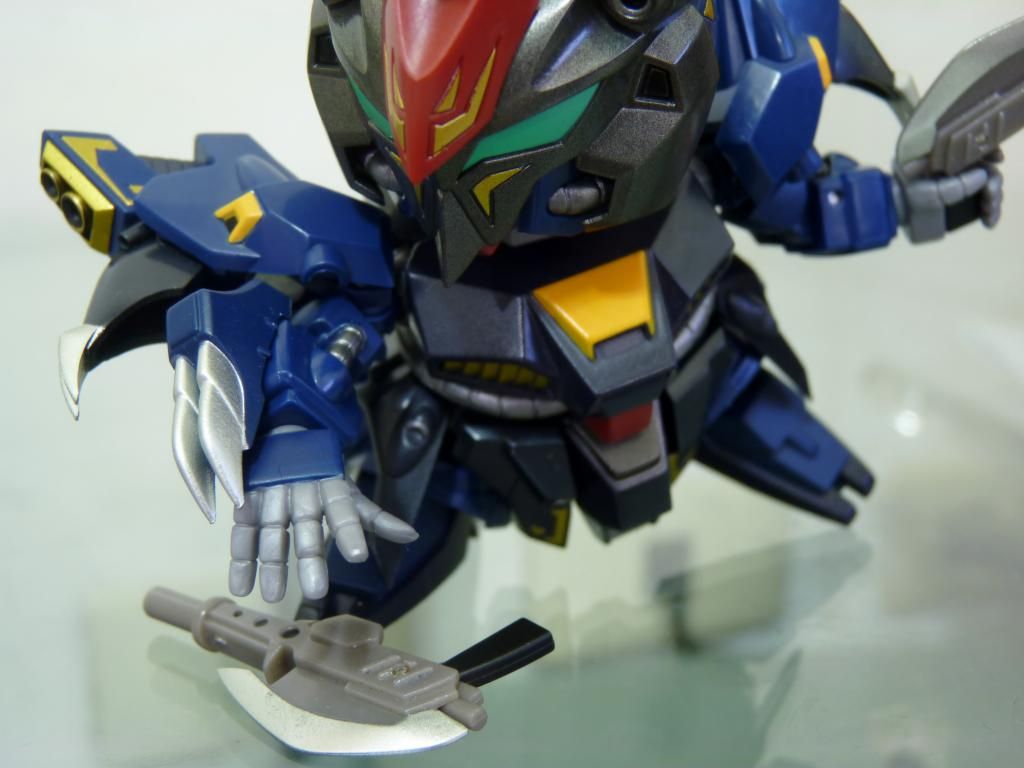
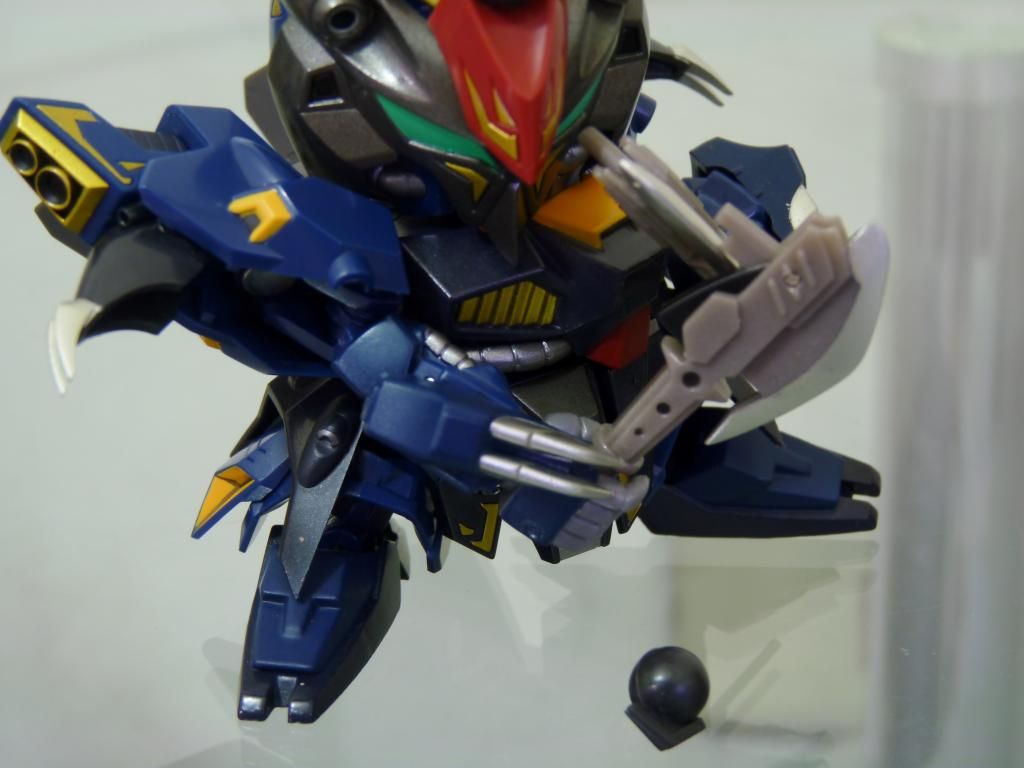
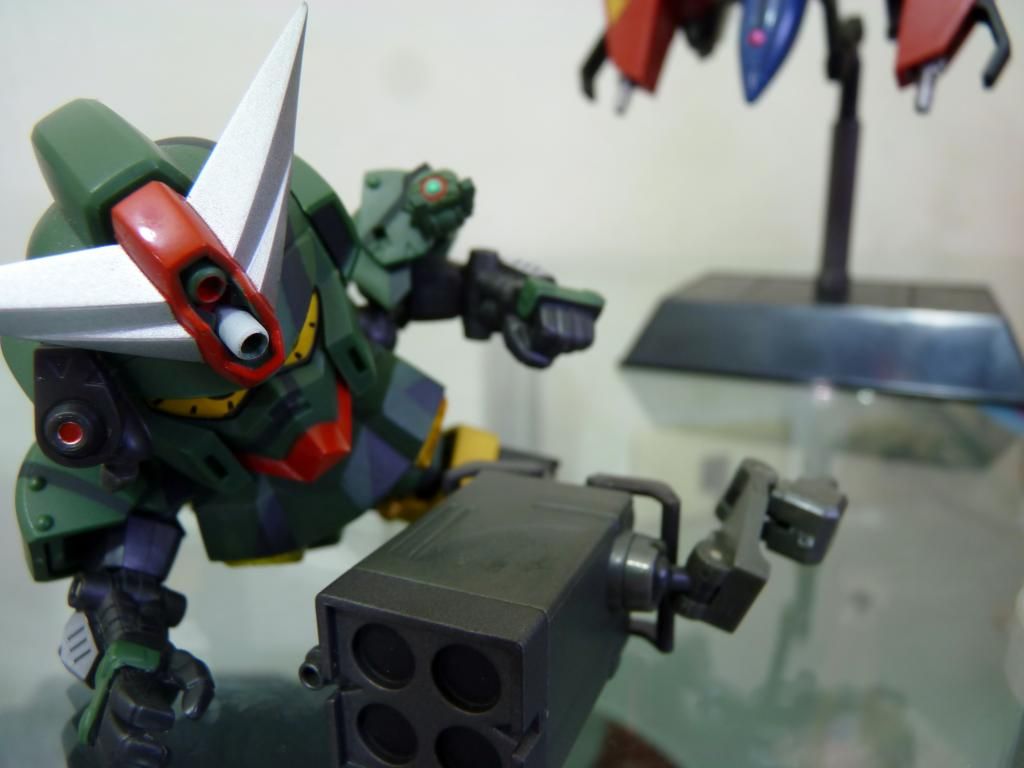
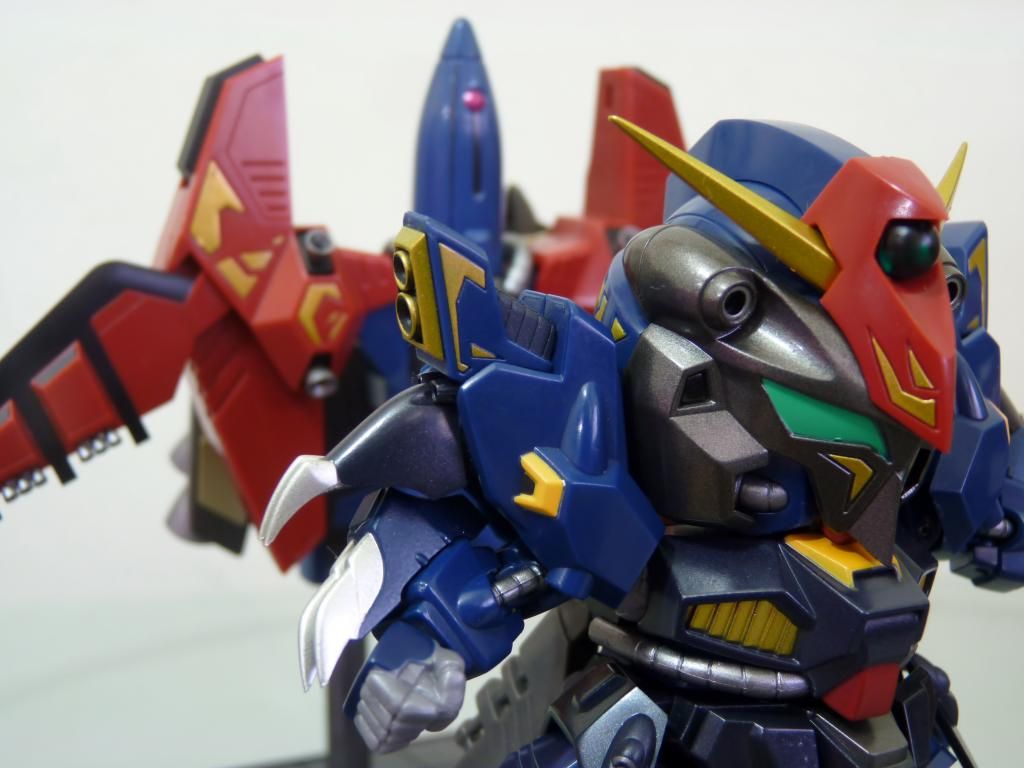
Claws
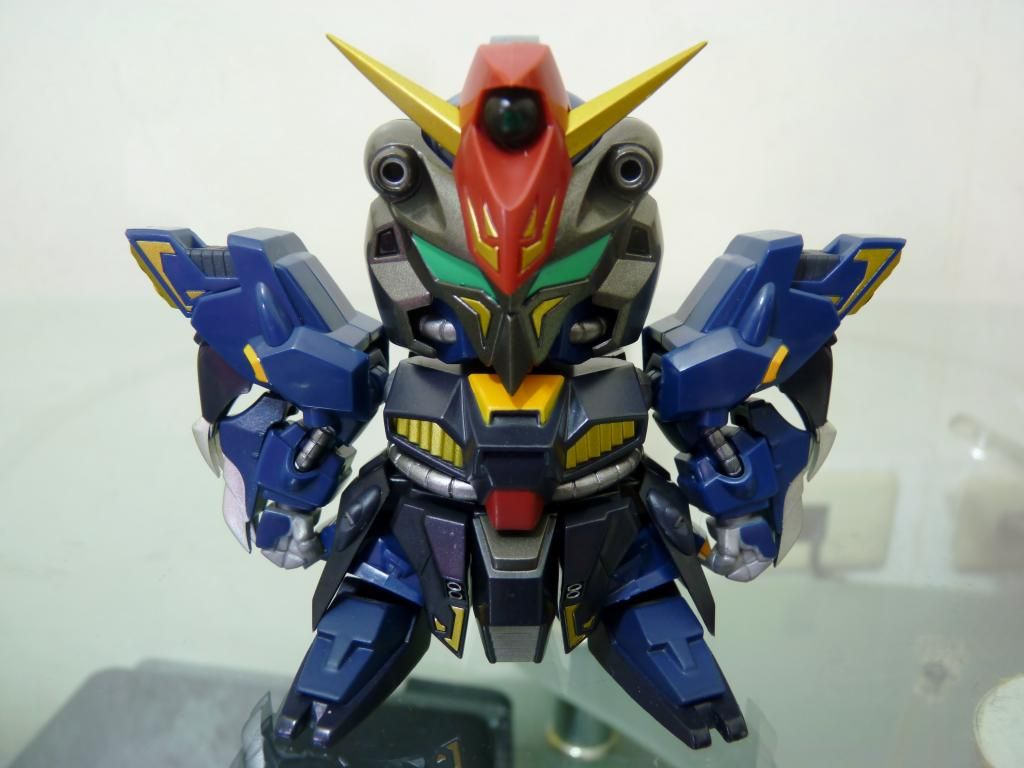
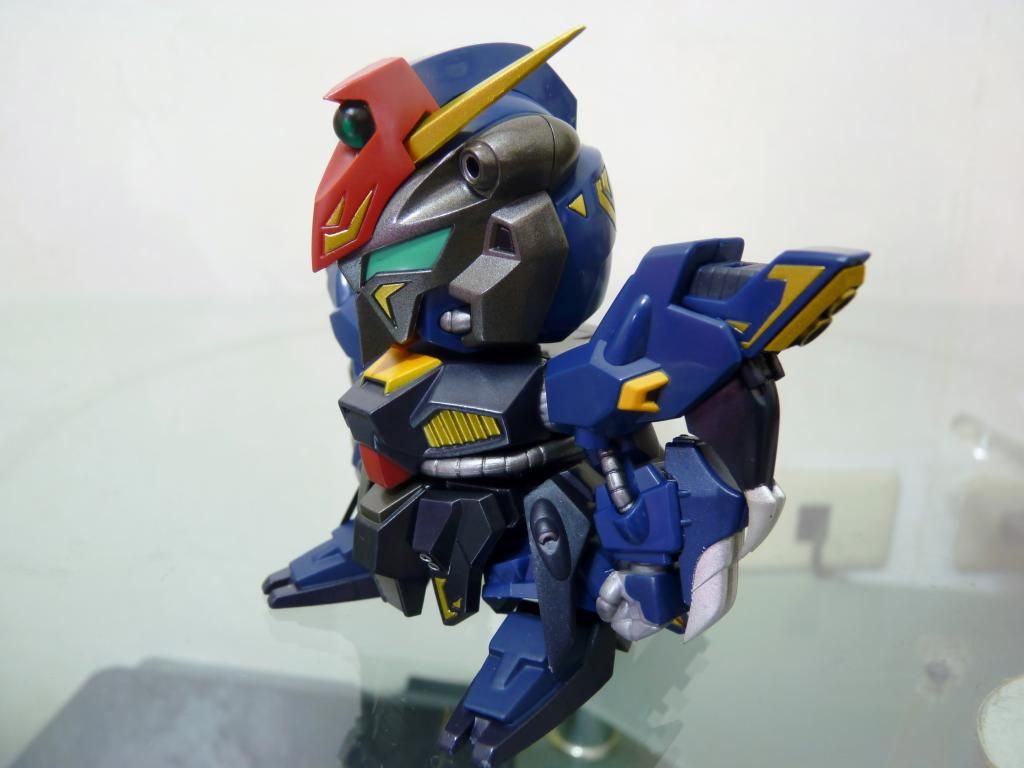
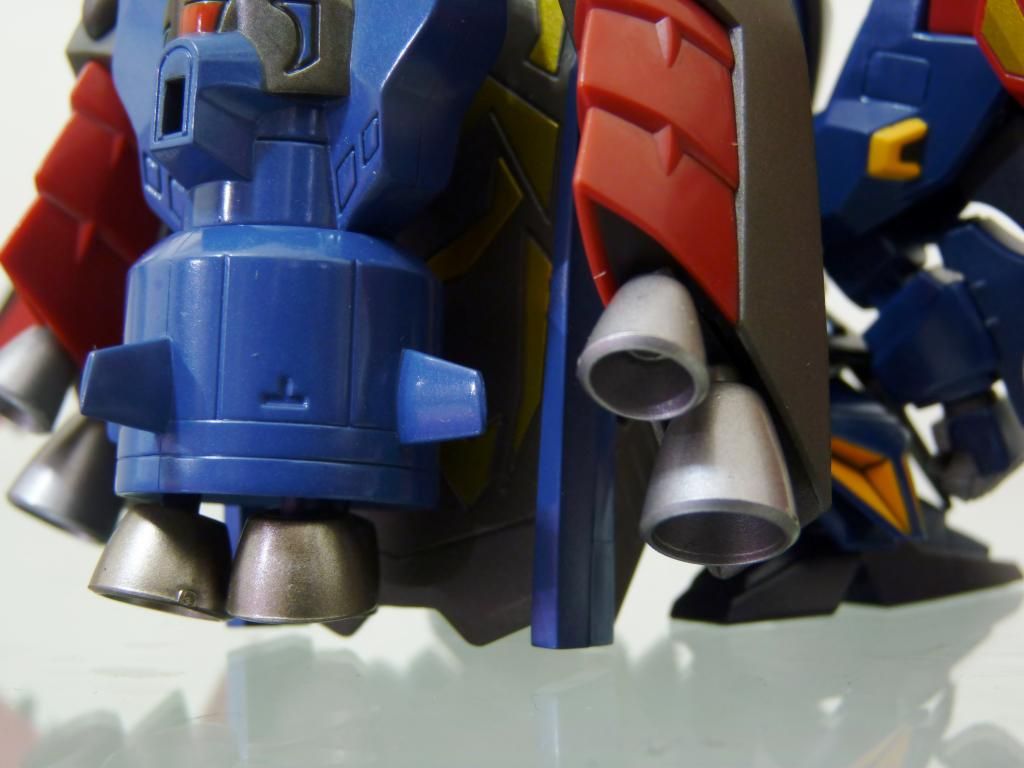
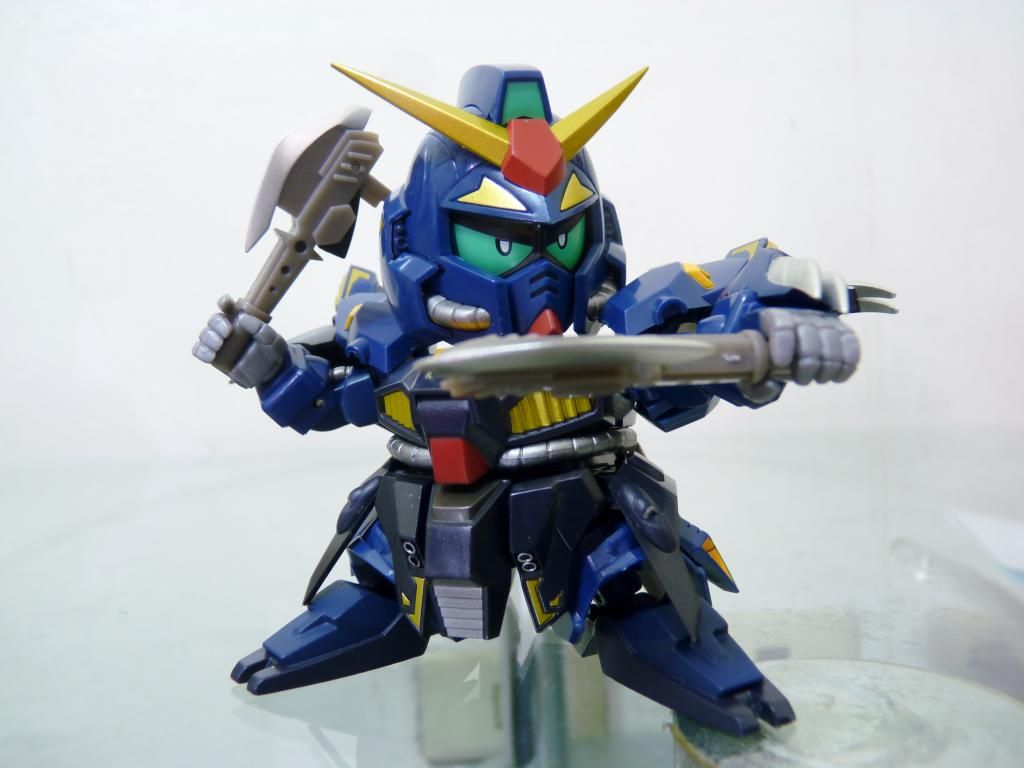
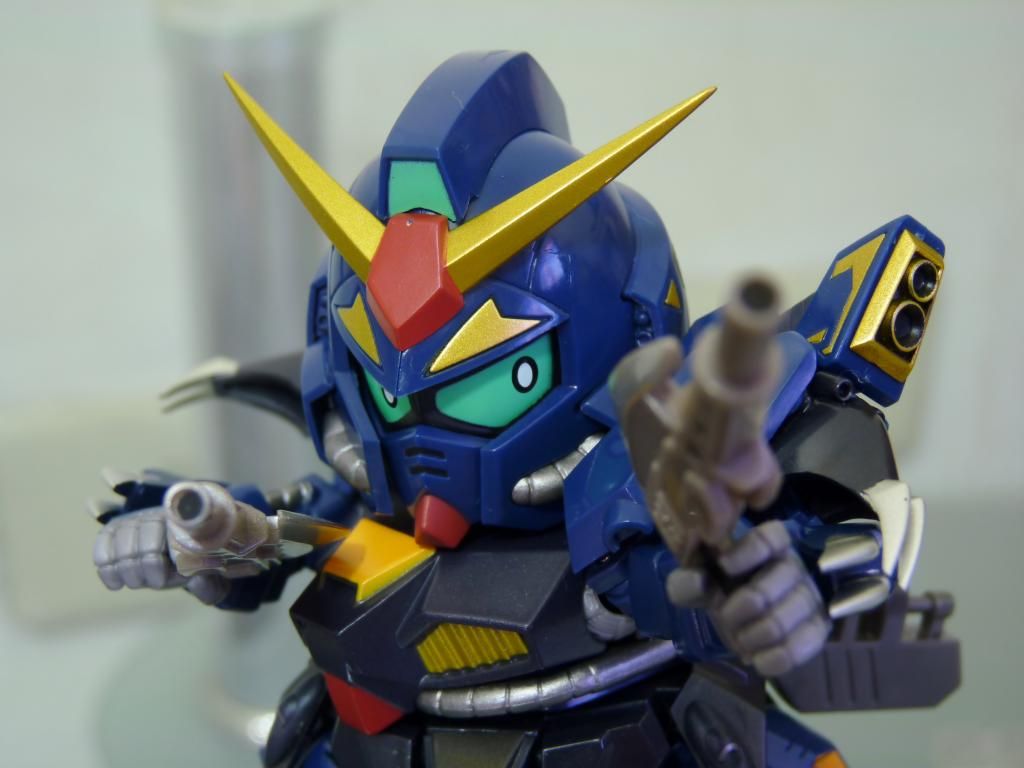
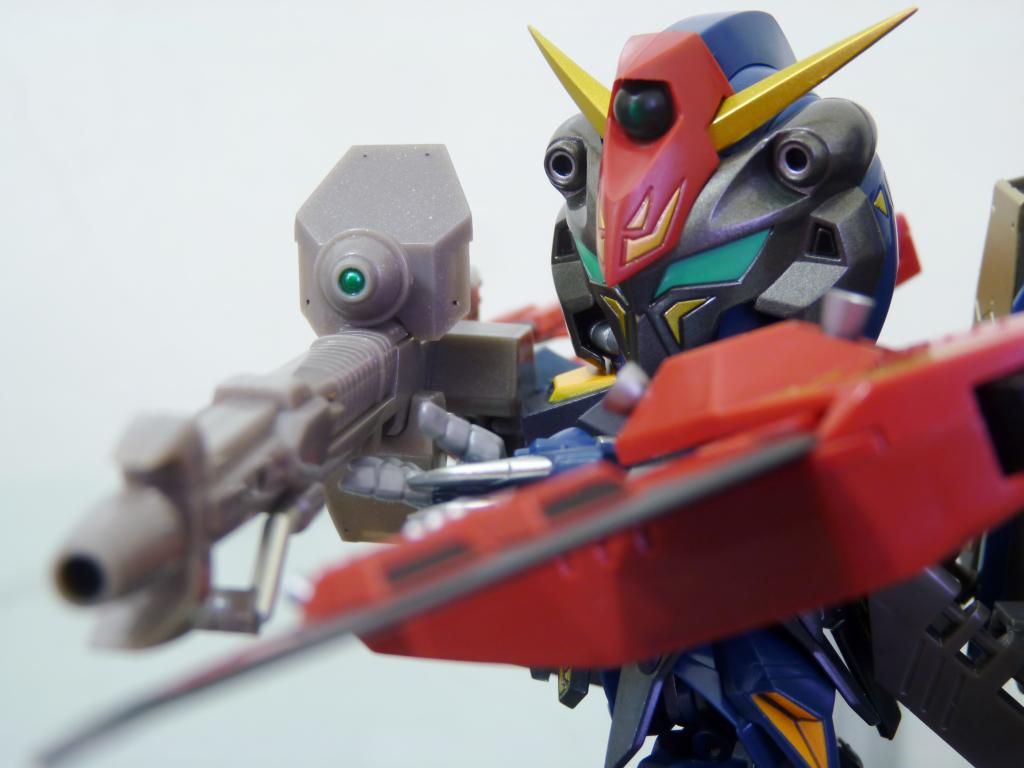
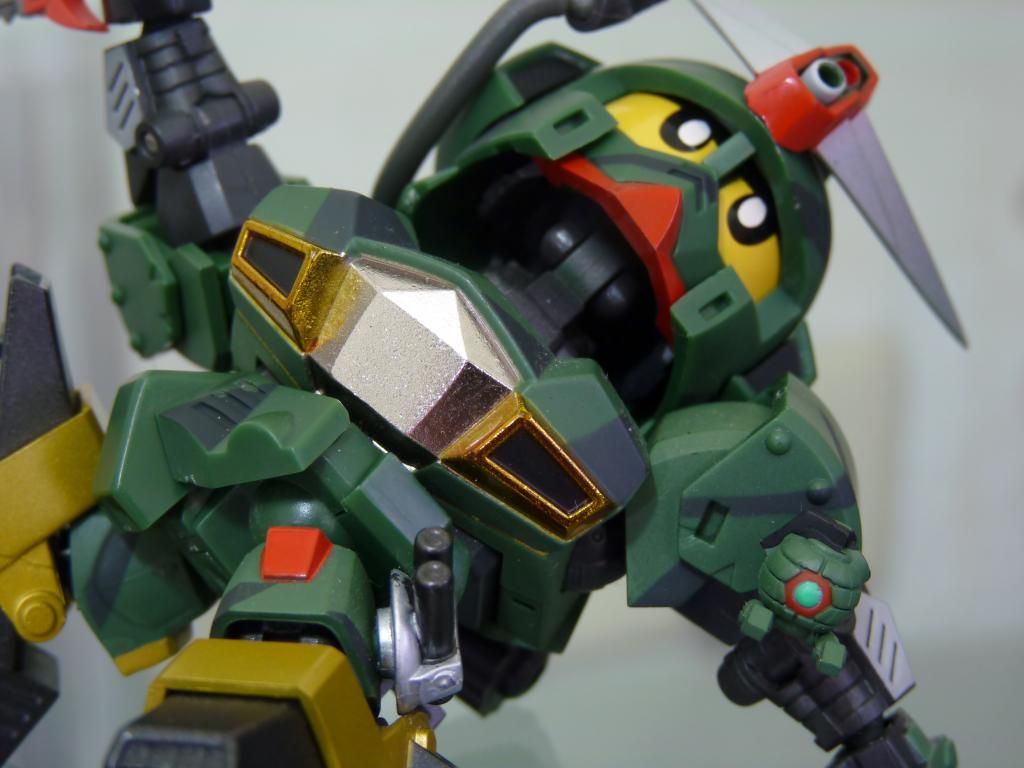
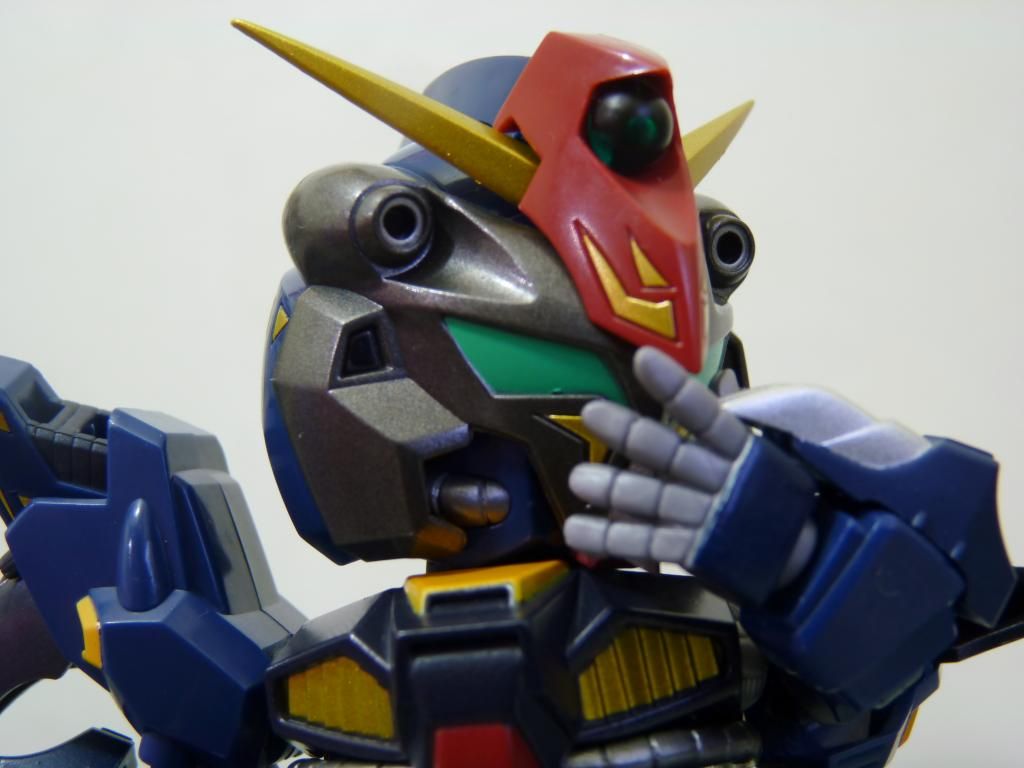
Ah, the details!
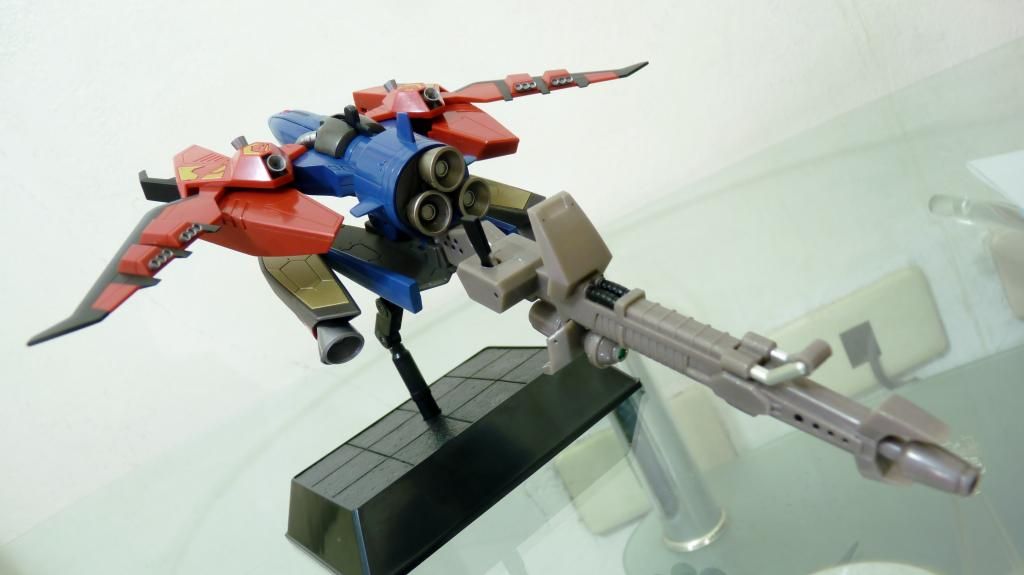
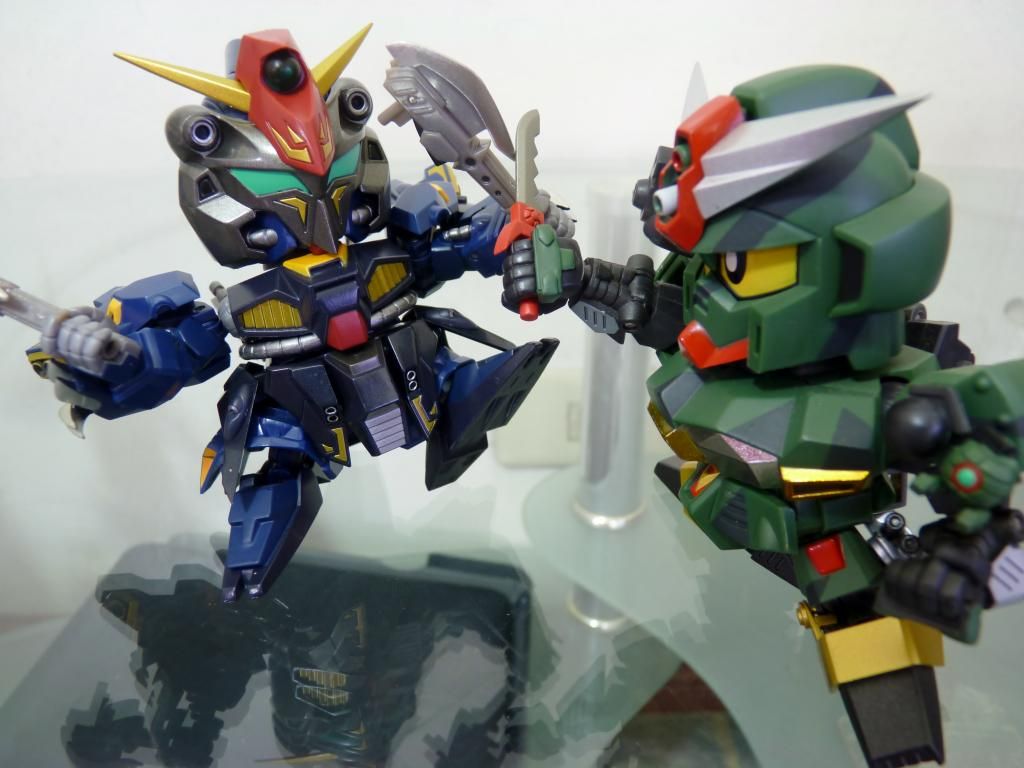
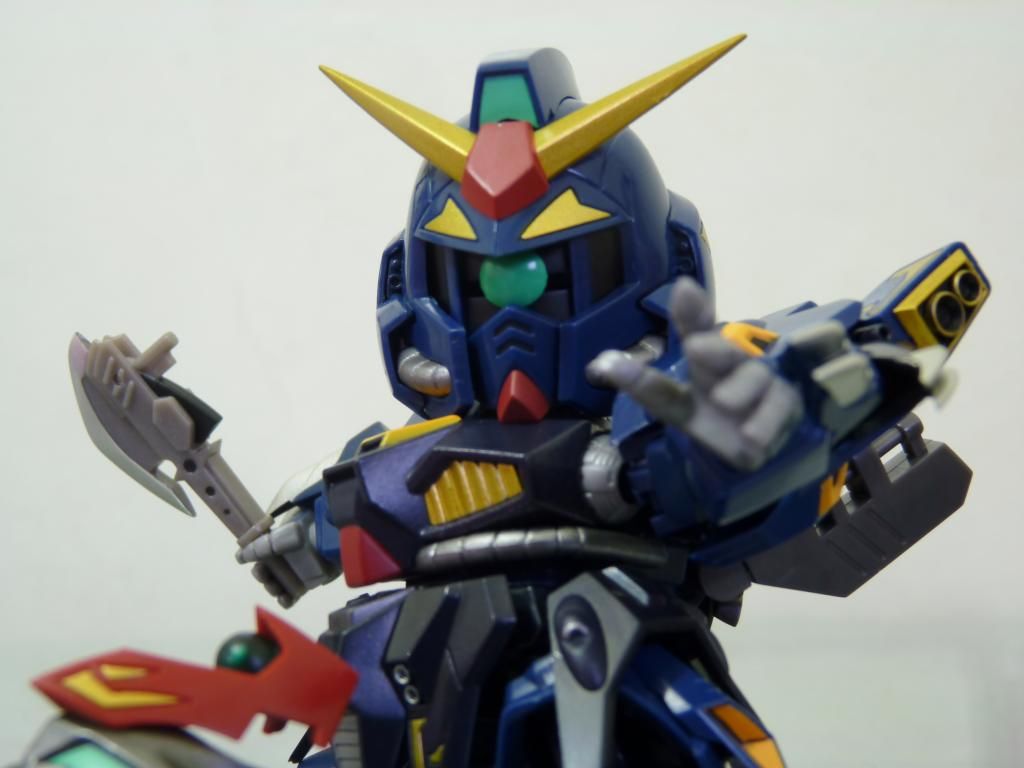
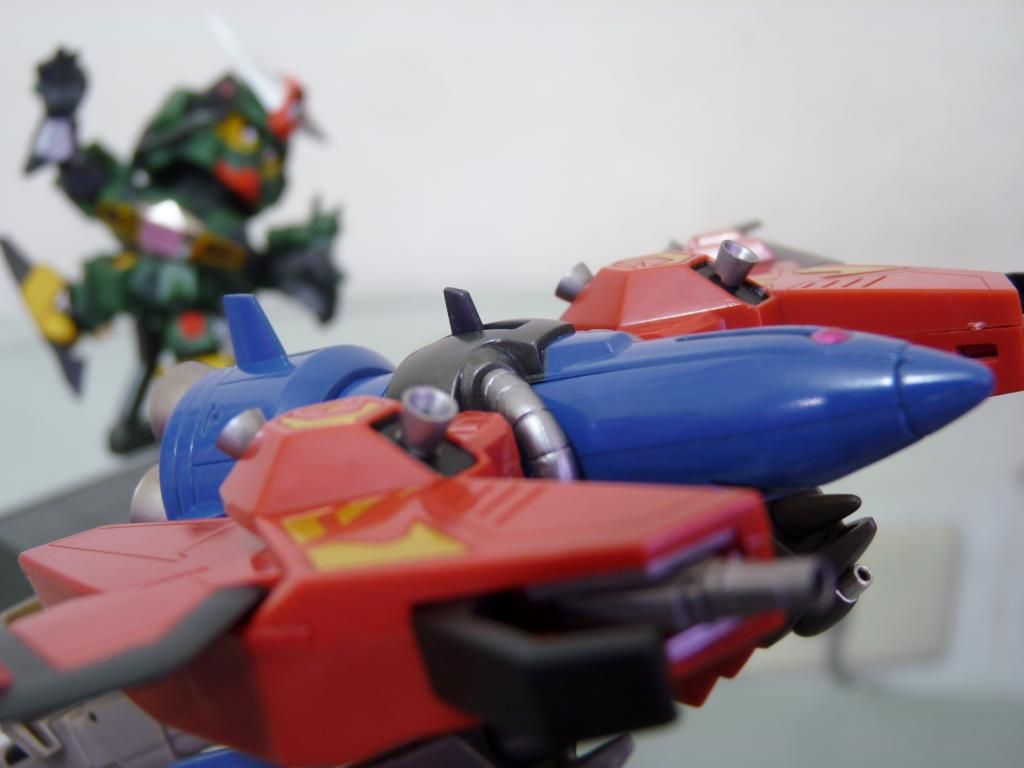
That gun!!!
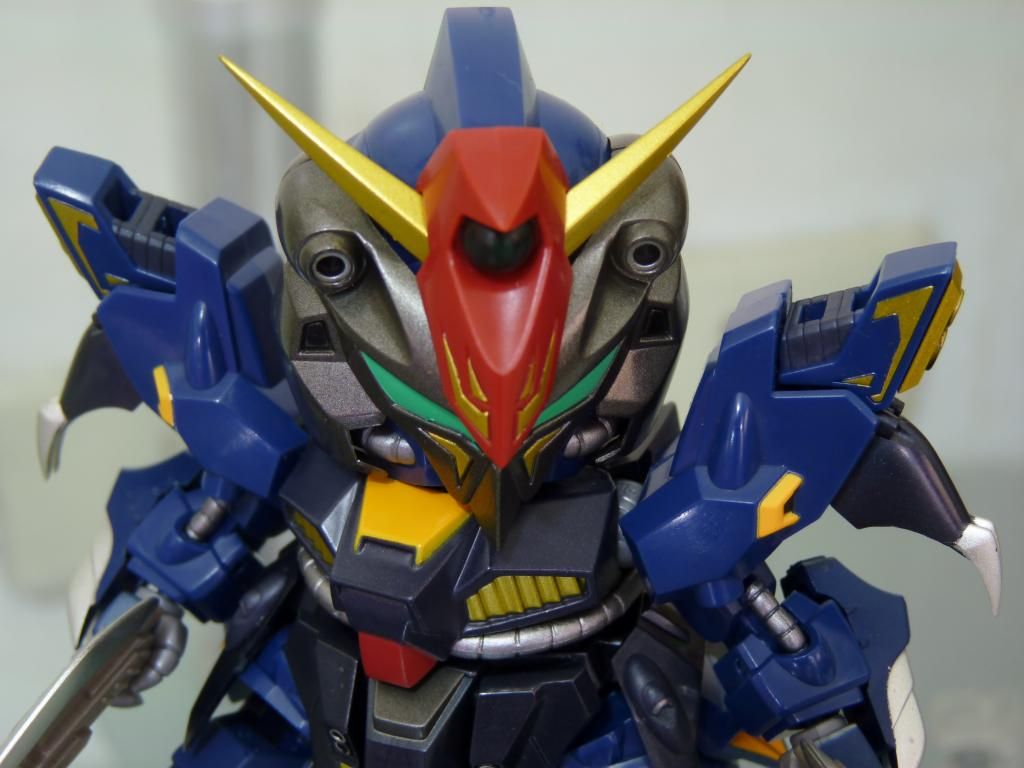
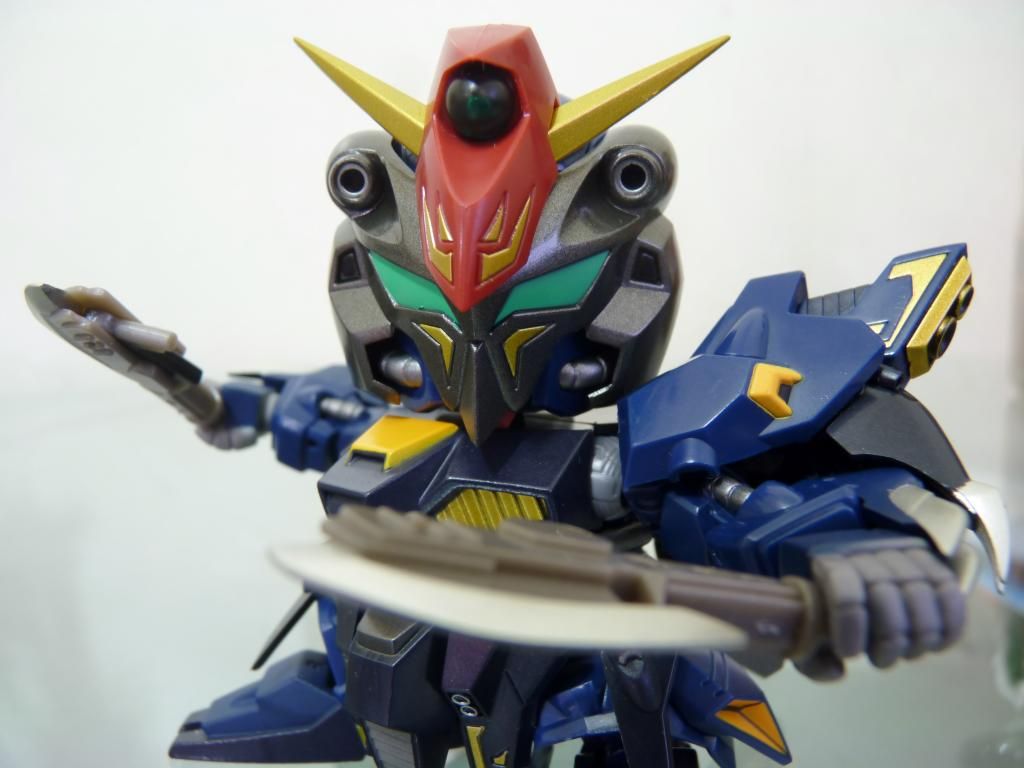
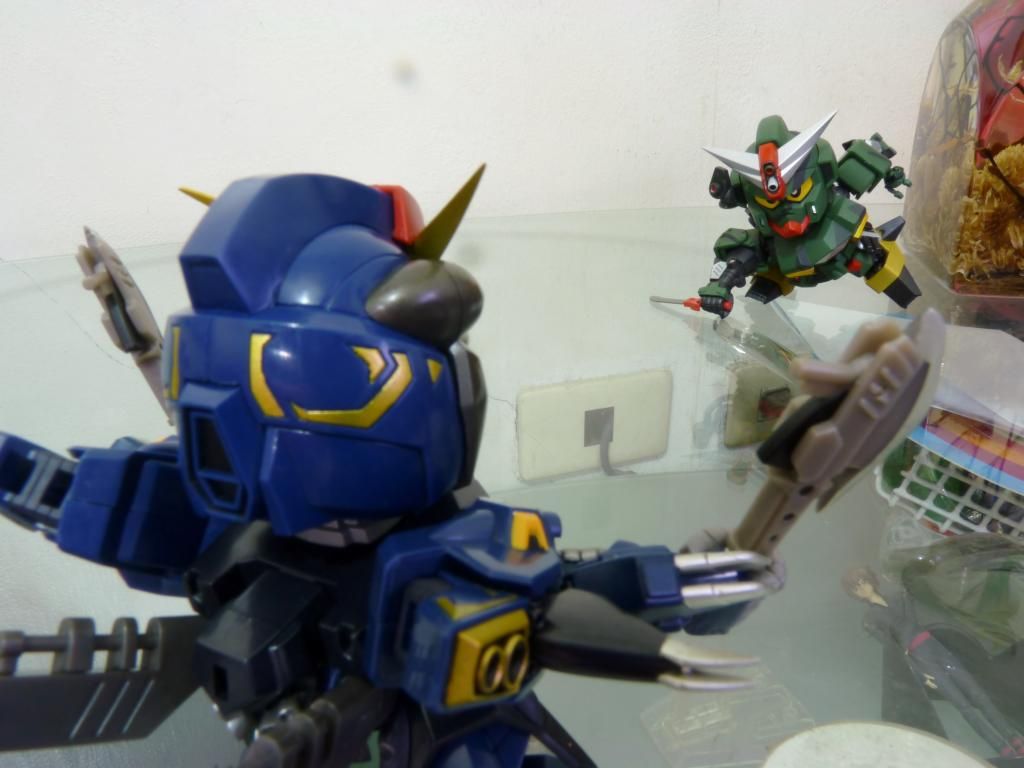
Rise
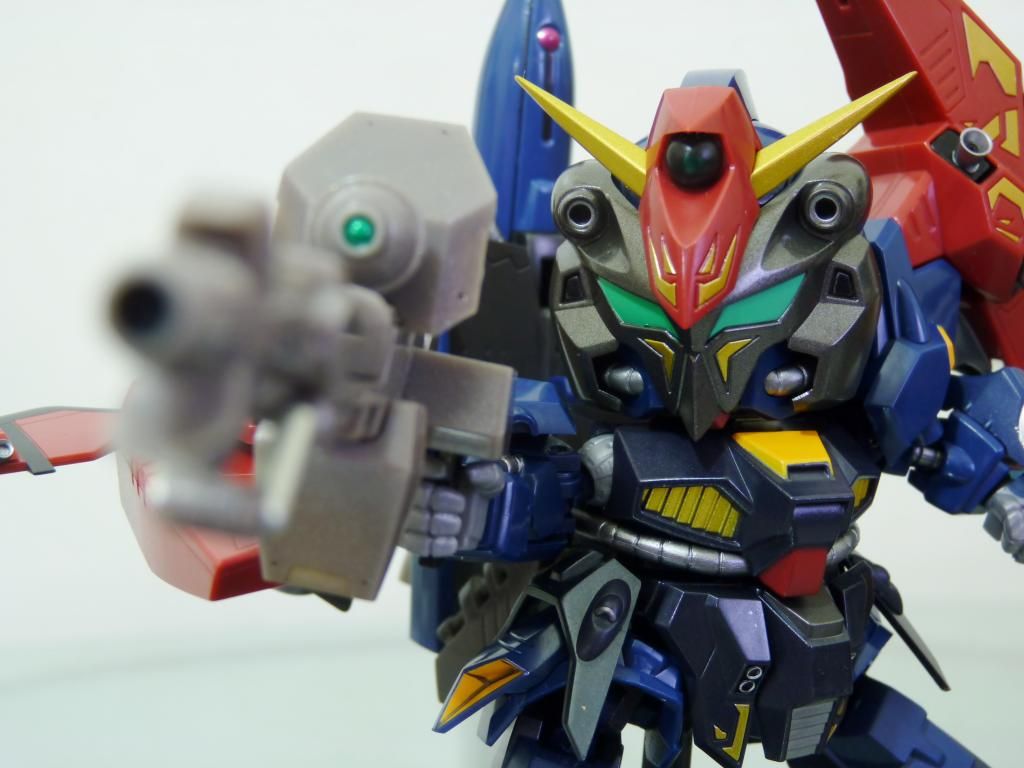
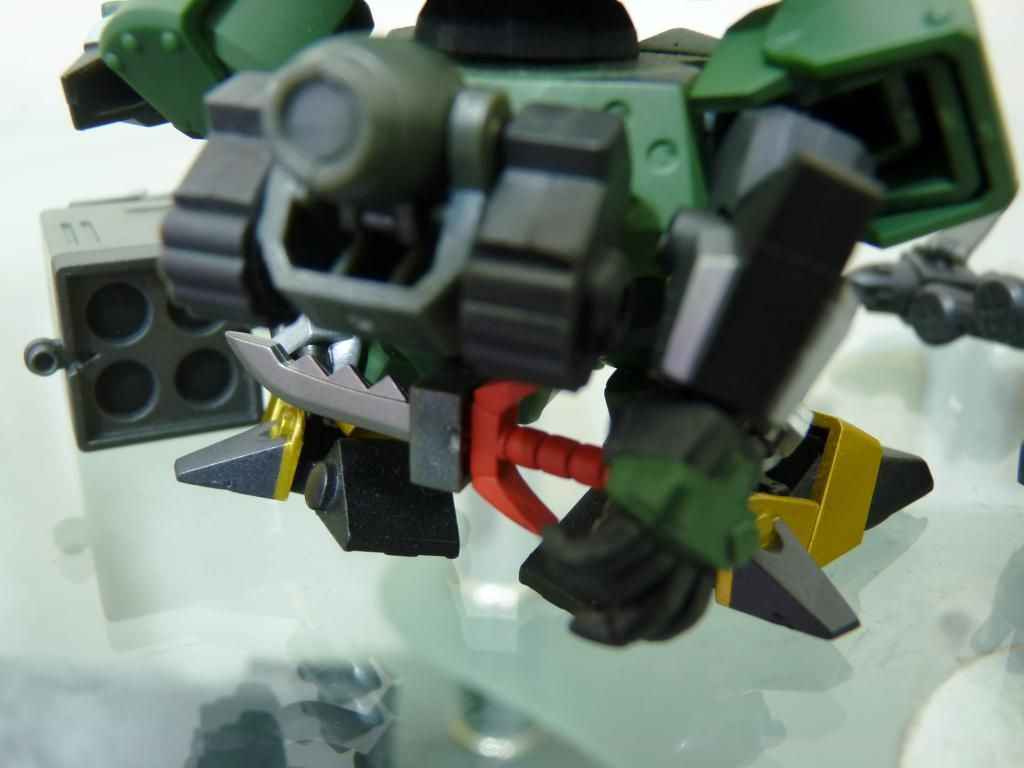
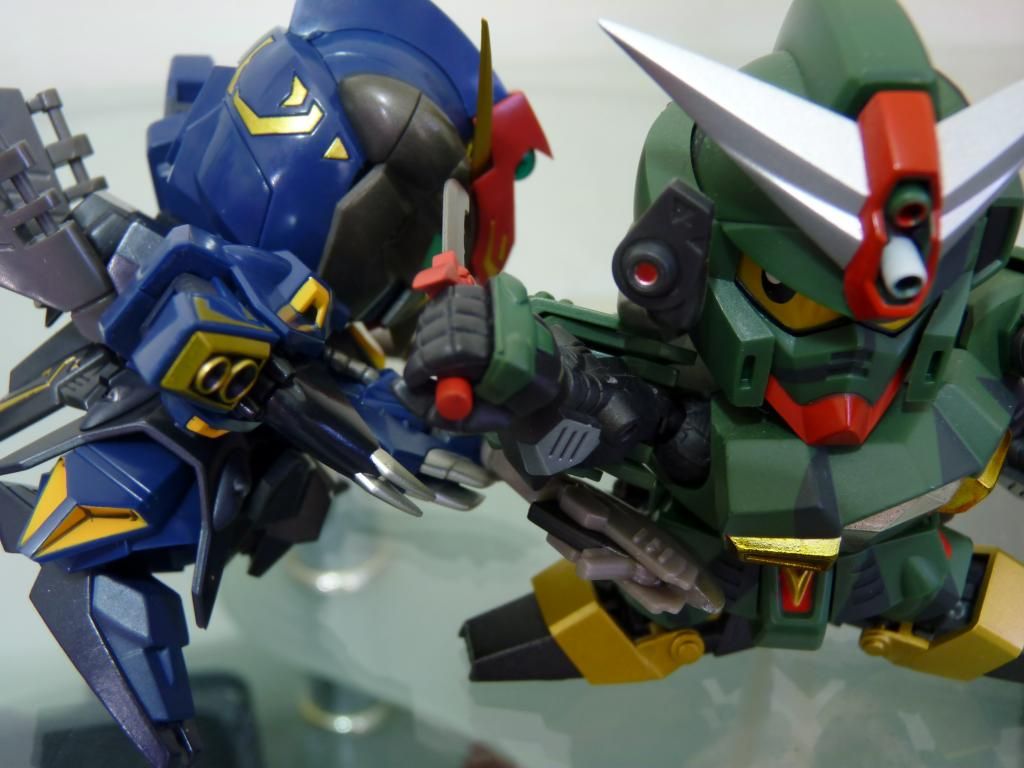
Close combat (?)
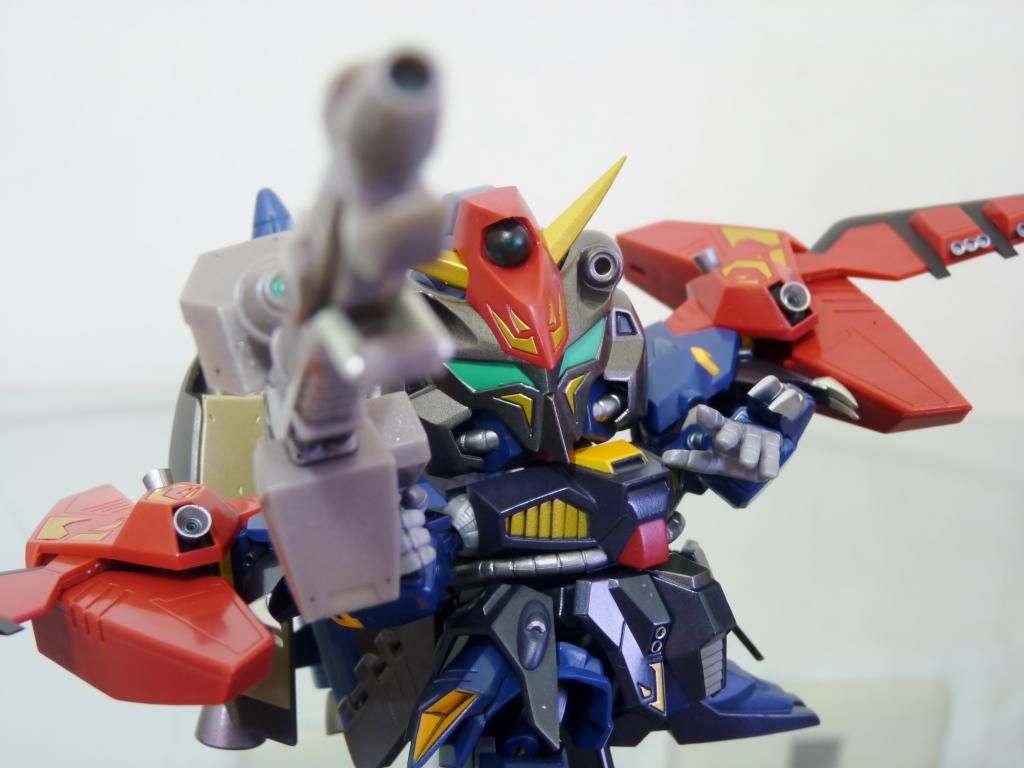
Axe that's a gun? Cool
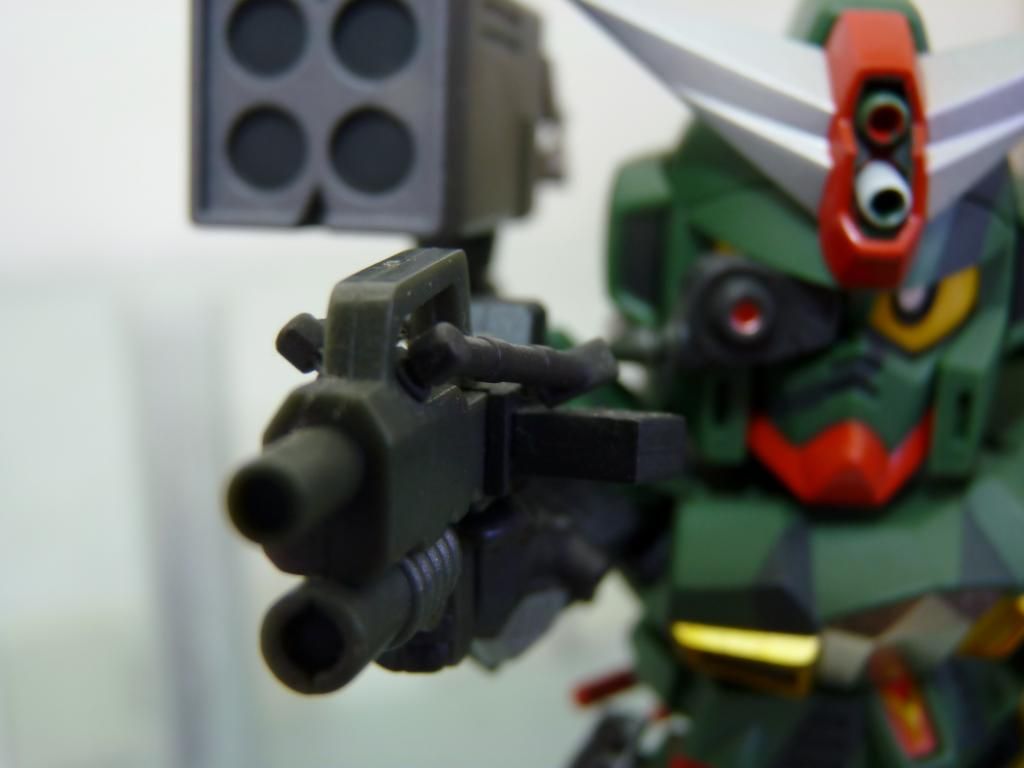
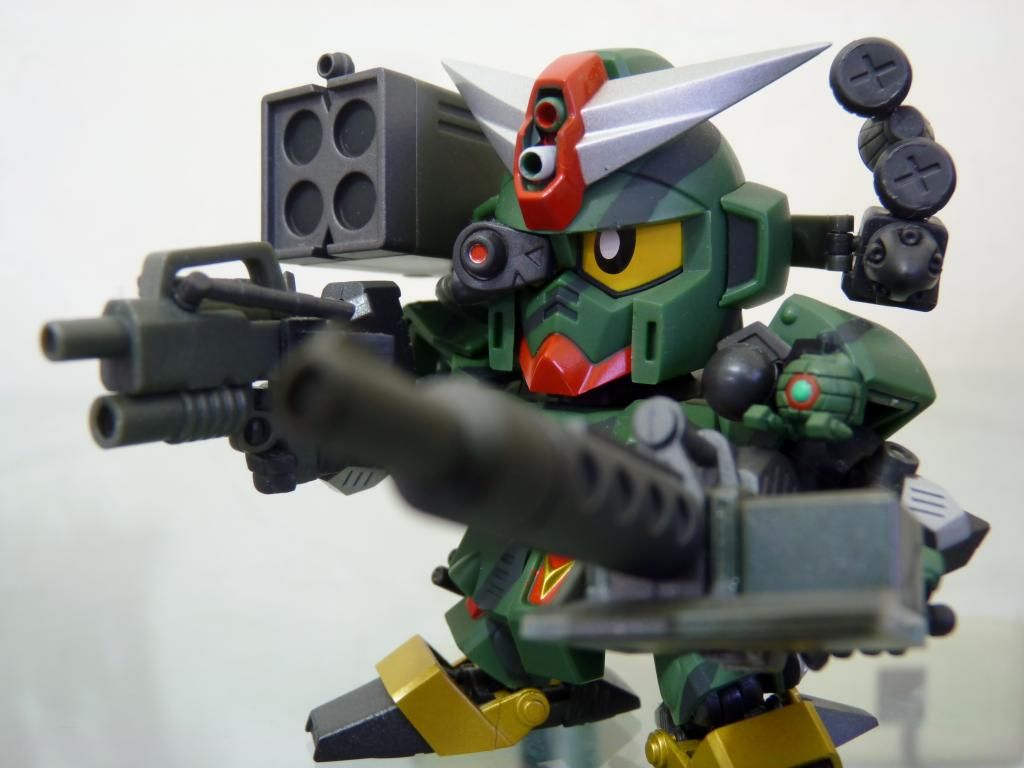
Pew pew pew pew
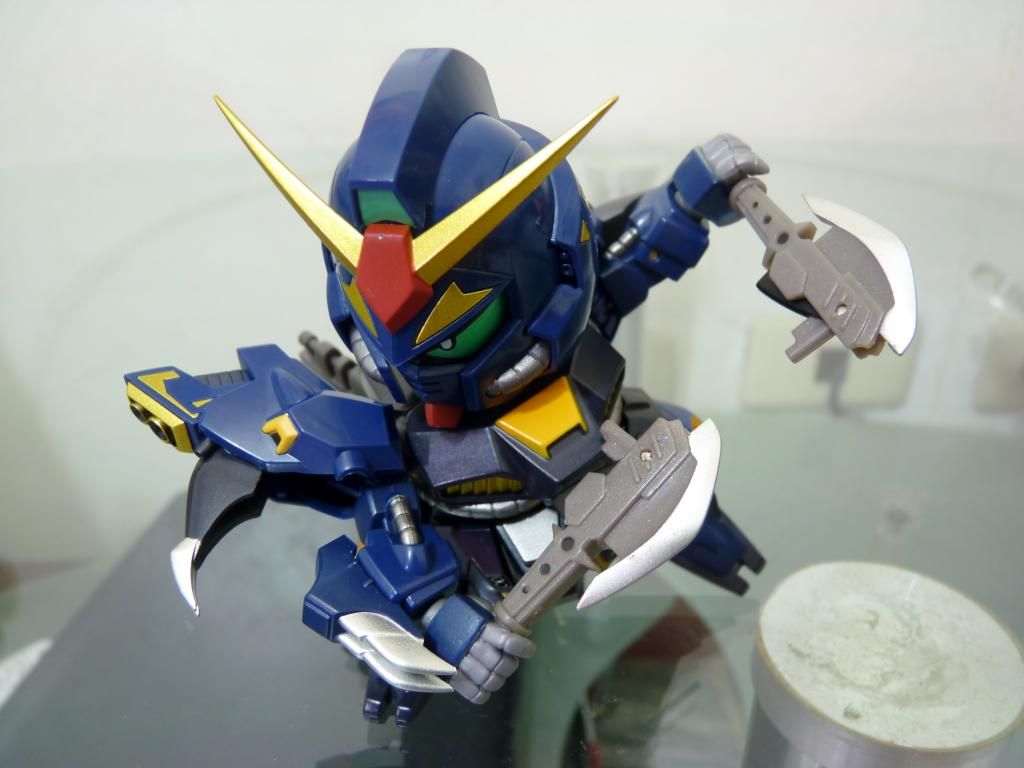
Ooohhh~
Final shot!
INCOMING TRANSMISSION...
The blackest abyss created this.... avatar that represents hate. With one purpose: DESTROY
DESTROOOOY!!!
Pew pew pew pew pew (SCREEAAAAMS)
Die die die die
Target locked - Pick somebody your own RANK
GAH!?
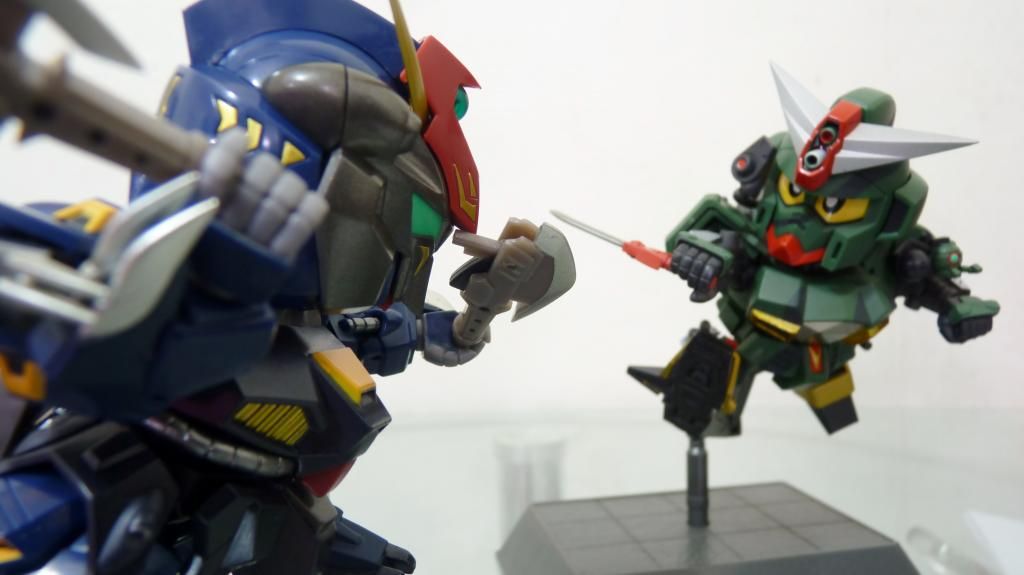
Commander, a pleasant surprise
Commander, go back to hell
Still relying on that big gun of yours I see
Oh, you'll see... KRAEEEE!!!
Too fast!?
You can't hit me
Come at me then
Knife GET
AAAAAAAAAAAAHHHHHHHHHH!!!!!
Got yah!
Ugh!!
HUWWAAAHHH
Game over. Time to destr-
Kehehe...
G...gr...grenade??
Shit!
You're a disgrace for being a GUNDAM!
This. Is. No GUNDAM... Boy!!!
*click*
Rise!!!
SHHHIIIEEEKK SHIIIEEEEEK~
Ah crap the hell is that?!
*clash*
Ohhhh!!!
SHIIIEEEK SSSHIIIIEEEEEK SHIEEEK!
Ho ho ho just what I need
Die you fiend!
SHIEEEK SHIEEEK.... (╥﹏╥)
NOOooooOOOoooooo
That's it! COME TO PAPA!
Let's end this
TARGET
LOCKED
Pros:
Lots of accessories
Articulation
Detail
Overall stability
Cons:
GunAxe a bit loose when connected to his back. A bearable con.
Awesome to finally have one that complements my SDX Command Gundam. And to have it at that price saved a few bucks in my pocket! My girlfriend sure is a charm ha!
This gotta be the most enjoyable photo session I ever had. No popping parts and poses actually stay in place.
Comments
Post a Comment