Glad to be back from my hiatus! I got this figure before Christmas which was being sold dirt cheap. Too bad it has a missing piece (sword guard at the spatula). Grabbed the 0 Raiser the next day to achieve this 'perfection'. Wasn't free until now to take photos so this review is long overdue :p
Some might be asking why I have a bunch of 00's. For starters, the design really kicked in me. I just love how it looks and 00 being one of the best Gundam shows laid a special place in my collection. Quite sure I'll be getting an Exia as my next 00 fig and the rest MS's to follow.


Some might be asking why I have a bunch of 00's. For starters, the design really kicked in me. I just love how it looks and 00 being one of the best Gundam shows laid a special place in my collection. Quite sure I'll be getting an Exia as my next 00 fig and the rest MS's to follow.
Review STAAAART-O! 360
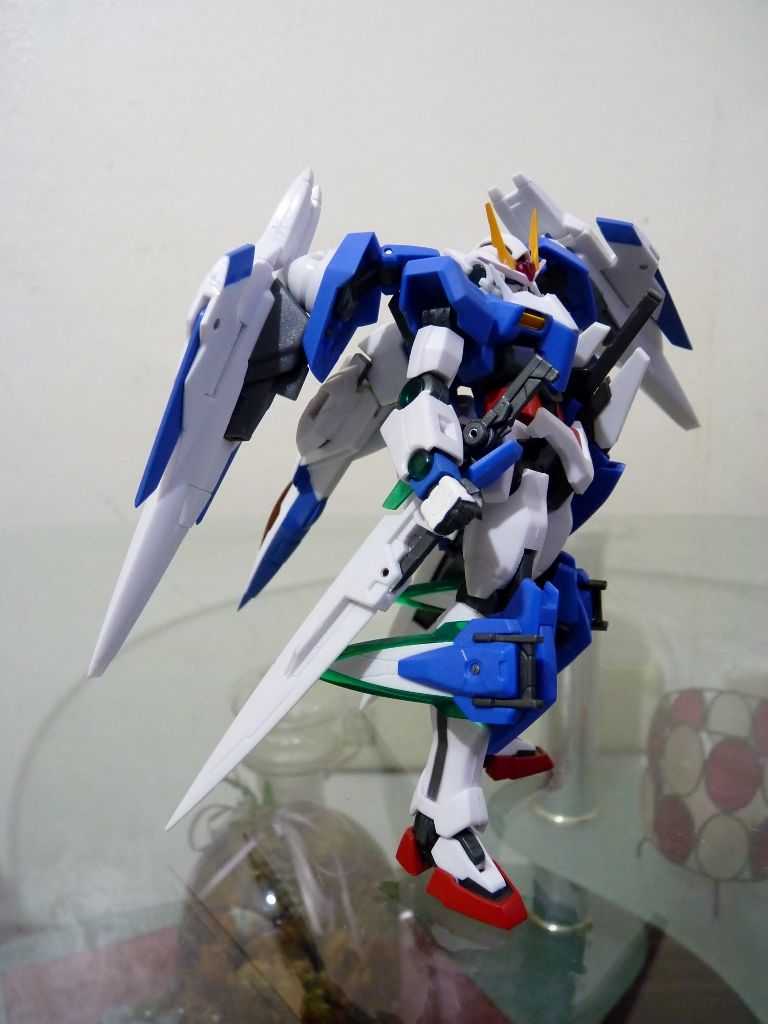
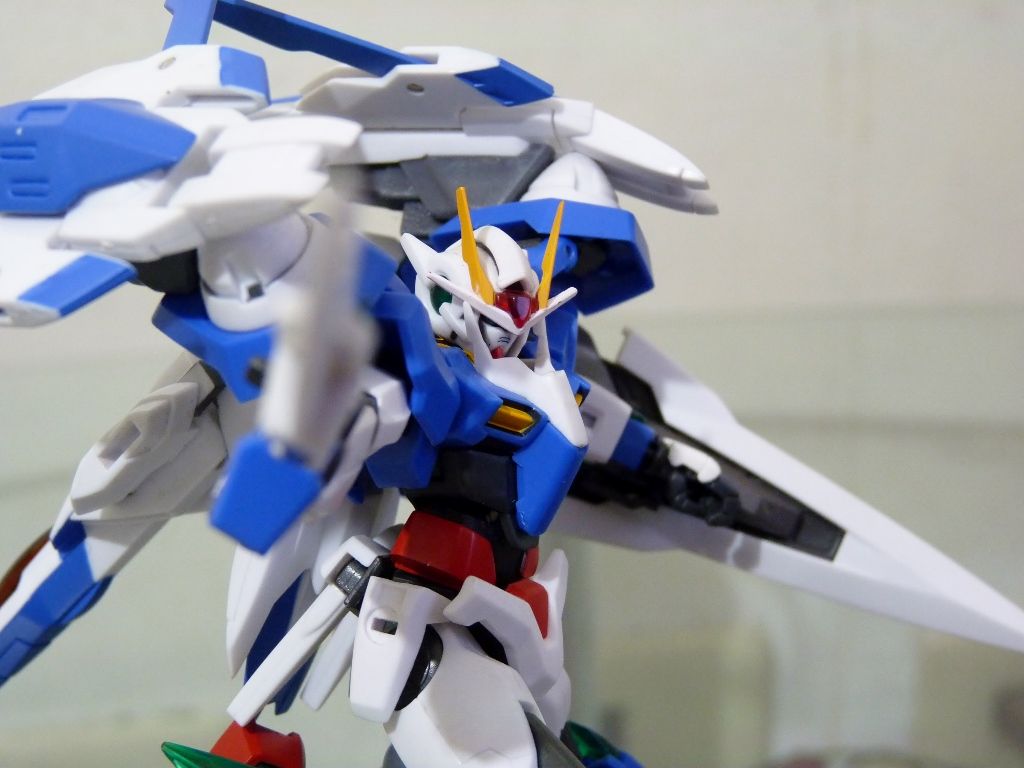
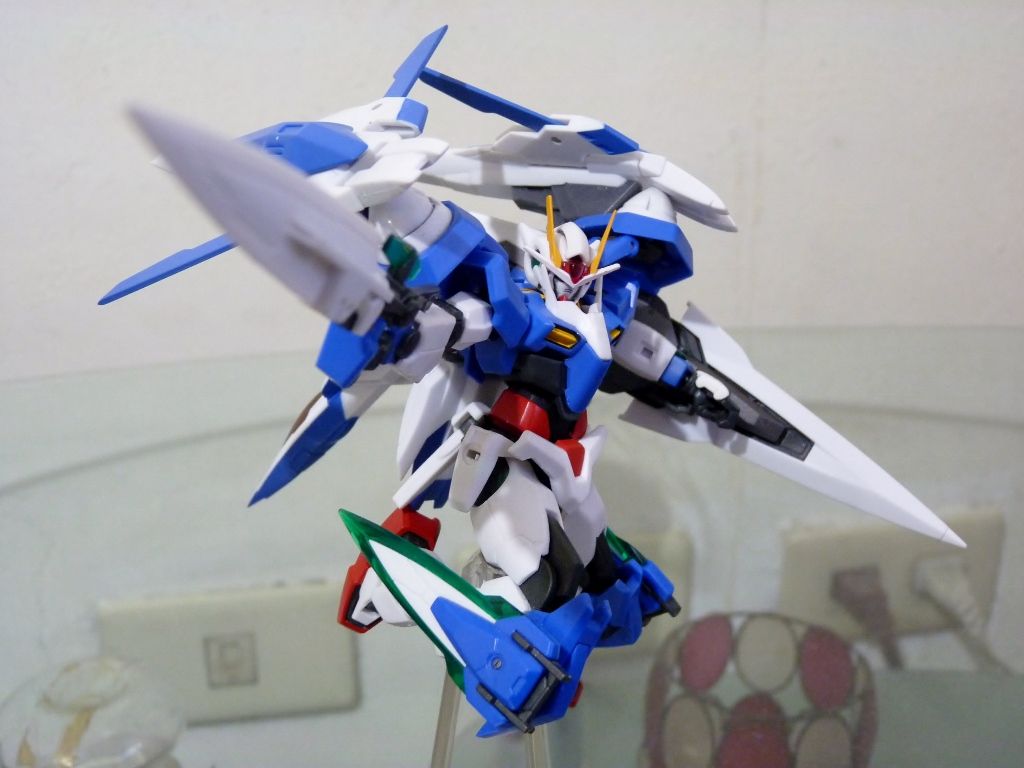
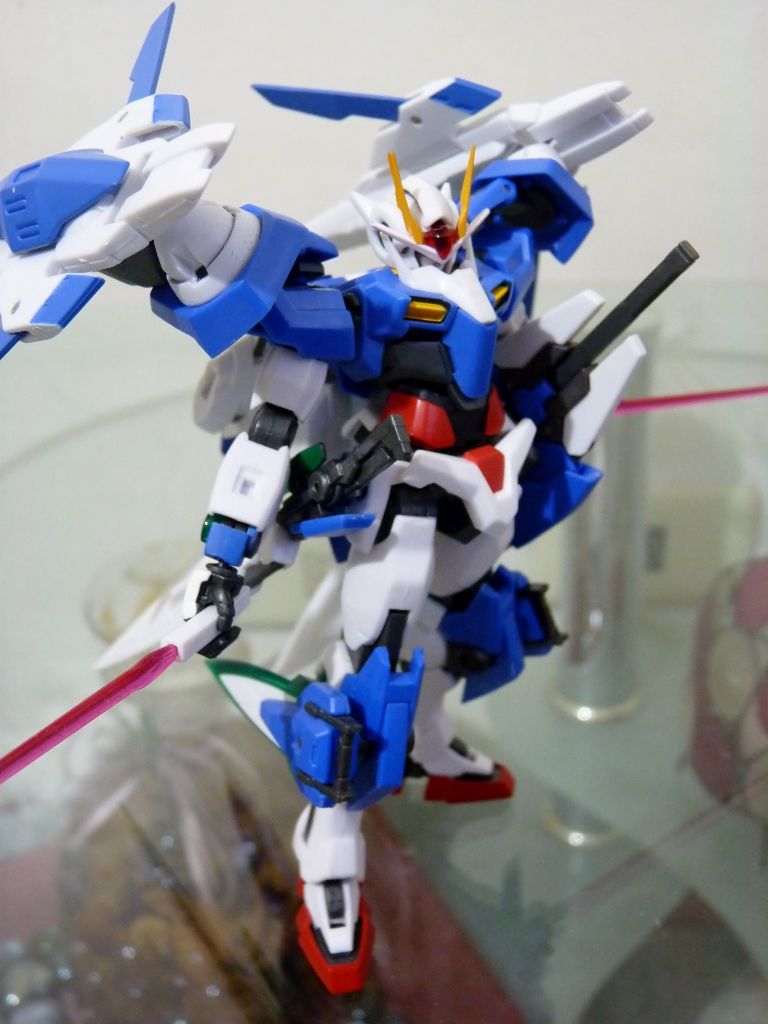
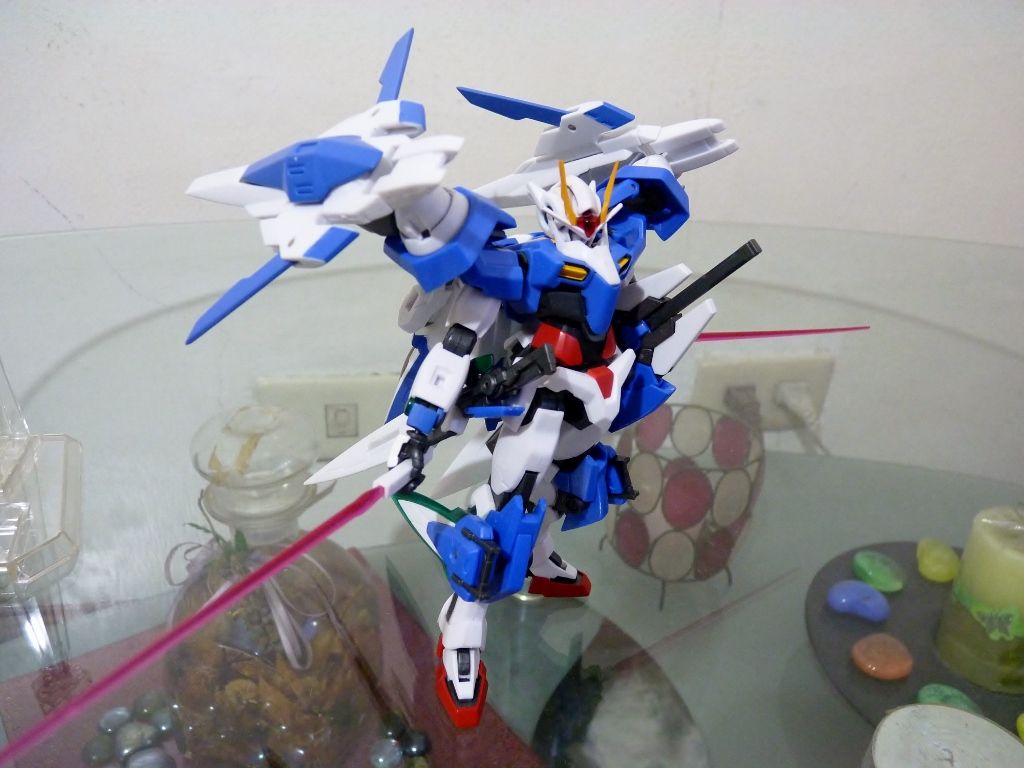
One of the reasons why I bought 7s - SWORD! - and not the 00 Raiser package (another thing to note is that the Gundam 00 is a bit updated in 7s than the 1st release 00 and 00 Raiser. Head looks meaner and articulation is a bit imporved)
See how slim this unit is and then how stuffed it looks but gets away with a perfect balance of its aesthetics? Yes.
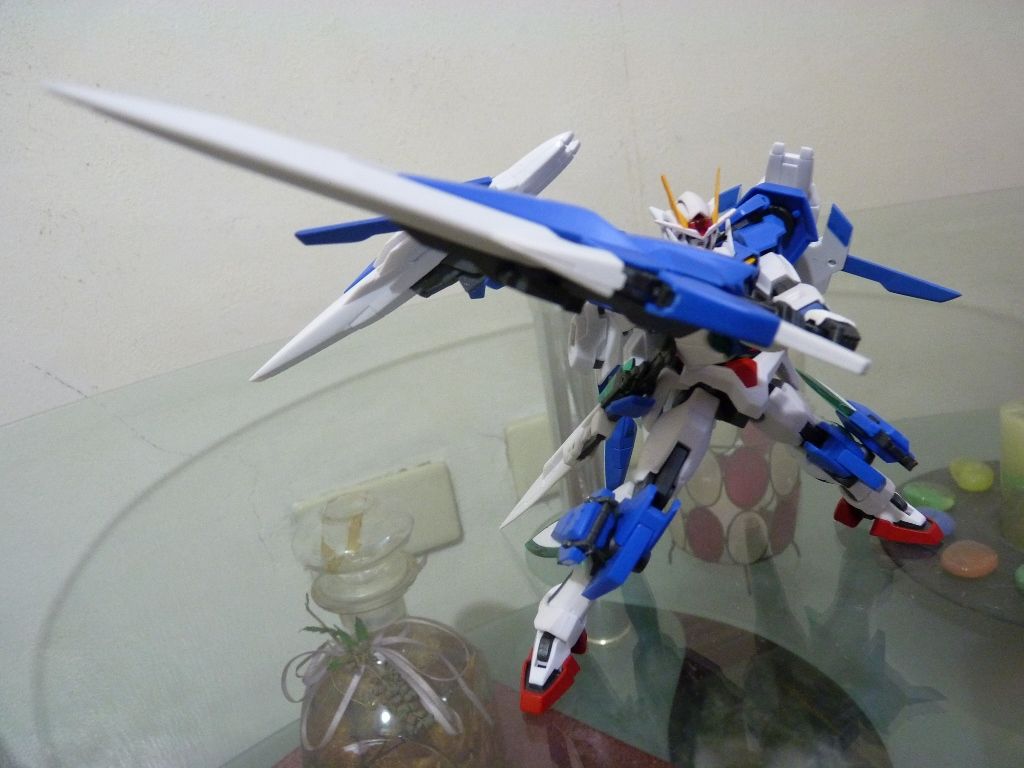
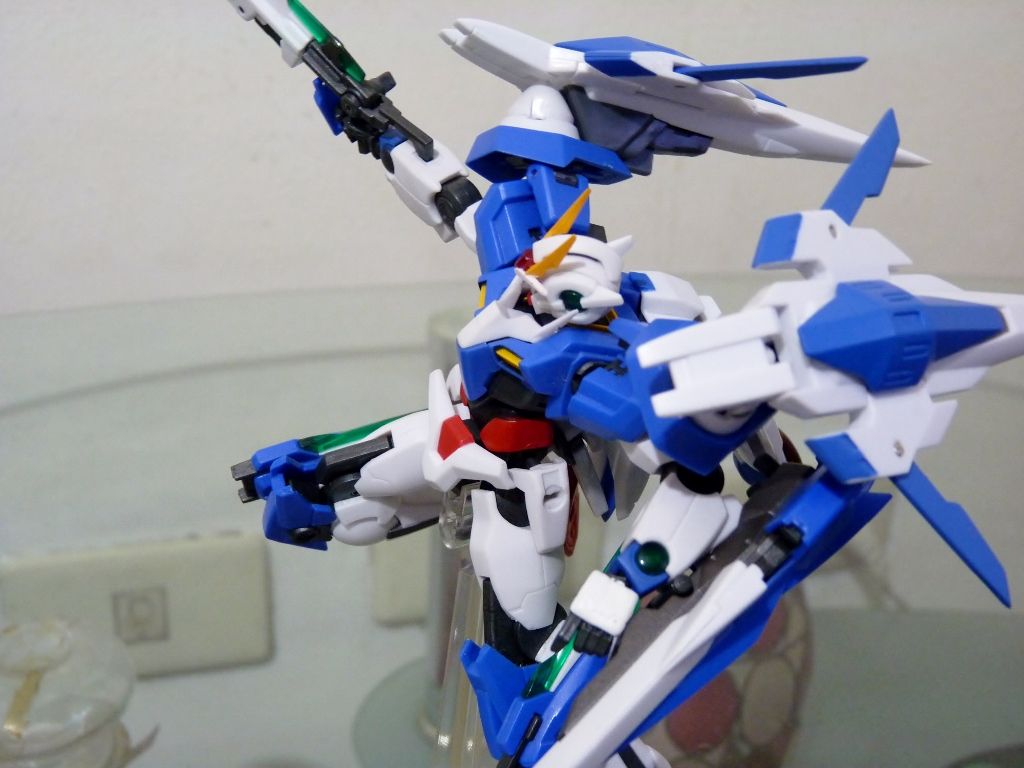
Pew pew pew
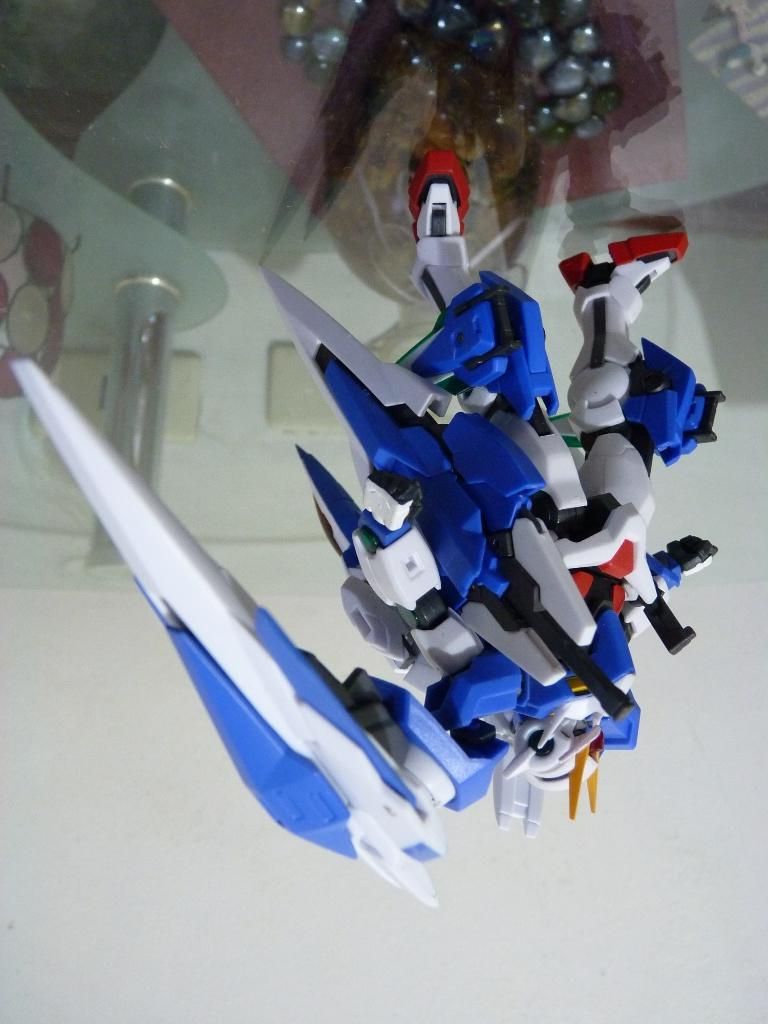
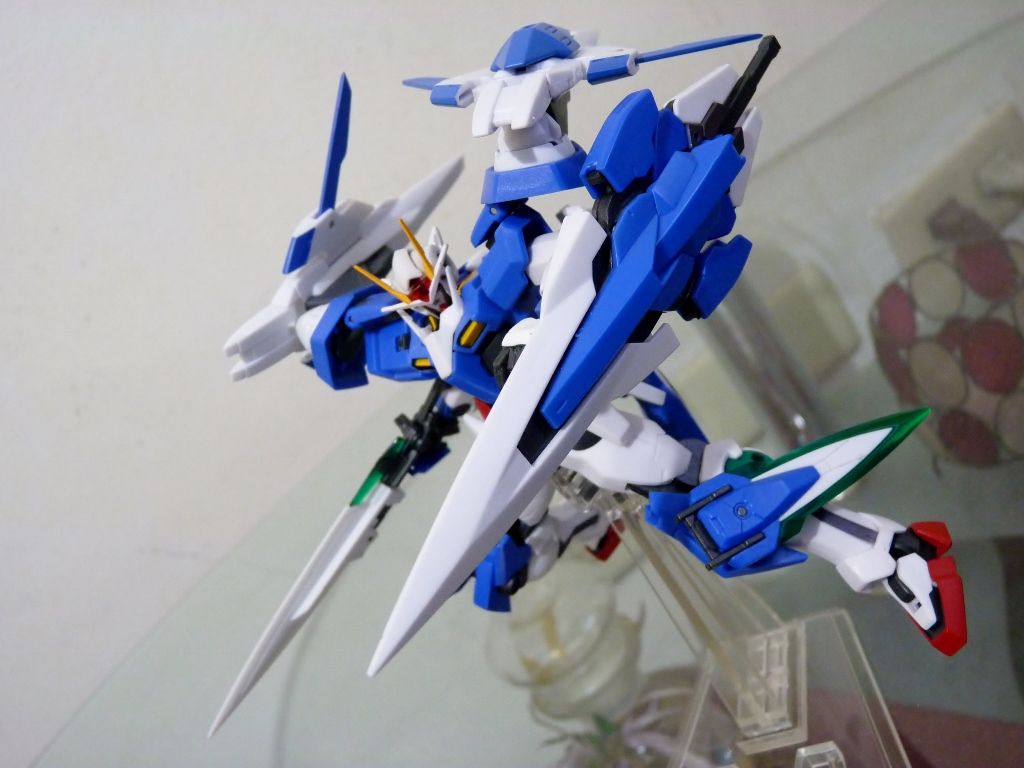
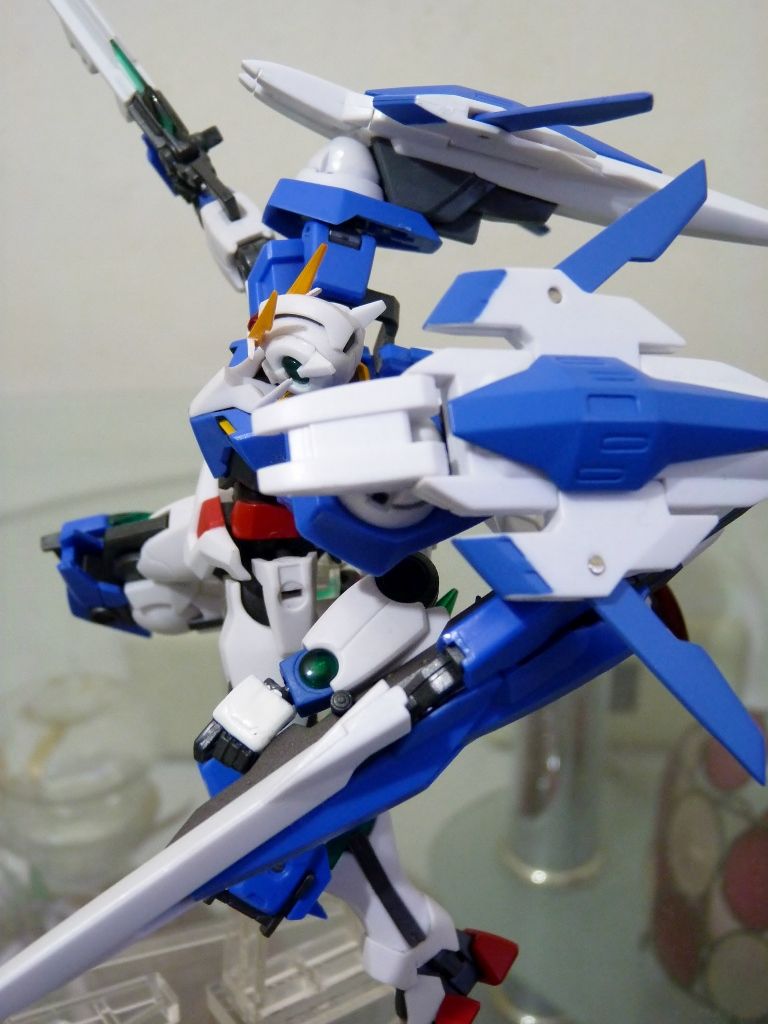
Ninja-ish pose
Pros:
Rock solid
Articulation
Stand (came with 0 Raiser, can be fitted to 00)
Cons:
No GN Sword III
I wish I could've gotten the GN Sword III but the price was too hard to swallow going for 1.5k for the "mere" accessory.
Seeing how RD fulfils my Gundam crave (and laziness / the lack of time for kits) only mean how I plan on shifting the majority of my collection from kits to figures. But feeds on upcoming RG's (Zeta, GPO1, Destiny) and HG's (Blue Frame!!!) and its price is just unbeatable considering RD's are on the same price level of MG's.
I'm excited to grab an Exia. Hoping to snag a cheap Repair II parts!
Comments
Post a Comment