
Hua Run SD Destiny Gundam - WIP 01

Gone for more than a month. Rainy season has come and boredom quickly turned my GunPla hands on fire. Haven't bothered touching my Pla stuff as I am quite the "busy" person. (Yep - my trusty gamepad is gone and didn't had the urge to watch movies either.). Rant aside, my GFP trophy finally got it's overdue attention:

I present Hua Run's SD Destiny - another bootleg player <but phased out(?)> along with QY tackling your SD needs :)


My first encounter with the brand. Skepticism sank in, trusting QY's quality in detail I think is hard to top. Looking at the runner's I see awfully thin plastic. Details look good though


*Tip - When snap fitting, cut the male connectors diagonally (as seen below) for easy disassembling the pieces. Snap fitting helps you plan your painting, seam removal, mod, etc..


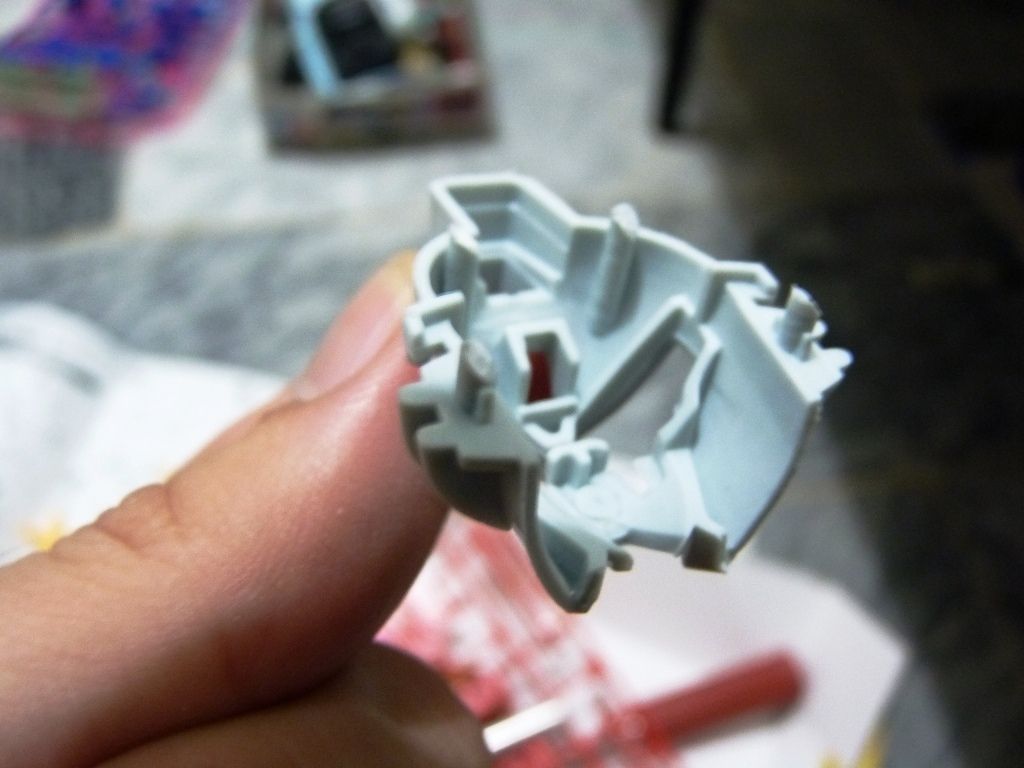
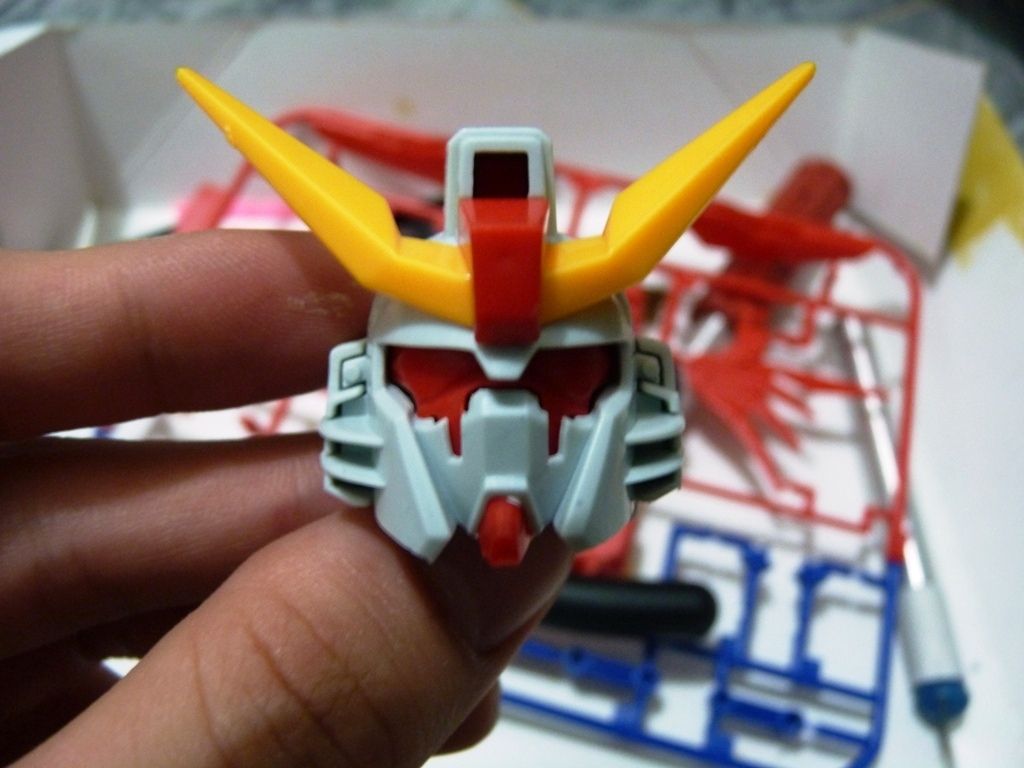
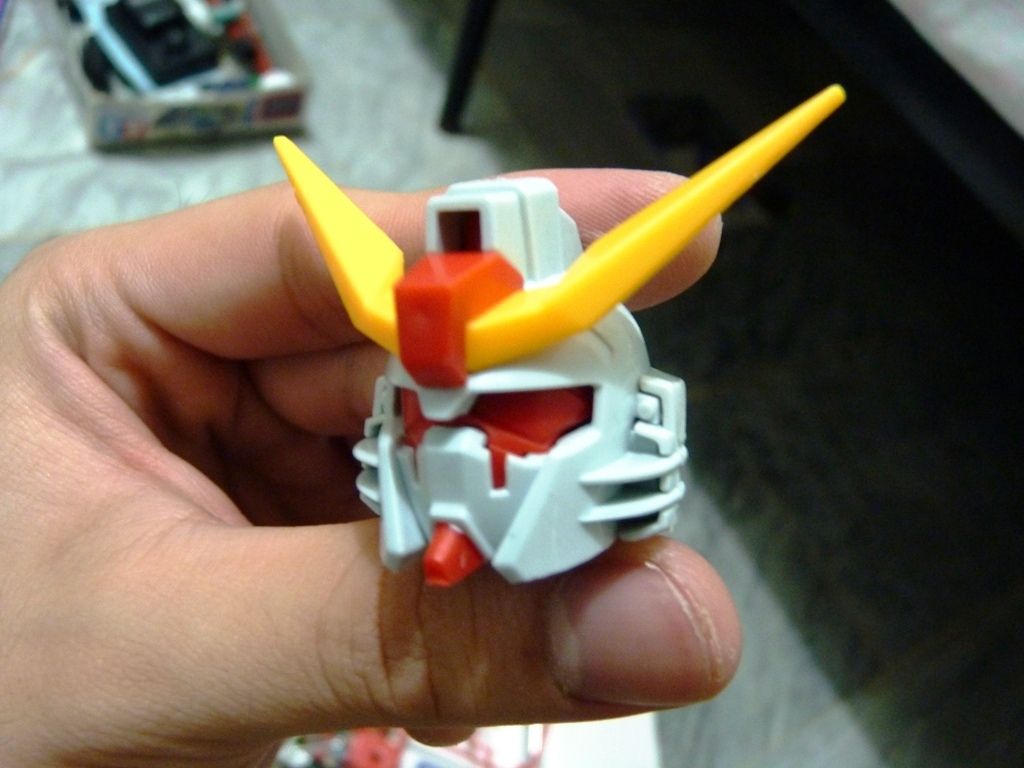
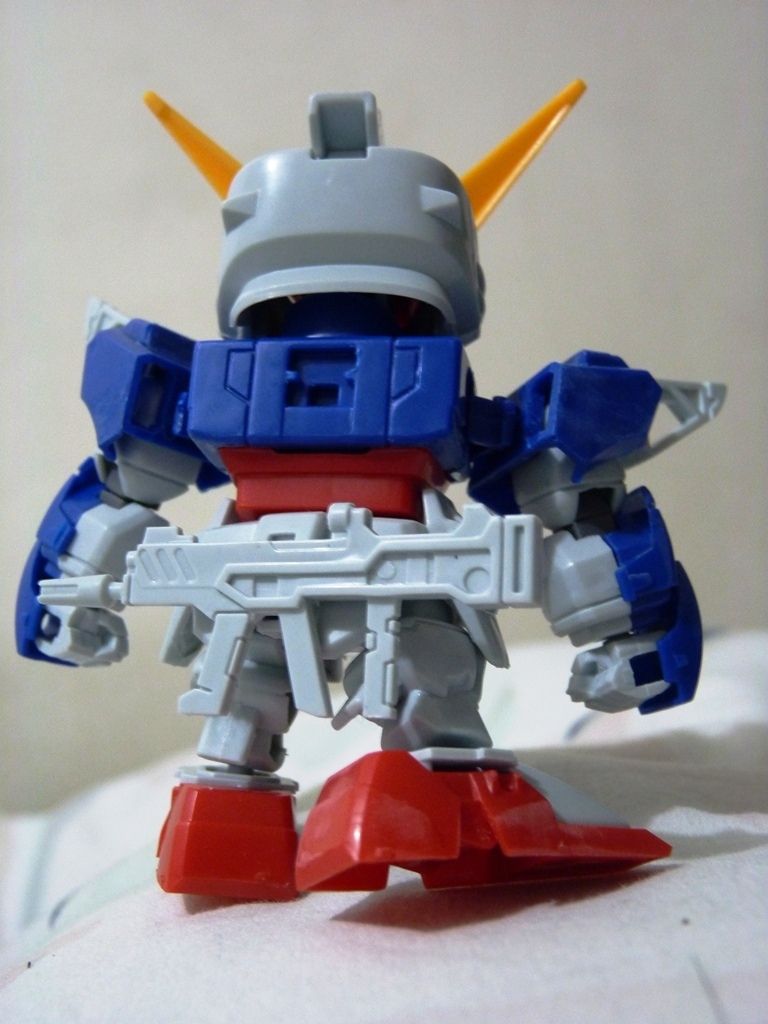
Head looks good but has spaces under the side of its eyes. Not sure if I'll bother putting putty to make it look full. It doesn't look that bad though.


Shot - space more pronounced below


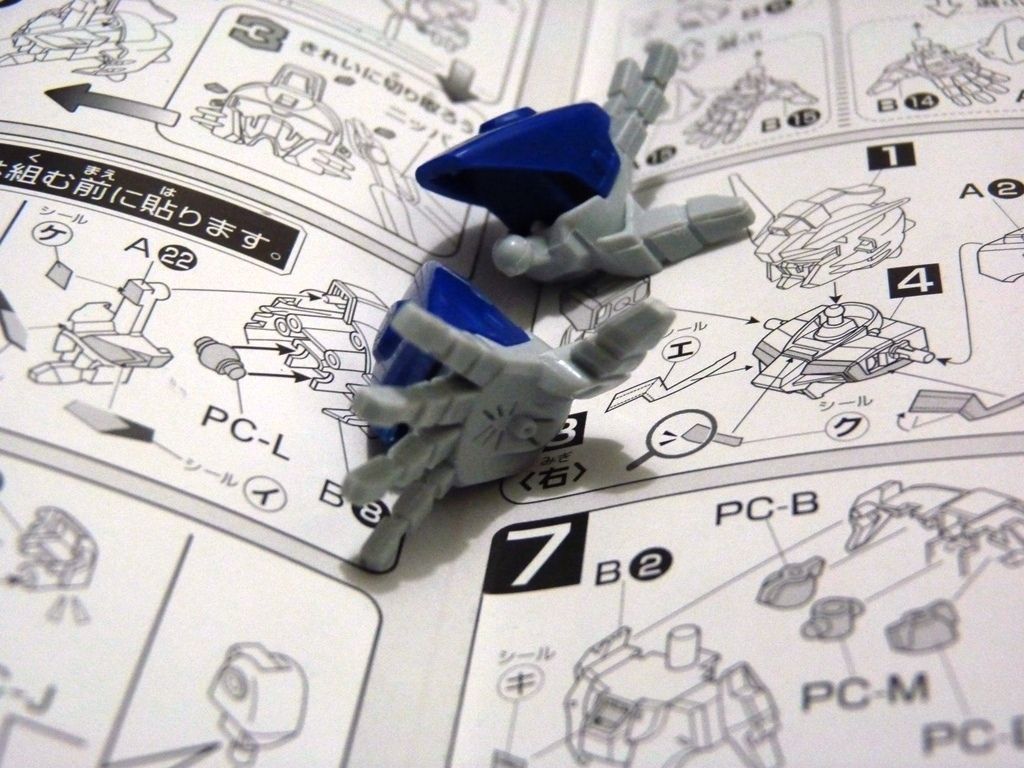
Breezing through the manual, I haven't found anything to fix. Remedies are solely for excess plastic on the corners of parts and nub removal which is pretty basic. Starting to love Hua Run :)


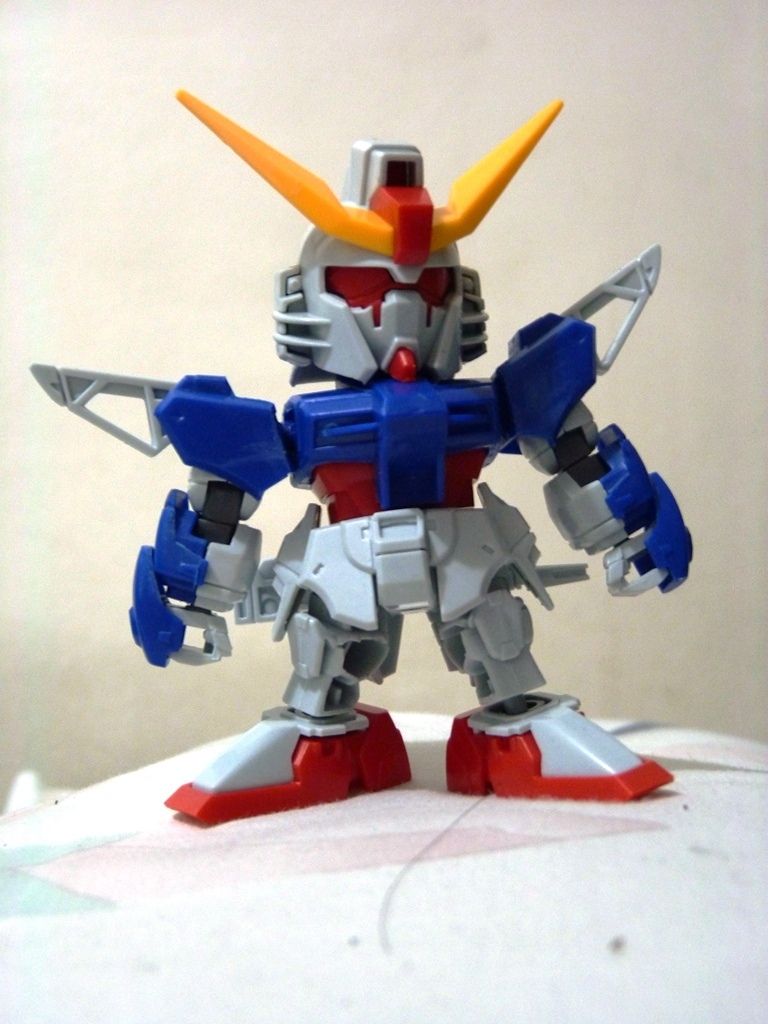
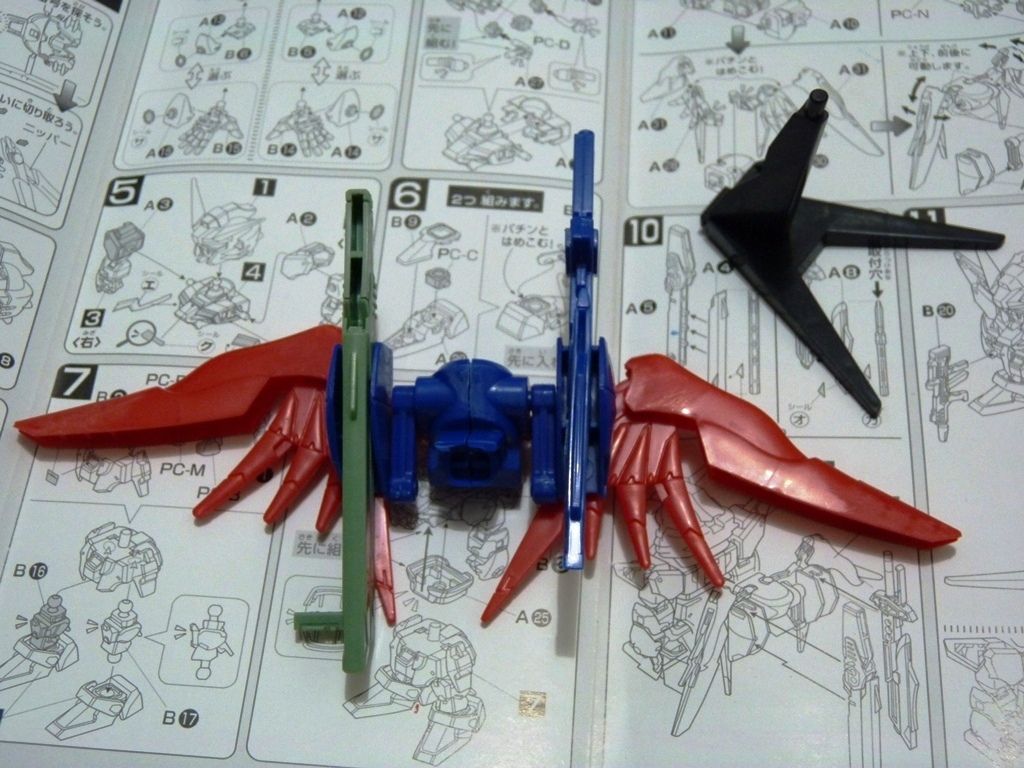
Backpack looks sweet with its armaments. (Free stand)


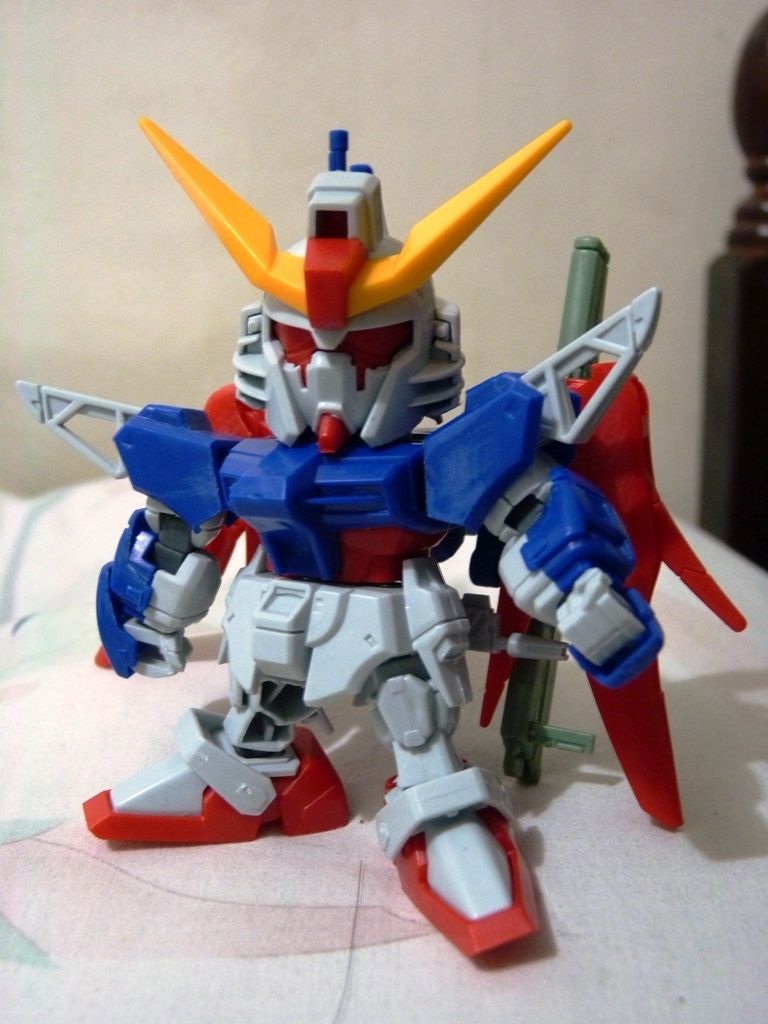
Destiny FINGER. Move out of the way Domon XD


Unit COMPLETE


I thought I'd be a bit rusty coming out from a long hiatus. Had fun building this kit and it was a breeze! Had no problems with the assembly so no 'Step by step' for this guy. :)

PS.
Sorry if I had been gone for more than a month. I sincerely cannot get myself to spend hours on GunPla anymore but I can assure you that whatever's left in the closet will be done SOON. (Oh please no more backlogs by 2013 hahaha!)

Comments

Popular posts from this blog

TT Hongli MG 1/100 Exia Ignition Mode - Review

Assembling bootleg kits can be a pain at times but this MG Exia Ignition Mode was a breeze. I was surprised from the fact that 90% went well and the other 10% were minor fixes - from shaving male connectors to gluing parts. I really enjoyed assembling my first Master Grade (I was hoping it was Bandai, my wallet was not cooperating as expected lol). Action! G...Gu...Gundaaaaaam!!!!!!!!!!! GUUUUNDAAAAMU!!! Ore wa........... Ore Wa Gundam-da!! Exia exterminating target............... Graham: Ike, Setsuna! Live and unlock the future! More swords Setsuna? Target exterminated! Joining the bunch :D Pros: Assembling is pretty easy for a bootleg Build is sturdy It came with LEDs! Cons: Joints are too stiff (for my liking, anyways, it made the kit solid though) Swords at his wait does not fit the peg in the hand Exia Repair parts does need half of the non-Repair head. (didn't bother with the transformation) The Exia Ignition Mode is a must have! I'm really g

RIP Crimson Comet

Photobucket has kidnapped my photos and I'm too lazy to re-upload and update every bit. It's been worthwhile. I'm intending to start a new blog that is more "personal" than just focus on one part of my hobby. Looking at my older posts, I can fairly say I've improved on my toy photography (and English!) in which I am thankful for this space as a medium to share my work. Thank you for reading up to this part! Cheers for 7 years!

QY SD God Gundam - Mini WIP, Assembly Cure and Review

Thank GOD I'm back! Lumix is back and my GunPla energy has been over the top! I'm feeling good this morning and built Gundam Alex. Well more on that next time, but again, thank GOD I can finally review my QY God Gundam! Starting off, here is the box of QY's bootleg of God Gundam (Deitg Warrior). Unboxing this miniscule kit, there are only 5 runners along with the polycaps. ..And here's my bootleg Unicorn (mfg by Jargon), envious why he does not have a review. Issue 01: Starting off our assembly cure, carefully shave off the chest piece by a hobby knife to snugly fit it into the chest armor. Issue 02: Like most of my QY kits, head continues to be problematic. Cut the male connectors and apply glue to the seams. Issue 03: Waist armor male connectors are too thick. Shave by a hobby knife or sand it down to fit the pieces. Issue 04: Arms too have fitting issues. Cut the male connectors and then glue. Make sure you do not forget the poly cap when gluing! Is