Commish work has been in a very slow progress. I don't mind. Just getting stuff right one at a time and in my most comfortable hours. Happy how the MS unit is complete. Proceeding with the wings always leaves a bad taste in my mouth and an eyesore. Well, more on that later....
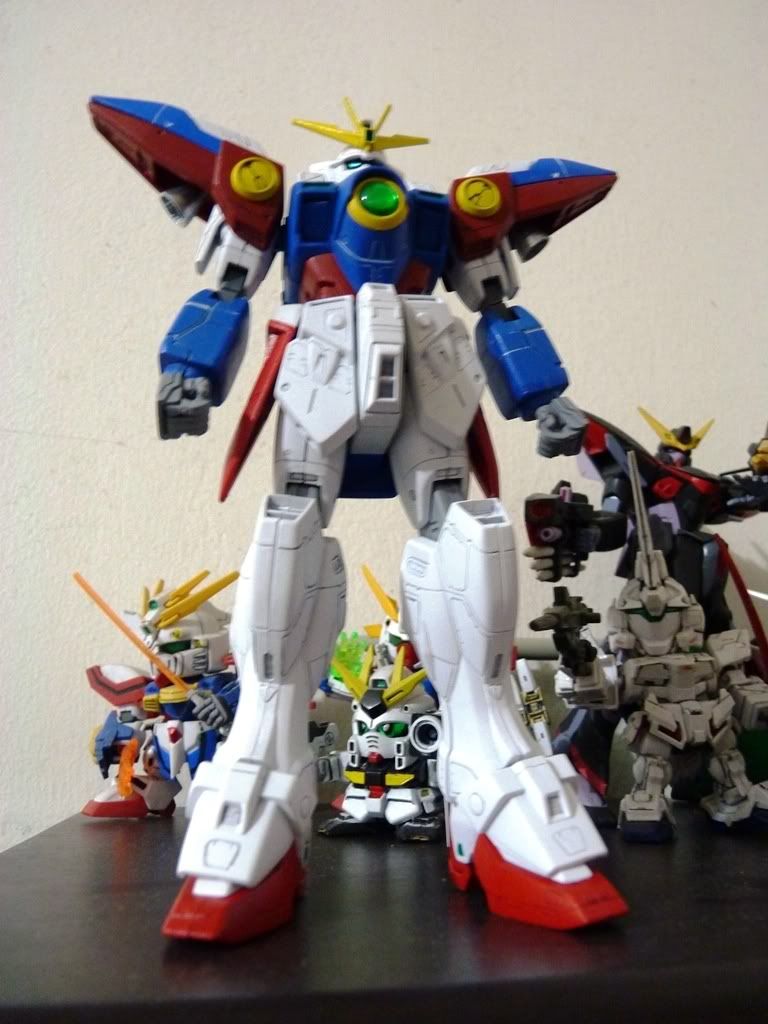

This blooming kit has been a treat to work on. It just amuses me how old of a kit this is. I was able to appreciate the newer models much more but again, amazes me how the old kits stand out in equal footing with the latest ones. Sure color/piece separation and articulation are pretty basic, but I just love how anime-accurate this fellow is. Wrapping it up, until next time :)
Yes! It looks so mean! In a good way of course :p
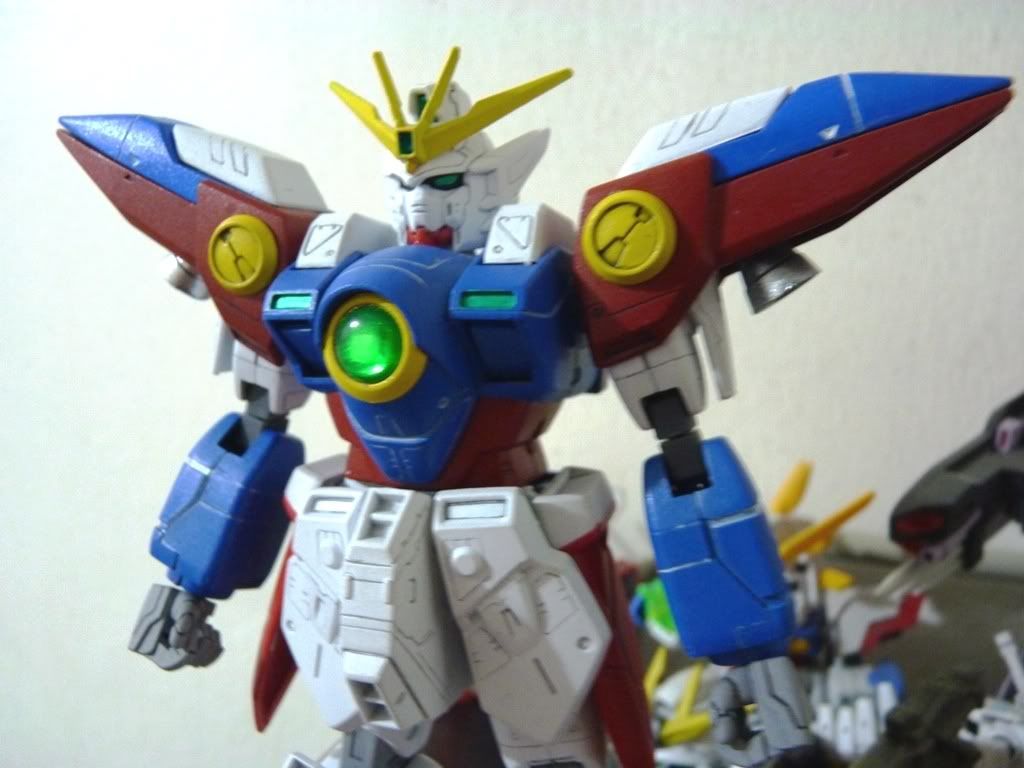
The level of detail really kicked up when I drew the panel lines. This reminds me of the RX-78-2 OYW ver where those PL's are excessive but neatly done
Look at the panel lines - damn excessive, but fun to detail nonetheless :)
Picked up a technique on detailing lines on colored pieces. White lines contrasted the blue parts very nicely.
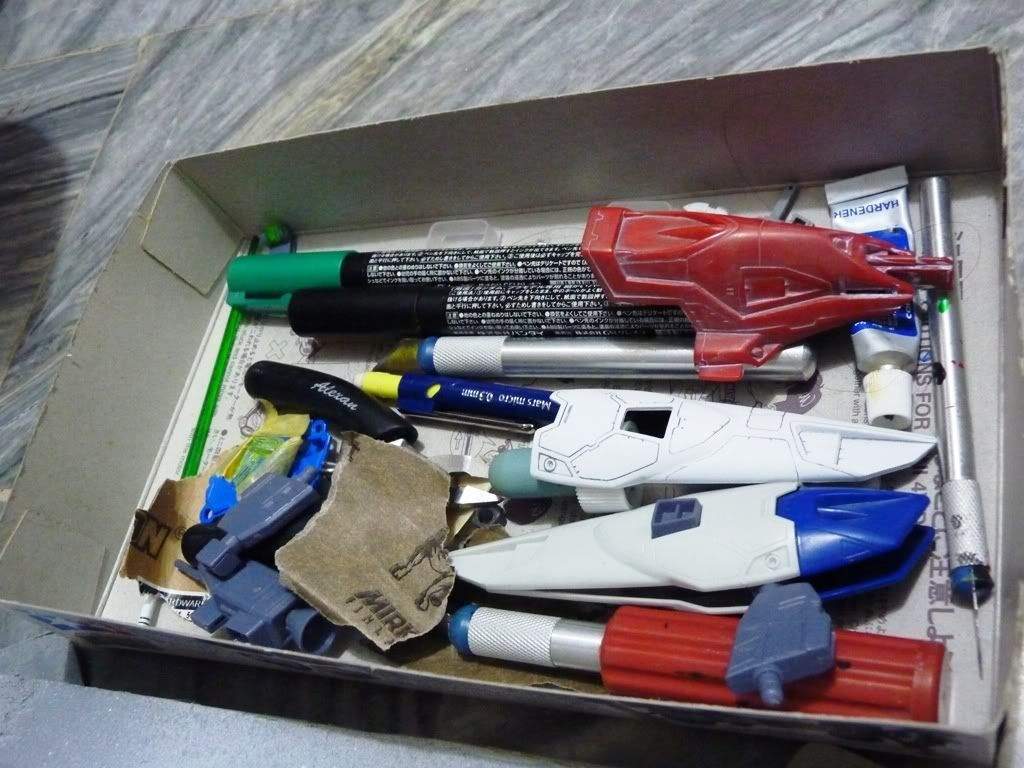
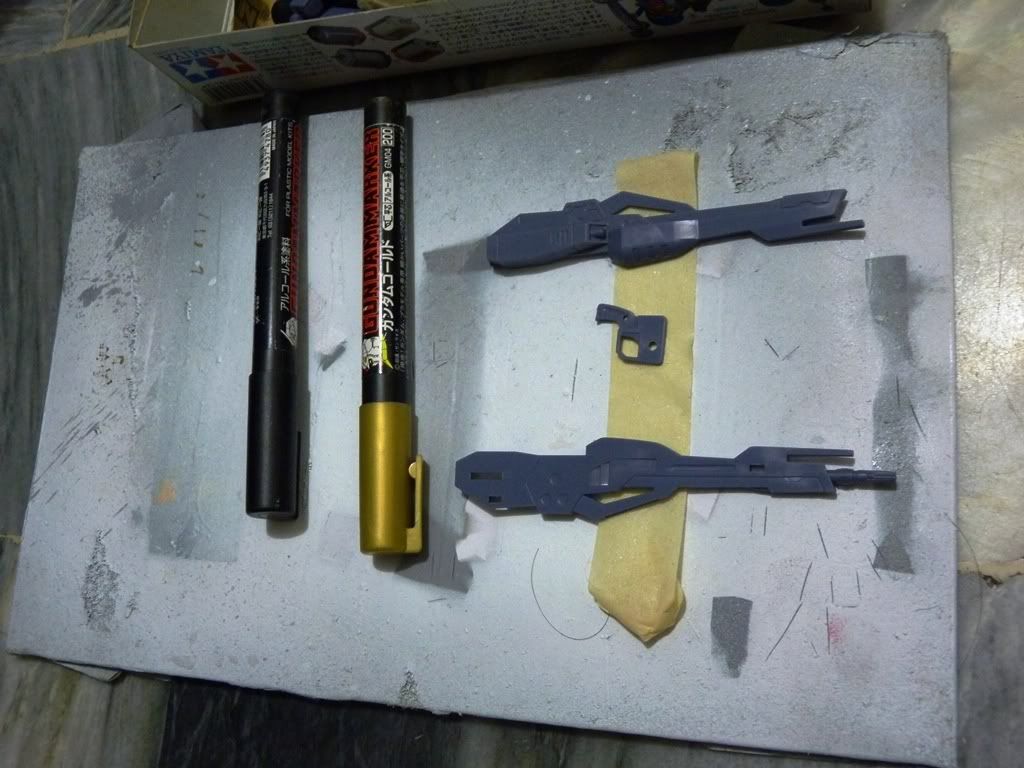
And here's what's been bothering me and left my masking (or effort) questionable. The shield was pre-done on my WIP 01 but clusterfucked my panel lining. What I did was run to my local hobby shop and get some paint stripper (Mr. Hobby Lacquer Thinner - P110). Did a decent job where it stripped right after contact compared to the 90% alcohol where it needs to be soaked for 2 days. Things were going smoothly but I fucked up the painting on my second attempt (hand paint and skipped the mask) hoping that it would come out right just as the cockpit on the shield which I hand painted prior. Anyway, I've stripped it again and is ready for it's third re-painting.
Buster is up next in the queue. Hopefully I don't mess this one too as it needs another masking job.
Another piece where I (@#$*(%!! up. I thought painting it with the marker would do the trick but it came out horrible. Off to the strip queue you go.....
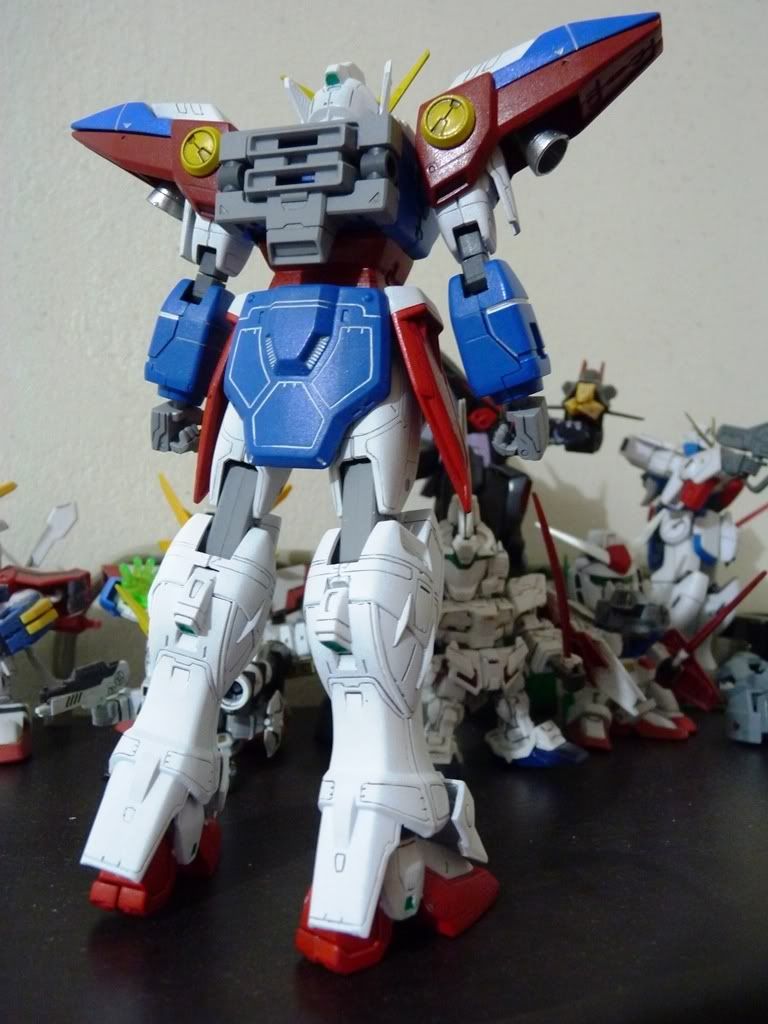
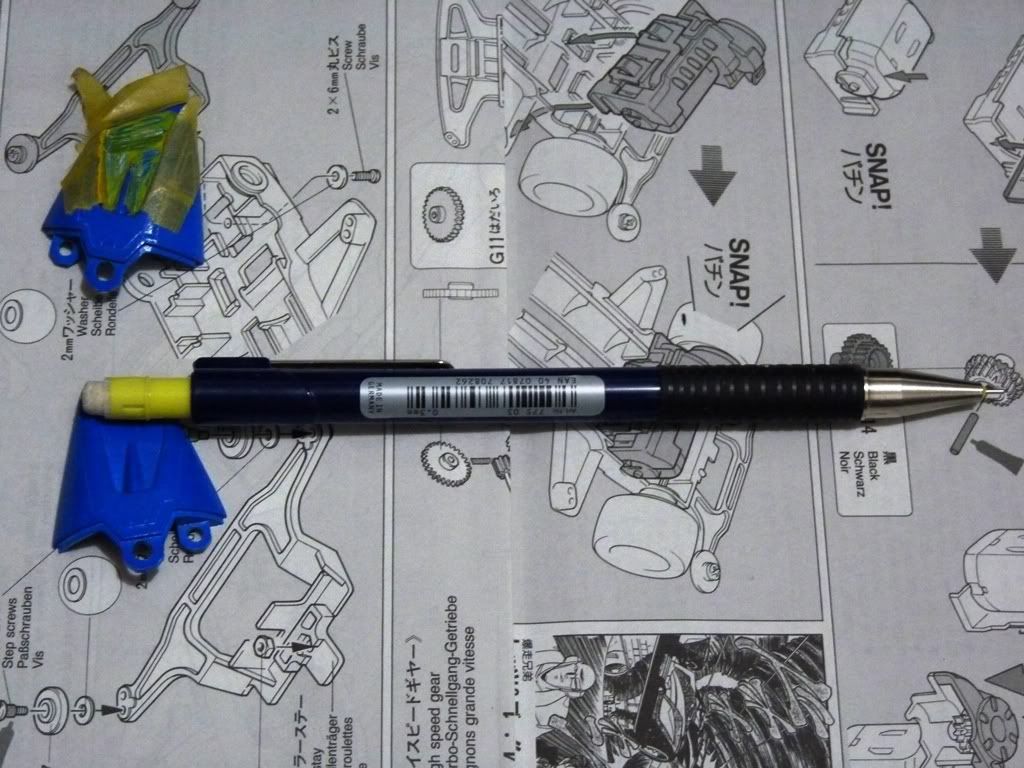
Mechanical pencil did work like a charm. I've always been a fan of subtle lines not over protruding in detail. Thanks to a fellow brother in the GFP community: Zen you rock! \m/
Aaaaand that's that....
This blooming kit has been a treat to work on. It just amuses me how old of a kit this is. I was able to appreciate the newer models much more but again, amazes me how the old kits stand out in equal footing with the latest ones. Sure color/piece separation and articulation are pretty basic, but I just love how anime-accurate this fellow is. Wrapping it up, until next time :)
How did you strip the paint off from the shield with Lacquer thinner?
ReplyDeleteDabbed a MR. Hobby Lacquer thinner onto a piece of cloth, cotton, or q-tip and then swipe off the shield. Easiest method I can think of actually. Just remember to use a hobby-type thinner as the industrial types aren't safe on plastic and could melt it.
ReplyDelete