
Bandai RD Unicorn Destroy Mode Full Action Ver. - Review

Yes! My 2nd haul in the RD line. Again, another steal deal. This fig retails for about 2.5-3k+ but was able to grab it for only 1.3k! And to add icing on the cake, it's brand new! My funds are actually limited this month as I will be going for vacation but with that price it was too hard to pass up being an unplanned purchase.

To make story short, I am one happy camper :D
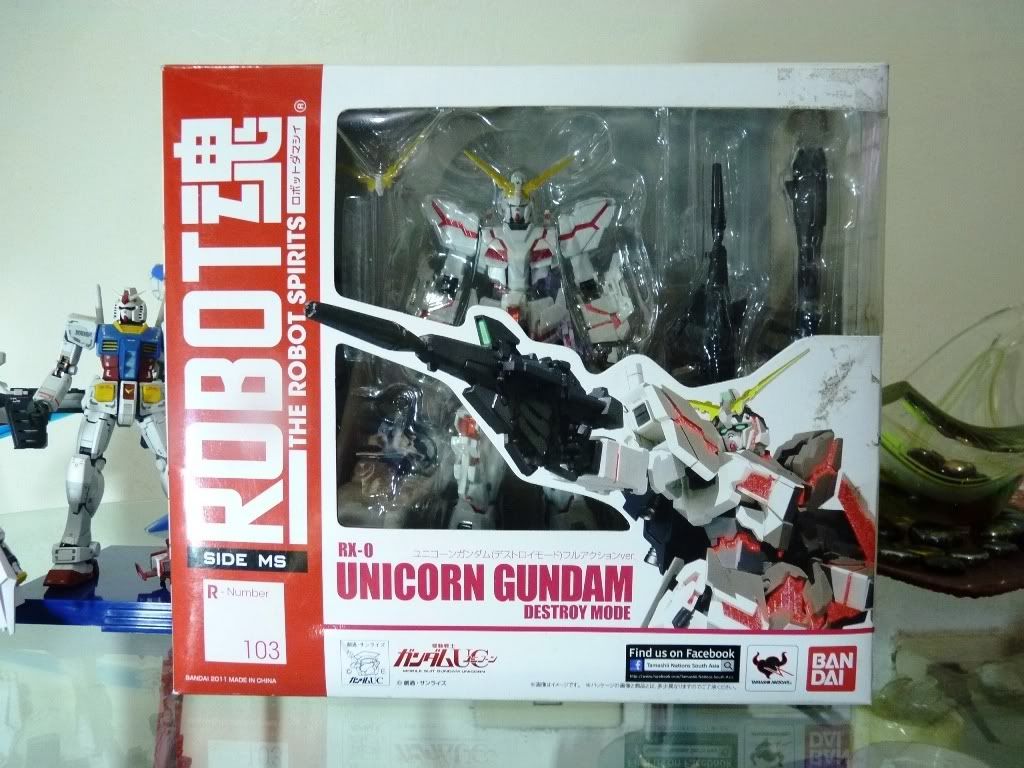
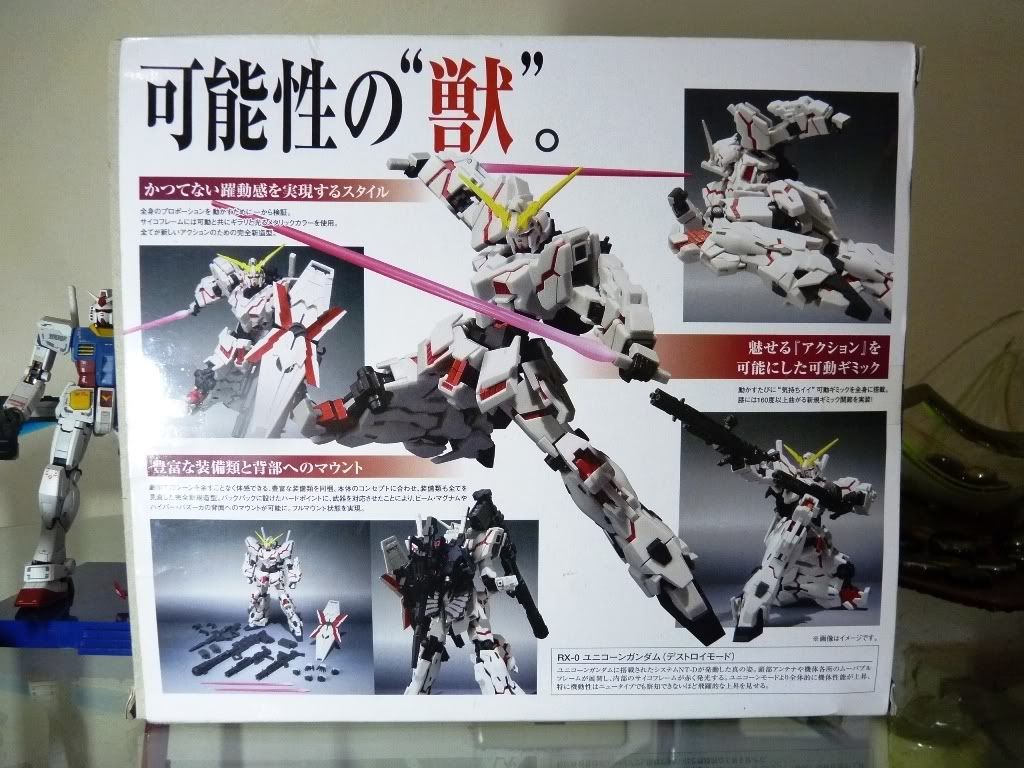
360 view, box


Unicorn Destroy Mode looks really wicked >:D


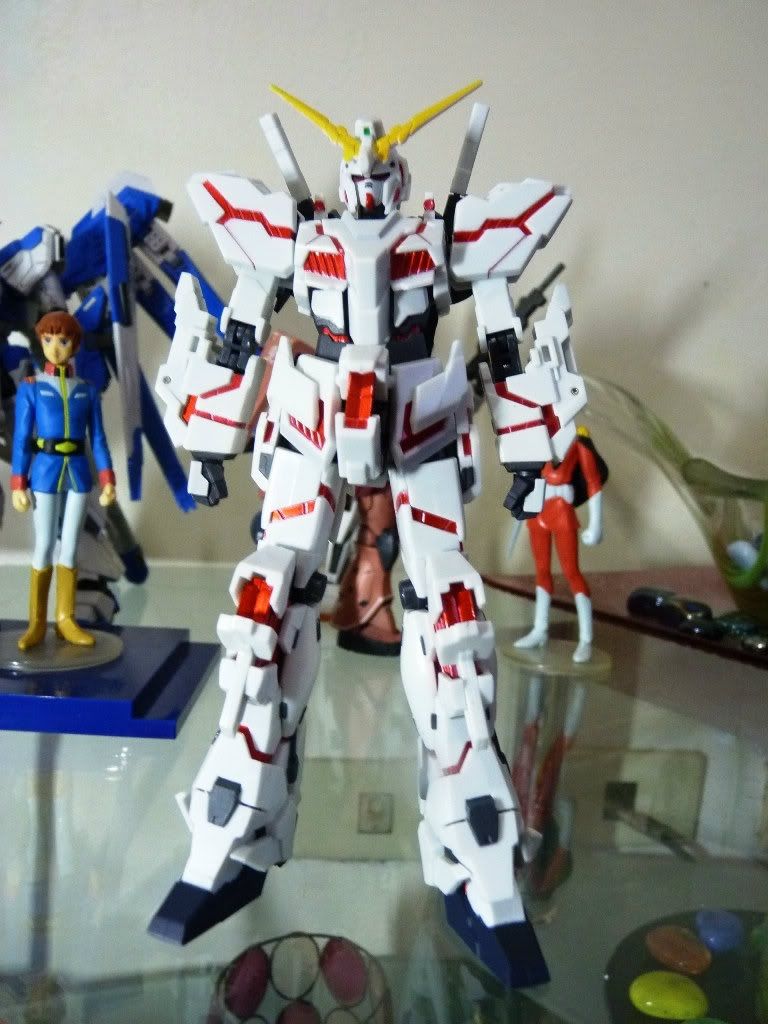
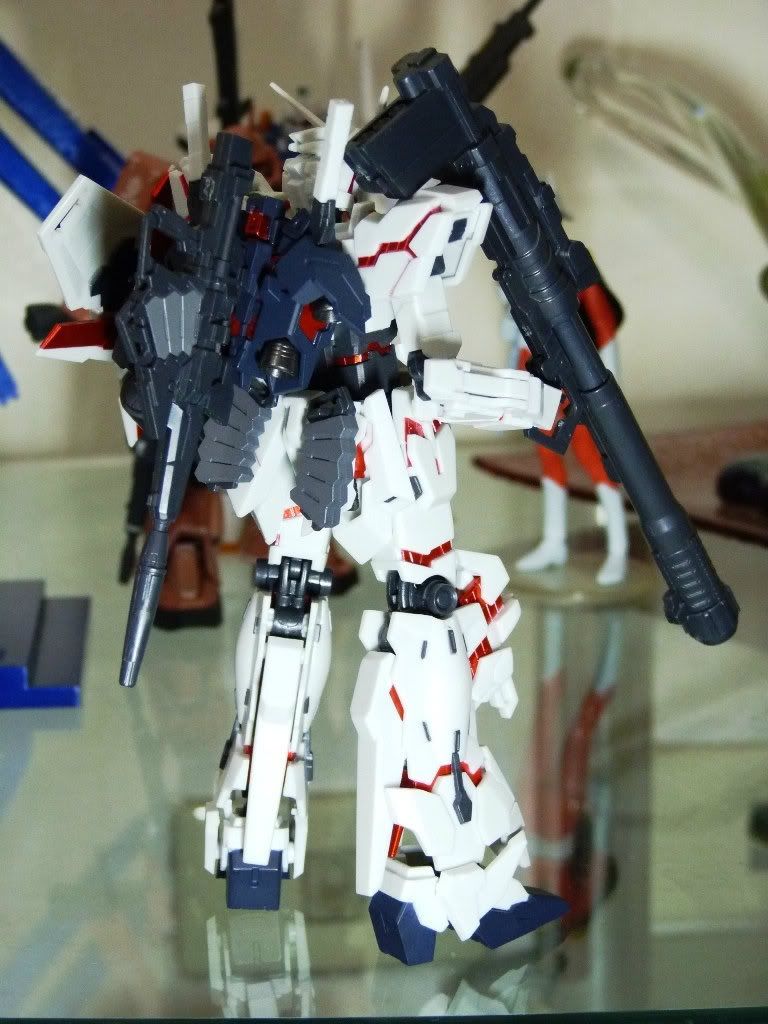
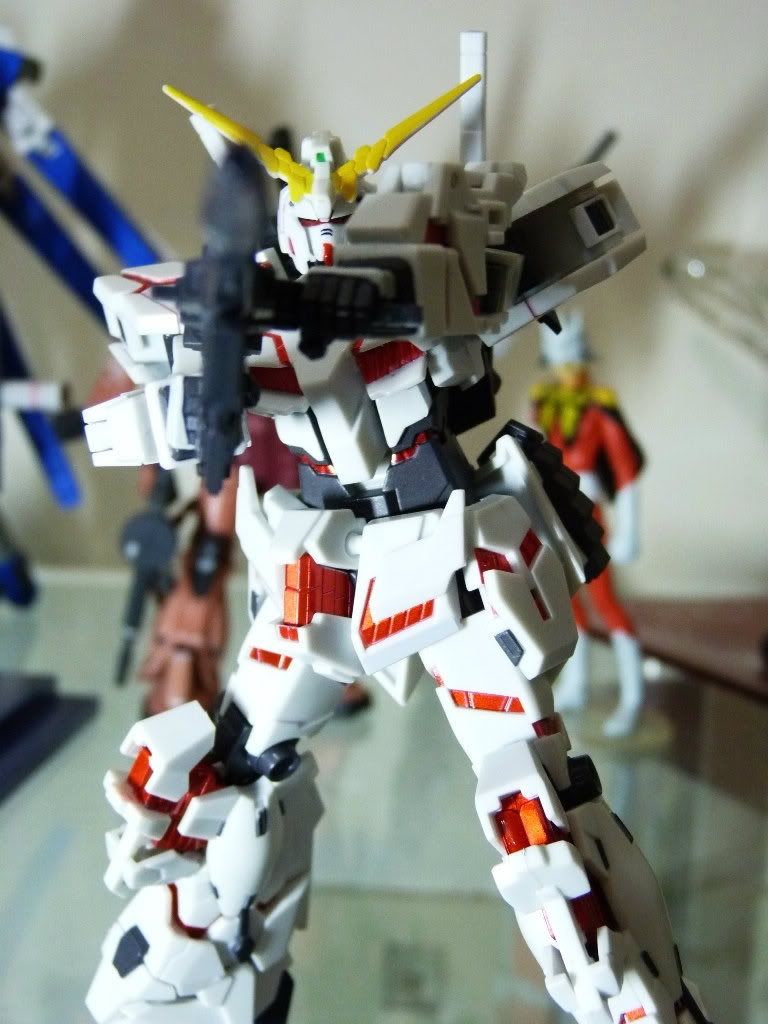
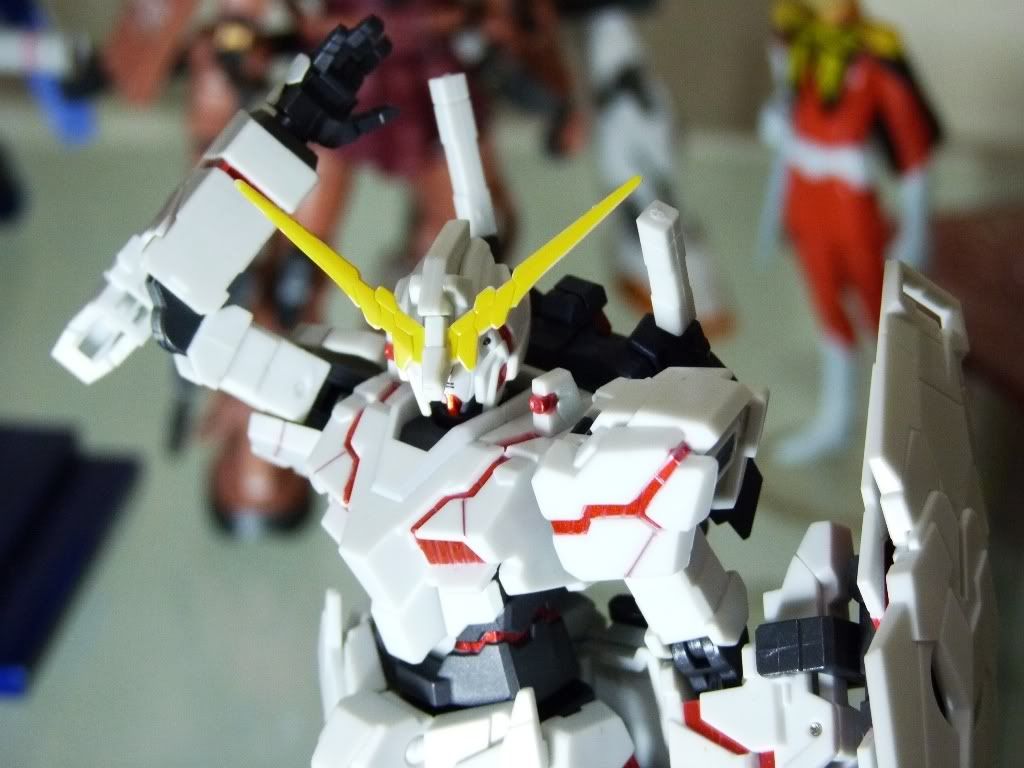
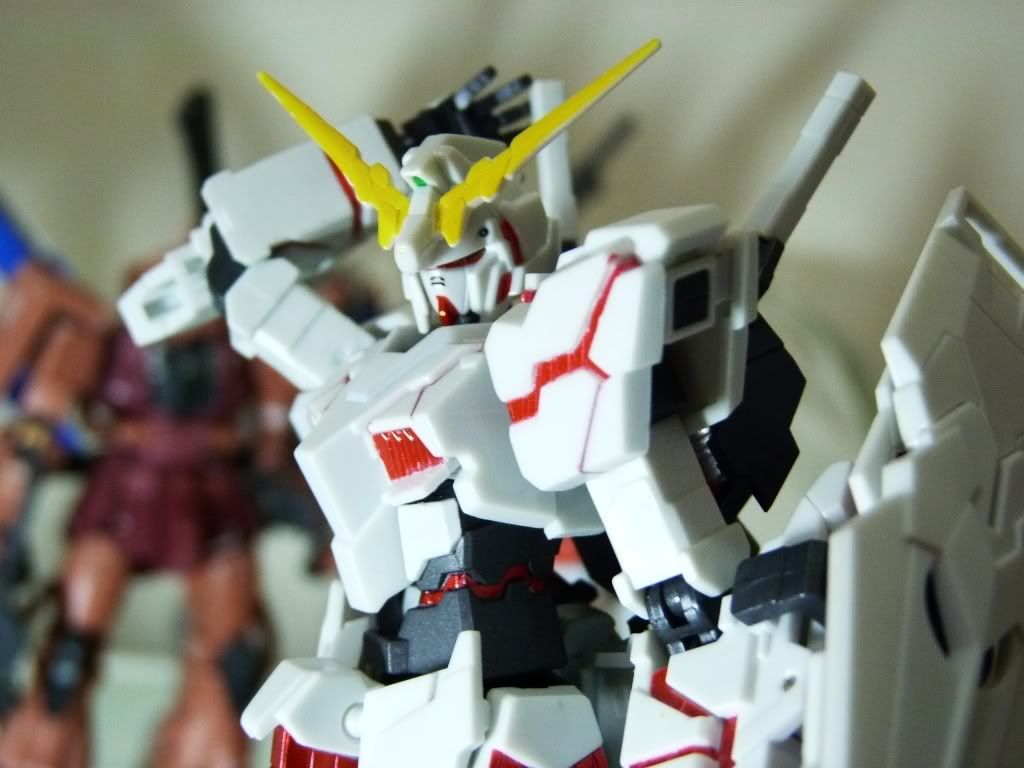
Backpack looks awesome and cleanly detailed


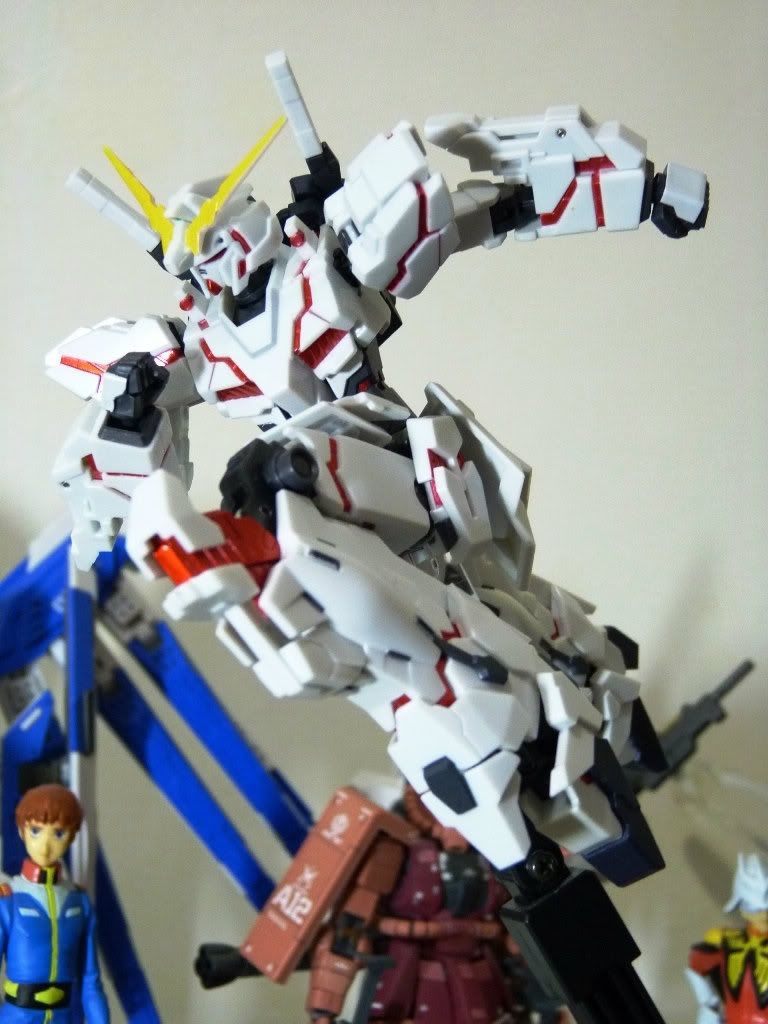
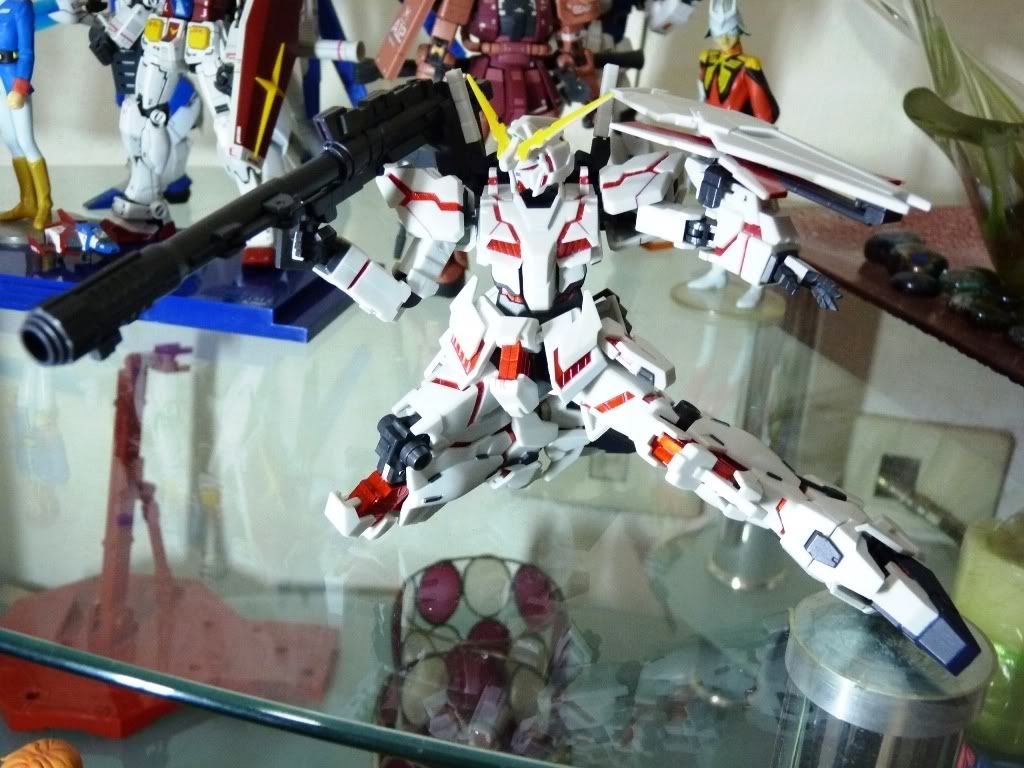
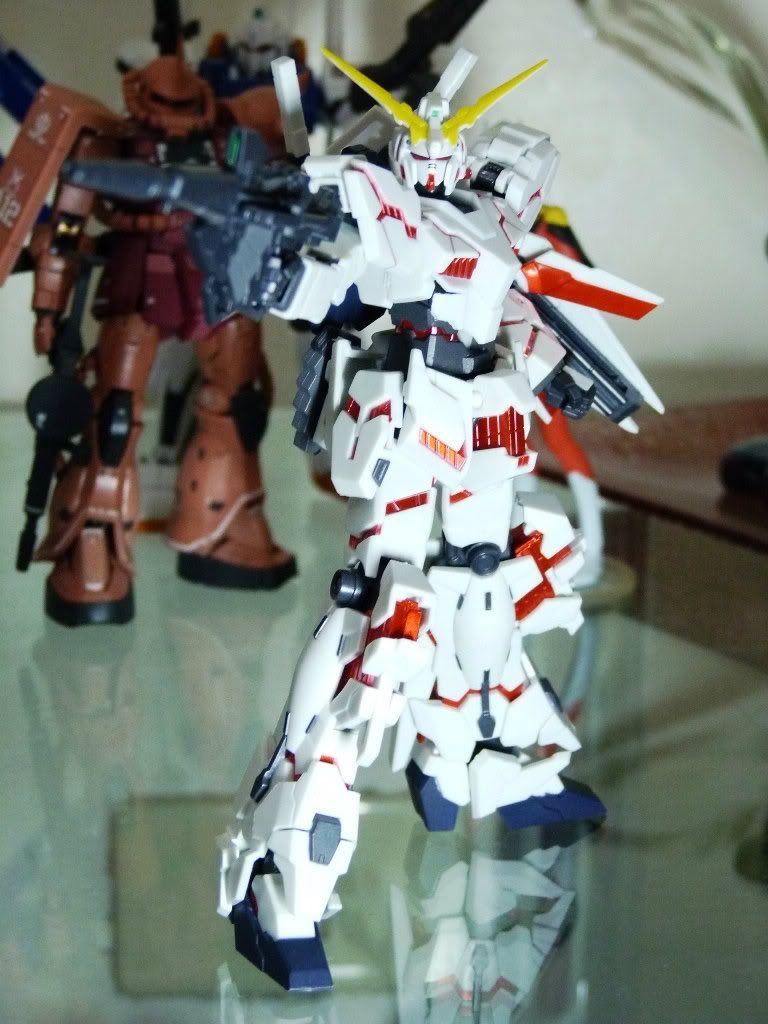
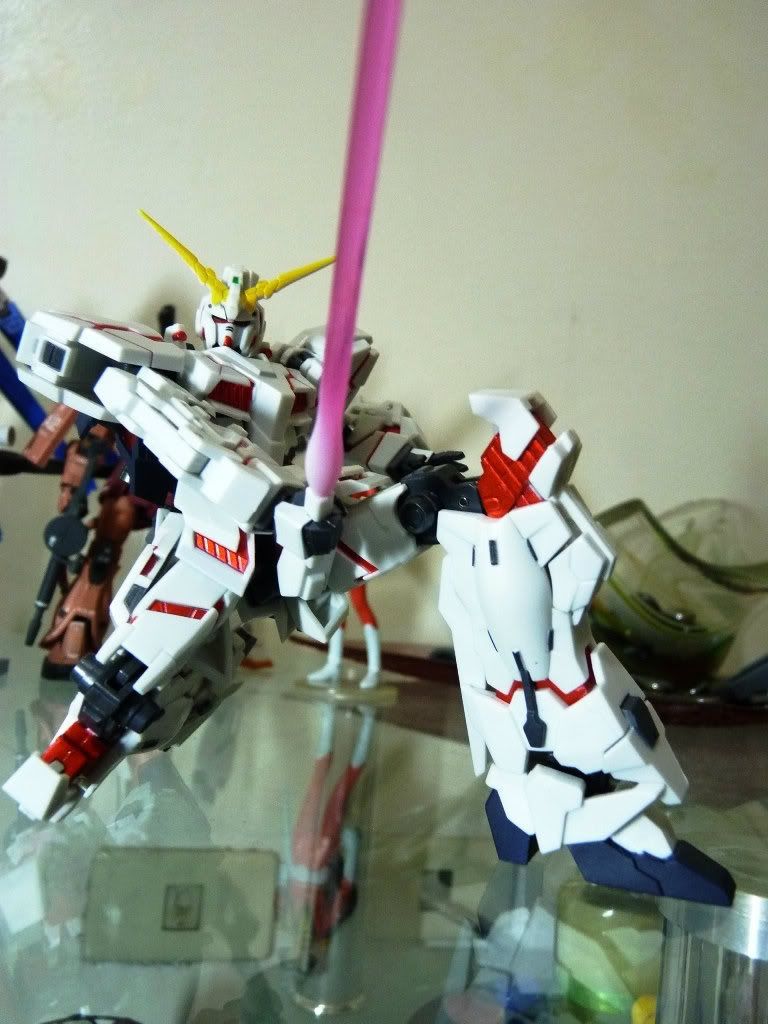
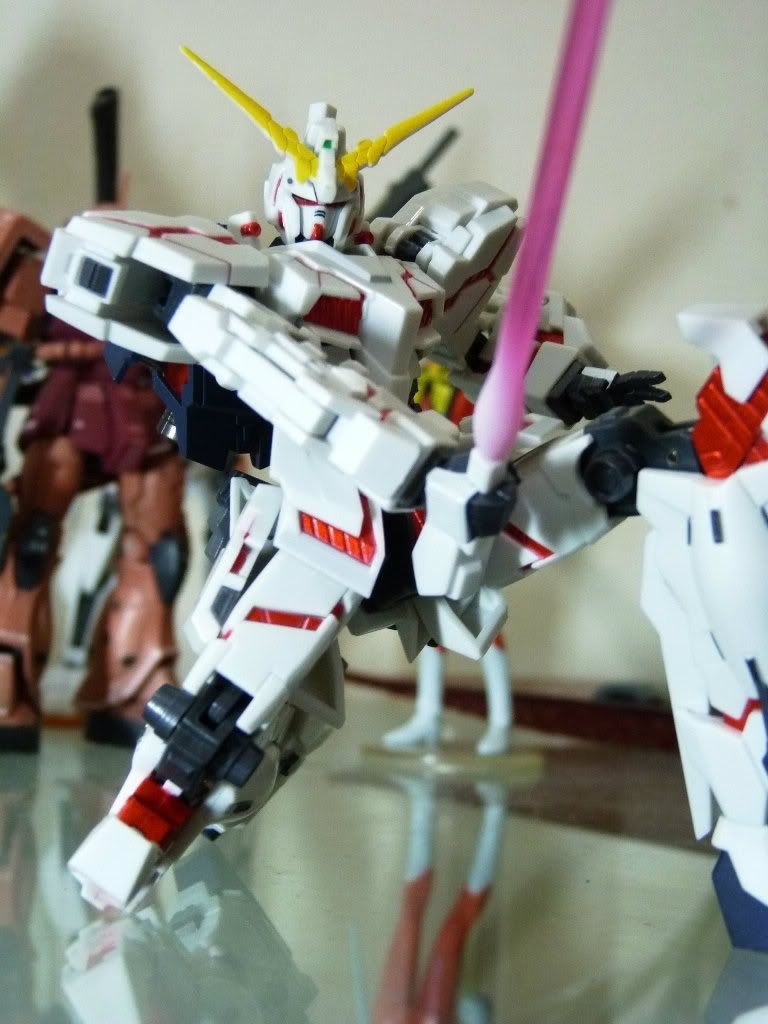
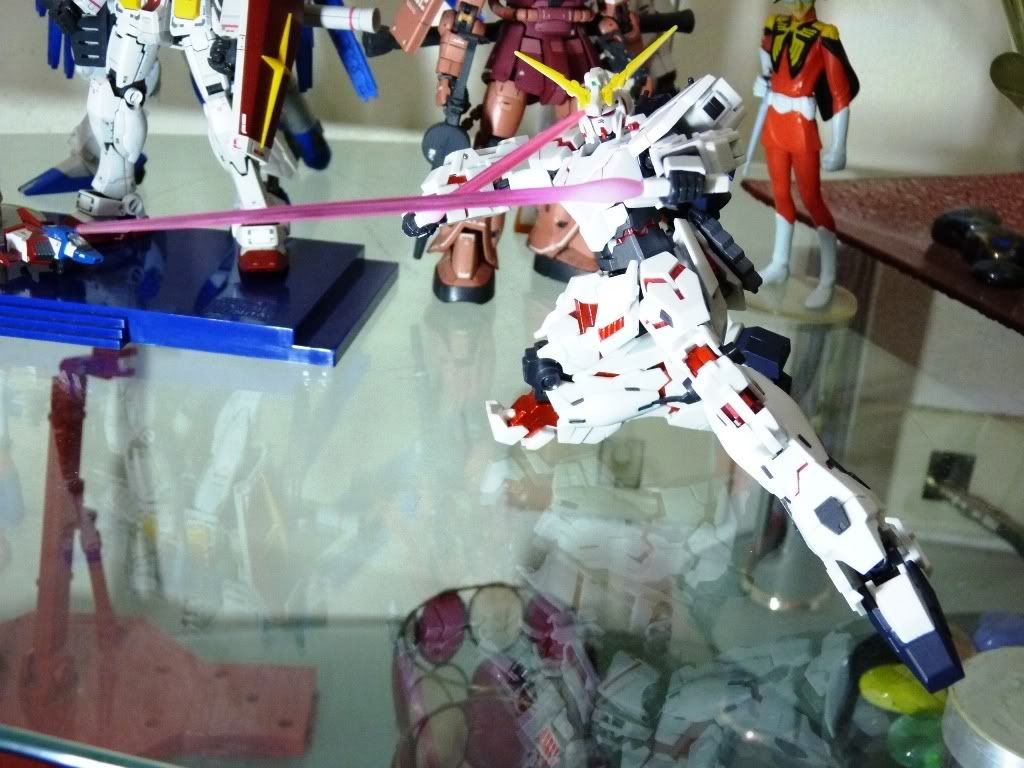
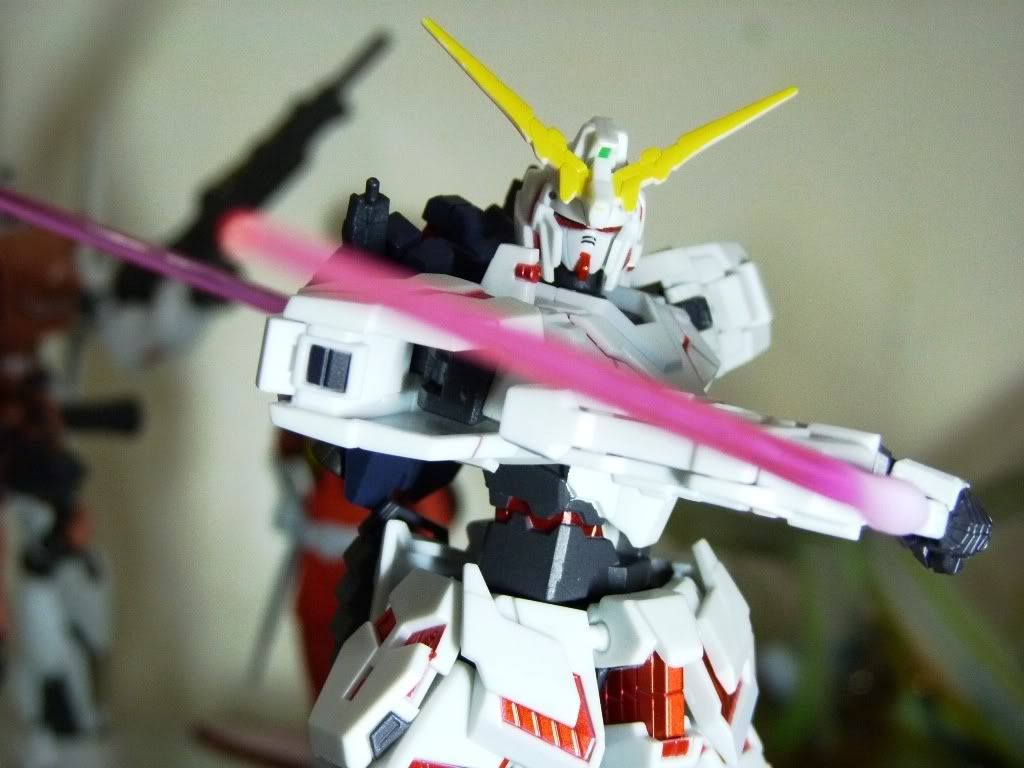
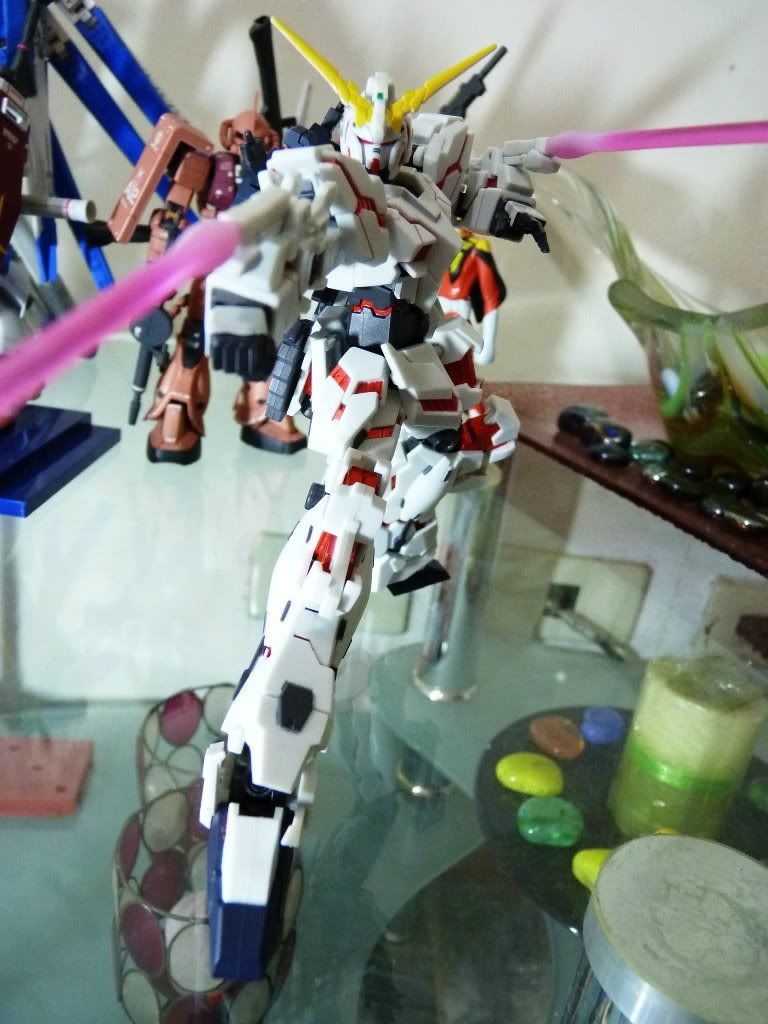
Run Forest Unicorn, Run!! Showing off the articulation (WOW)


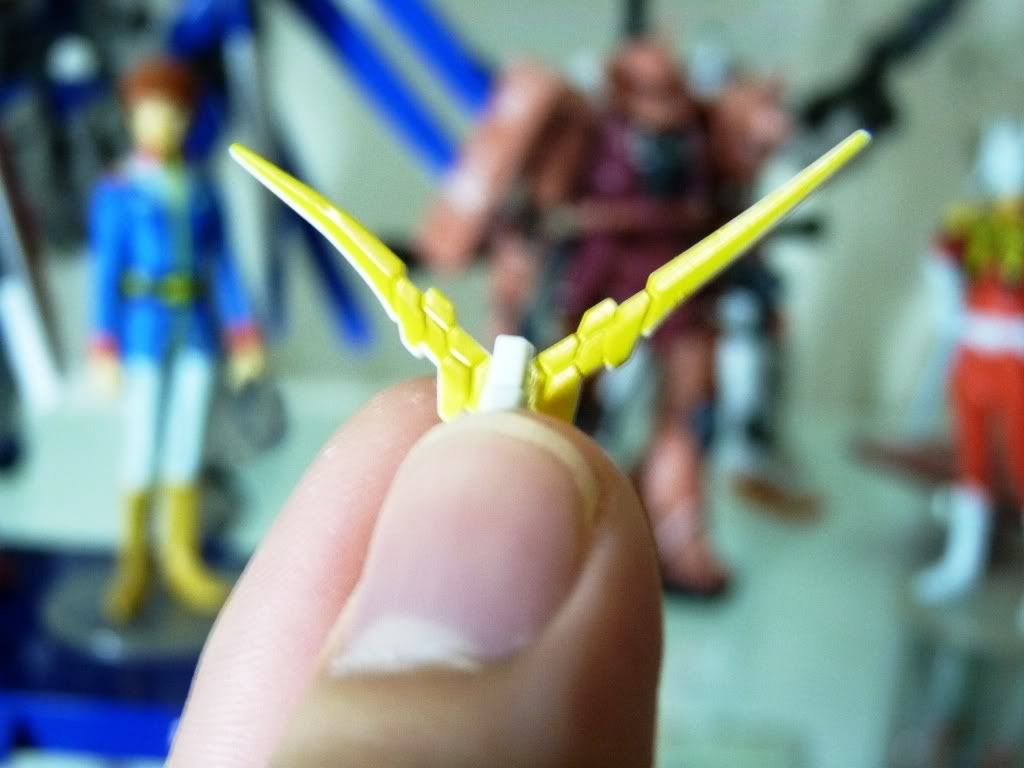
What's inside the box: Boom! A pair of Gatling guns, bazooka, beam rifle, 2 beam sabers, 2 packs of ammo (rifle), bazooka ammo, shield, shield connectors, different sets of hands, and the disappointing extra v-fin


Disappointing as my fig came with a bent v-fin. Most likely a case to case basis because of its rubber nature. Oh well...


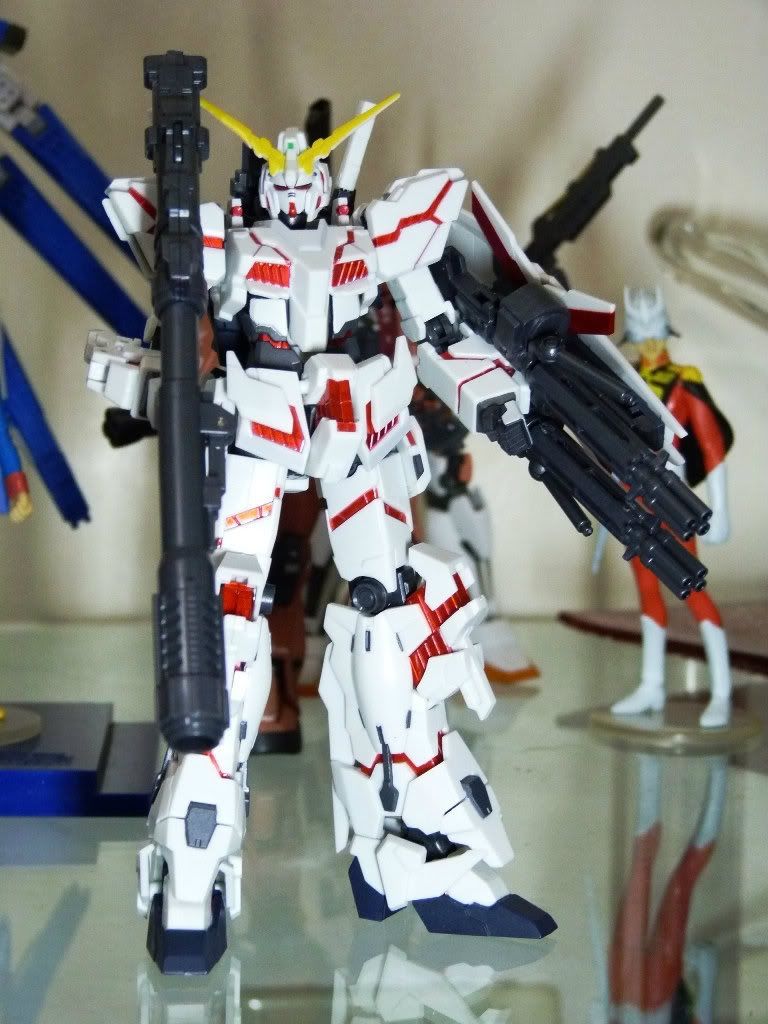
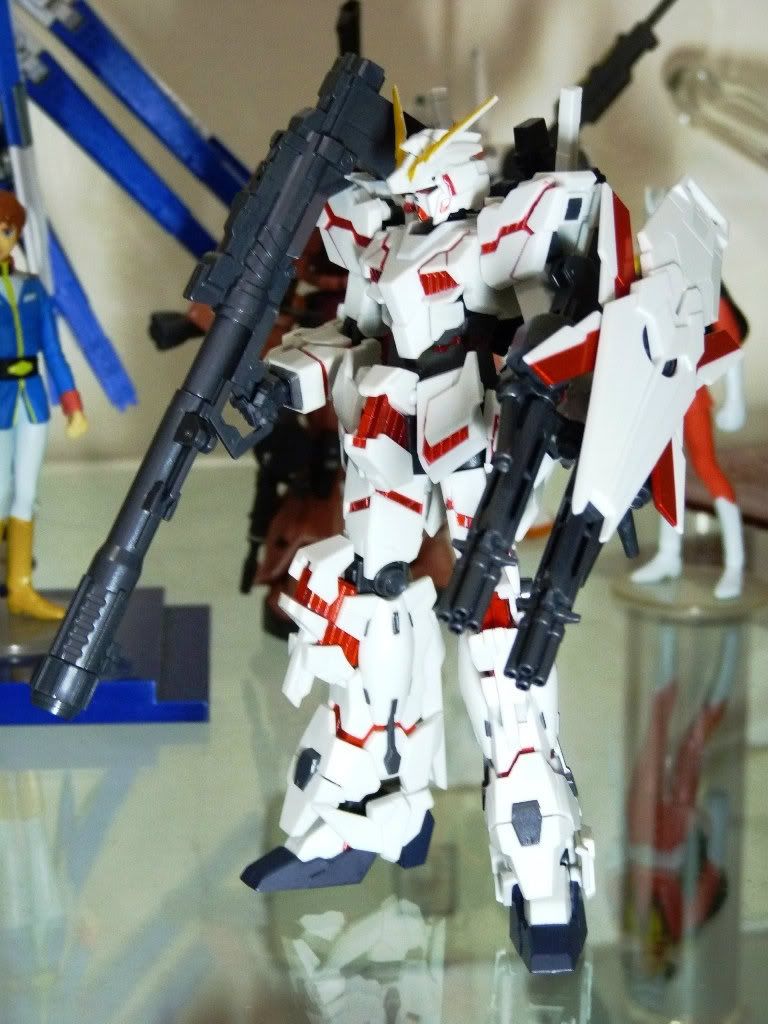
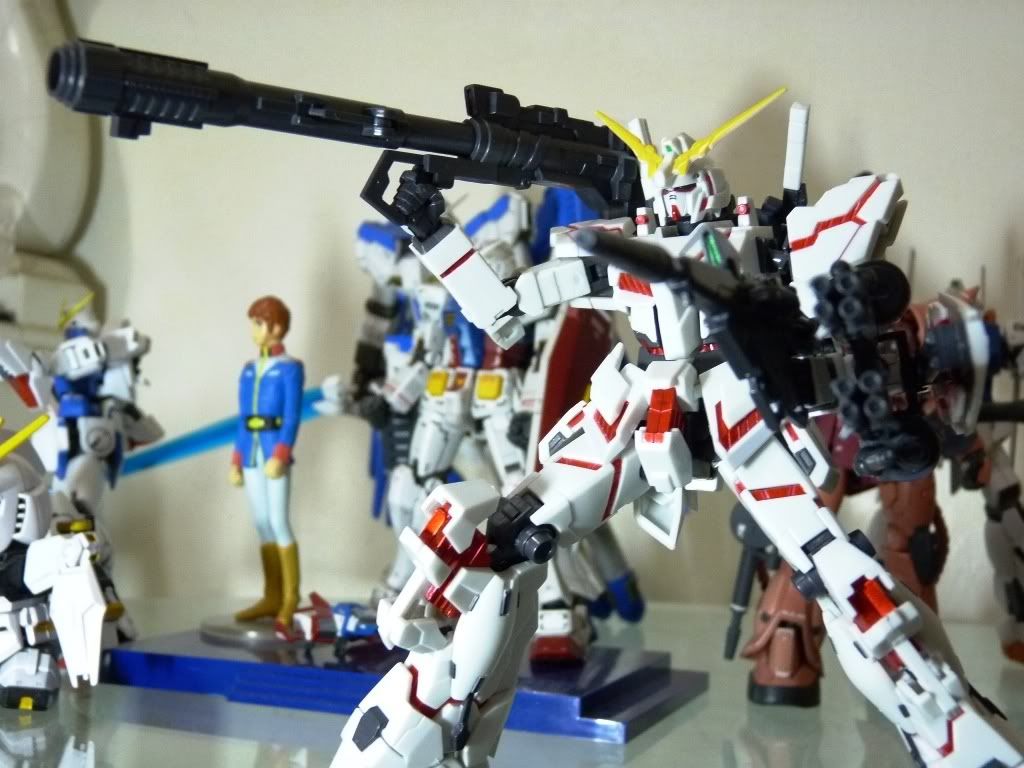
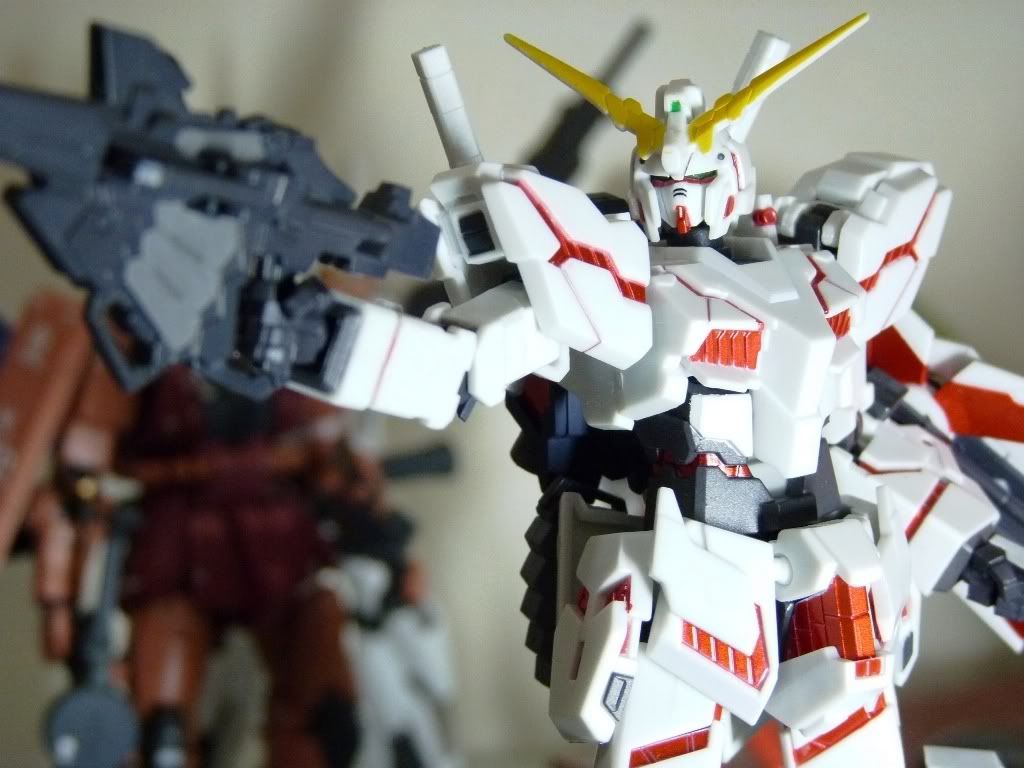
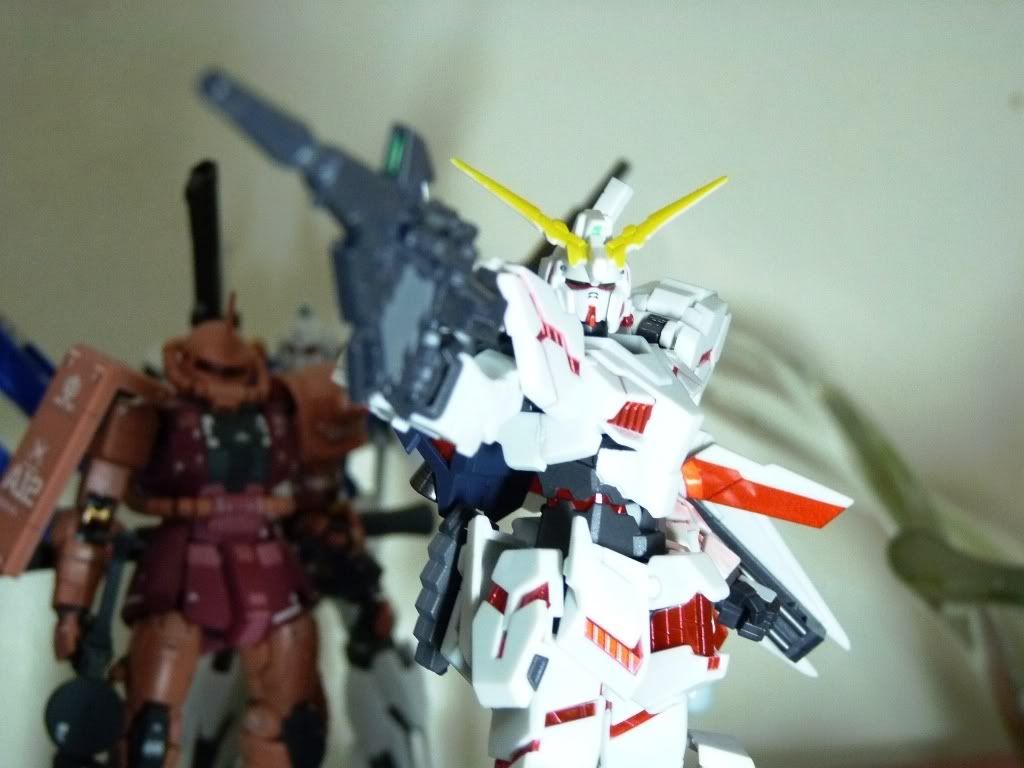
Unicorn Destroy with his full ar..... maments :p


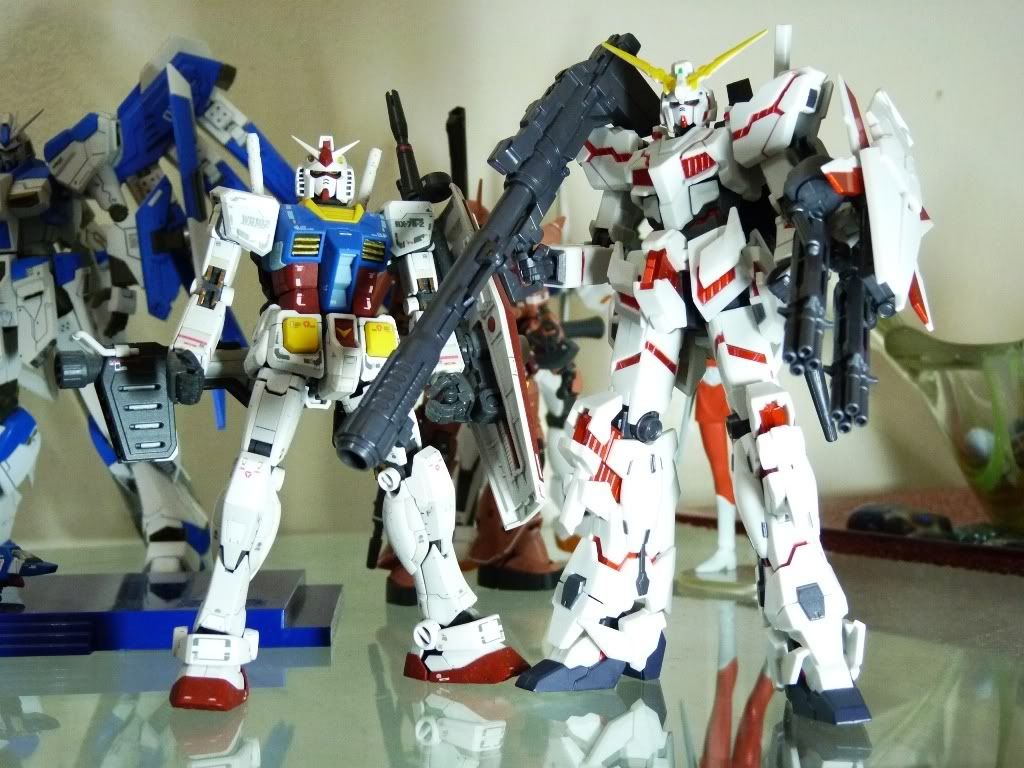
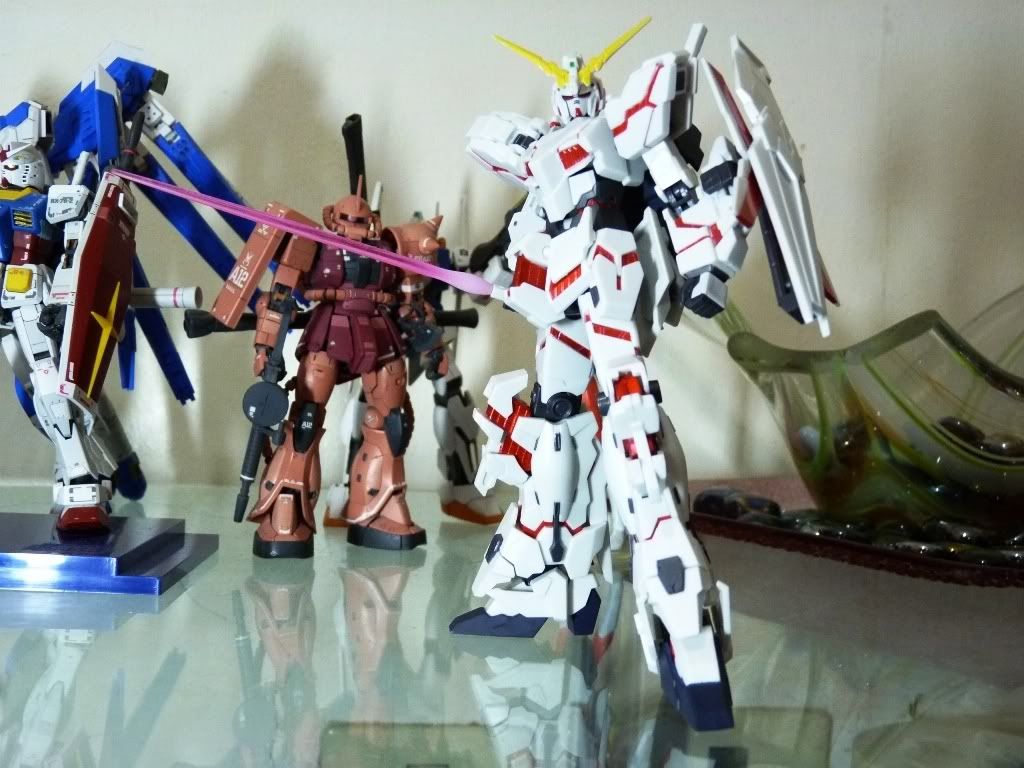
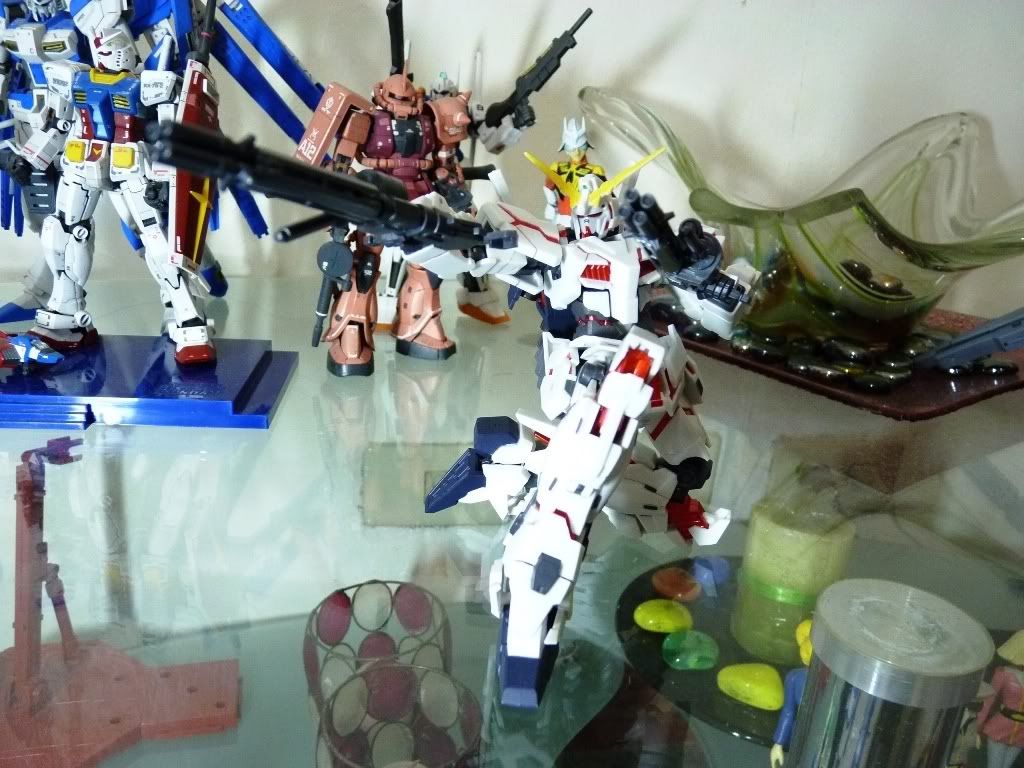
Gramps Gundam and his 5th(?) son (size comparison)


You haven't seen DESTROY MODE yet until........
BRATATATATATAAAAAAT!!!!


H-Arms where you at hommie?!


I desperately need a Tamashii stand :(


Banagher with his most adored weapon


Unicorn: Sword GEEEET!!


Come and get it


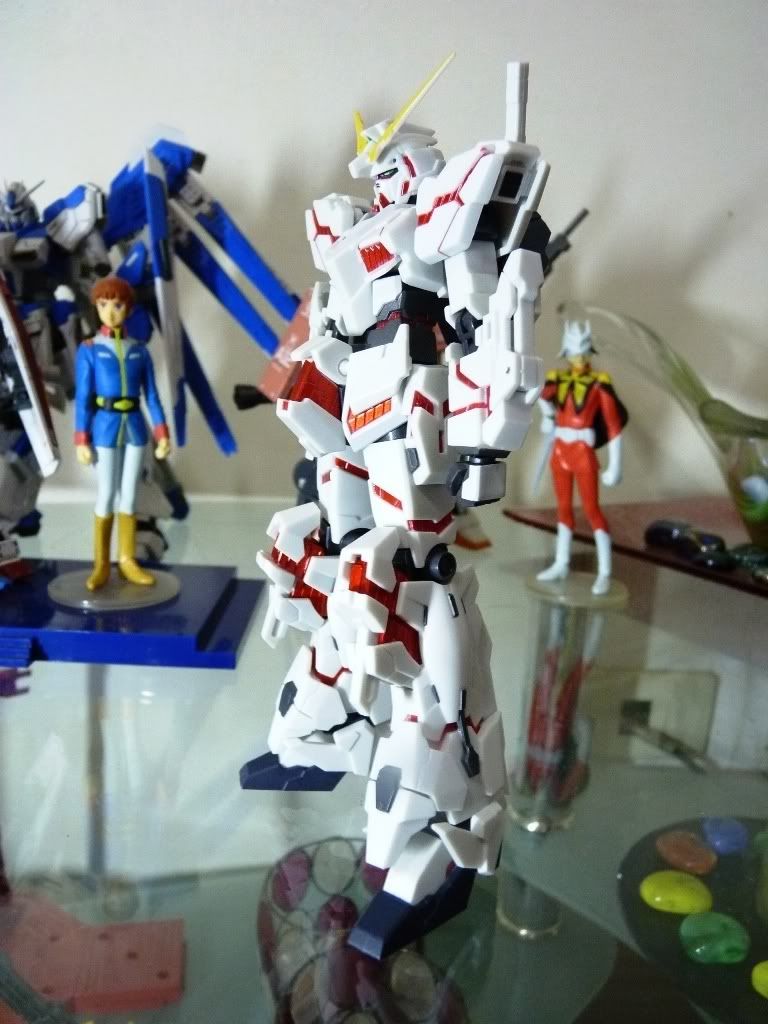
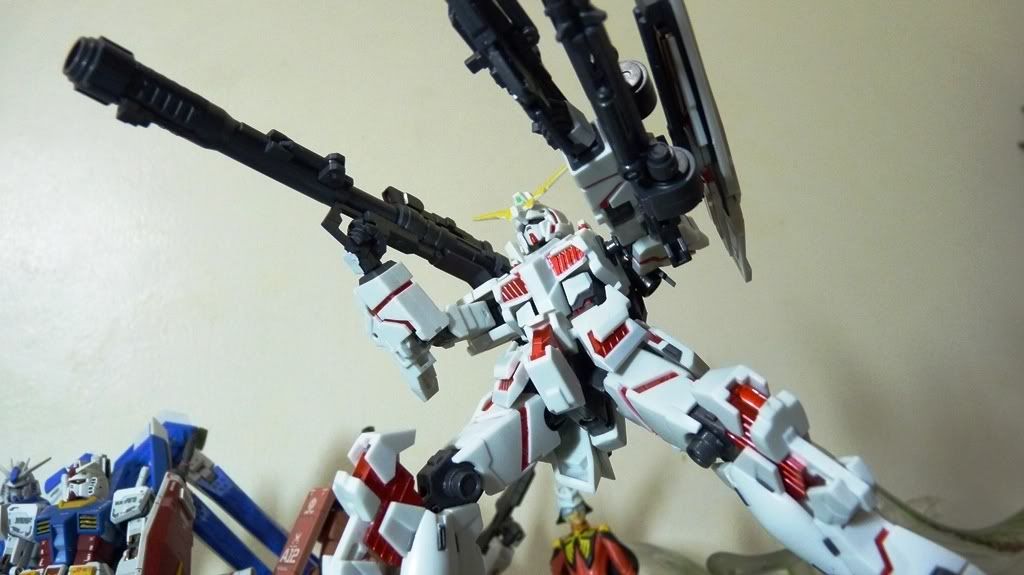
A bit weird seeing Unicorn with aggressive agile poses. He's pretty static in the OVA's. Articulation is really good with this fig


My favorite box art pose


Pros:
Articulation is superb (yes, I'm really starting to love RD)
Details are perfect
Comes with a ton of equipment

Cons:
V-fin and hands are a bit loose but was not really a bother when fiddling around
Extra v-fin is bent (maybe case to case)

Another awesome piece from Robot Damashii! This purchase easily had mileage on every penny spent. I still can't believe that I was able to snag this fig for 1.3k with all the equipment, articulation, and details that is so close to perfection. A must-have for UC fans and I dare say that its value is really on the 2.5-3k+ range with what you're getting.

Comments

Popular posts from this blog

TT Hongli MG 1/100 Exia Ignition Mode - Review

Assembling bootleg kits can be a pain at times but this MG Exia Ignition Mode was a breeze. I was surprised from the fact that 90% went well and the other 10% were minor fixes - from shaving male connectors to gluing parts. I really enjoyed assembling my first Master Grade (I was hoping it was Bandai, my wallet was not cooperating as expected lol). Action! G...Gu...Gundaaaaaam!!!!!!!!!!! GUUUUNDAAAAMU!!! Ore wa........... Ore Wa Gundam-da!! Exia exterminating target............... Graham: Ike, Setsuna! Live and unlock the future! More swords Setsuna? Target exterminated! Joining the bunch :D Pros: Assembling is pretty easy for a bootleg Build is sturdy It came with LEDs! Cons: Joints are too stiff (for my liking, anyways, it made the kit solid though) Swords at his wait does not fit the peg in the hand Exia Repair parts does need half of the non-Repair head. (didn't bother with the transformation) The Exia Ignition Mode is a must have! I'm really g

RIP Crimson Comet

Photobucket has kidnapped my photos and I'm too lazy to re-upload and update every bit. It's been worthwhile. I'm intending to start a new blog that is more "personal" than just focus on one part of my hobby. Looking at my older posts, I can fairly say I've improved on my toy photography (and English!) in which I am thankful for this space as a medium to share my work. Thank you for reading up to this part! Cheers for 7 years!

QY SD God Gundam - Mini WIP, Assembly Cure and Review

Thank GOD I'm back! Lumix is back and my GunPla energy has been over the top! I'm feeling good this morning and built Gundam Alex. Well more on that next time, but again, thank GOD I can finally review my QY God Gundam! Starting off, here is the box of QY's bootleg of God Gundam (Deitg Warrior). Unboxing this miniscule kit, there are only 5 runners along with the polycaps. ..And here's my bootleg Unicorn (mfg by Jargon), envious why he does not have a review. Issue 01: Starting off our assembly cure, carefully shave off the chest piece by a hobby knife to snugly fit it into the chest armor. Issue 02: Like most of my QY kits, head continues to be problematic. Cut the male connectors and apply glue to the seams. Issue 03: Waist armor male connectors are too thick. Shave by a hobby knife or sand it down to fit the pieces. Issue 04: Arms too have fitting issues. Cut the male connectors and then glue. Make sure you do not forget the poly cap when gluing! Is