
Medicom Toy Mafex Batman Ver. 2.0 - Review

An offering by Medicom Toy's Mafex line re-released an already good-looking figure The Dark Knight. It was only logical to please its would-be fanbase that despite having a looker with this figure and a sort-of successful introduction into the market, quality control issues left the first release of Batman collecting dust on the shelf. But have they rectified it in Ver. 2.0?

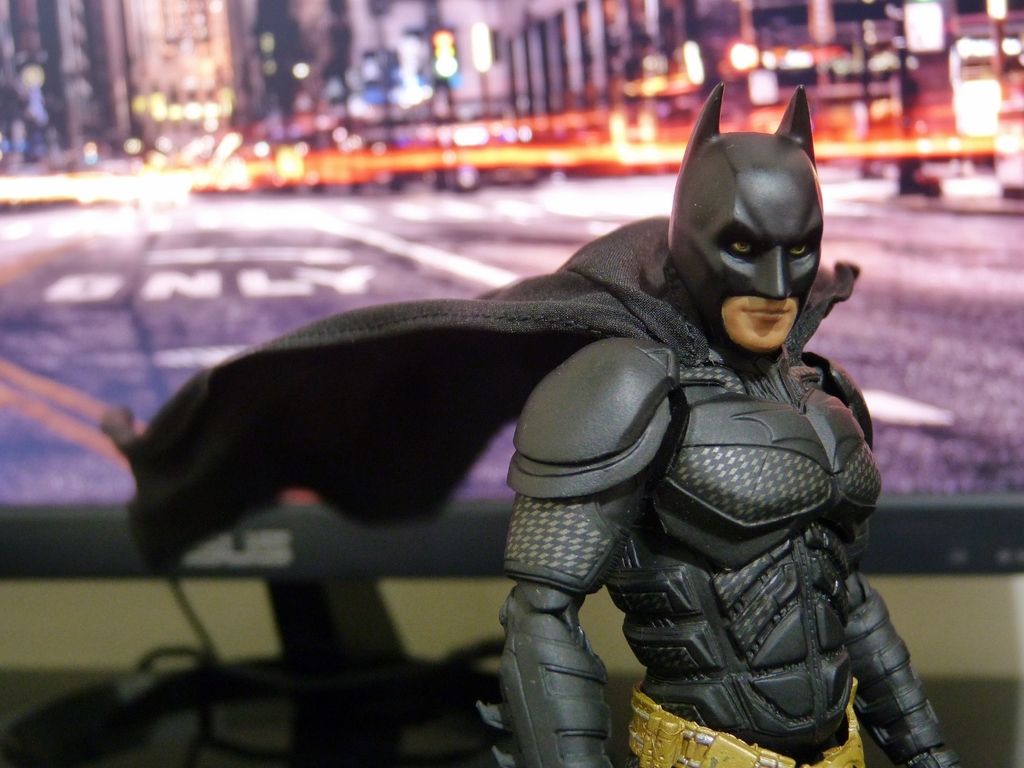
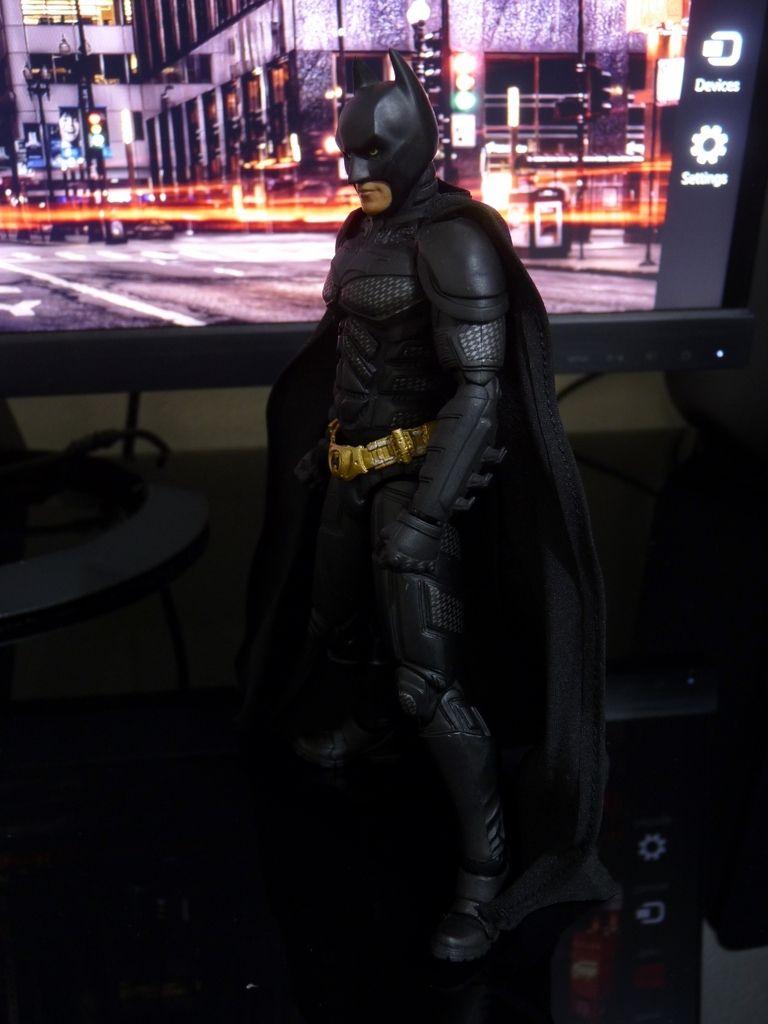
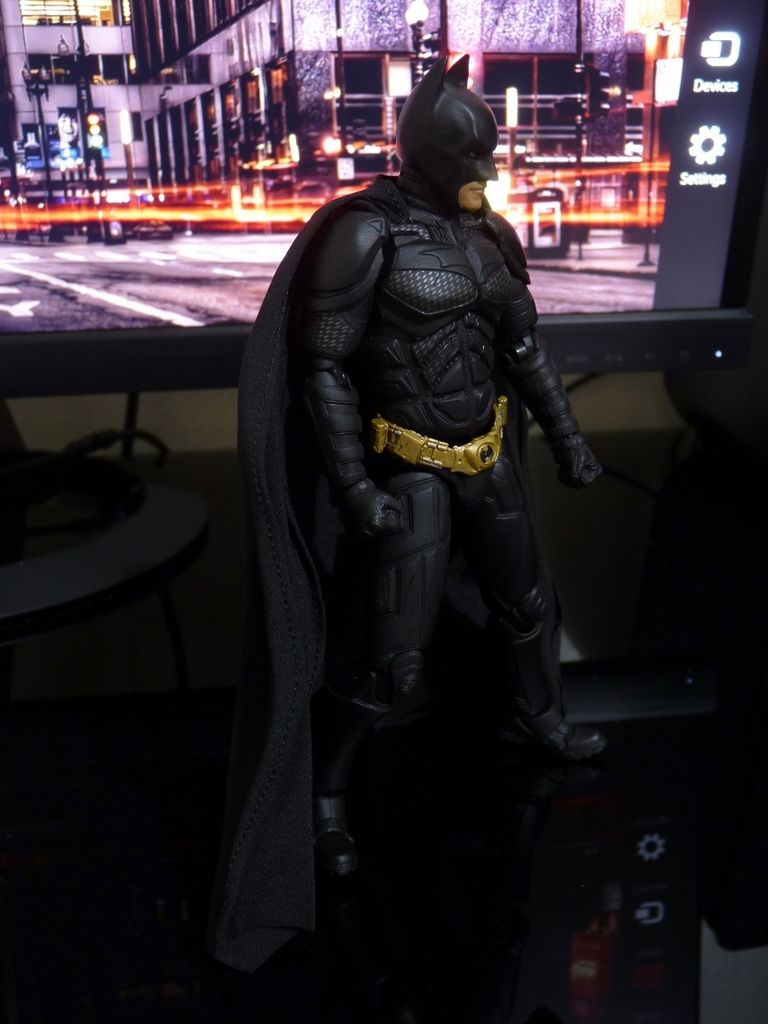
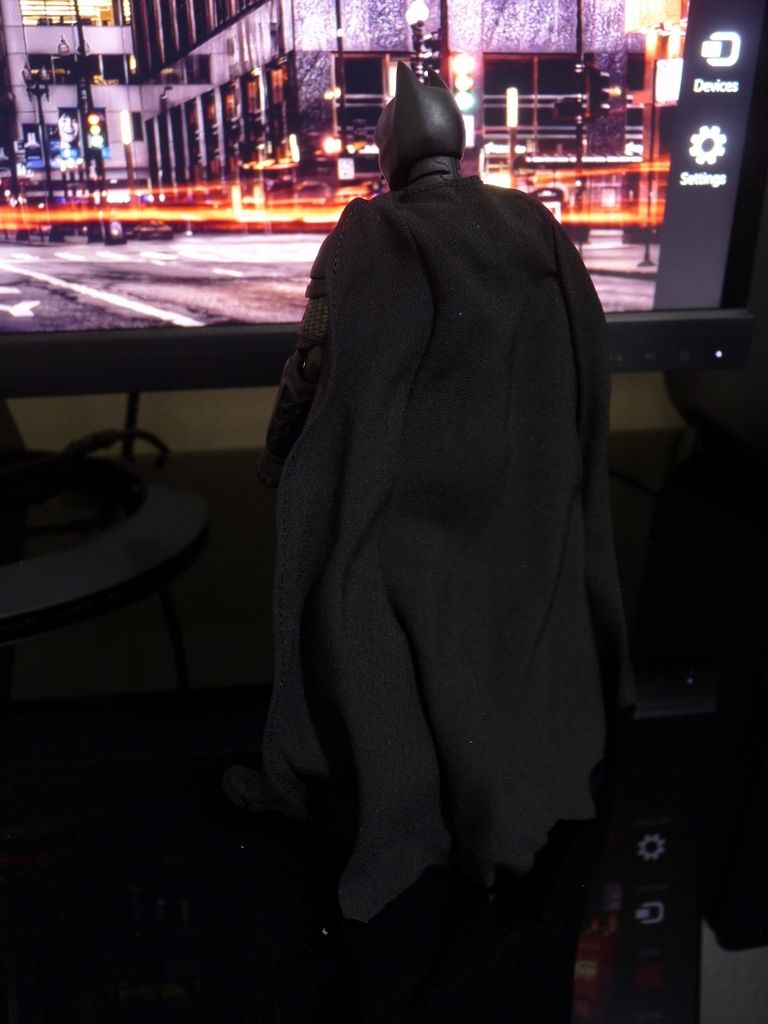
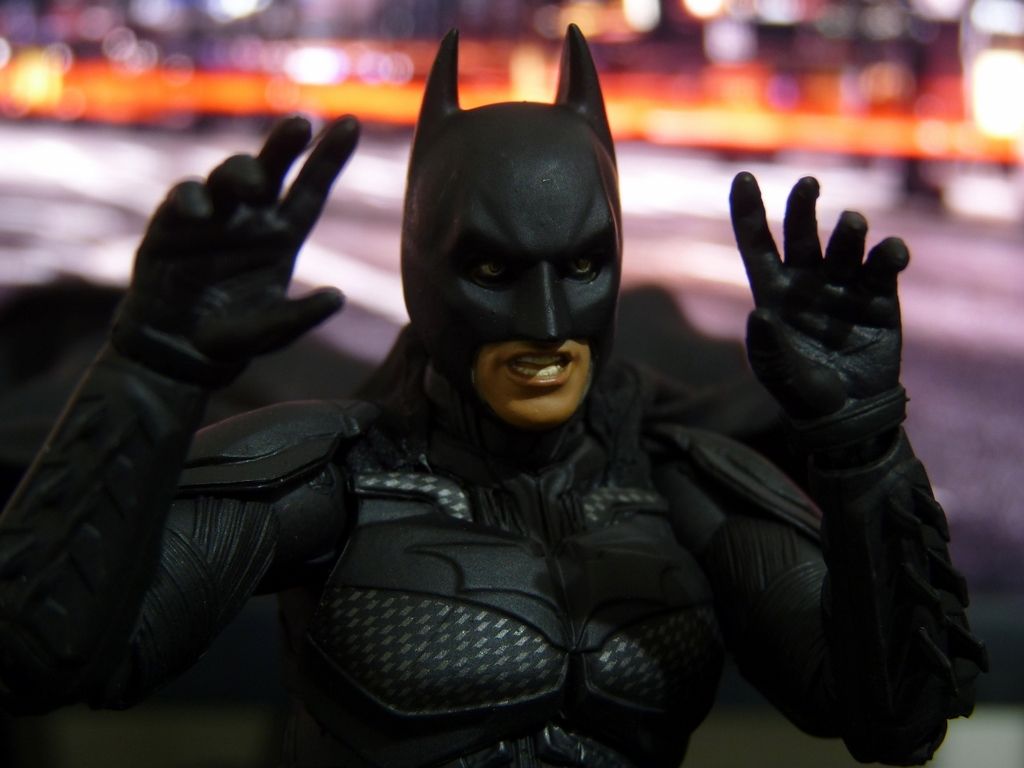
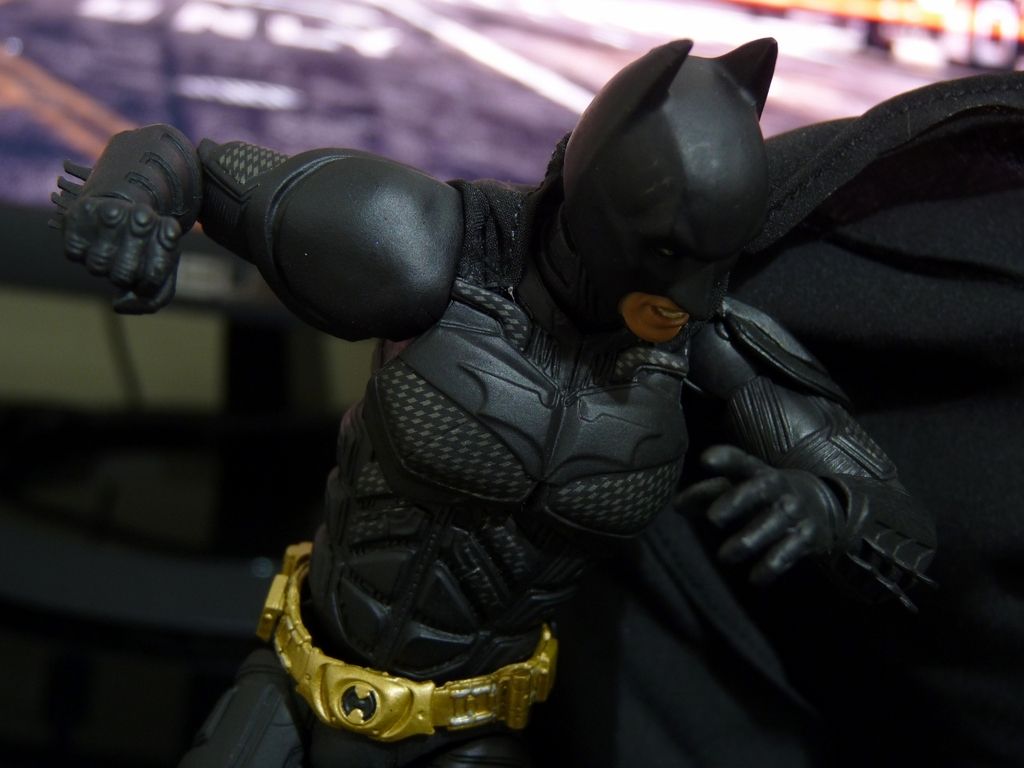
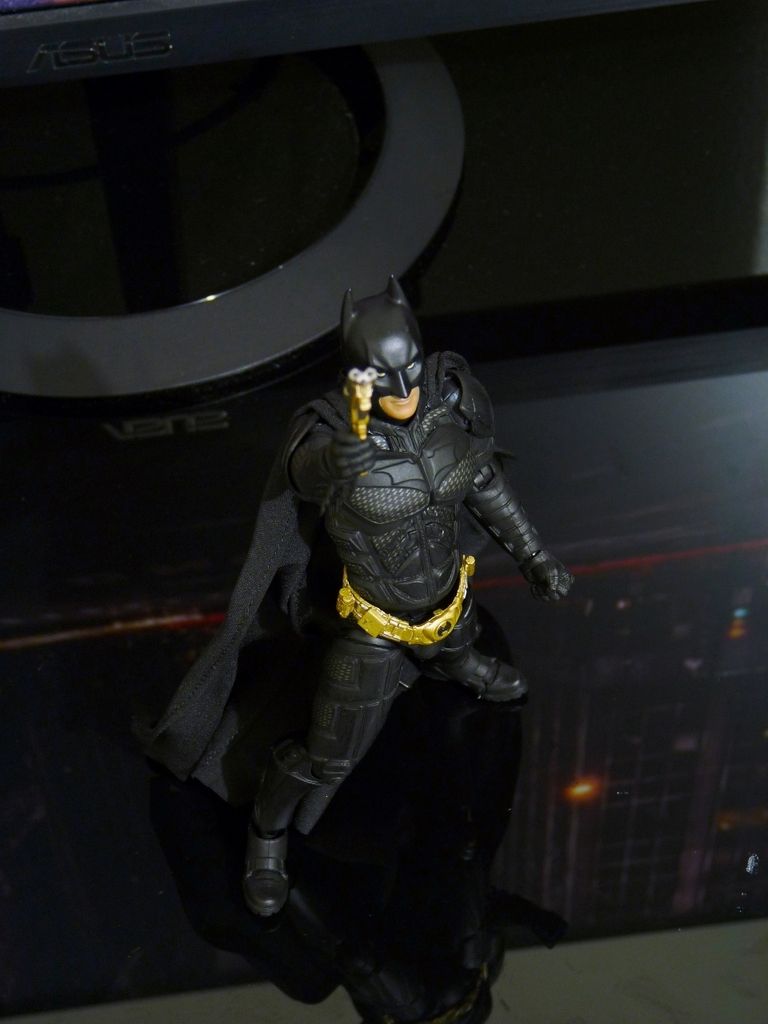
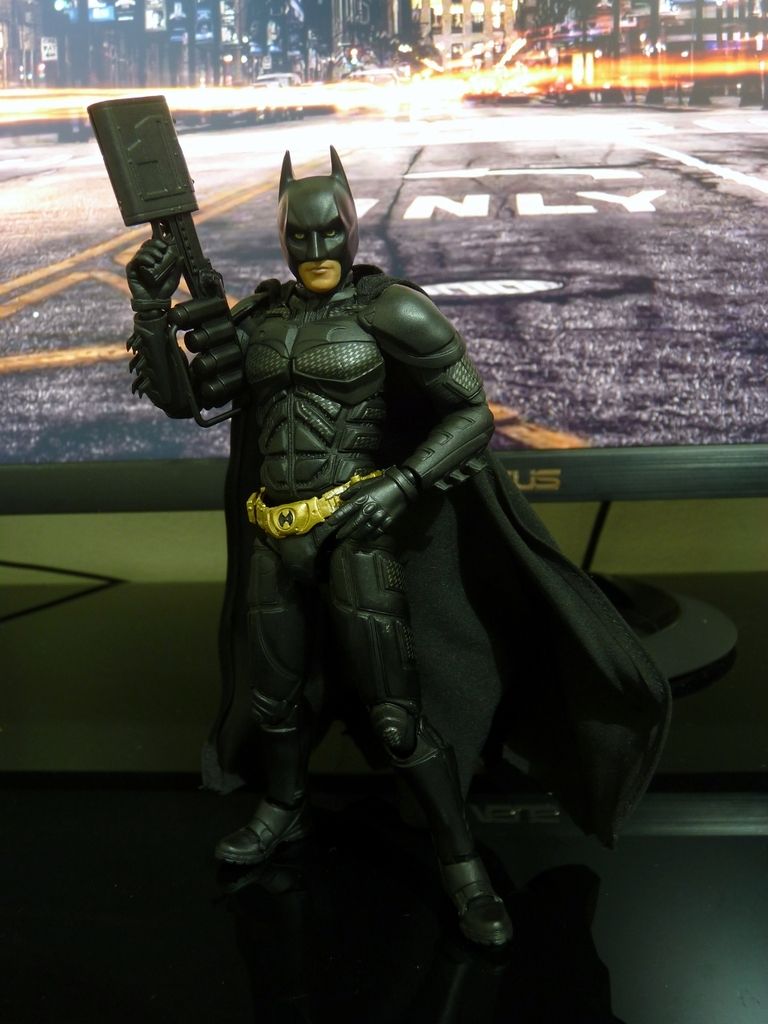
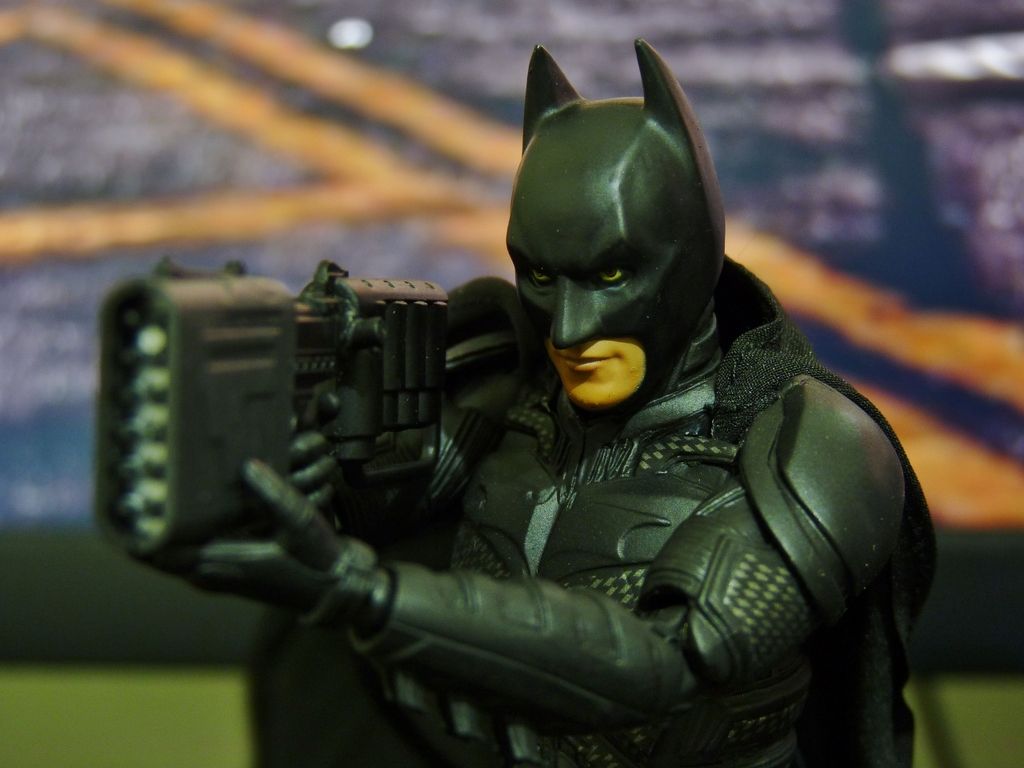
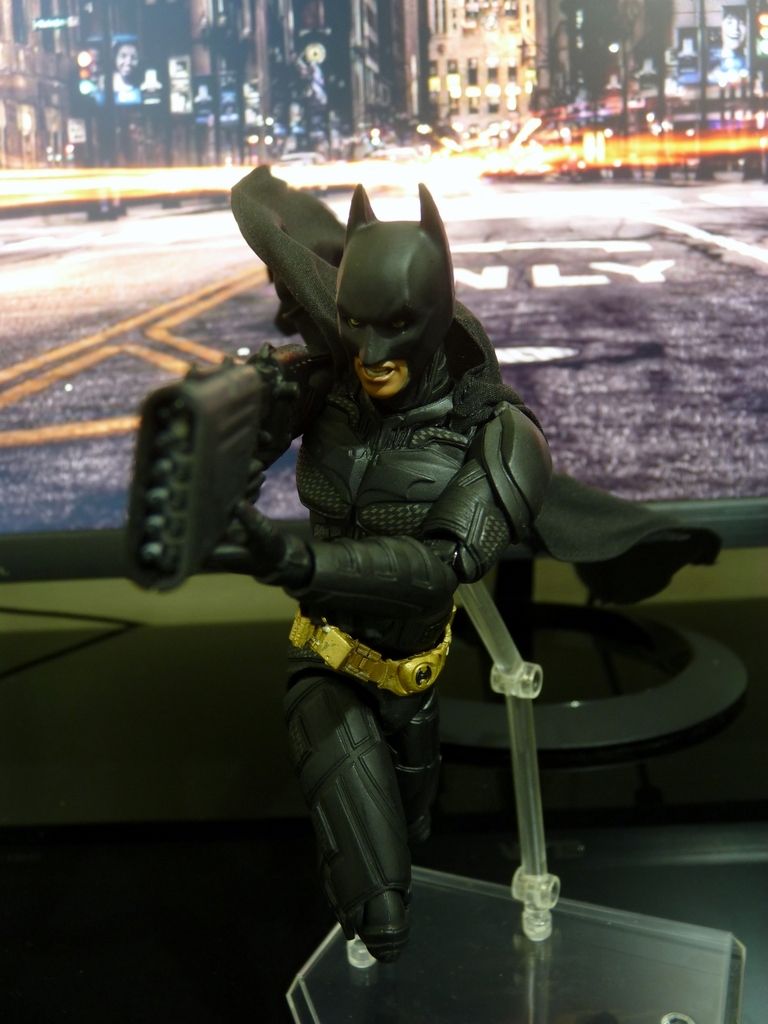
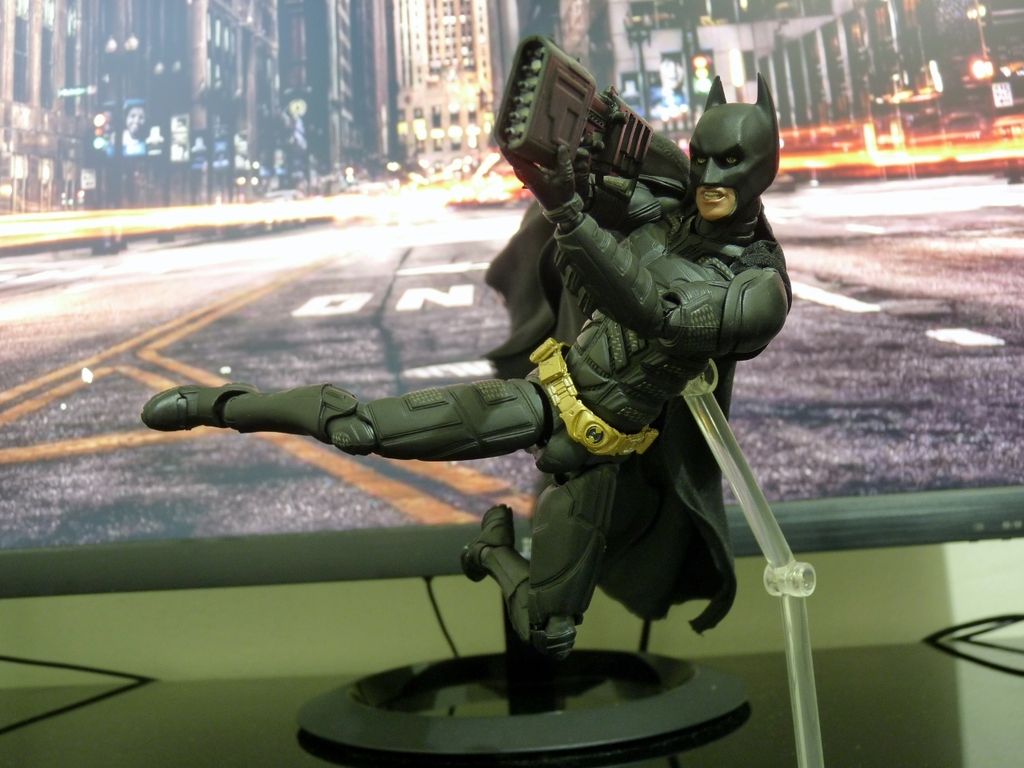
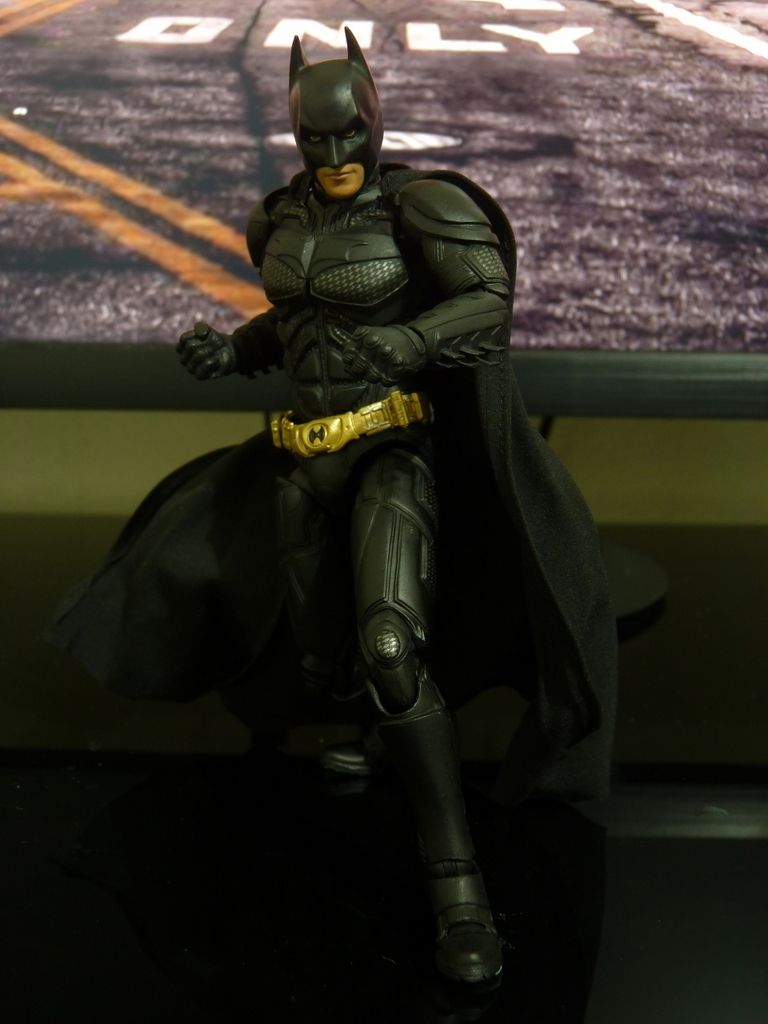
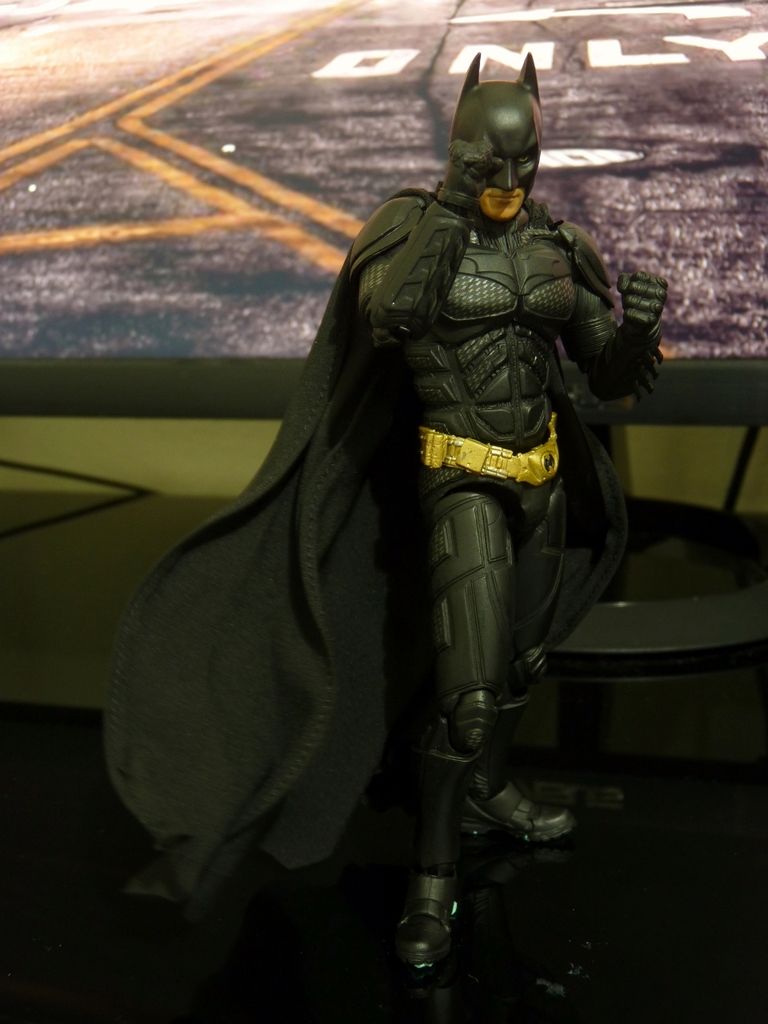
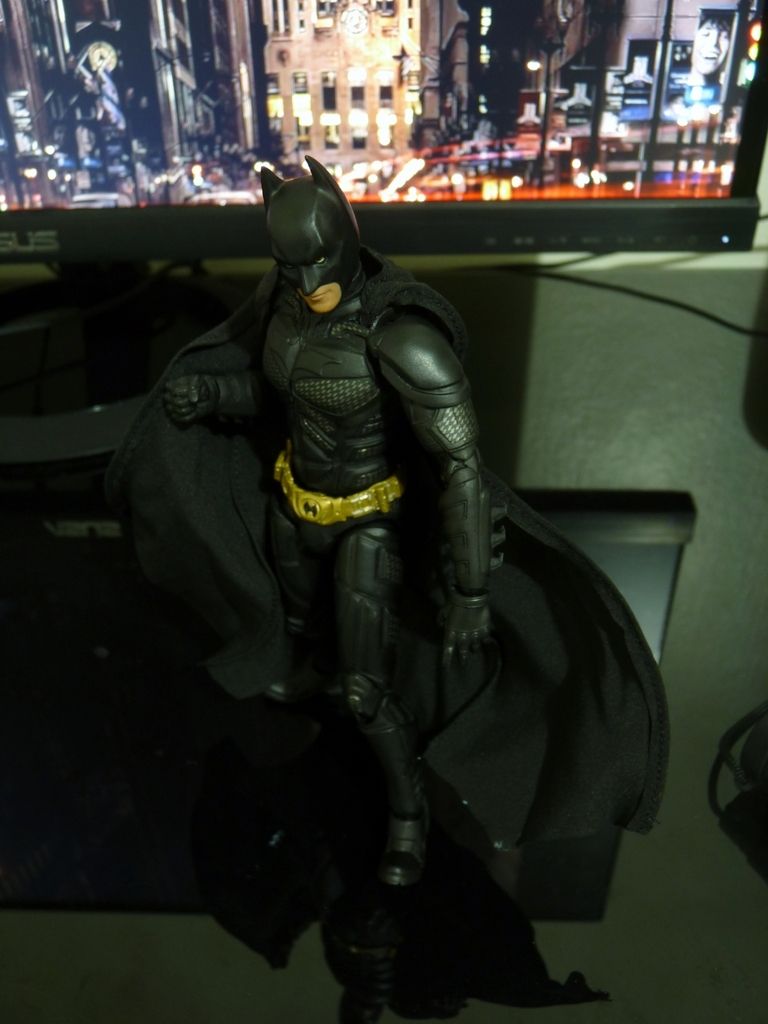
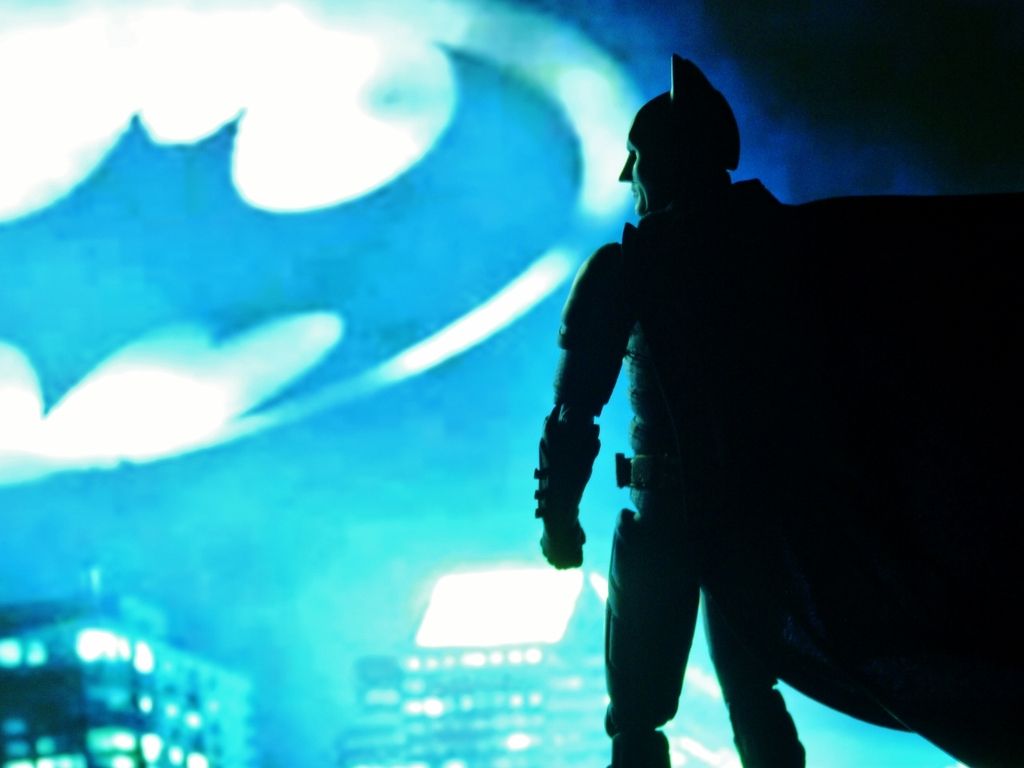
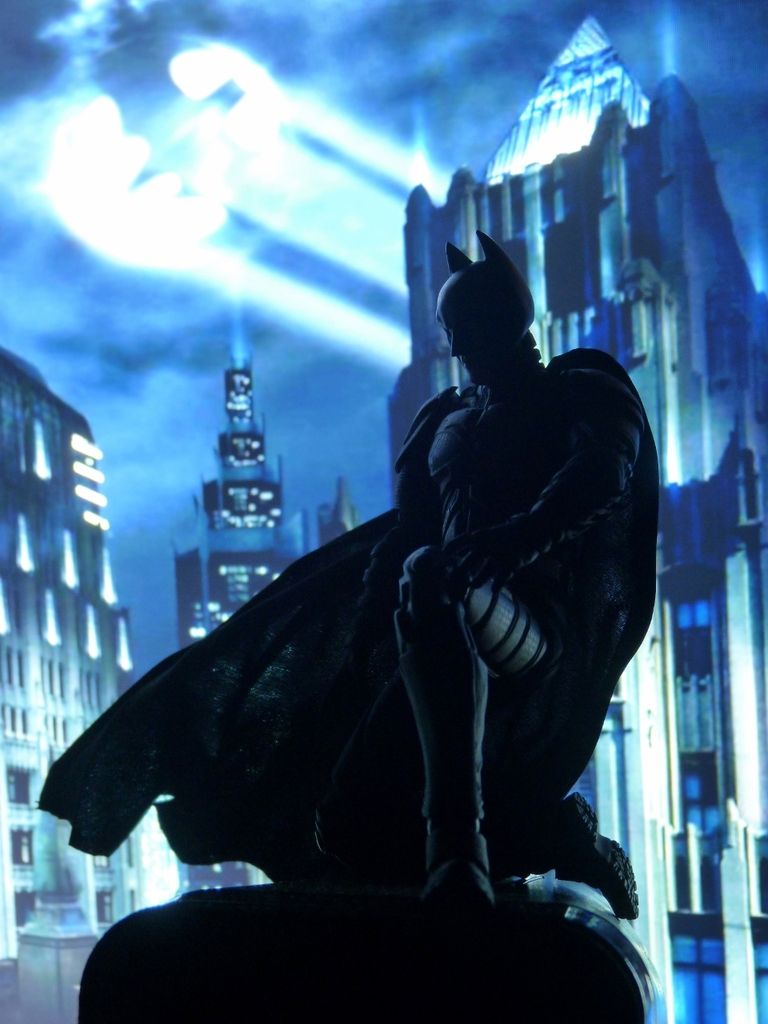
The obligatory 360 view
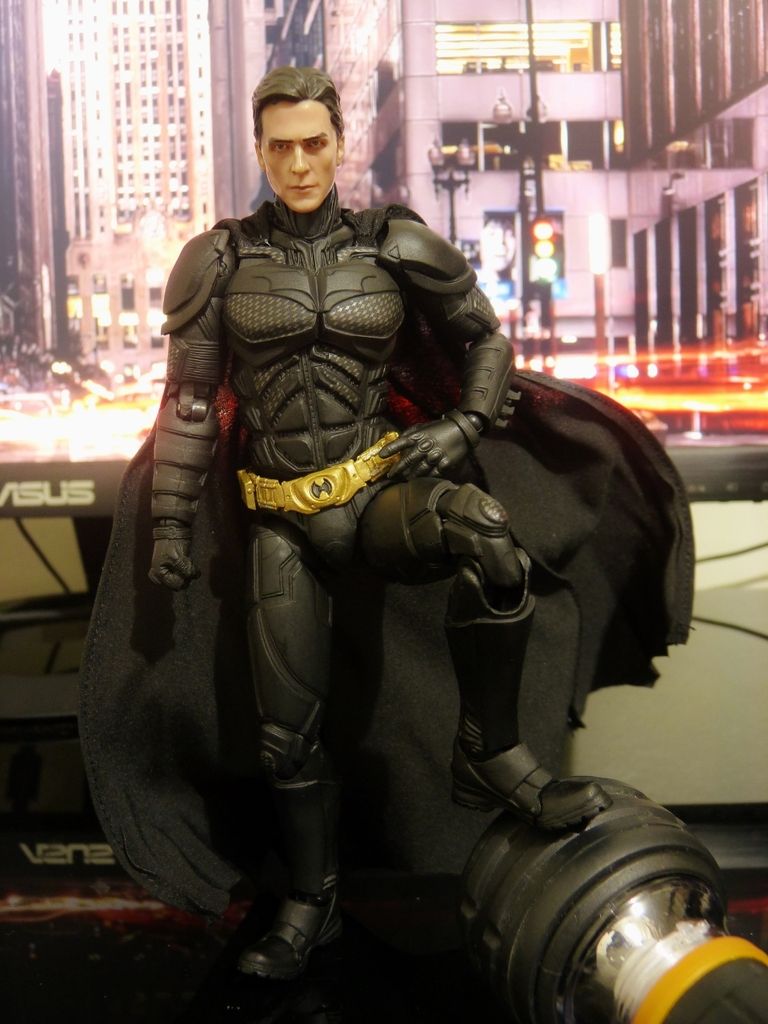
Right off the bat (yes that was a pun), this figure looks awesome!


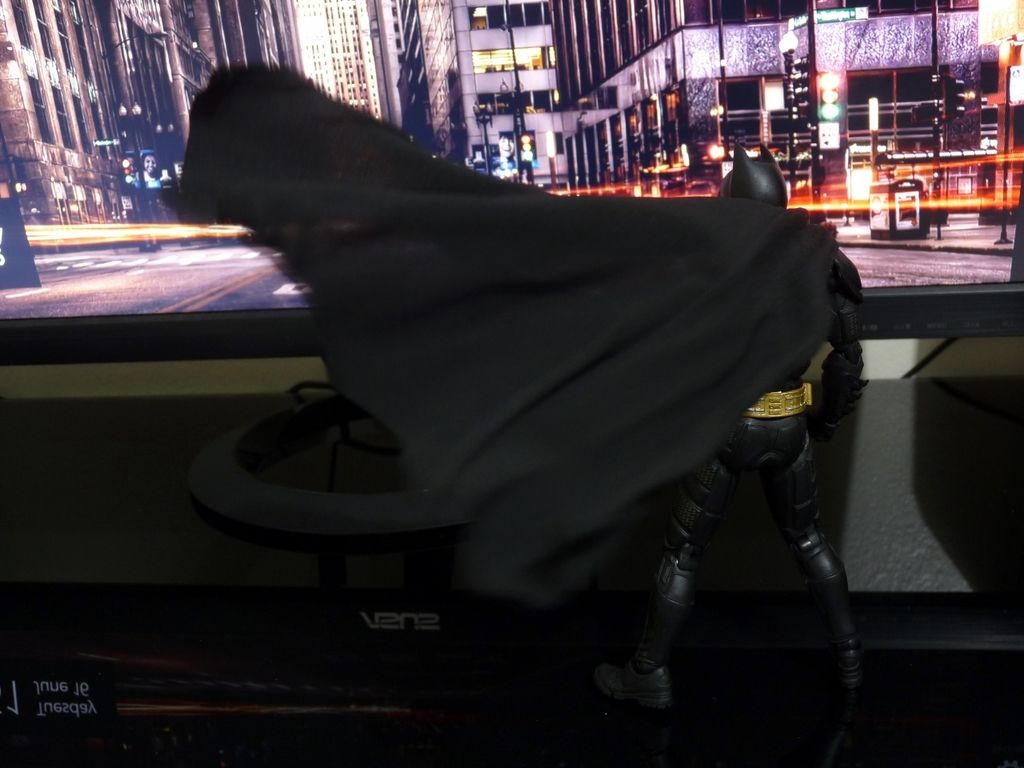
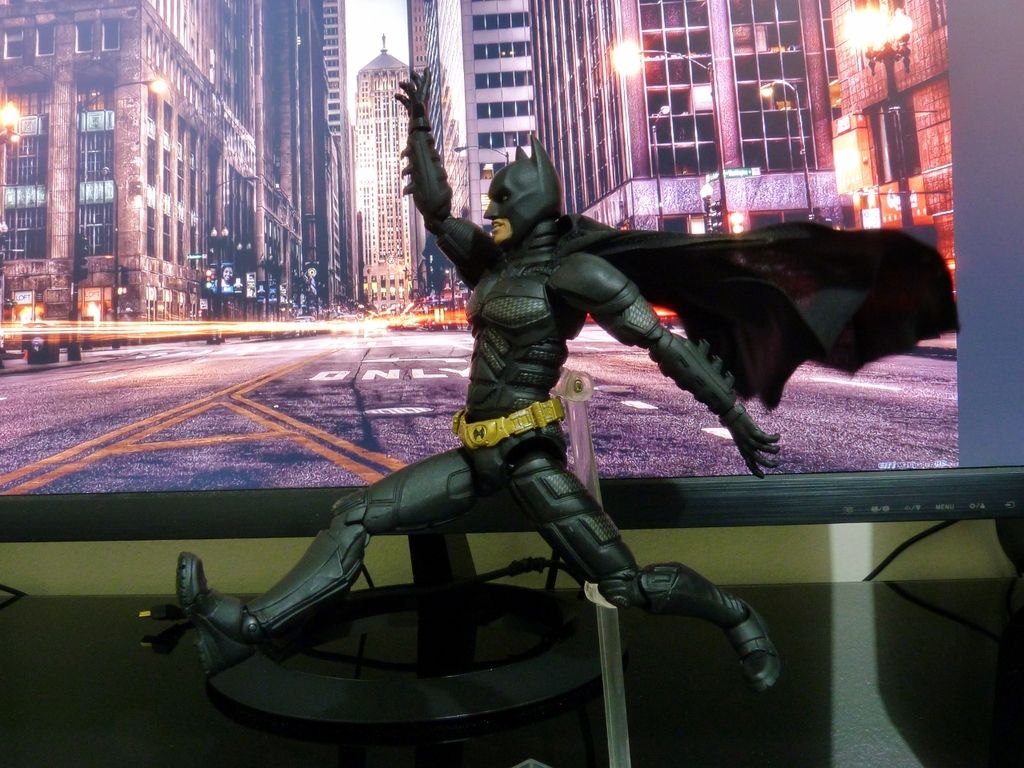
The cape is as manageable as my sister's keratin treated hair


I have not seen the Ver 1.0 personally but from what I've seen on the interwebz the details are a ton sharper here in Ver 2.0


Bale head is accurate but not Hot Toys jaw-dropping accurate - no shame in that considering its price
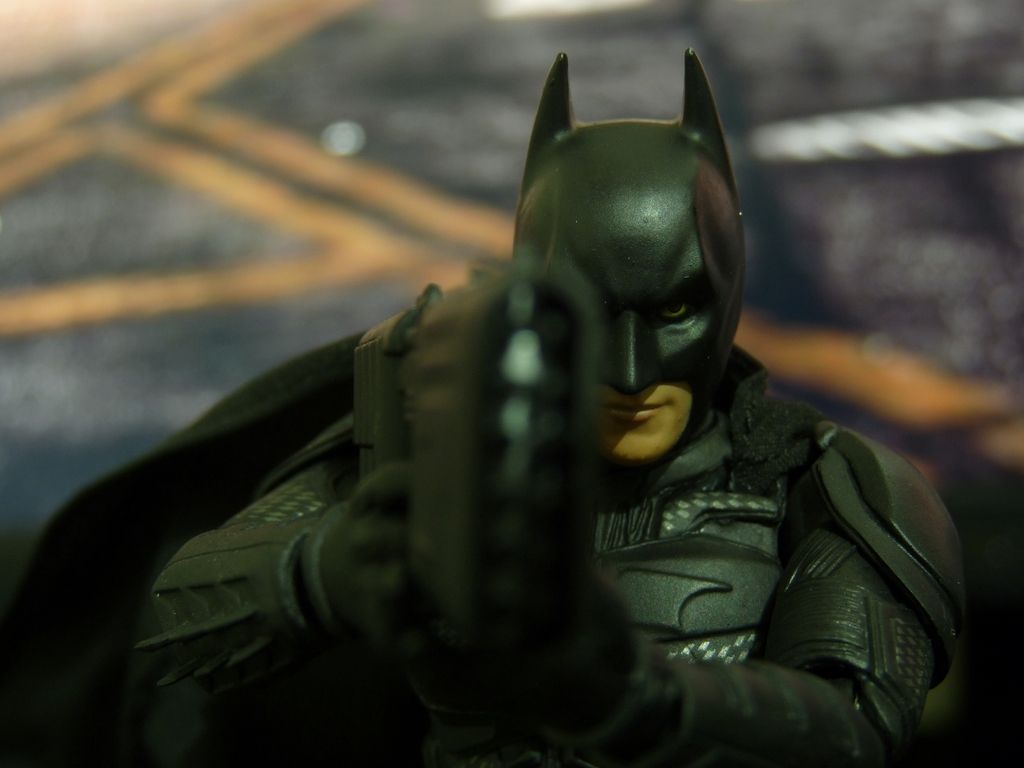
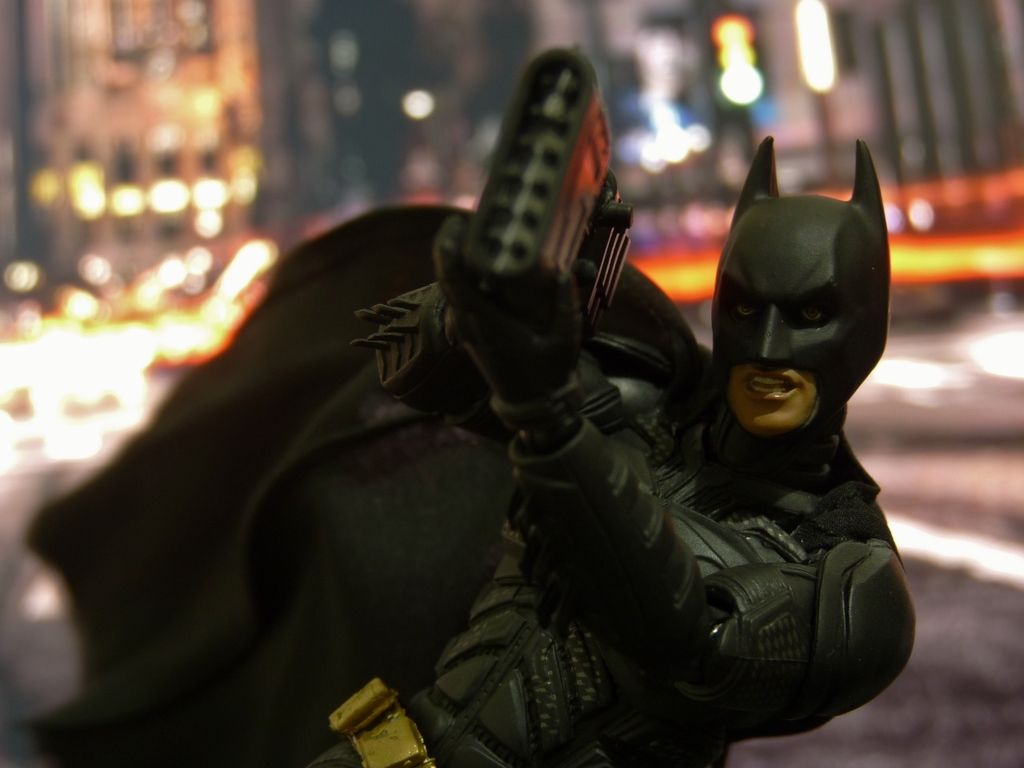
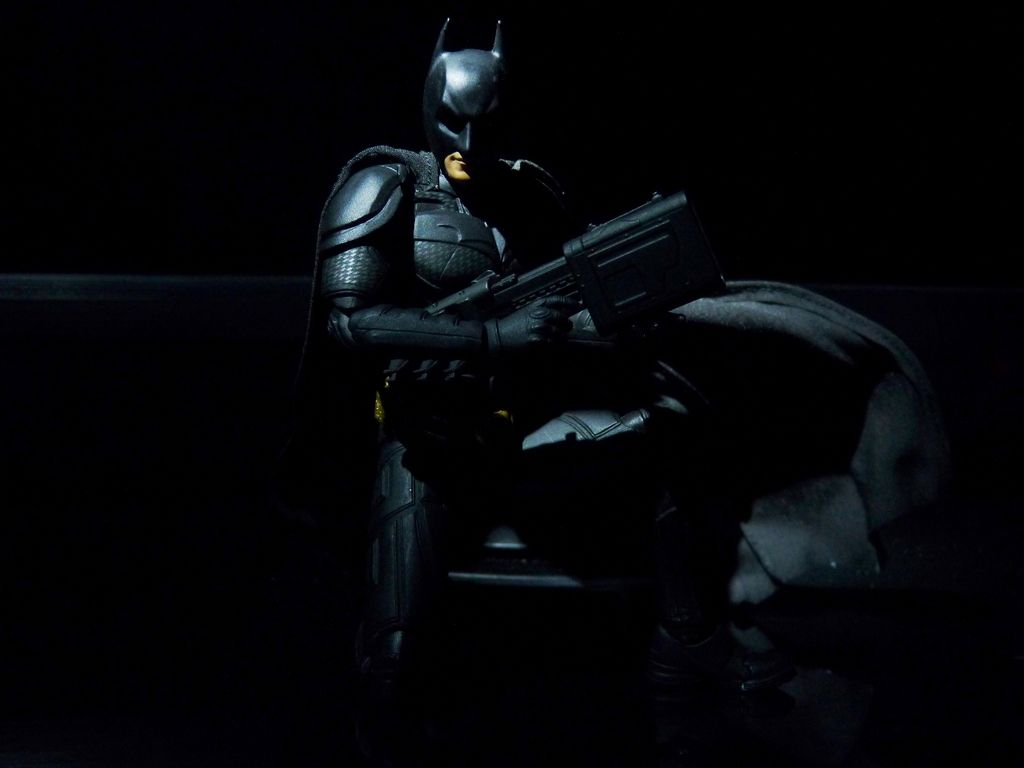

I am the night.....


I am vengeance! Boooo!


lol


Action


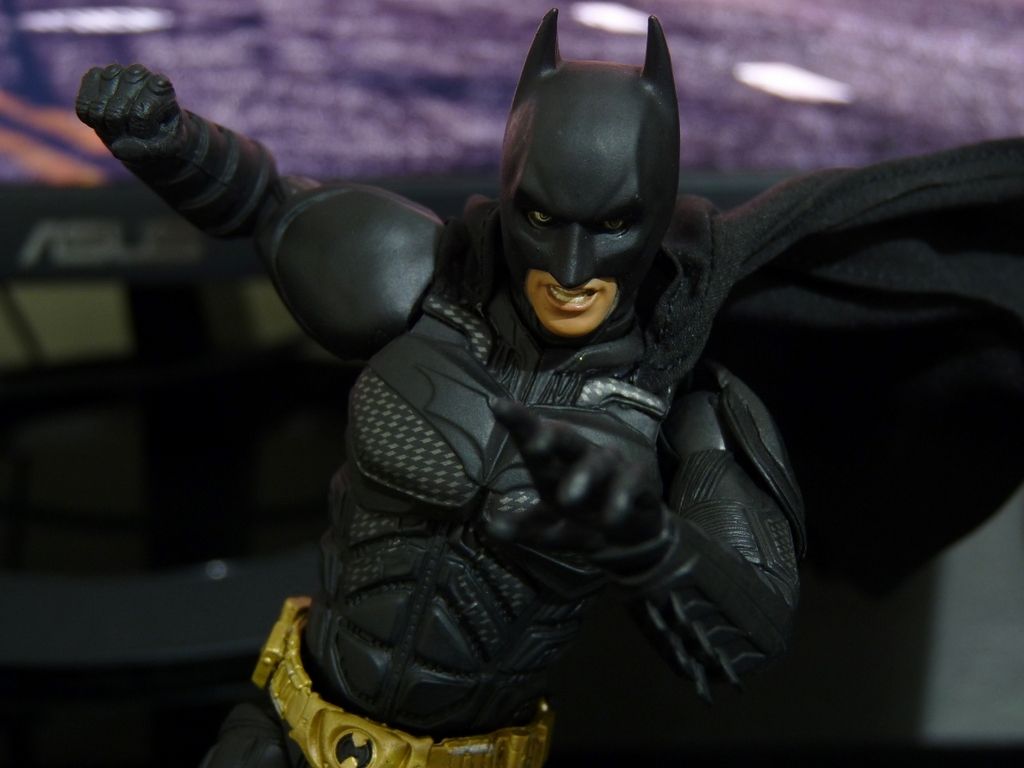
I won't kill you.... But I don't have to save you


...The night is dark and full of terrors


Pros:
Details are a lot better than 1.0
It's the definitive Dark Knight 6" collectible
Comes with a stand

Cons:
The joints are useless hindering articulation (I may have been spoiled by SH Figuarts)
Very very hard to make it stand on its own feet!

Looking at the photos is definitely a treat! If you are the type of collector that fancy toy photography and love to fiddle with your action figure, I have terrible news. The second release was supposed to fix the flaws of the not-so-old ver 1.0. Sad to say, ver 2.0 is STILL haunted with some issues from 1.0. I have to say the details are tuned and arms does not pop off as easily. Minor improvements didn't warrant for a second release. What they did was simply alleviate the underlying problems of the first. Potential buyers would have to take a look at other brands yet again. 2.0 could have been perfect. Having said that, owners of 1.0 would find it hard to re-purchase the 2.0. IF and only IF you are looking for Bale-bats this is definitely the one to get and would add up nicely on the shelf.... Where it belongs.

Comments

Popular posts from this blog

TT Hongli MG 1/100 Exia Ignition Mode - Review

Assembling bootleg kits can be a pain at times but this MG Exia Ignition Mode was a breeze. I was surprised from the fact that 90% went well and the other 10% were minor fixes - from shaving male connectors to gluing parts. I really enjoyed assembling my first Master Grade (I was hoping it was Bandai, my wallet was not cooperating as expected lol). Action! G...Gu...Gundaaaaaam!!!!!!!!!!! GUUUUNDAAAAMU!!! Ore wa........... Ore Wa Gundam-da!! Exia exterminating target............... Graham: Ike, Setsuna! Live and unlock the future! More swords Setsuna? Target exterminated! Joining the bunch :D Pros: Assembling is pretty easy for a bootleg Build is sturdy It came with LEDs! Cons: Joints are too stiff (for my liking, anyways, it made the kit solid though) Swords at his wait does not fit the peg in the hand Exia Repair parts does need half of the non-Repair head. (didn't bother with the transformation) The Exia Ignition Mode is a must have! I'm really g

RIP Crimson Comet

Photobucket has kidnapped my photos and I'm too lazy to re-upload and update every bit. It's been worthwhile. I'm intending to start a new blog that is more "personal" than just focus on one part of my hobby. Looking at my older posts, I can fairly say I've improved on my toy photography (and English!) in which I am thankful for this space as a medium to share my work. Thank you for reading up to this part! Cheers for 7 years!

QY SD God Gundam - Mini WIP, Assembly Cure and Review

Thank GOD I'm back! Lumix is back and my GunPla energy has been over the top! I'm feeling good this morning and built Gundam Alex. Well more on that next time, but again, thank GOD I can finally review my QY God Gundam! Starting off, here is the box of QY's bootleg of God Gundam (Deitg Warrior). Unboxing this miniscule kit, there are only 5 runners along with the polycaps. ..And here's my bootleg Unicorn (mfg by Jargon), envious why he does not have a review. Issue 01: Starting off our assembly cure, carefully shave off the chest piece by a hobby knife to snugly fit it into the chest armor. Issue 02: Like most of my QY kits, head continues to be problematic. Cut the male connectors and apply glue to the seams. Issue 03: Waist armor male connectors are too thick. Shave by a hobby knife or sand it down to fit the pieces. Issue 04: Arms too have fitting issues. Cut the male connectors and then glue. Make sure you do not forget the poly cap when gluing! Is