
Bandai SD RX-93 Nu Gundam V2 - WIP 02

Hohoho!! It's not every day, heck, it's not every YEAR you get to post on February 29! Not much progress with the Nu since I ran out of clear primer and grey primer. Sucks because I was in the mood and 6th gear today to actually do some damage :(

Anyway, the Nu unit is complete. I was about to paint the funnels and weapons but yeah, primer has been depleted.

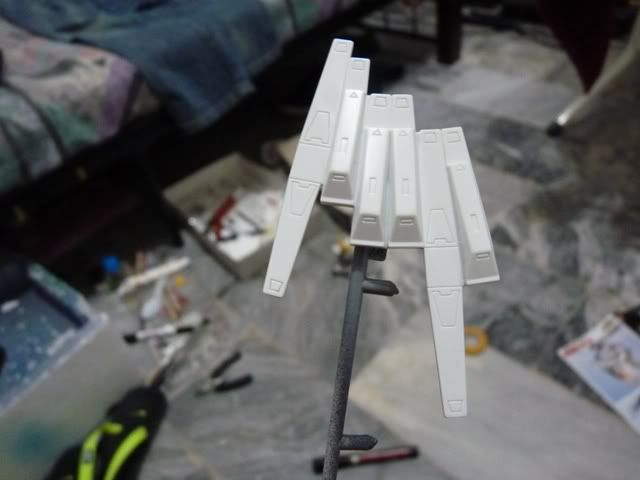
Preppin to paint the fin funnels (pardon for the messy room)


Some of the weapons. I actually forgot the sword for this batch


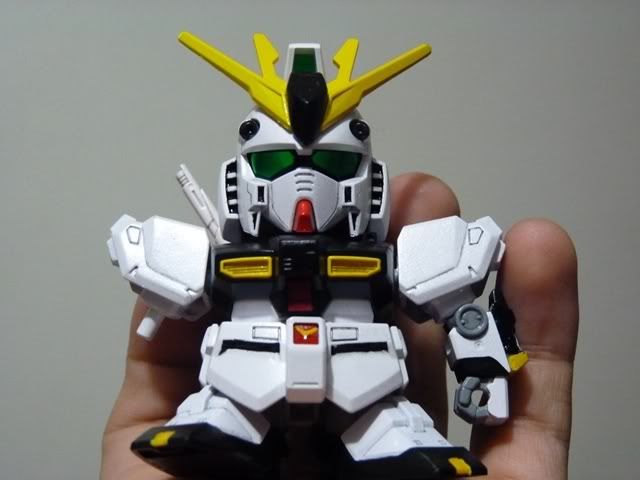
Detailed using Gundam Markers for touch ups and panel-lined the Nu using a 0.3 mechanical pencil. Works wonders. The effect is just what I wanted. Thin, faint, and clean :)
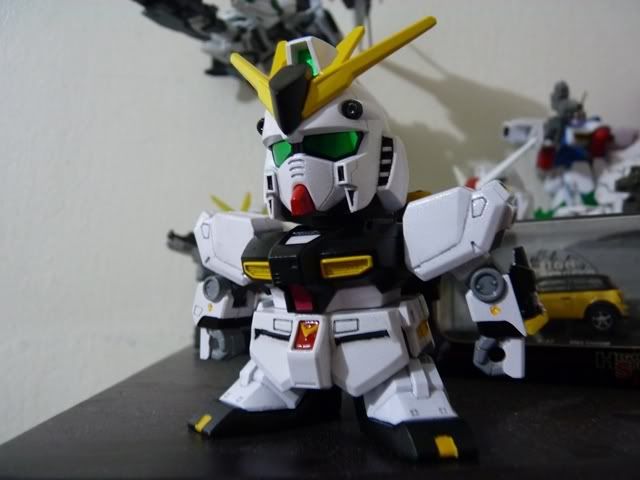

Unit complete!~


I have been constantly experimenting on different techniques on how to put up model kits. For the past builds I have been flirting with glossy finishes and surprised to say I find it awesome. Still, my preferred finish is matte, but the gloss right now just looks as good. I guess depending on the mood I'm in or on the color scheme. Hopefully next time if opportunity and time permits, I'll get to try out pastel color schemes.

PS.
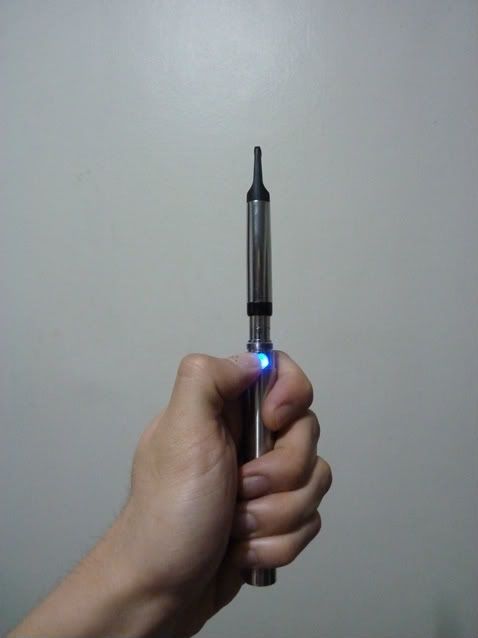
This is what's keeping me alive and healthy without quitting the habit.
Current setup:
Ego-PT 4.2v
801 LR atomizer (atty)
Watermelon juice 18mg nic

The 801 LR atty is a charm. It produces a warm a tasty vapor! Watermelon overload!

Comments

Popular posts from this blog

TT Hongli MG 1/100 Exia Ignition Mode - Review

Assembling bootleg kits can be a pain at times but this MG Exia Ignition Mode was a breeze. I was surprised from the fact that 90% went well and the other 10% were minor fixes - from shaving male connectors to gluing parts. I really enjoyed assembling my first Master Grade (I was hoping it was Bandai, my wallet was not cooperating as expected lol). Action! G...Gu...Gundaaaaaam!!!!!!!!!!! GUUUUNDAAAAMU!!! Ore wa........... Ore Wa Gundam-da!! Exia exterminating target............... Graham: Ike, Setsuna! Live and unlock the future! More swords Setsuna? Target exterminated! Joining the bunch :D Pros: Assembling is pretty easy for a bootleg Build is sturdy It came with LEDs! Cons: Joints are too stiff (for my liking, anyways, it made the kit solid though) Swords at his wait does not fit the peg in the hand Exia Repair parts does need half of the non-Repair head. (didn't bother with the transformation) The Exia Ignition Mode is a must have! I'm really g

RIP Crimson Comet

Photobucket has kidnapped my photos and I'm too lazy to re-upload and update every bit. It's been worthwhile. I'm intending to start a new blog that is more "personal" than just focus on one part of my hobby. Looking at my older posts, I can fairly say I've improved on my toy photography (and English!) in which I am thankful for this space as a medium to share my work. Thank you for reading up to this part! Cheers for 7 years!

QY SD God Gundam - Mini WIP, Assembly Cure and Review

Thank GOD I'm back! Lumix is back and my GunPla energy has been over the top! I'm feeling good this morning and built Gundam Alex. Well more on that next time, but again, thank GOD I can finally review my QY God Gundam! Starting off, here is the box of QY's bootleg of God Gundam (Deitg Warrior). Unboxing this miniscule kit, there are only 5 runners along with the polycaps. ..And here's my bootleg Unicorn (mfg by Jargon), envious why he does not have a review. Issue 01: Starting off our assembly cure, carefully shave off the chest piece by a hobby knife to snugly fit it into the chest armor. Issue 02: Like most of my QY kits, head continues to be problematic. Cut the male connectors and apply glue to the seams. Issue 03: Waist armor male connectors are too thick. Shave by a hobby knife or sand it down to fit the pieces. Issue 04: Arms too have fitting issues. Cut the male connectors and then glue. Make sure you do not forget the poly cap when gluing! Is