
Bandai RG Aile Strike - WIP 02

A great month of GunPla for September! A few hiccups with the progress because of bad weather (had frosting while top coating *bummer*) but hey, I am doing quite well and faster than my previous makes haha!

Just a quick overview on what's done:


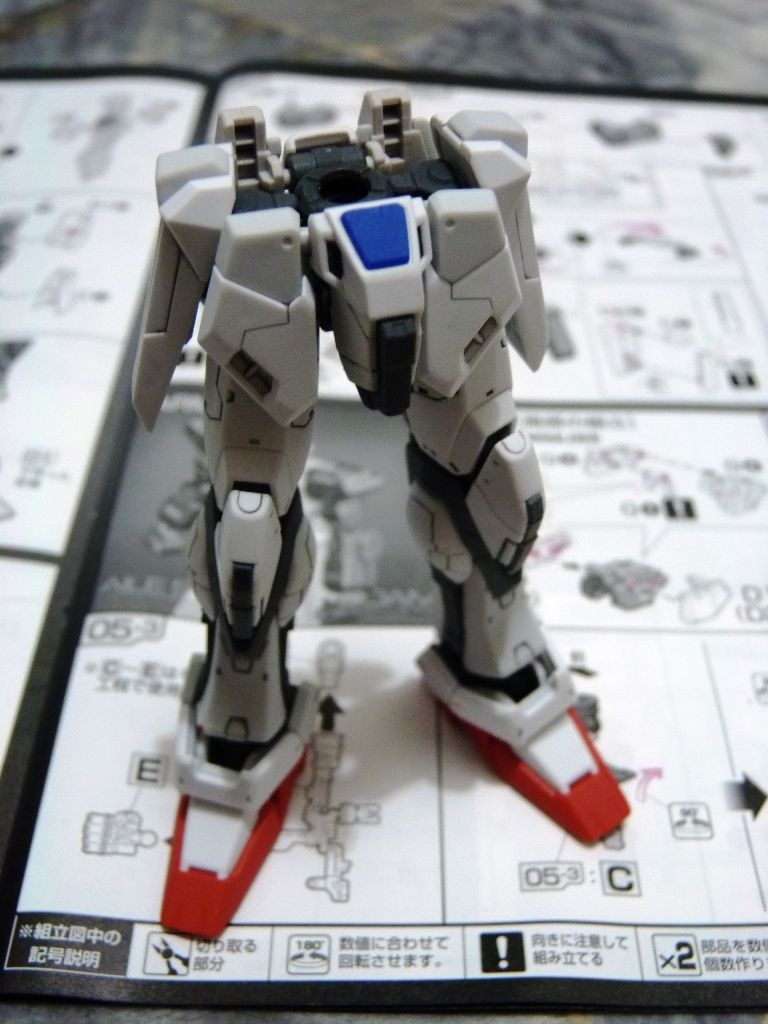
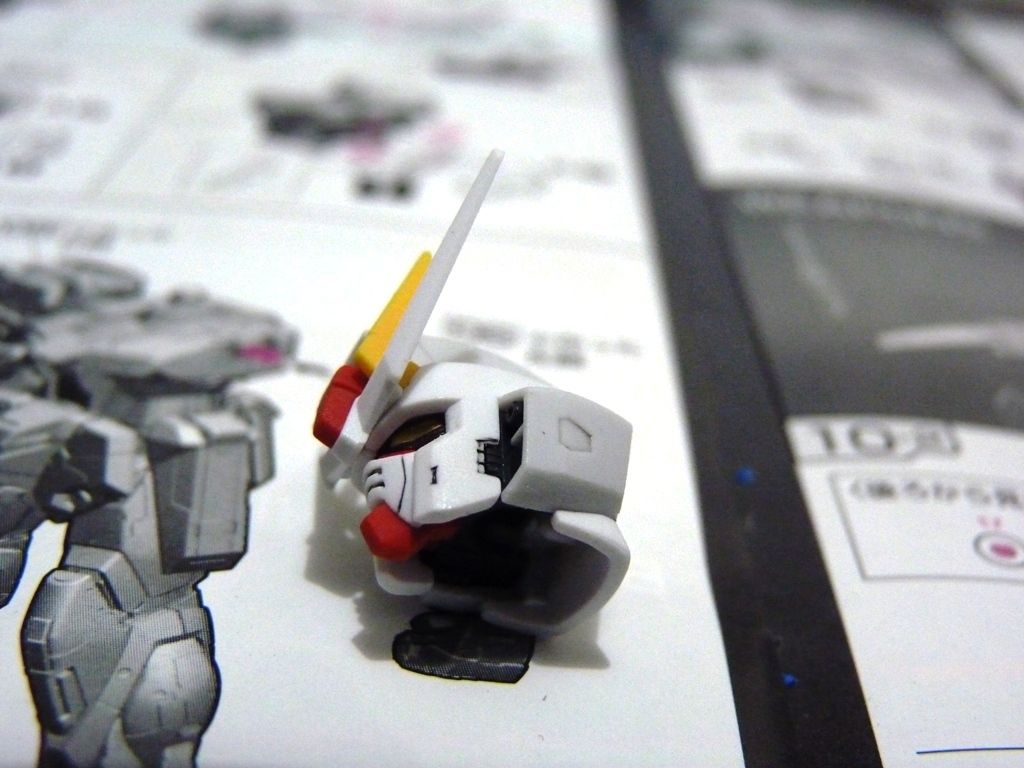
Redid the body because of the awful frosting issue. Still has slight frosting but meh...


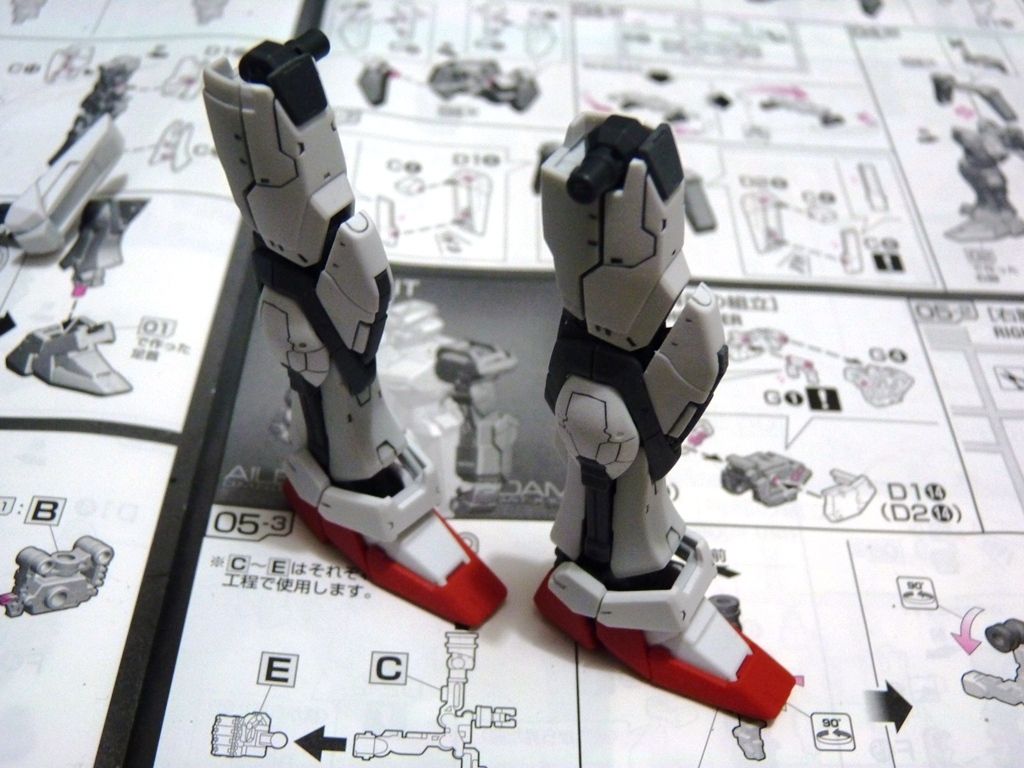
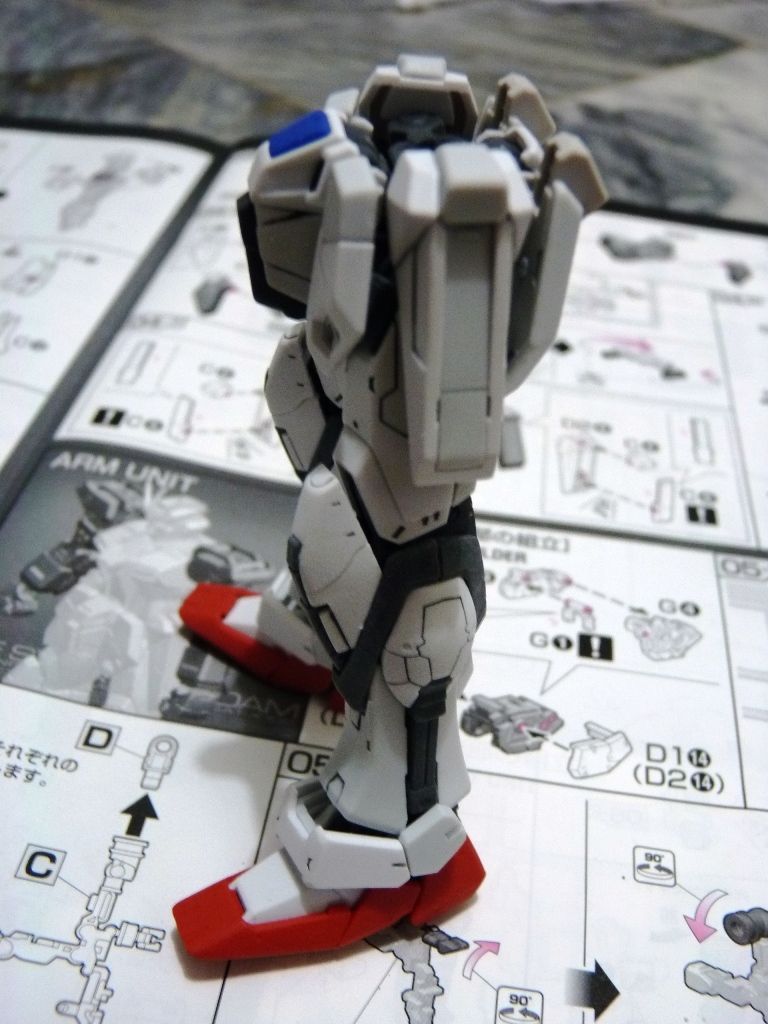
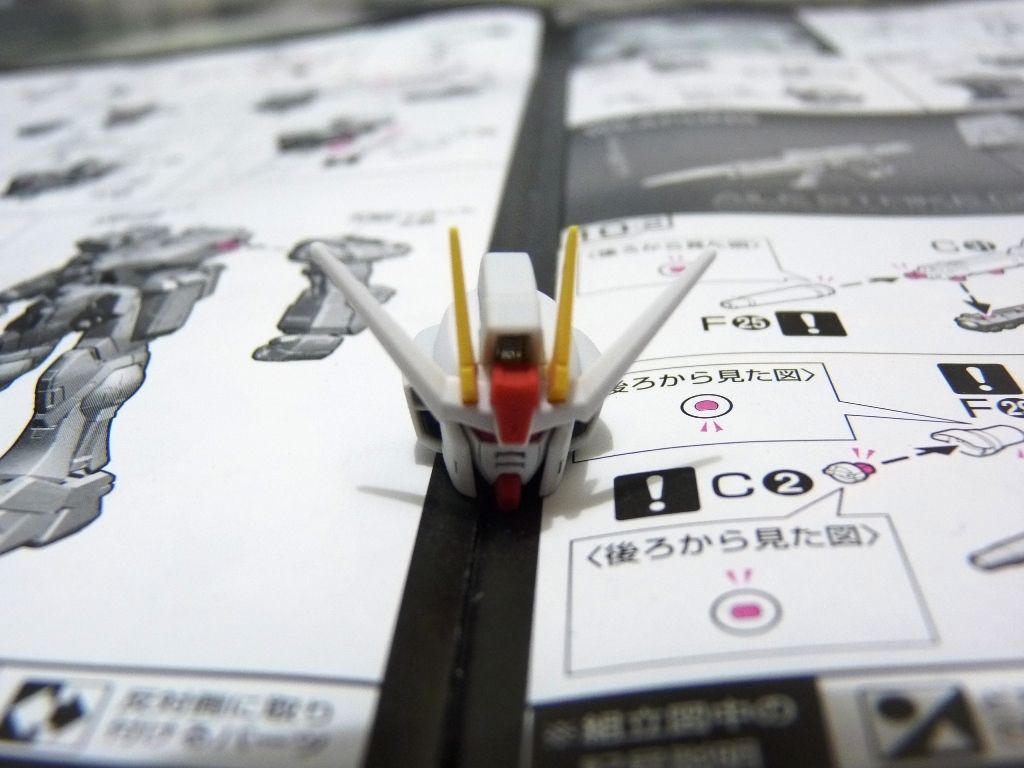
Back reminds me of AGE 1's (just without the spoiler)


Looking sexy now


Fucked up the hand connector on the rifle. Hope it could still hold for the photoshoot :(


Doesn't this remind you of the Evangelion shield too? BTW, didn't bother getting the waterslide decals. With my current laziness doing so would further slow my "fast" progress. LOL. Besides, the clear stickers are acceptable.


Loving the shiny effect of the foil stickers


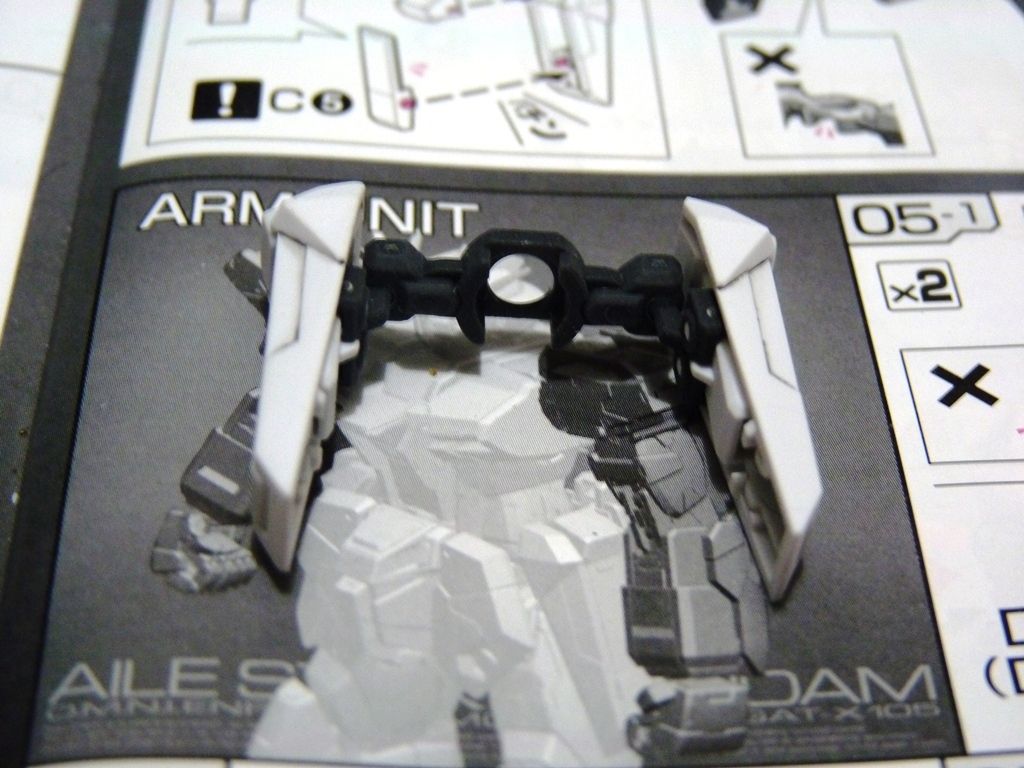
Unit / weapons DONE!


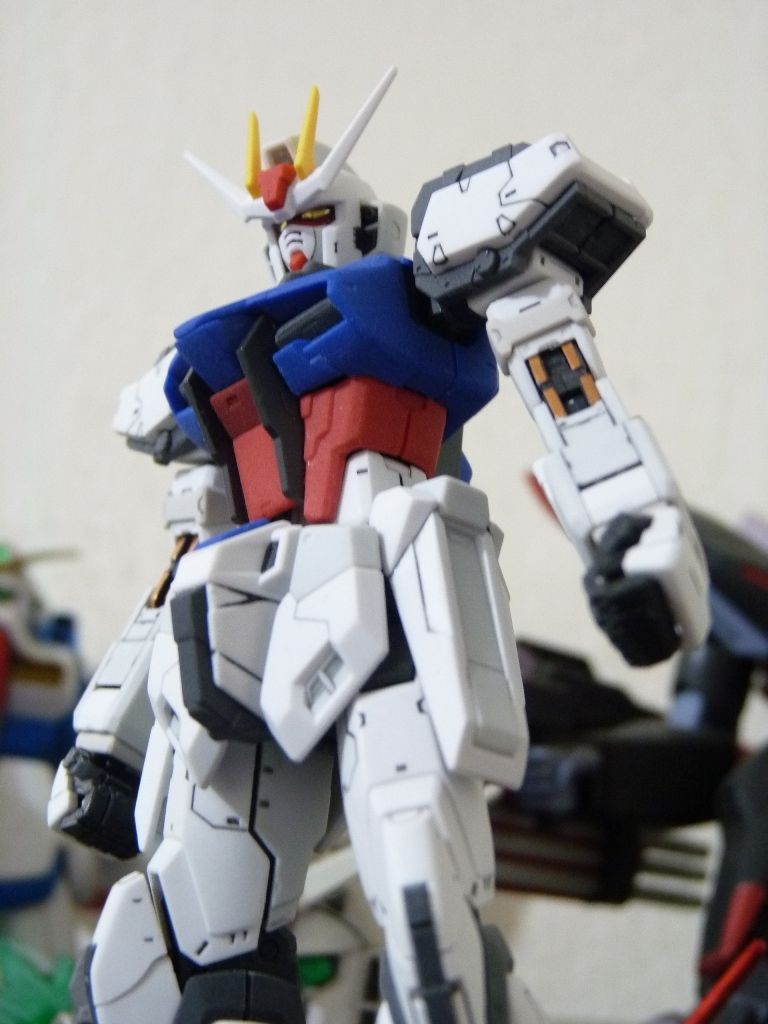
Done applying the stickers for the unit and shield too AND already started with the Aile Striker pack (whoo on a roll!). Wow, this must be the best looking first gen lead Gundam to date IMO. Hope I can get my hands on a flat coat now. Weather looks fine outside it's a shame I can't continue. Really enjoying the RG Aile Strike build. Despite being unfinished, I highly recommend this kit. Just look at how awesome this guy looks even without the sticker details!

Comments

Popular posts from this blog

QY SD Shining Gundam - Mini WIP, Assembly Cure and Review

It has been a while since the last time I blogged. Reality bites and I have to focus on the "more important things in life." Work, girlfriend, and of course going outdoors - a much needed "distraction" to regain my appetite for GunPla. In all honesty my interest has gone downhill and the promised TT Hongli MG Sinanju is nothing more of a plan than a work-to-be-done. There will always be the GunPla itch so I picked this teeneeweenee SD that caught my eye. Welcome to the club, Shining Gundam!! To start off, the box. Runners - 5 in total along with the polycaps Issue 01: See the yellow fin attached to the head? Don't force to plug it in. You'll only damage the plastic. Shave off the little opening to fully accommodate the fin. Repeat it on the other side. Issue 02: The usual suspect in QY kits. What I did was shave the male connectors with my hobby knife. Head done! Notice I used the foil stickers. It's not that I was too lazy to paint the eyes, b...

Bandai SD Zeta Karaba Assault - WIP 01

Coming from a competition really fired my GN Drives up! I am now onto my 1st WIP of 2012, SD Zeta! This 2-pack kit was actually bought before I even knew about the GFP competition. But G-SHOT and the 1/144 Challenge came along and the fun and excitement was too hard to pass up! I initially thought of doing Zeta in its accurate colors. Watching Gundam AGE really blew me and I fell in love with white MS's particularly seeing how the G-EXES pawns the UE. Right then and there I decided to try something different, something that I've never tried before (well, sort of). BTW, if you've never encountered the Zeta Karaba Assault it sorta looks like this ~ It is a limited edition color scheme of the MG Zeta V2. The Karaba Assault was piloted by the White Unicorn AKA Amuro Ray. (Photo above is NOT mine. Thank you GundamPH for the reference. Visit his site too. There are a lot of GunPla, mech, and other anime-related cool stuff there to see) Upon straight building this dude, I ...

TT Hongli MG 1/100 Exia Ignition Mode - Review

Assembling bootleg kits can be a pain at times but this MG Exia Ignition Mode was a breeze. I was surprised from the fact that 90% went well and the other 10% were minor fixes - from shaving male connectors to gluing parts. I really enjoyed assembling my first Master Grade (I was hoping it was Bandai, my wallet was not cooperating as expected lol). Action! G...Gu...Gundaaaaaam!!!!!!!!!!! GUUUUNDAAAAMU!!! Ore wa........... Ore Wa Gundam-da!! Exia exterminating target............... Graham: Ike, Setsuna! Live and unlock the future! More swords Setsuna? Target exterminated! Joining the bunch :D Pros: Assembling is pretty easy for a bootleg Build is sturdy It came with LEDs! Cons: Joints are too stiff (for my liking, anyways, it made the kit solid though) Swords at his wait does not fit the peg in the hand Exia Repair parts does need half of the non-Repair head. (didn't bother with the transformation) The Exia Ignition Mode is a must have! I'm really g...