It has been a while since the last time I blogged. Reality bites and I have to focus on the "more important things in life." Work, girlfriend, and of course going outdoors - a much needed "distraction" to regain my appetite for GunPla. In all honesty my interest has gone downhill and the promised TT Hongli MG Sinanju is nothing more of a plan than a work-to-be-done.


There will always be the GunPla itch so I picked this teeneeweenee SD that caught my eye. Welcome to the club, Shining Gundam!!
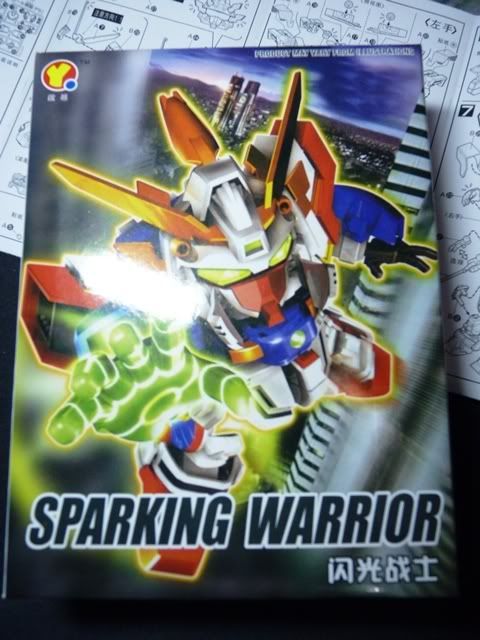
To start off, the box.
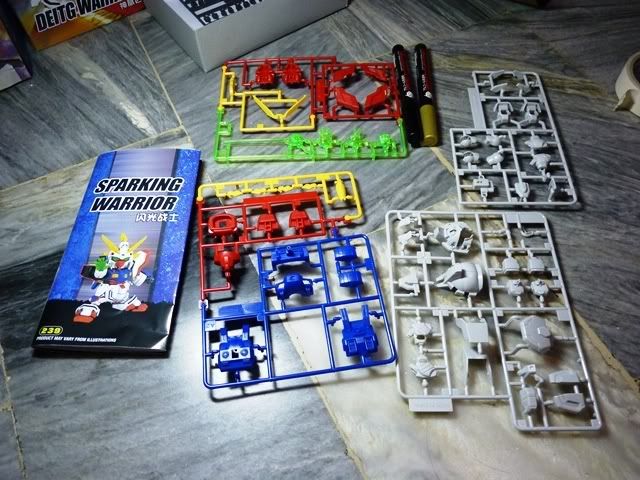
Runners - 5 in total along with the polycaps
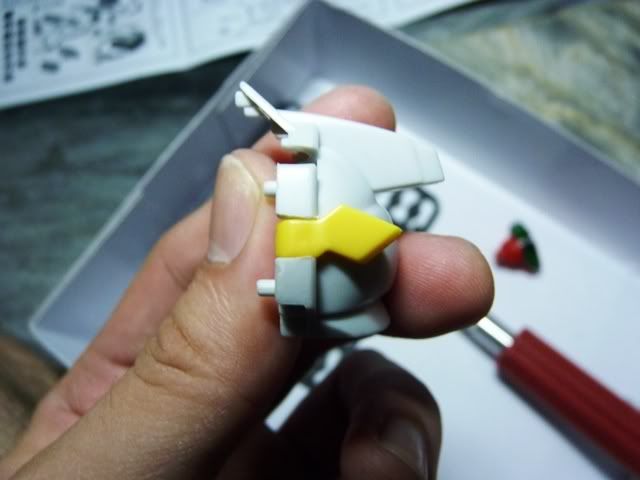
Issue 01: See the yellow fin attached to the head? Don't force to plug it in. You'll only damage the plastic. Shave off the little opening to fully accommodate the fin. Repeat it on the other side.
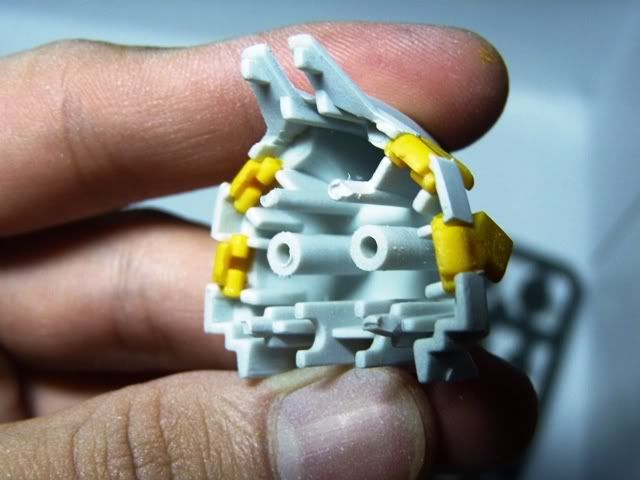
Issue 02: The usual suspect in QY kits. What I did was shave the male connectors with my hobby knife.
Head done! Notice I used the foil stickers. It's not that I was too lazy to paint the eyes, but I've noticed that during photoshoots, the paint does not shine and give of the glowing effect of like the stickers. But meh, the sticker too did not shine as I expected. Probably QY's quality to blame. I doubt Bandai has this bland color effect in their stickers. *Sigh*
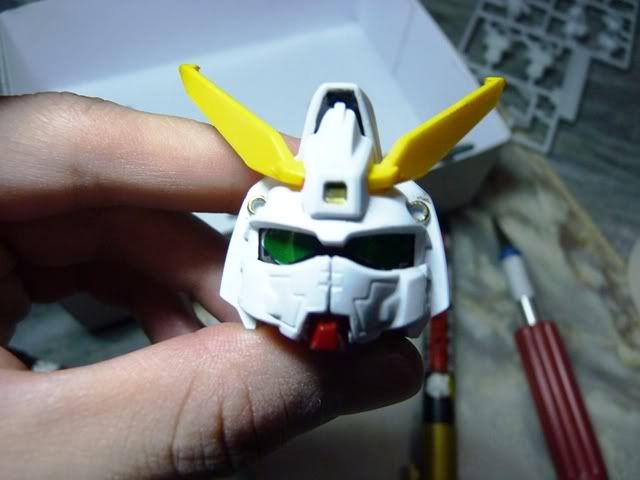
Hand painted the red part in the face. The color was too light for my taste. Oh and for the record, this is why I think Shining Gundam tops God Gundam in terms of design.
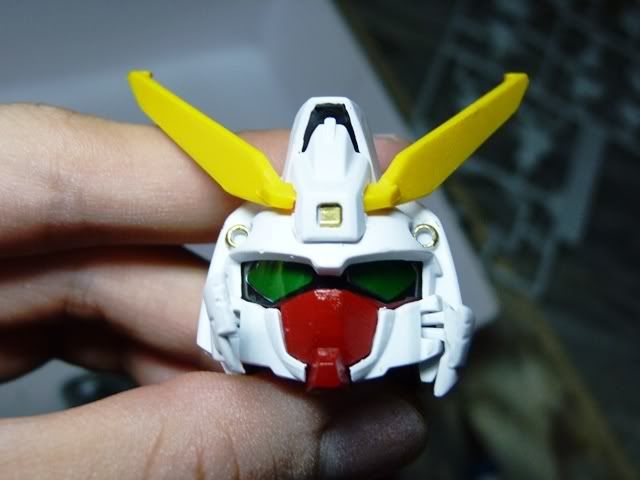
Body has no issues at all! All good here.
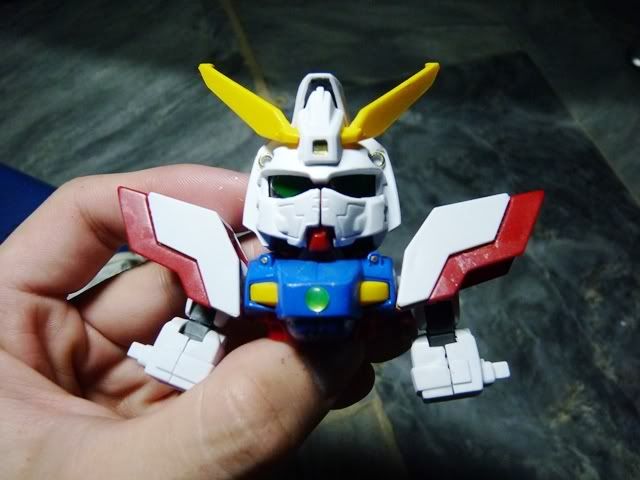
No issues with the feet too!
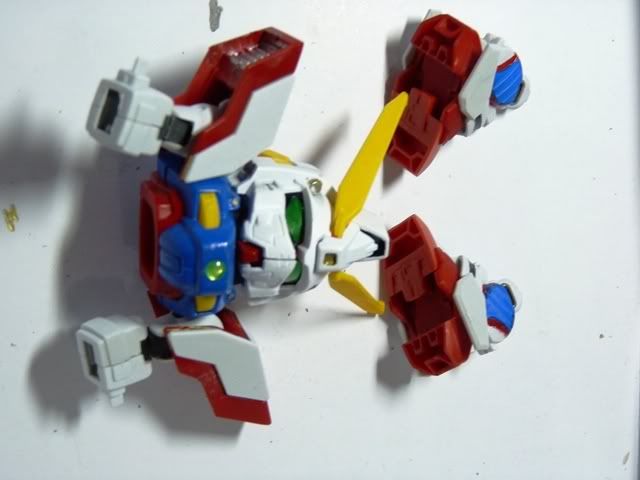
Progress so far
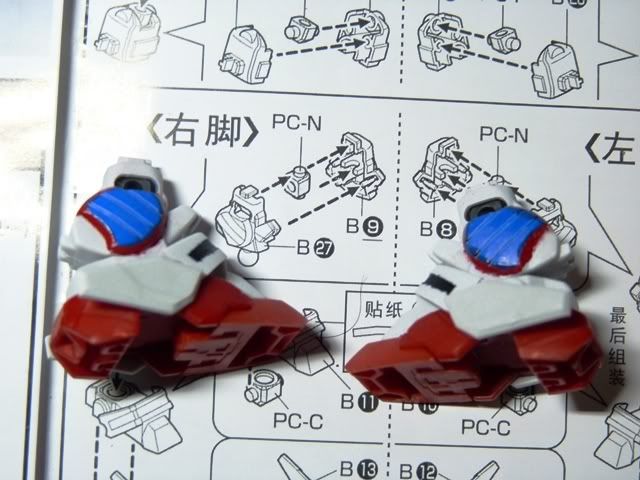
Issue 03: Skirt armor has fitting issues. Gently shave the male connector like so
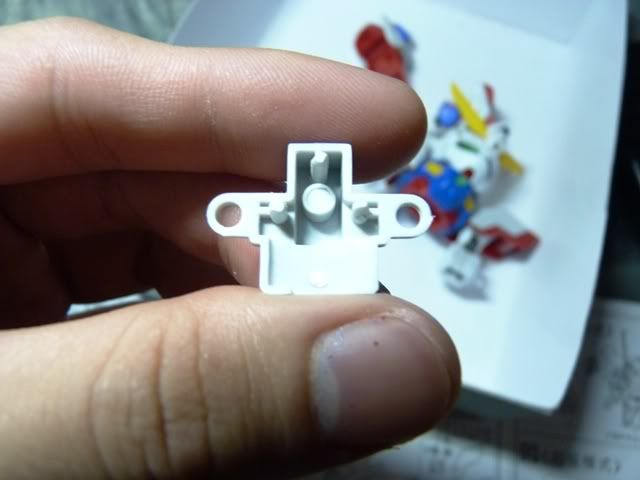
That was it for the assembly cures! Straight build from here on out.
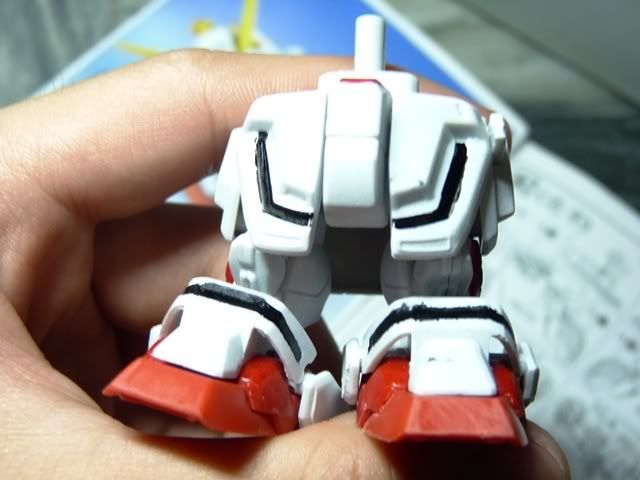
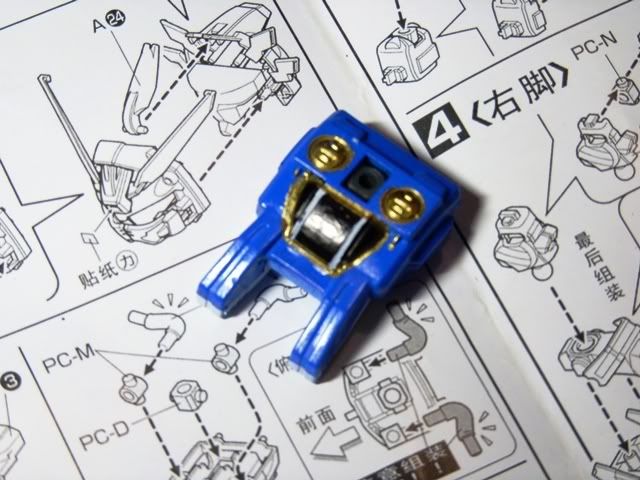
This is my FAVORITE part. Masking before painting. Told you I wasn't lazy! *Trips and bites tongue accidentally*
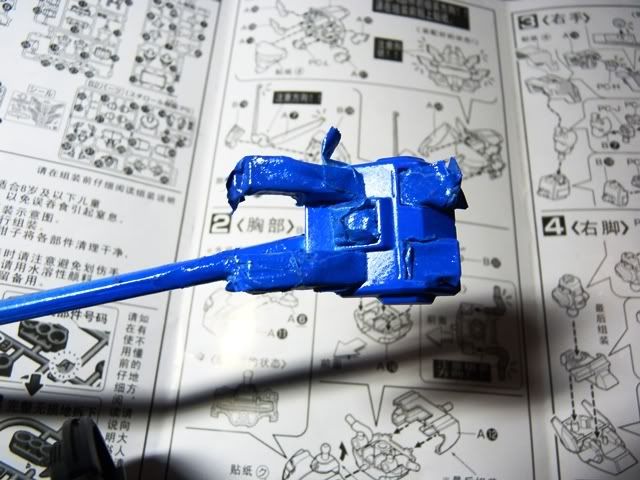
Messed up a bit on the paint, hence, the gold marker touch ups. The Core Lander looks awesome :)
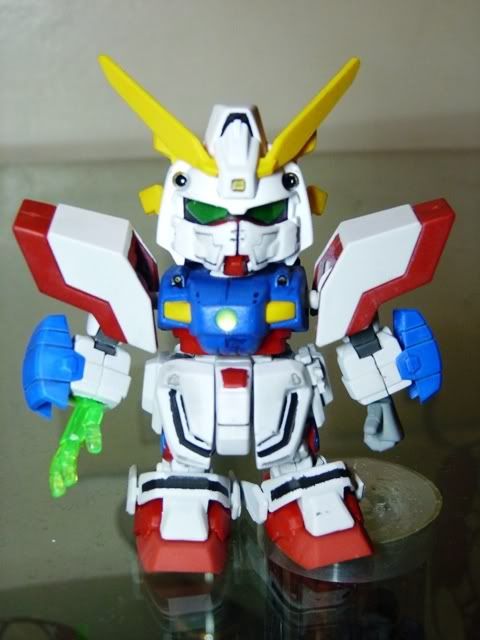
Shining Gundam complete!!
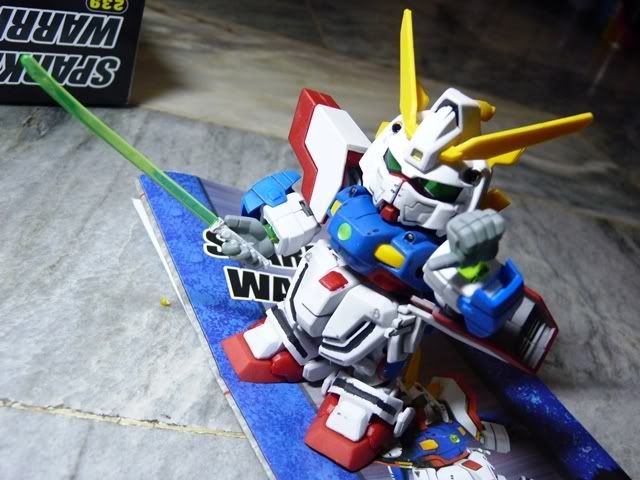
Front
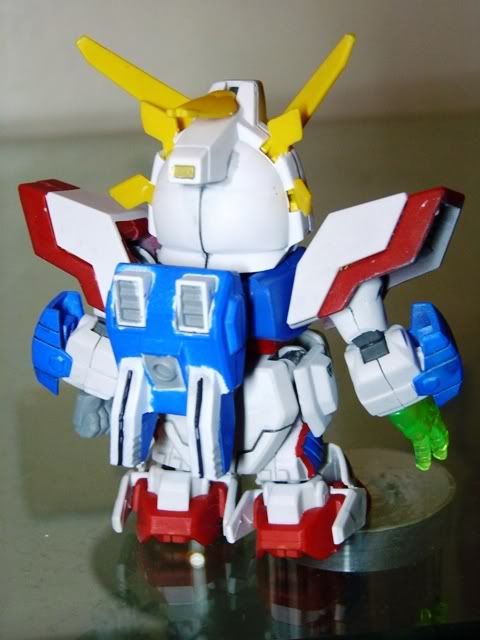
Back
Side (sort of lol)
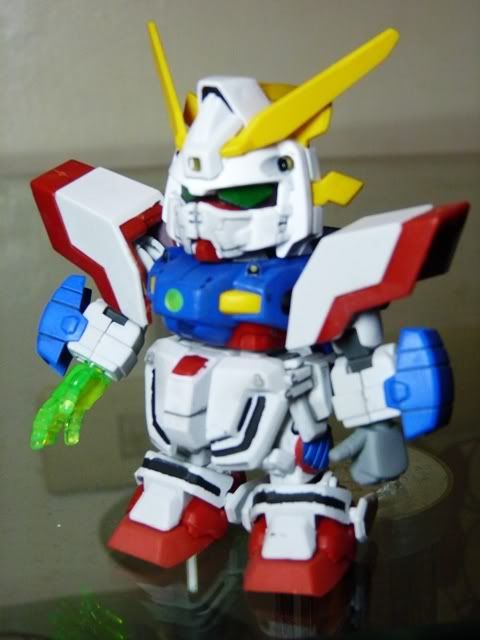
Domon: Core Landaaaa!
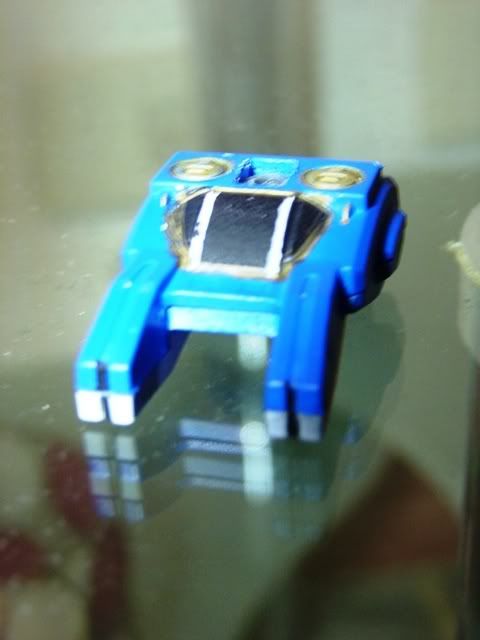
Rise Shining Gundaaaaaaaaam!!!! *Snap*
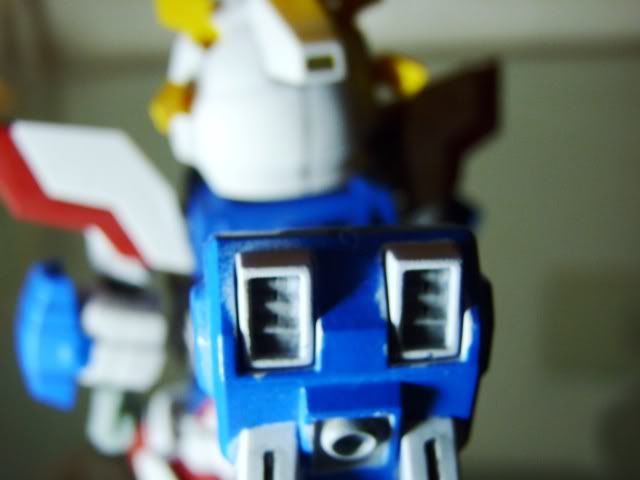
All systems green.
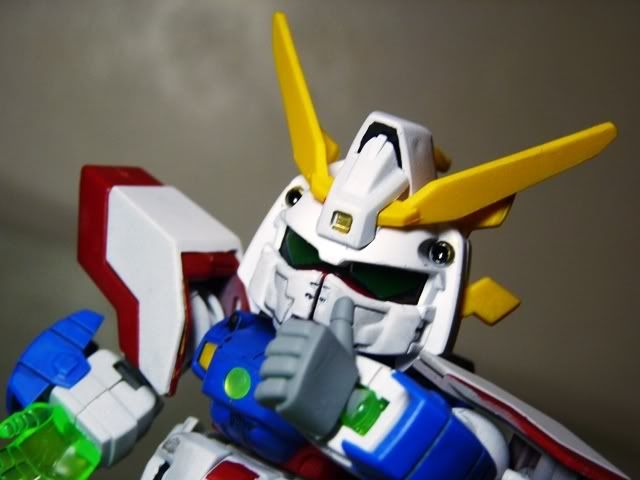
Ike!! Shining.....
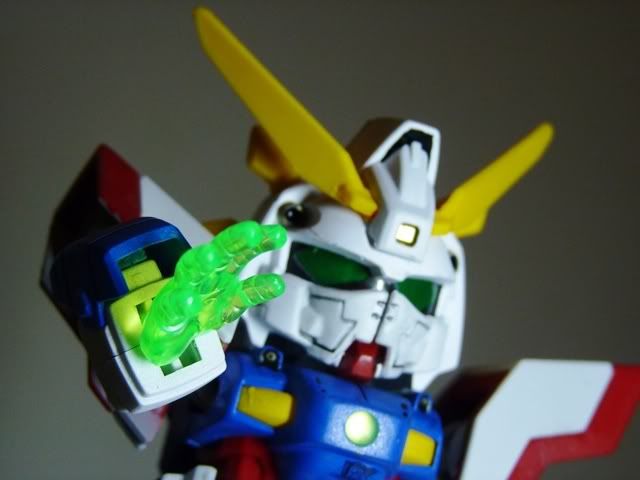
Finggaaaaaa!!!
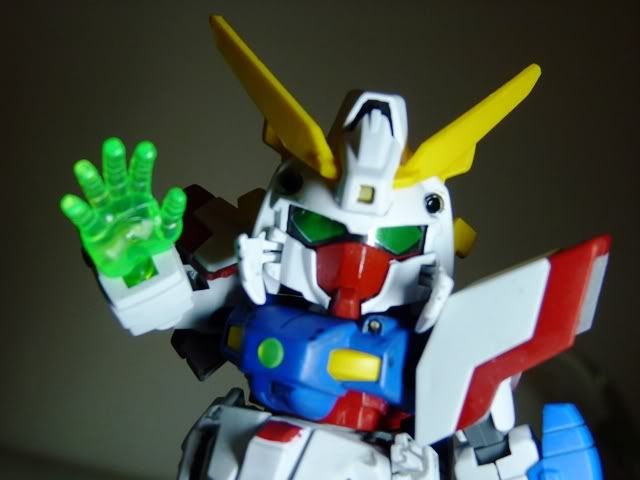
Yameroooooooo!!!
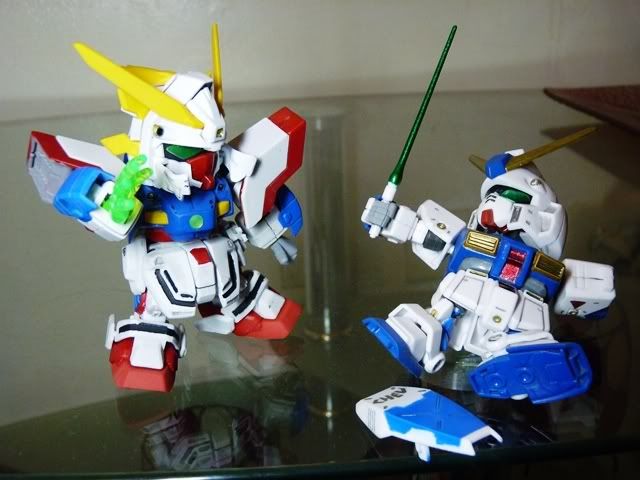
Oh yeah! Shining Gundam kind of reminds me of Sonic the Hedgehog in Super Mode.
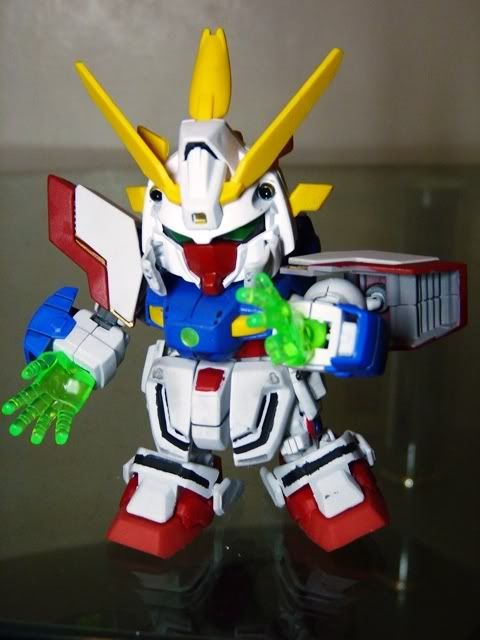
Kung fu grand master
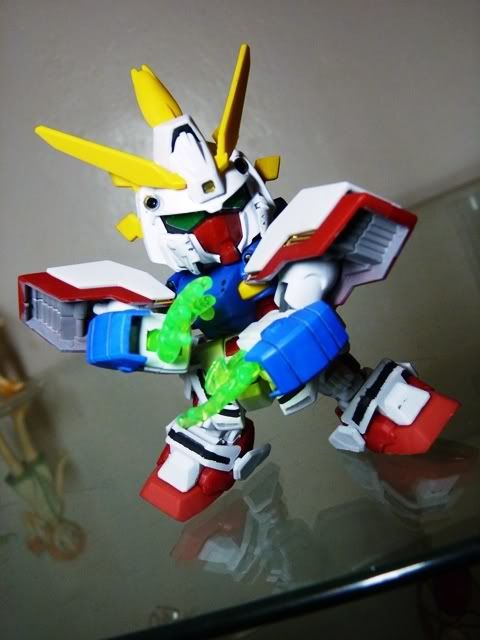
You should be scared. Be very very scared!
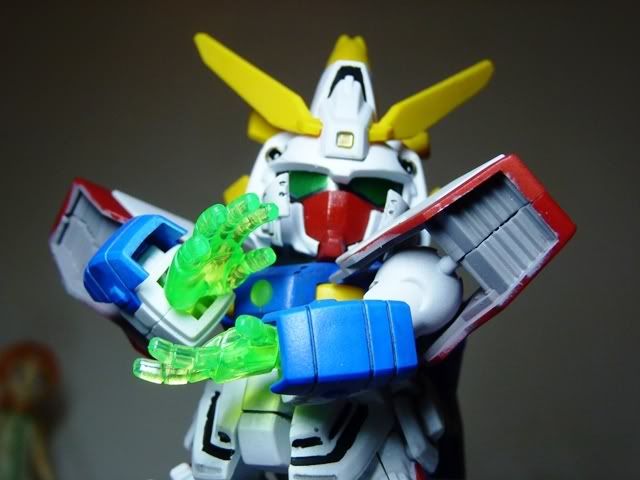
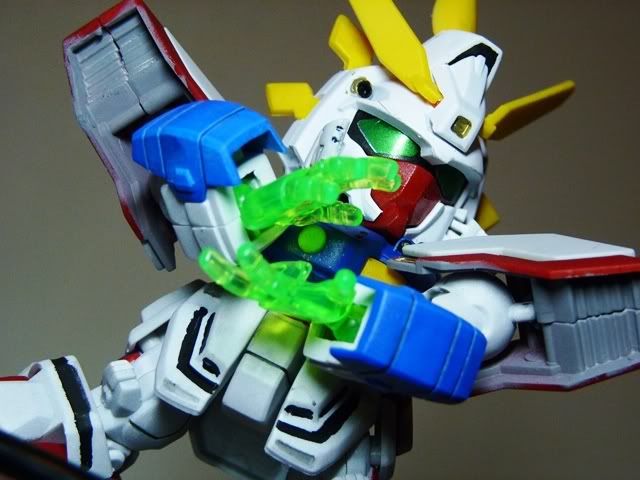
Shining sword?
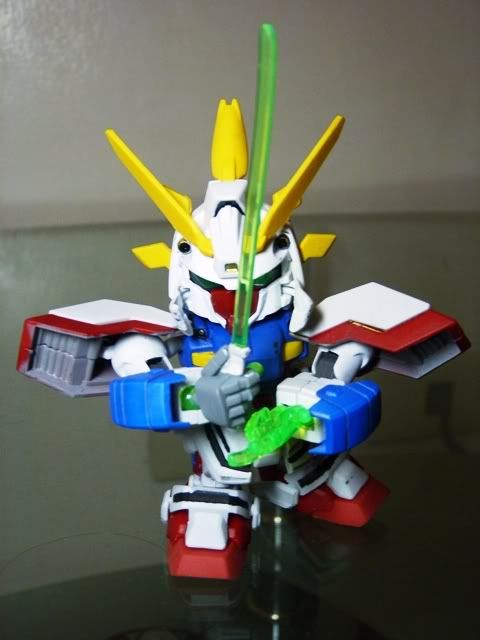
Who to cut?
Oh great, just great. Me!? AGAIN?!
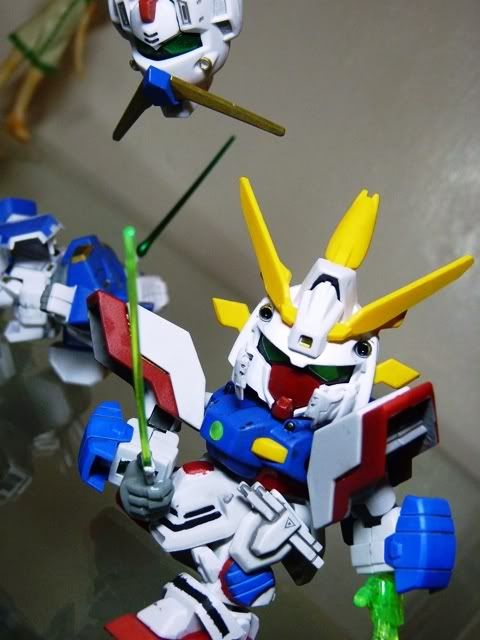
Along with his buddies
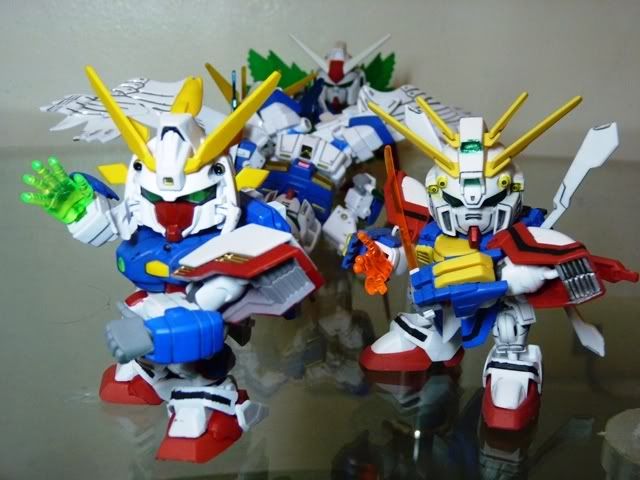
Looking good with all the Gundam cast :D
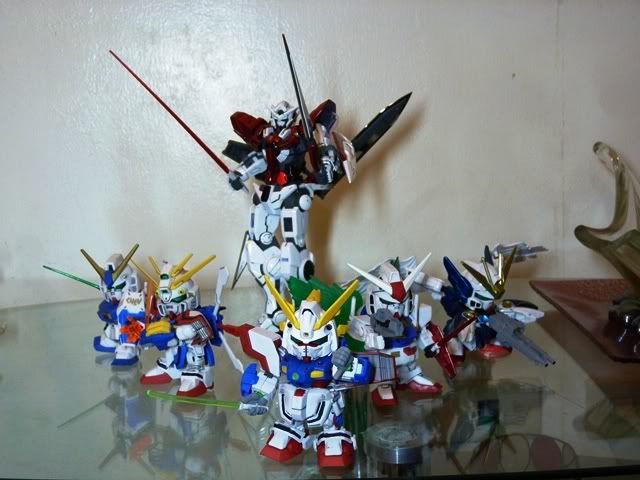
Pros:
Easy assembly (and fixes)
Has a cool head.
Sturdy for a bootleg.
Cons:
Legs can be problematic. Its feet is too wide to actually give a dynamic pose/separation.
Sliding mechanism in his shoulders could have been better.
By all means, buy this kit ASAP! SD Shining Gundam really tops my SD God Gundam. I used to have a diecast version of this kit when I was young. Probably my most expensive one before. This kit holds dear and has a special place in my heart. Has a gimmicky head that really gives life when performing his final attack. Ooohhh the nostalgia.
*Notice I improved a bit on my photos (If not, then I officially suck). Props to my friend and hobbyist of diecasts Vera for pointing out how lighting is essential in photography. THANKS!
Can u show me a picture of this sd before it got painted
ReplyDeletesorry i can't :(
ReplyDeletei painted this kit when i took it from the runners before assembly.
to give you an idea how it looked:
the shades of blue are a bit darker (has a sense of cheap feel to it) and the white is a bit on the gray side too.
red and yellow are not painted since its color tone is good enough for me.
mobeinmi Julie Ezell https://marketplace.visualstudio.com/items?itemName=riarili-pa.Descargar-CREEP-RIDES-gratuita
ReplyDeleterindhostcamti
adulAib-ro-1994 Sean Kalina https://www.mooseandcamel.com/profile/LinPlug-Relectro-V103-WiN-MacOSX-Incl-PatchR2R-deepstatus-rar-TOP/profile
ReplyDeletekefucoself
Wimobglutzu Sam Wheeler click
ReplyDeletedownload
https://colab.research.google.com/drive/1mLMLxA7aYWTvyUe4EmW2bWtU2H6l2RlU
click
tisahanmo
cemoPtio_mo Penny Brooks That
ReplyDeleteInstall
programs
odadntegmye