
TT Hongli MG 1/100 Exia Ignition Mode - WIP 03

Progress 3 of my Exia Ignition Mode, I'm 90% done!!! I haven't had any issues with the waist and leg assembly so glue any part that easily pops off. Construction is a breeze!

No problems here. Normally those purple grape candies there are red. Decided to go with that to give Exia a dark look. RAWR! >:D
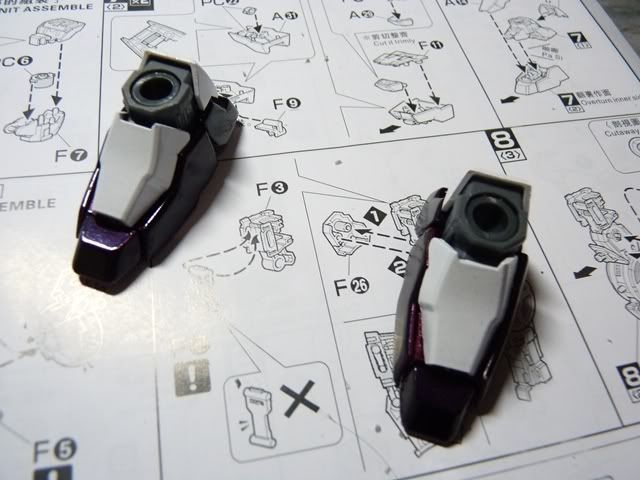

This is really not an issue BUT please cram this piece (of crap) with care! I got stretched plastic on my right leg. I didn't dare to shave this part off. It serves as a "stopper" when the legs bend. I was afraid because I might shave it too thin and make it loose.
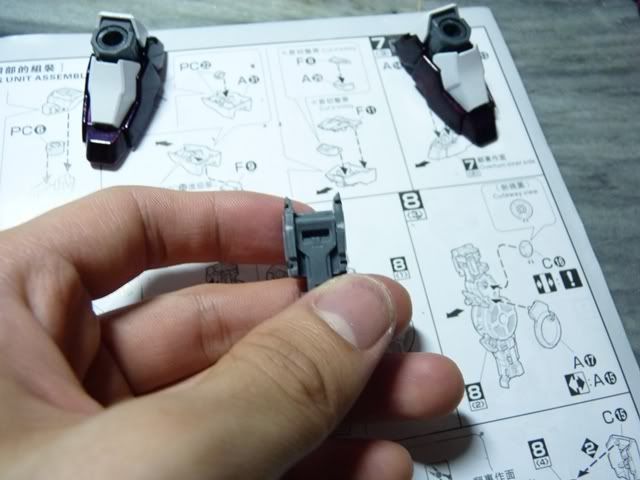

Uhh.... I forgot. I DID shave some male connectors. Anyway this is pretty easy to do and won't take too long.

Exia has some pretty slim sexy legs
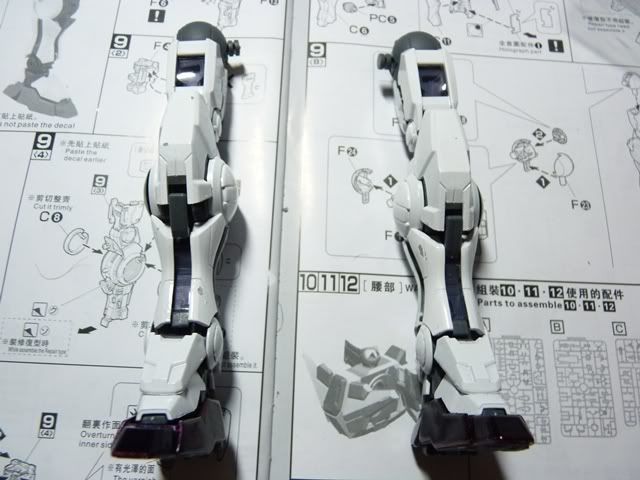

Never encountered any issue with the front skirts except the white armore keeps popping off. A simple thin application of glue would do the fix.
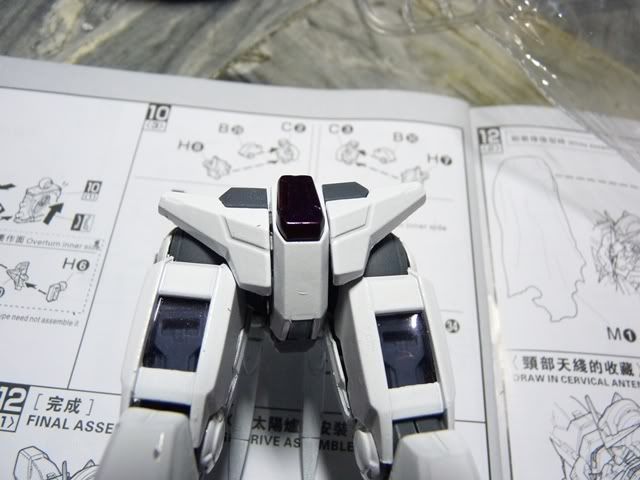

..........I had Gunplasms when............... ~Ore Wa Gundam!!!
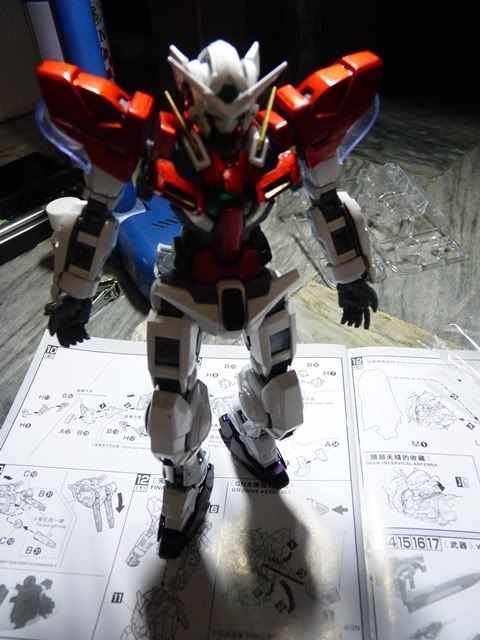

A stress reliever and money's worth indeed! The metallic finish experiment really made me proud. I tapped my back afterwards for a job well done! T_T (tears of joy........)
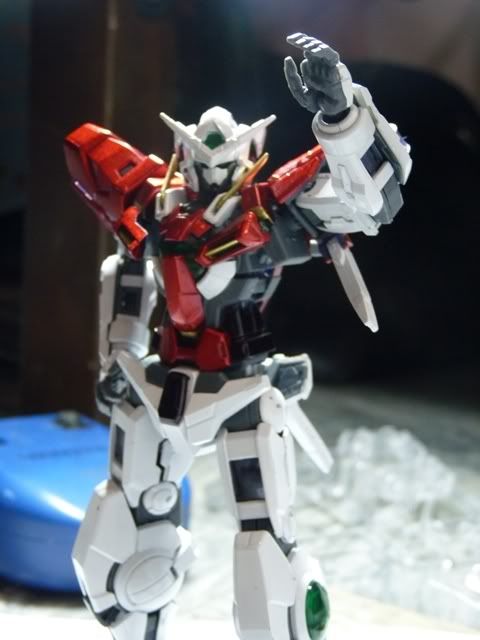

Close up of Exia
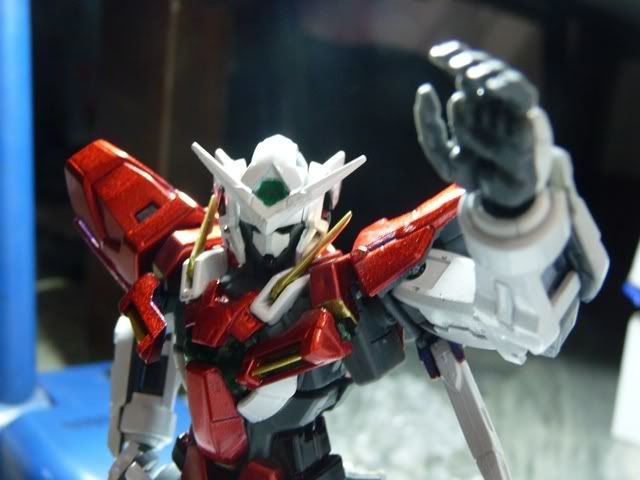

Welcome to the club Exia! WOW Exia stands tall! Even taller than my NG Blitz.
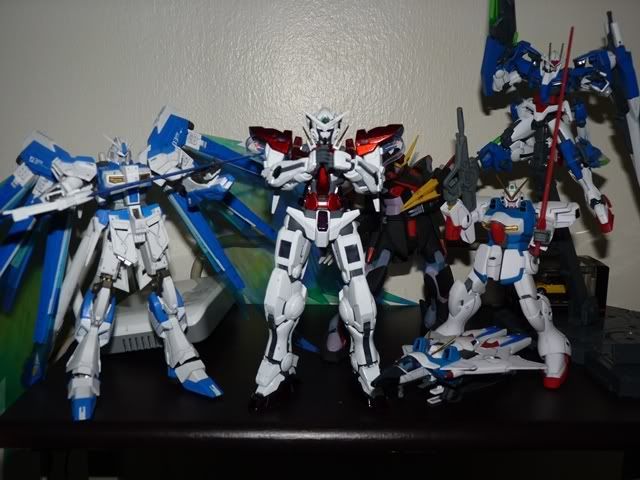

All that's left are the armaments... It's time for some ass-kicking! Stay tuned!
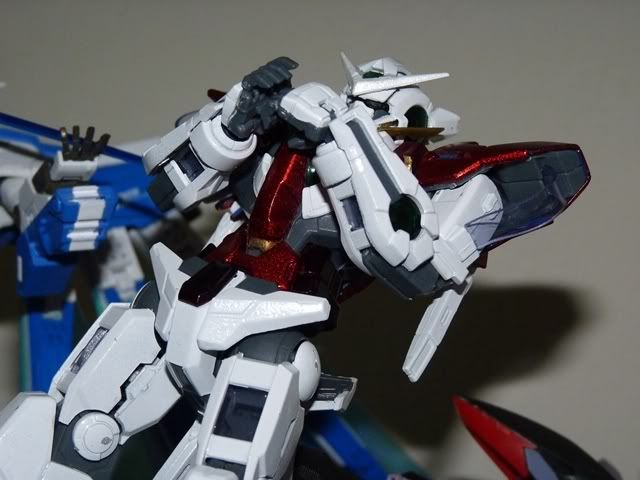


Final word(s):
........SUBARASHII!

Comments

Post a Comment

Popular posts from this blog

TT Hongli MG 1/100 Exia Ignition Mode - Review

Assembling bootleg kits can be a pain at times but this MG Exia Ignition Mode was a breeze. I was surprised from the fact that 90% went well and the other 10% were minor fixes - from shaving male connectors to gluing parts. I really enjoyed assembling my first Master Grade (I was hoping it was Bandai, my wallet was not cooperating as expected lol). Action! G...Gu...Gundaaaaaam!!!!!!!!!!! GUUUUNDAAAAMU!!! Ore wa........... Ore Wa Gundam-da!! Exia exterminating target............... Graham: Ike, Setsuna! Live and unlock the future! More swords Setsuna? Target exterminated! Joining the bunch :D Pros: Assembling is pretty easy for a bootleg Build is sturdy It came with LEDs! Cons: Joints are too stiff (for my liking, anyways, it made the kit solid though) Swords at his wait does not fit the peg in the hand Exia Repair parts does need half of the non-Repair head. (didn't bother with the transformation) The Exia Ignition Mode is a must have! I'm really g...

Bandai RG RX-78-2 Gundam - Review

The much anticipated (and delayed) review of my RG RX-78-2! I broke the chest piece when I was applying some finishing touches on the kit. Crap it was a nightmare! When the piece snapped into two I couldn't hold back and yelled NOOOOOOOOOOOOOOOOOOOOOOOO!!!!!!! That serves another lesson for me. Never EVER force yourself into working with half-assed consciousness. Weeks came by and I was able to get in touch with someone who has a spare RG RX-78-2 kit. Viola, my kit is RESTORED! Onto the review, here's the RX-78-2 in its Real Grade Excitement Embodied glory Ah, the Real Grade. Stressing color separation. The attention given to the details of RG kits is just plain awesome! The different shades of white, red, and blue is fantastic. Showing off some articulation here, kneeling poses are a bit better than the RG Char Zaku. Goes to show that top notch engineering with a mini-skirt design Gundam works! That's Amuro by the way :p Will paint...

QY SD Shining Gundam - Mini WIP, Assembly Cure and Review

It has been a while since the last time I blogged. Reality bites and I have to focus on the "more important things in life." Work, girlfriend, and of course going outdoors - a much needed "distraction" to regain my appetite for GunPla. In all honesty my interest has gone downhill and the promised TT Hongli MG Sinanju is nothing more of a plan than a work-to-be-done. There will always be the GunPla itch so I picked this teeneeweenee SD that caught my eye. Welcome to the club, Shining Gundam!! To start off, the box. Runners - 5 in total along with the polycaps Issue 01: See the yellow fin attached to the head? Don't force to plug it in. You'll only damage the plastic. Shave off the little opening to fully accommodate the fin. Repeat it on the other side. Issue 02: The usual suspect in QY kits. What I did was shave the male connectors with my hobby knife. Head done! Notice I used the foil stickers. It's not that I was too lazy to paint the eyes, b...