
Bandai HG Wing Zero TV - WIP 02

Progressing quite nicely this holy holiday week. Painted a bunch of parts. All that's left are the left leg, boosters, and repainting the head and shield.


The saber hilts on its shoulders are originally mono-colored blue. Easily masked this one to give an emphasis to the hilt.
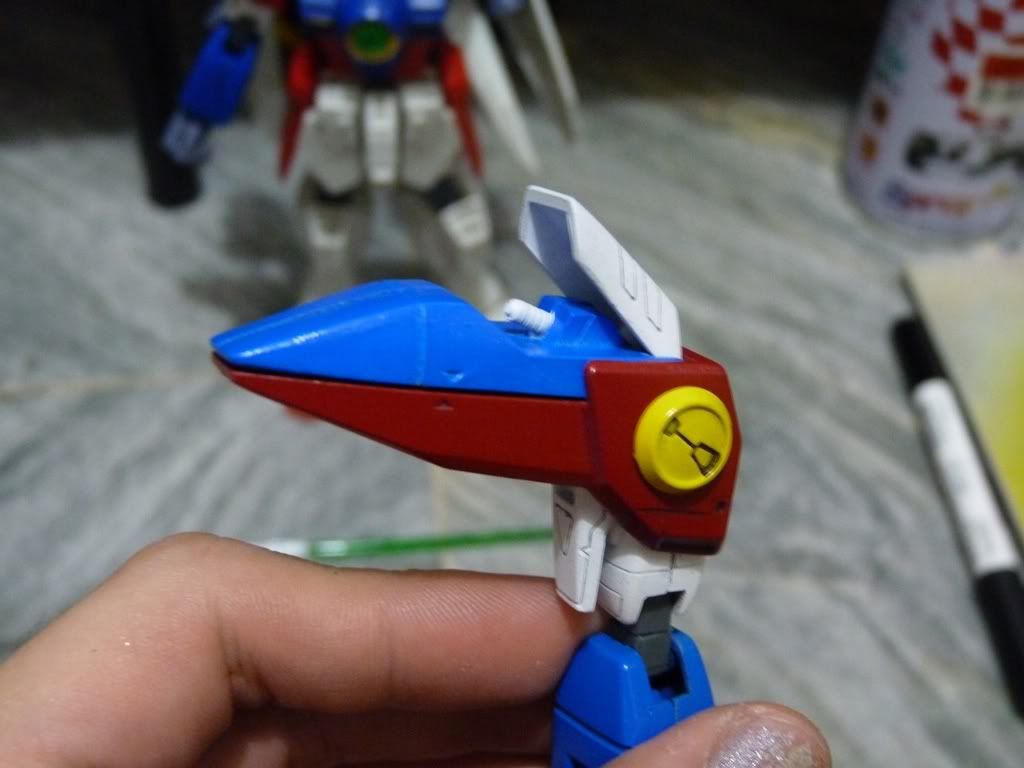
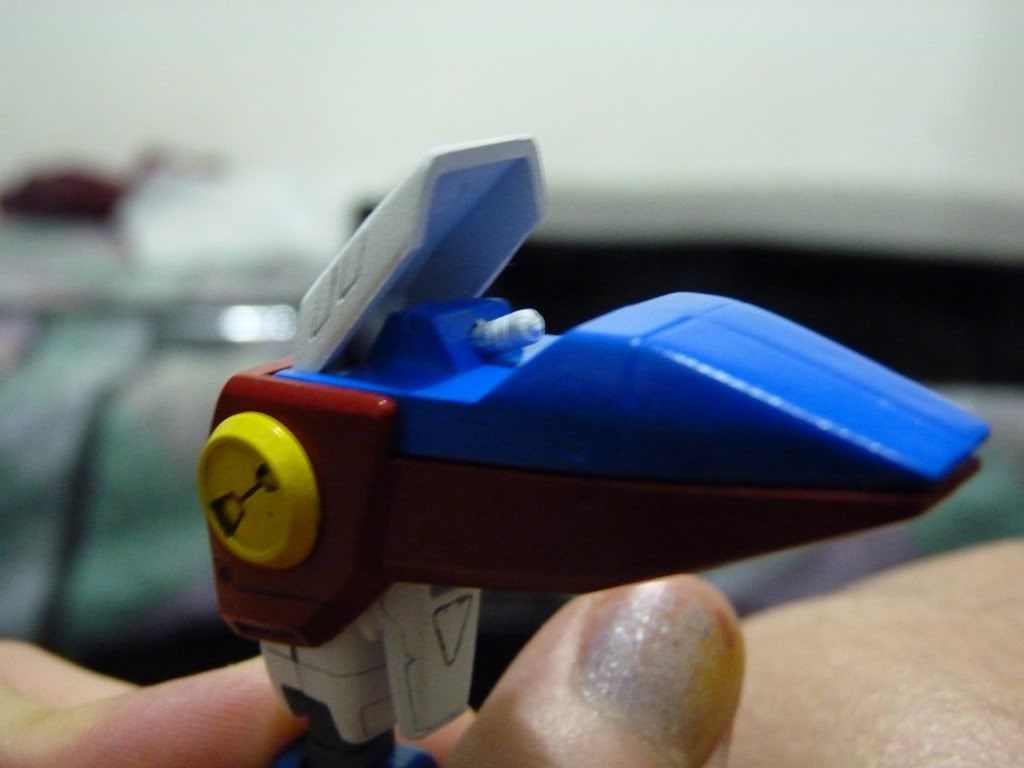

This is after completing Zero's left arm. Quite a change their from the original (right arm). Happy with the results :)


Looking at Zero's original base color, it is more of a "dirty" white than the paint I used which screams brightly.
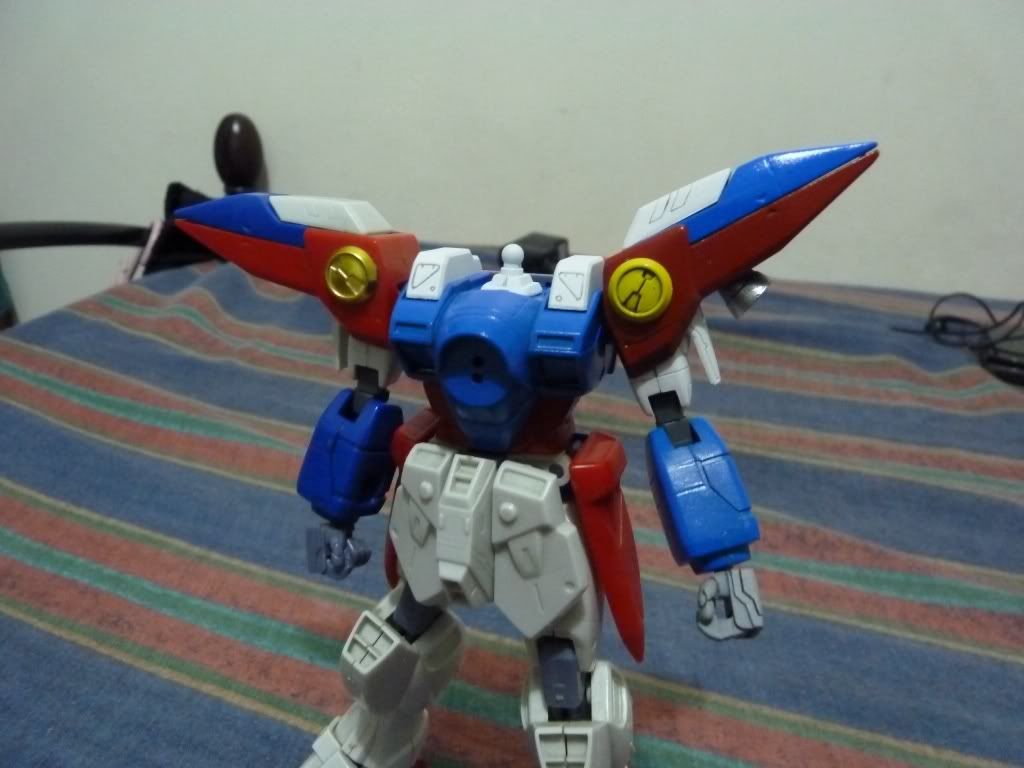

Progressing down the skirts and onto the right leg
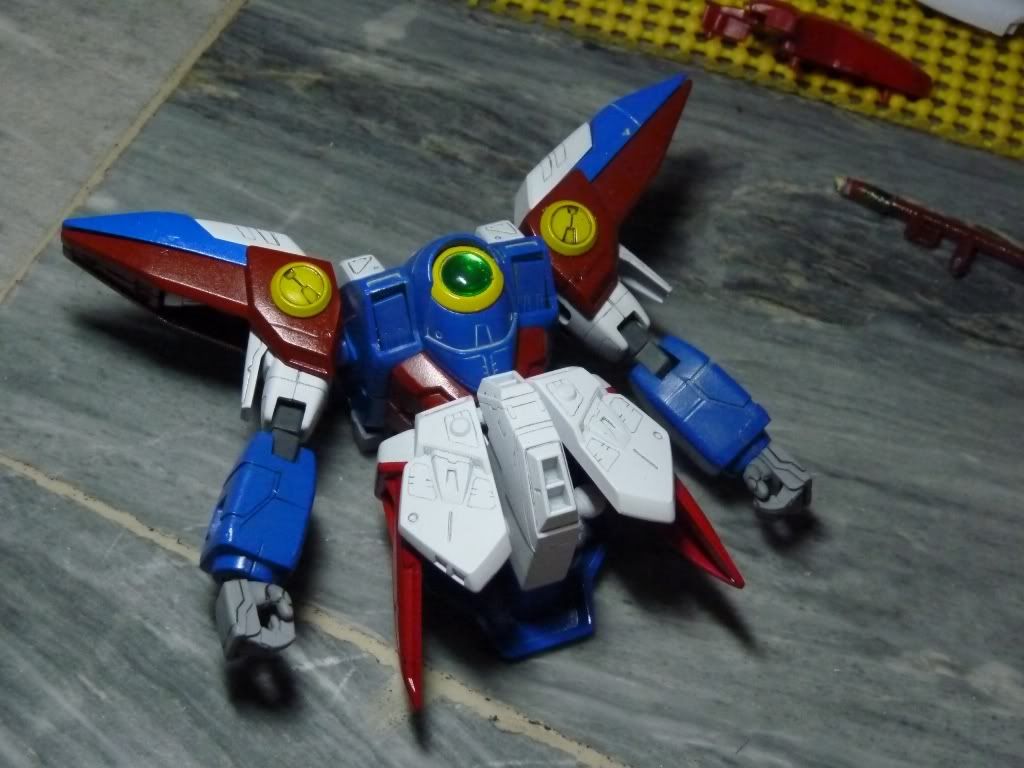

Again, a bit of comparison to Zero's original colors (right leg) to the painted parts. Blue, red, and white are obviously brighter which makes it feel more of anime accurate for me. I also replaced the gold parts to yellow not because I want to be as close to the anime - but I ran out of gold paints.
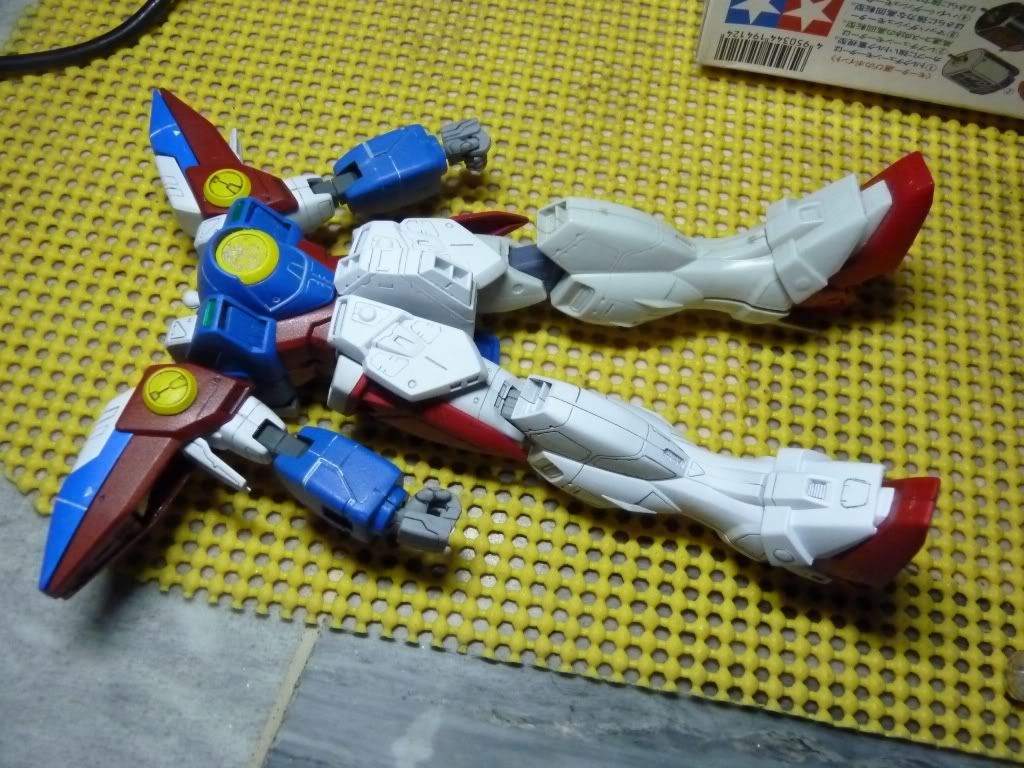


Summing things up and with the way things are going, I think ETF (estimated time to finish) will be within this weekend BUT all can get delayed if I won't be able to get my hands on lacquer thinner needed to strip the shield and head's paint. The joints are also "toughened" up due to the paint where it aged flimsily prior.

Repainting this kit has been a treat. The feeling of working on your most cherished (cheesy) kit has been a fantastic experience. Wing has been the most influential series for Filipinos and opened the doors to mecha addiction.

PS:
Have a meaningful holy week holiday to all of you. :)

Comments

Popular posts from this blog

TT Hongli MG 1/100 Exia Ignition Mode - Review

Assembling bootleg kits can be a pain at times but this MG Exia Ignition Mode was a breeze. I was surprised from the fact that 90% went well and the other 10% were minor fixes - from shaving male connectors to gluing parts. I really enjoyed assembling my first Master Grade (I was hoping it was Bandai, my wallet was not cooperating as expected lol). Action! G...Gu...Gundaaaaaam!!!!!!!!!!! GUUUUNDAAAAMU!!! Ore wa........... Ore Wa Gundam-da!! Exia exterminating target............... Graham: Ike, Setsuna! Live and unlock the future! More swords Setsuna? Target exterminated! Joining the bunch :D Pros: Assembling is pretty easy for a bootleg Build is sturdy It came with LEDs! Cons: Joints are too stiff (for my liking, anyways, it made the kit solid though) Swords at his wait does not fit the peg in the hand Exia Repair parts does need half of the non-Repair head. (didn't bother with the transformation) The Exia Ignition Mode is a must have! I'm really g...

Bandai RG RX-78-2 Gundam - Review

The much anticipated (and delayed) review of my RG RX-78-2! I broke the chest piece when I was applying some finishing touches on the kit. Crap it was a nightmare! When the piece snapped into two I couldn't hold back and yelled NOOOOOOOOOOOOOOOOOOOOOOOO!!!!!!! That serves another lesson for me. Never EVER force yourself into working with half-assed consciousness. Weeks came by and I was able to get in touch with someone who has a spare RG RX-78-2 kit. Viola, my kit is RESTORED! Onto the review, here's the RX-78-2 in its Real Grade Excitement Embodied glory Ah, the Real Grade. Stressing color separation. The attention given to the details of RG kits is just plain awesome! The different shades of white, red, and blue is fantastic. Showing off some articulation here, kneeling poses are a bit better than the RG Char Zaku. Goes to show that top notch engineering with a mini-skirt design Gundam works! That's Amuro by the way :p Will paint...

QY SD God Gundam - Mini WIP, Assembly Cure and Review

Thank GOD I'm back! Lumix is back and my GunPla energy has been over the top! I'm feeling good this morning and built Gundam Alex. Well more on that next time, but again, thank GOD I can finally review my QY God Gundam! Starting off, here is the box of QY's bootleg of God Gundam (Deitg Warrior). Unboxing this miniscule kit, there are only 5 runners along with the polycaps. ..And here's my bootleg Unicorn (mfg by Jargon), envious why he does not have a review. Issue 01: Starting off our assembly cure, carefully shave off the chest piece by a hobby knife to snugly fit it into the chest armor. Issue 02: Like most of my QY kits, head continues to be problematic. Cut the male connectors and apply glue to the seams. Issue 03: Waist armor male connectors are too thick. Shave by a hobby knife or sand it down to fit the pieces. Issue 04: Arms too have fitting issues. Cut the male connectors and then glue. Make sure you do not forget the poly cap when gluing! Is...